Introduction
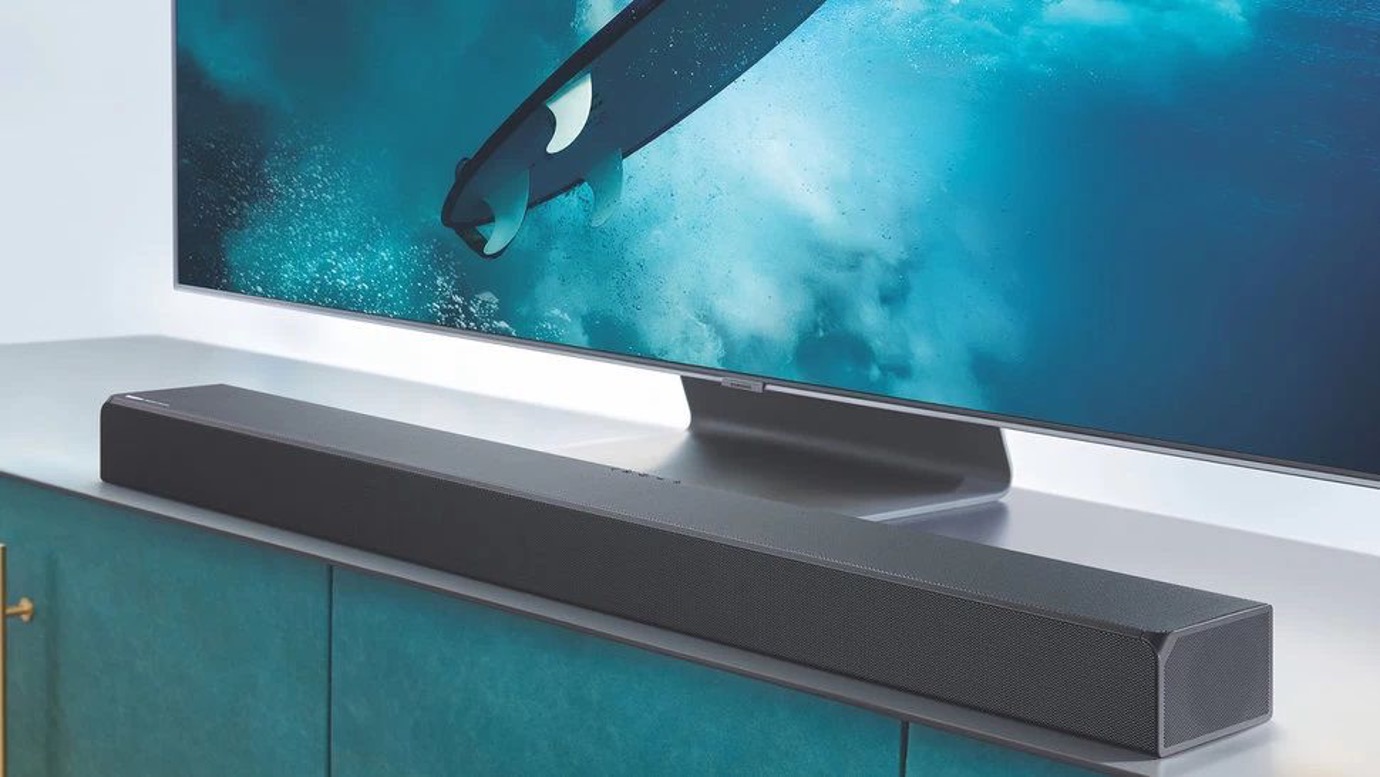
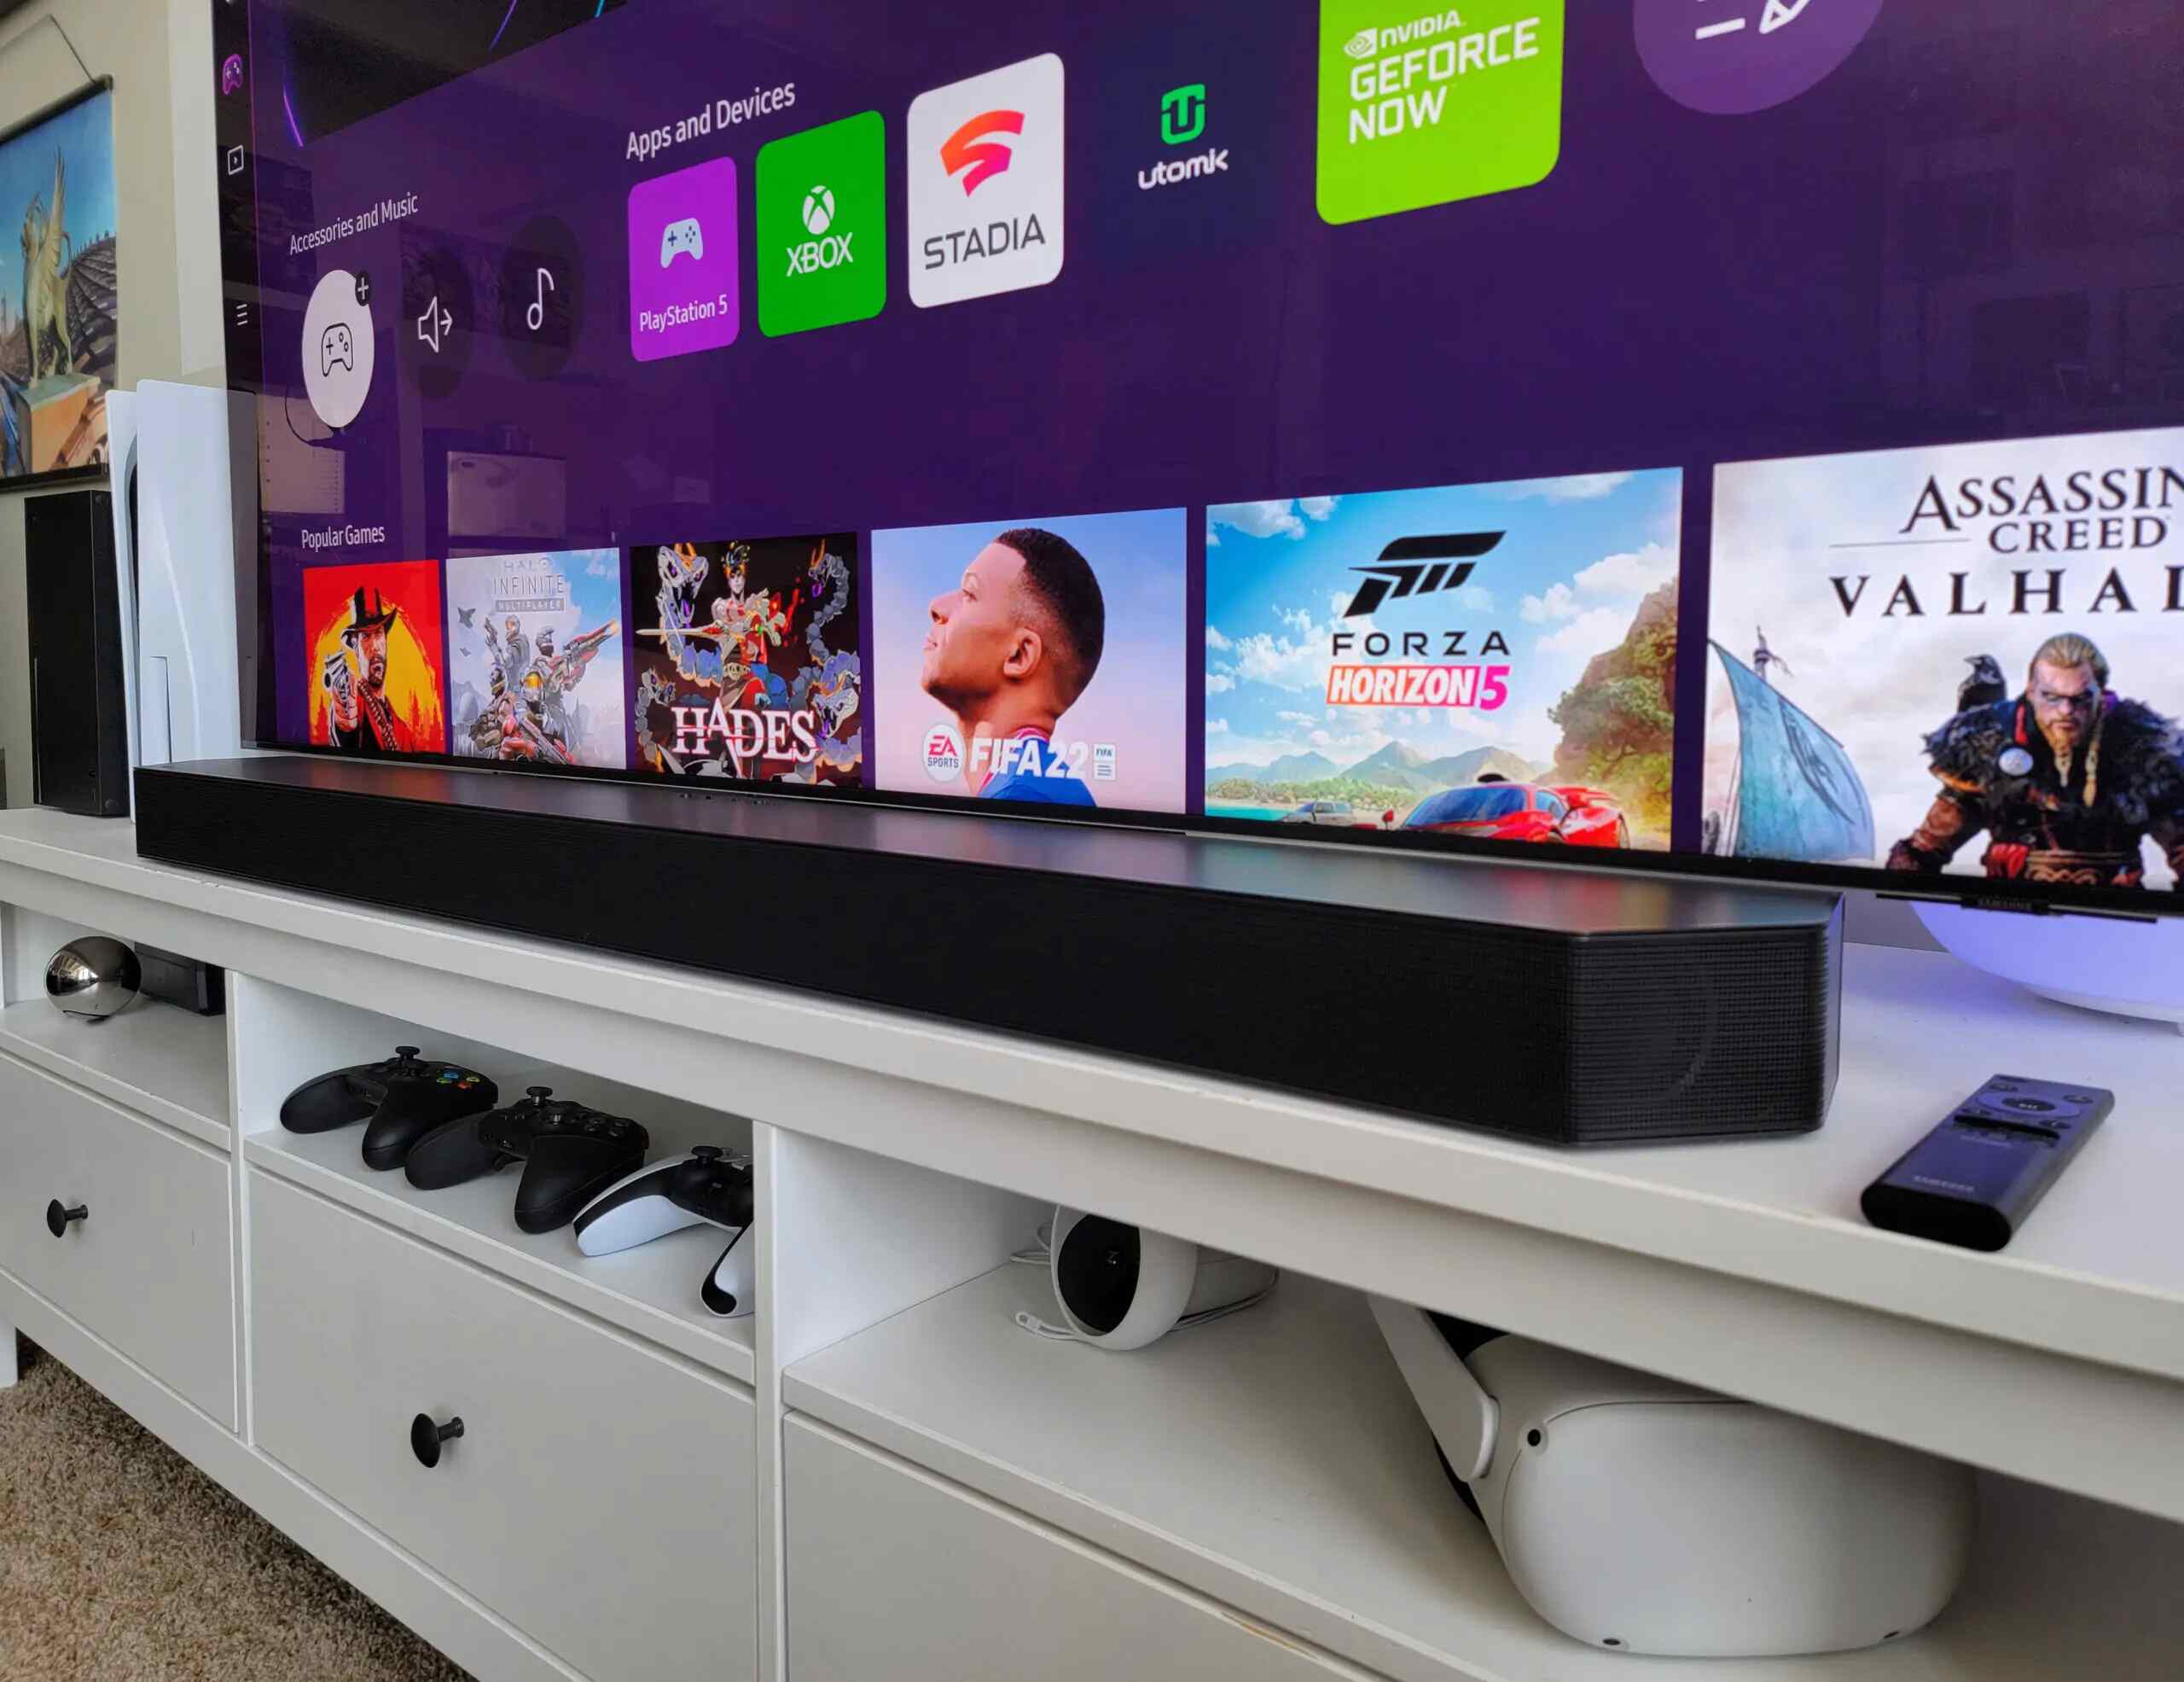
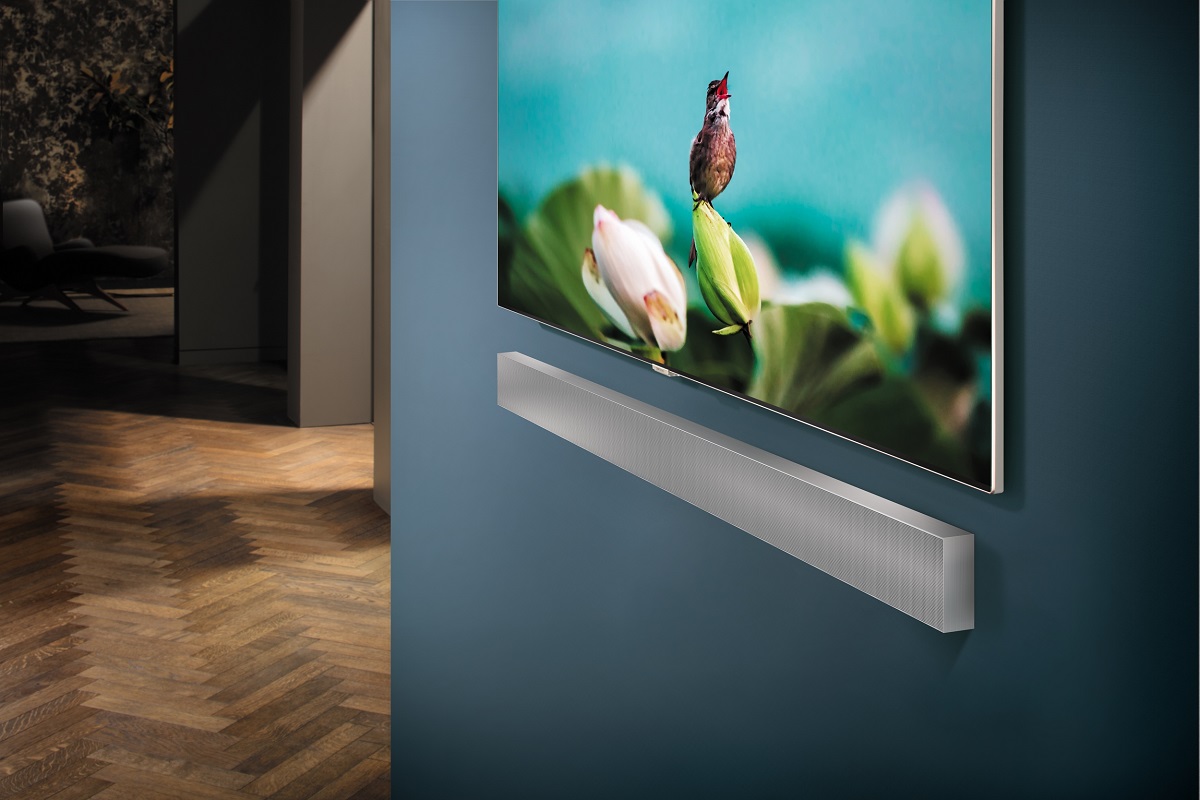
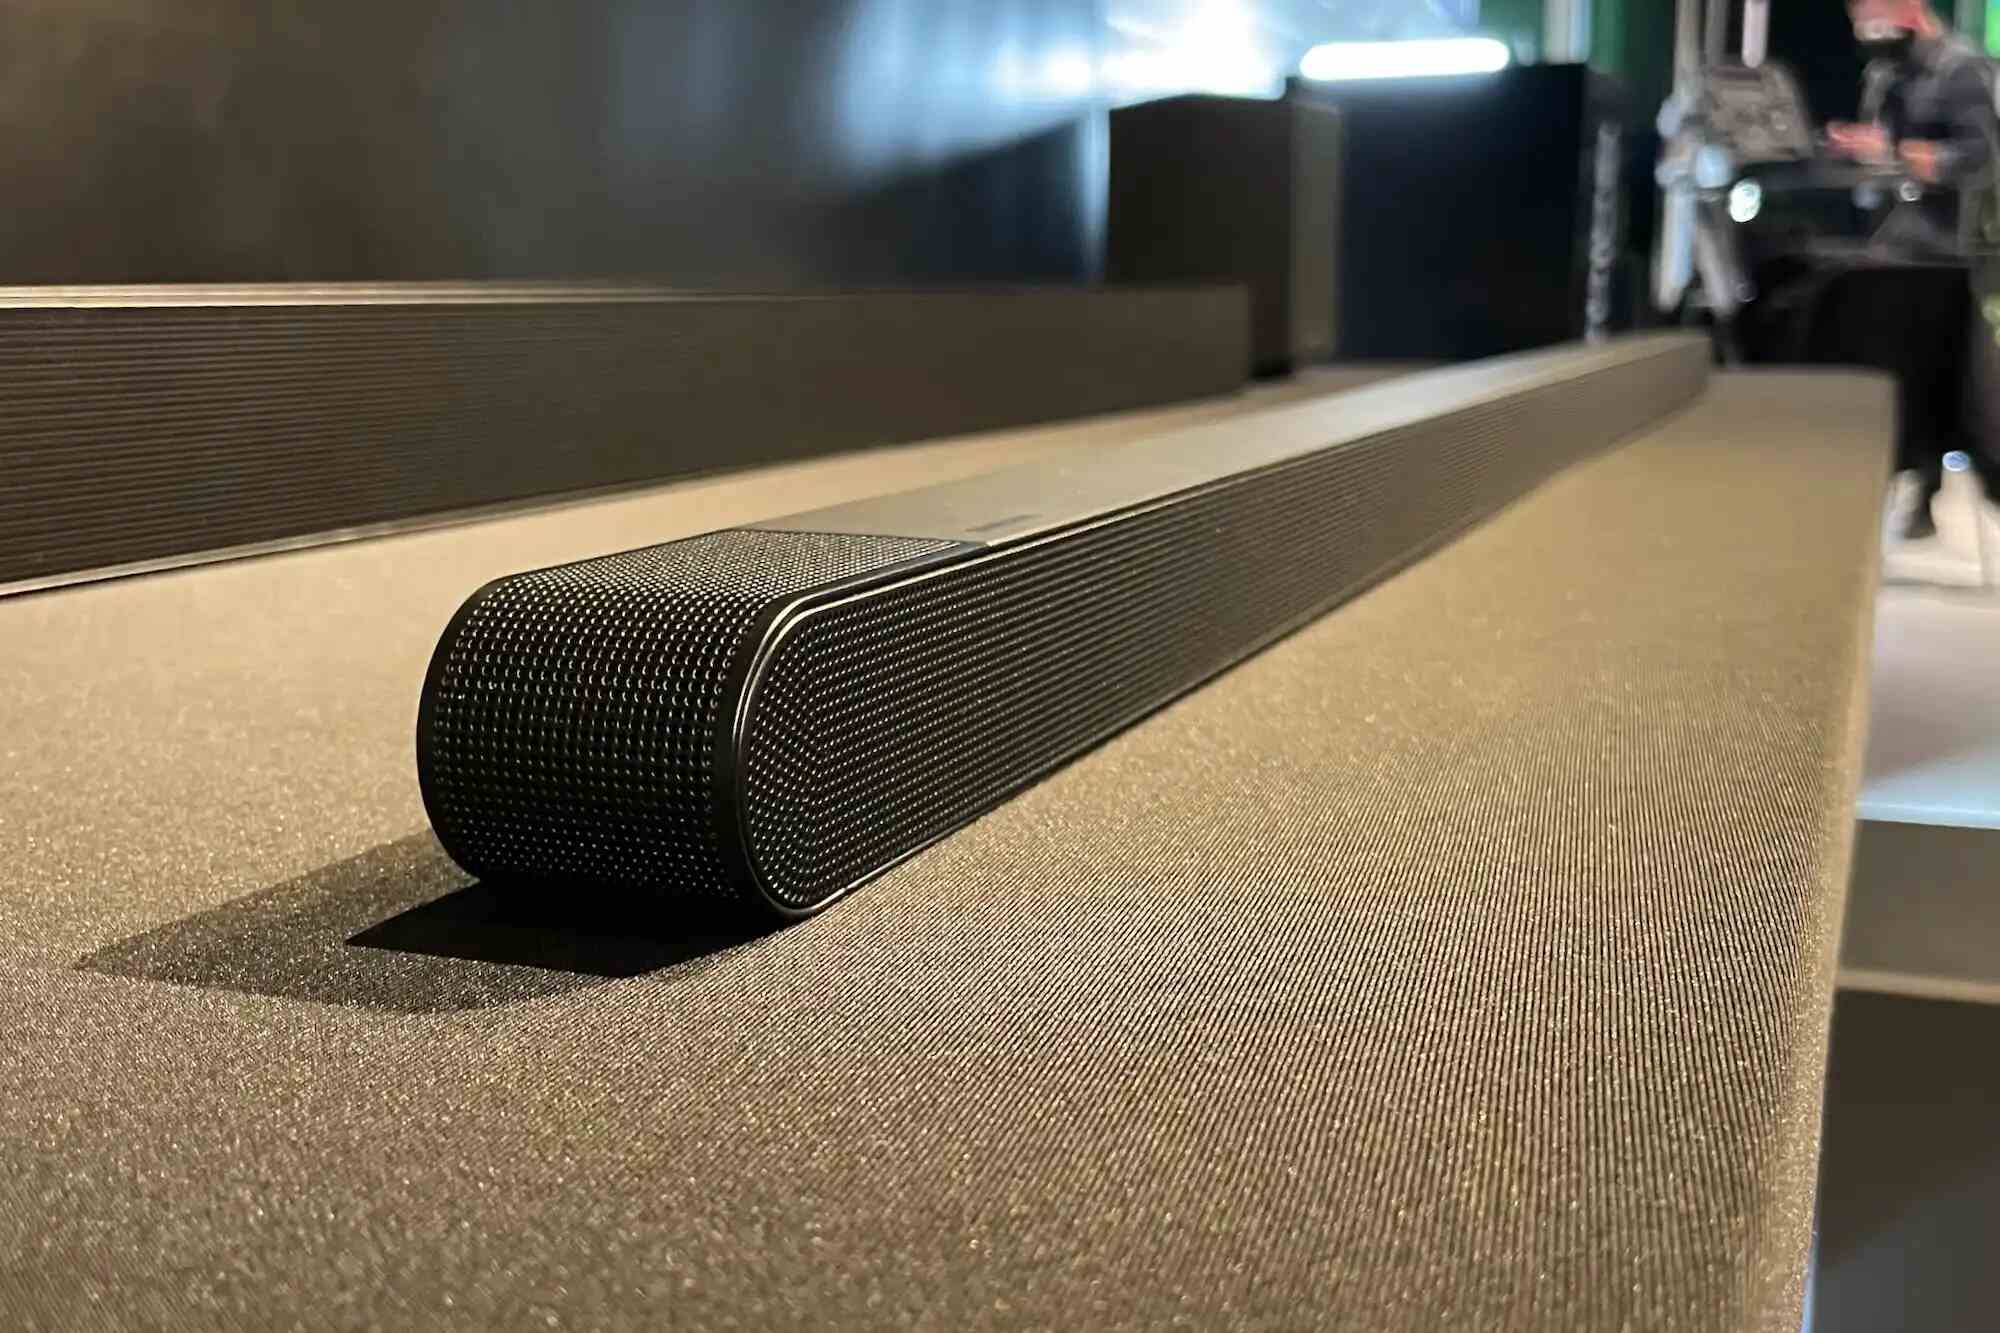
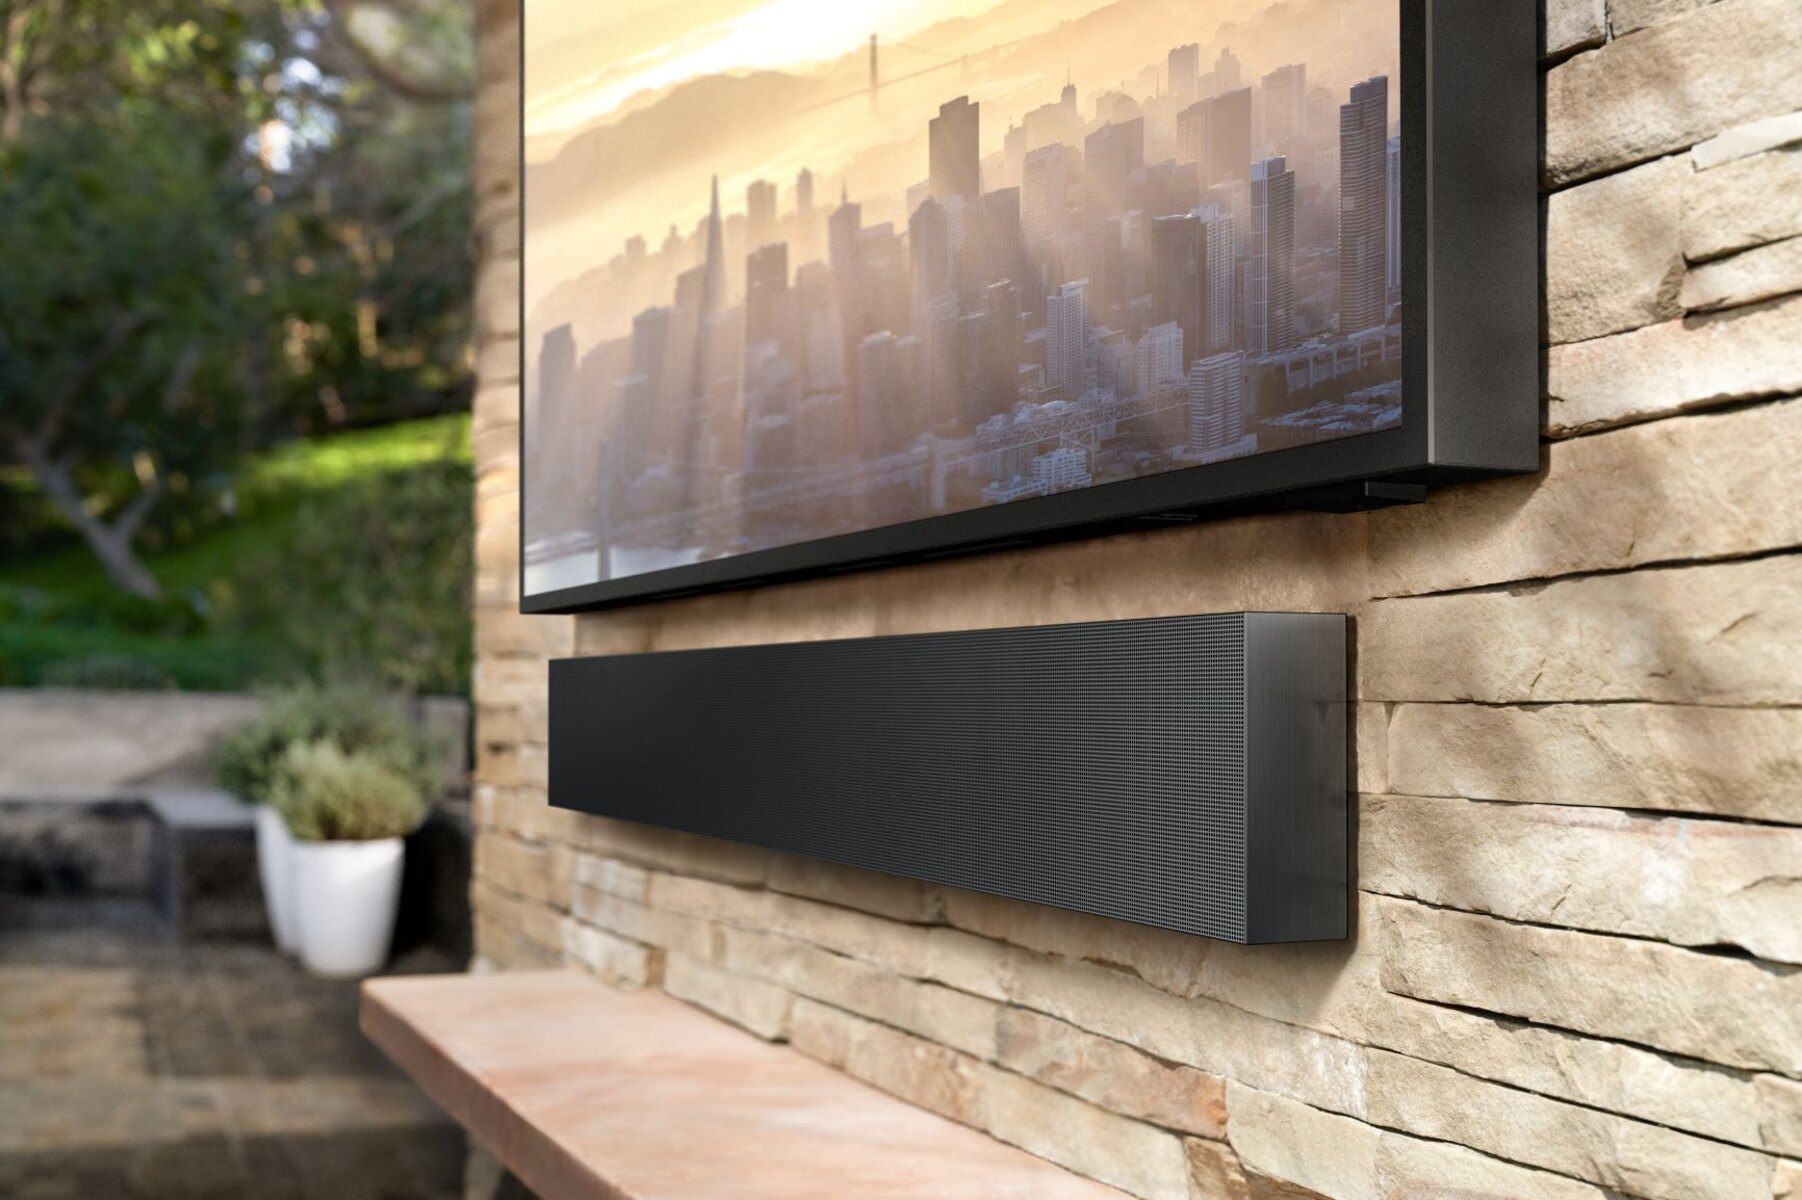
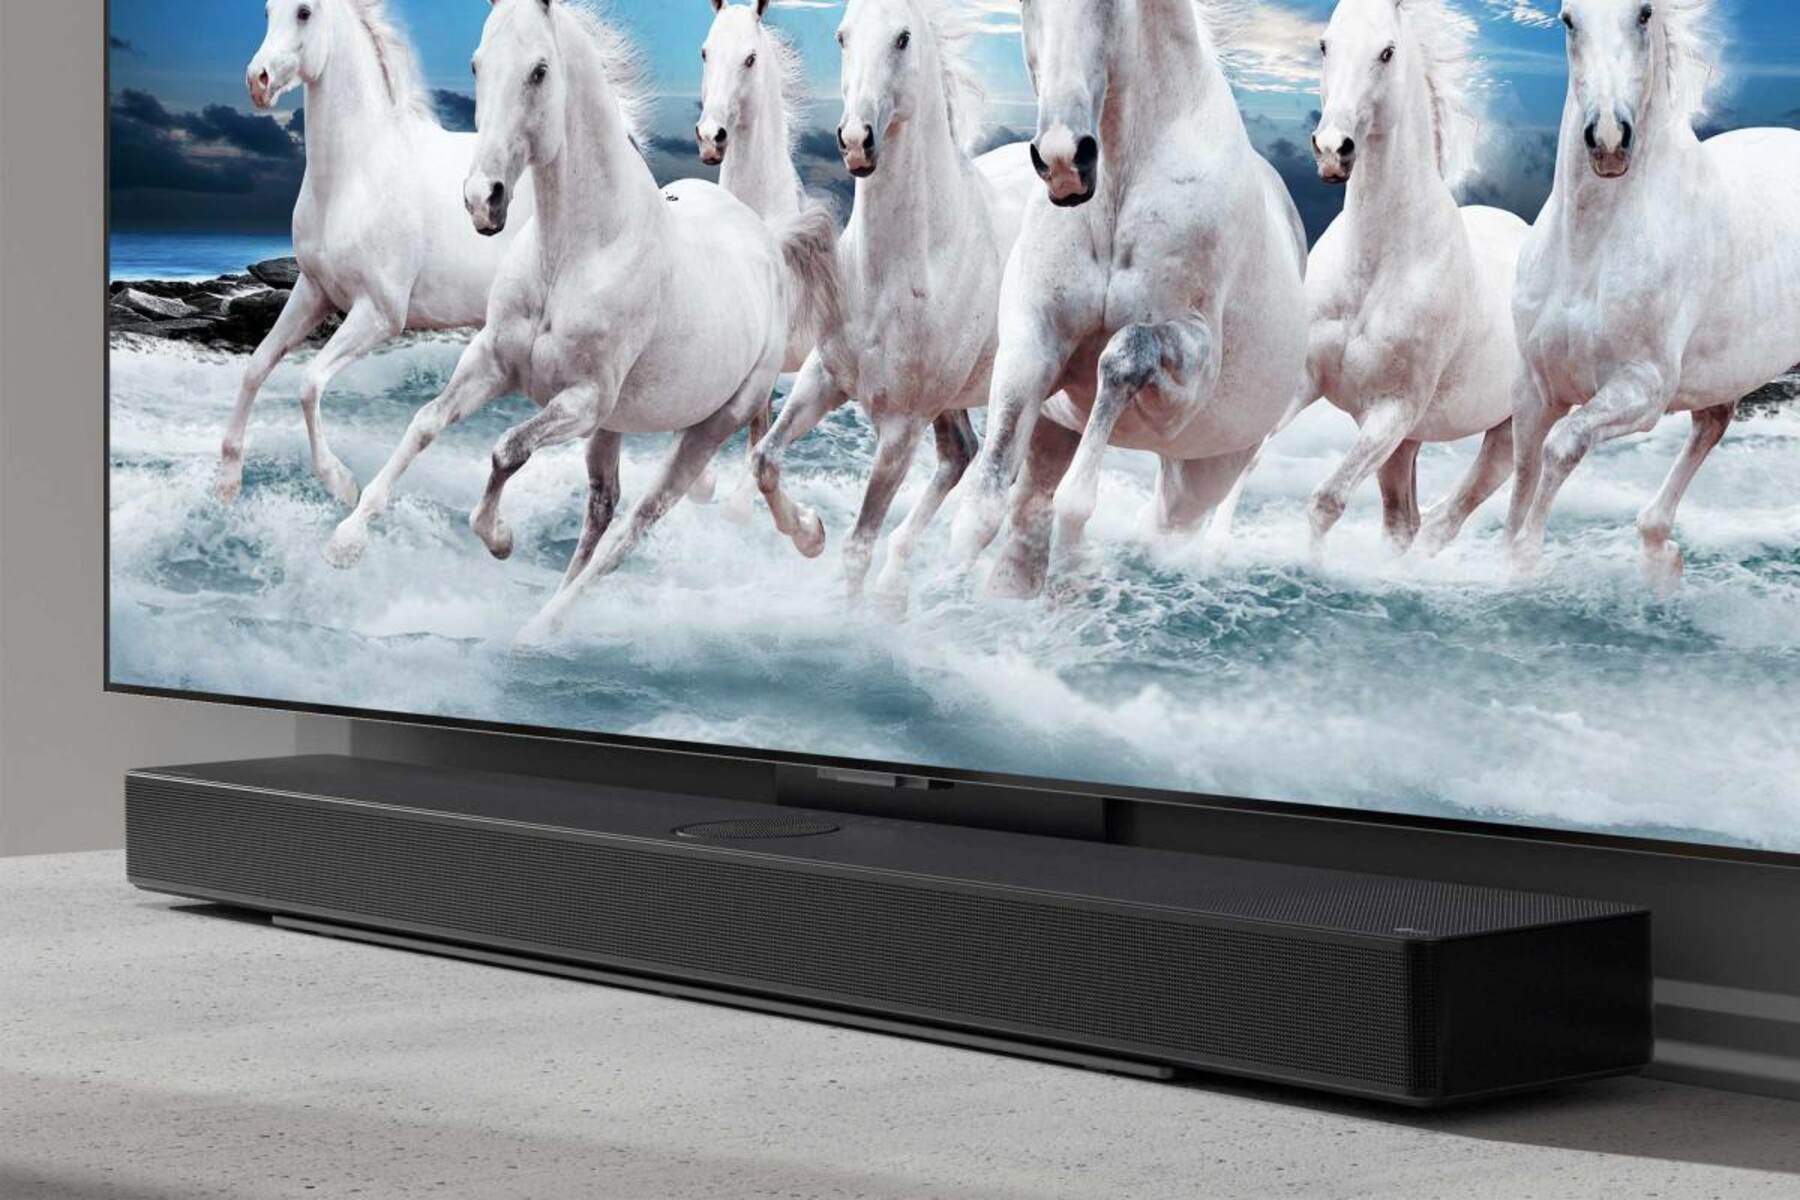
Having a high-quality sound system can greatly enhance your viewing experience when watching movies or TV shows on your Samsung TV. While the built-in speakers on most modern TVs have significantly improved over the years, they often lack the depth and clarity that a dedicated soundbar can provide. By pairing your Samsung TV with a soundbar, you can enjoy immersive sound and take your entertainment to the next level.
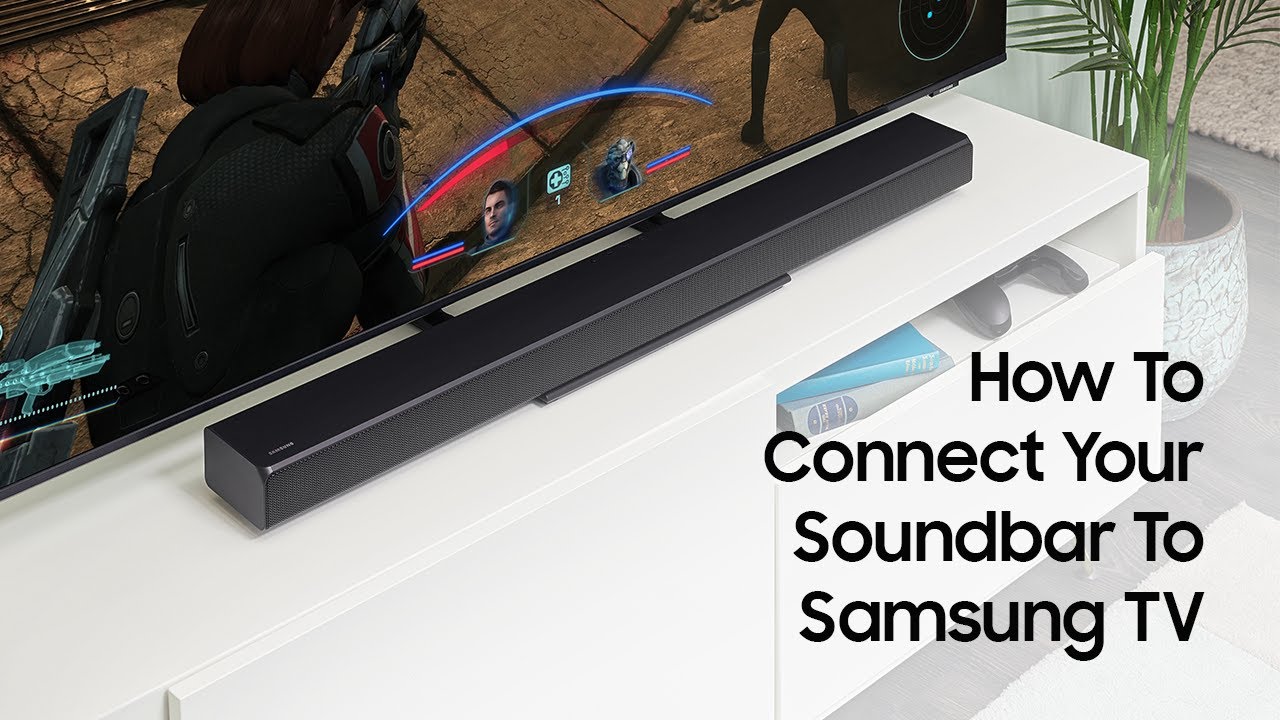
In this guide, we will walk you through the step-by-step process of pairing a Samsung TV with a soundbar. Whether you’ve just purchased a new soundbar or are looking to upgrade your current setup, we’ll help you get everything connected and optimized for the best audio performance.
Before we dive into the details, it’s important to note that the compatibility between the TV and the soundbar is crucial. Not all soundbars are compatible with all TV models, so it’s essential to check the specifications and compatibility requirements of both devices before making a purchase. Additionally, ensure that you have the necessary cables and connectors on hand to establish the connection between the TV and the soundbar.
Once you have confirmed compatibility and gathered all the required equipment, you’ll be ready to begin the setup process. In the following steps, we will cover the different connection methods, from the basic wired connection to more advanced options like HDMI ARC or optical audio. We will also guide you through adjusting the TV settings and testing the soundbar to ensure optimal performance. Let’s get started and transform your TV viewing experience with a powerful soundbar.
Step 1: Check Compatibility
The first step in pairing your Samsung TV with a soundbar is to ensure that they are compatible. While many soundbars are designed to work seamlessly with Samsung TVs, it’s important to verify compatibility to avoid any compatibility issues or unexpected surprises. Here’s how you can check compatibility:
1. Check the TV and Soundbar Specifications: Review the technical specifications of both your Samsung TV and the soundbar you plan to use. Look for compatibility information such as the supported audio formats, connection options, and any specific requirements mentioned by the manufacturers. Ensure that the soundbar is designed to work with your TV model.
2. Research Online: Visit the manufacturer’s website or refer to online forums and user reviews to gather information on the compatibility of the soundbar with Samsung TVs. Look for any known issues or limitations that other users may have encountered when using the soundbar with a Samsung TV.
3. Consult with Customer Support: If you’re still unsure about the compatibility, reach out to the customer support of both the TV and soundbar manufacturers. They will be able to provide you with accurate and detailed information regarding compatibility.
It’s worth mentioning that newer Samsung TVs often support advanced audio formats like Dolby Atmos or DTS:X. If you have a soundbar that is capable of delivering these immersive audio experiences, double-check that your Samsung TV supports the necessary audio formats as well. This will ensure that you can fully utilize the capabilities of your soundbar and enjoy the best audio performance.
By thoroughly checking the compatibility between your Samsung TV and the soundbar, you can avoid compatibility issues and make an informed decision about which soundbar is the right fit for your TV setup. Once you have confirmed compatibility, you can proceed to the next step and choose the appropriate connection method between your Samsung TV and the soundbar.
Step 2: Choose the Right Connection Method
After ensuring compatibility between your Samsung TV and the soundbar, the next step is to choose the appropriate connection method. There are various ways to connect a soundbar to a TV, including wired and wireless options. Here are some common connection methods:
1. HDMI ARC (Audio Return Channel): HDMI ARC is a popular and convenient method for connecting a soundbar to a TV. It allows for two-way communication between the TV and the soundbar through a single HDMI cable. Not all TVs and soundbars support HDMI ARC, so make sure both devices have this feature. To connect, simply plug one end of the HDMI cable into the HDMI ARC port on the TV and the other end into the HDMI ARC port on the soundbar. This method usually provides the highest audio quality and allows you to control the soundbar with your TV remote.
2. Optical Audio: If your TV and soundbar do not have HDMI ARC, you can use an optical audio cable to establish a connection. Optical audio cables transmit audio signals digitally, providing good sound quality. Locate the optical audio output port on your TV and the corresponding input port on the soundbar. Connect the two devices using the optical audio cable, ensuring a secure and snug fit.
3. HDMI (Without ARC): If your TV and soundbar do not support HDMI ARC but have regular HDMI ports, you can still use an HDMI cable for audio connection. Connect one end of the HDMI cable to the HDMI OUT (TV) port on the soundbar and the other end to an available HDMI IN (TV) port on your TV. However, keep in mind that this method will require a separate remote control to adjust the soundbar’s volume.
4. Bluetooth: Some soundbars support Bluetooth connectivity, allowing you to wirelessly connect your TV and soundbar. Check if both devices have Bluetooth capabilities and pair them following the manufacturer’s instructions. This method eliminates the need for cables but may have limitations in terms of audio quality and range.
Consider the available ports and features of your Samsung TV and the soundbar, as well as your personal preferences, when selecting the appropriate connection method. Once you have chosen the method that suits your setup, you can proceed to the next step and connect the soundbar to your Samsung TV.
Step 3: Connect the Soundbar to the TV
Now that you have chosen the right connection method, it’s time to physically connect the soundbar to your Samsung TV. Follow these steps to ensure a proper and secure connection:
1. Power Off: Before connecting any cables, turn off both your Samsung TV and the soundbar. This will prevent any potential damage during the setup process.
2. Locate the Ports: Identify the appropriate ports on both your Samsung TV and the soundbar for the chosen connection method. Refer to the user manuals of your devices if you are unsure about the locations of these ports.
3. Connect the Cables: Depending on the chosen connection method, connect the appropriate cables between your Samsung TV and the soundbar. For HDMI connections, use high-speed HDMI cables. For optical audio connections, use an optical audio cable. Ensure that the plugs are inserted firmly and securely into their respective ports.
4. Power On and Test: Once the cables are connected, power on your Samsung TV and the soundbar. Set the TV to the appropriate HDMI input or audio output channel, depending on the connection method. Use your TV remote or the dedicated soundbar remote to adjust the volume and test the audio. If everything is connected correctly, you should hear the sound coming from the soundbar instead of the TV speakers.
If you are using a wireless connection method, such as Bluetooth, refer to the user manuals of your TV and soundbar to pair the devices successfully. Follow the instructions provided by the manufacturer to establish a stable and reliable wireless connection.
It’s important to note that while connecting the soundbar, you may need to disable the TV speakers to ensure that all audio is routed to the soundbar. This can usually be done in the audio settings of your Samsung TV. Refer to the TV’s user manual for specific instructions on how to disable internal speakers.
Once you have successfully connected the soundbar to your Samsung TV, you can proceed to the next step and adjust the TV settings to optimize the audio experience.
Step 4: Adjust the TV Settings
After connecting the soundbar to your Samsung TV, it’s essential to adjust the TV settings to ensure optimal audio performance. By making the necessary adjustments, you can maximize the potential of your soundbar and enhance your overall viewing experience. Here are some settings to consider:
1. Audio Output Settings: Access the audio settings on your Samsung TV and select the appropriate audio output. Choose the soundbar or external speaker option to ensure that the audio output is directed to the connected soundbar instead of the TV speakers. This step may vary depending on your TV model, so refer to the TV’s user manual for specific instructions.
2. Sound Mode: Explore the sound mode options available on your Samsung TV. These can include settings like Movie Mode, Music Mode, or Sports Mode. Experiment with different modes to find the one that best suits your listening preferences and enhances the audio experience produced by the soundbar.
3. Equalizer Settings: Some Samsung TVs allow you to adjust the equalizer settings to fine-tune the audio output. This feature enables you to adjust the bass, treble, and other audio frequencies to your liking. Play around with these settings to find the optimal balance that complements the soundbar’s capabilities.
4. Audio Delay: In certain cases, you may notice a slight delay between the audio and video when using a soundbar. This can be especially noticeable when watching fast-paced action scenes or playing video games. If you experience this delay, access the audio settings on your Samsung TV and look for an audio delay or lip sync option. Adjust this setting to eliminate any perceived delay and synchronize the audio and video.
5. Firmware Updates: Check for any available firmware updates for your Samsung TV. Updated firmware can often improve compatibility and performance with external audio devices, such as soundbars. Visit the manufacturer’s website or follow the instructions in the TV’s user manual to check for updates and install them if needed.
Remember that the specific settings and options may vary depending on the model of your Samsung TV. Take the time to explore the TV’s menu and refer to the user manual for detailed instructions and additional features that can enhance the audio performance.
Once you have adjusted the TV settings to optimize the audio output, you can move on to the final step and test the soundbar to ensure everything is working correctly.
Step 5: Test the Soundbar
After connecting the soundbar to your Samsung TV and adjusting the necessary settings, it’s crucial to test the soundbar to ensure that it is functioning correctly. Testing the soundbar allows you to confirm that the audio is being played through the soundbar and evaluate the overall sound quality. Here’s how you can test your soundbar:
1. Play Audio: Select a piece of media with audio, such as a movie, TV show, or music. Play the content on your Samsung TV and listen carefully for the audio output. If the soundbar is working correctly, the sound should be coming from the soundbar speakers instead of the TV’s built-in speakers.
2. Volume Control: Adjust the volume using either the TV remote or the dedicated soundbar remote. Test the volume control to ensure that it adjusts the sound level accordingly on the soundbar. If the volume control doesn’t respond, check the connection and settings again to ensure everything is properly set up.
3. Surround Sound: If your soundbar supports surround sound features, test them by playing content that utilizes surround sound effects. Listen for directional audio cues and verify if the soundbar is successfully producing the immersive surround sound experience. Make sure to enable any specific surround sound options within the TV settings if required.
4. Audio Quality: Pay attention to the overall audio quality when testing the soundbar. Evaluate the clarity, depth, and richness of the sound. If the sound quality seems lacking or distorted, double-check the connection, positioning of the soundbar, and any audio settings on the TV that may affect the sound output.
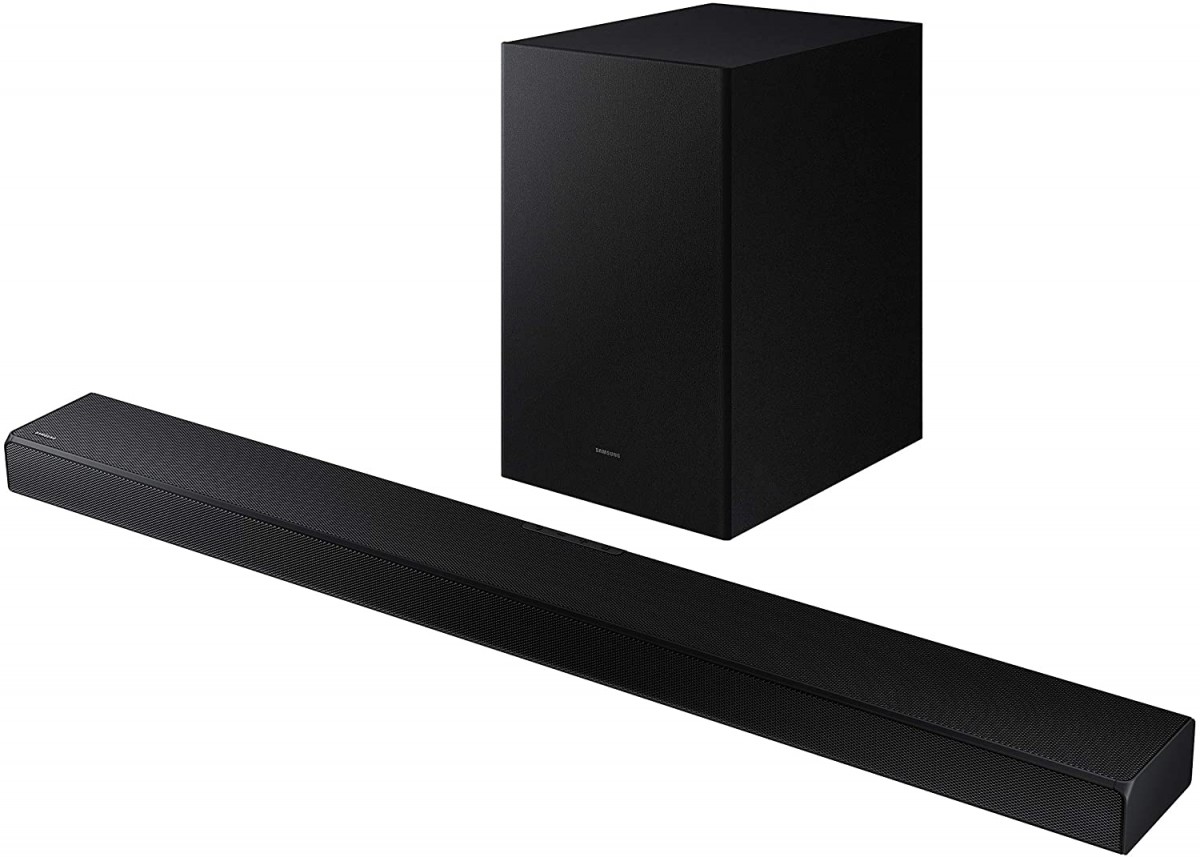
5. Subwoofer Performance (if applicable): If your soundbar includes a subwoofer, listen for the low-frequency bass response. Check if the subwoofer is working properly and if it adds depth and impact to the audio experience. Adjust any subwoofer settings or positioning to optimize its performance.
By thoroughly testing the soundbar, you can ensure that it is functioning as intended and delivering the desired audio experience. If you encounter any issues during the testing process, refer back to the previous steps to troubleshoot and resolve any problems.
Congratulations! You have successfully paired your Samsung TV with a soundbar and tested its performance. Now you can sit back, relax, and enjoy your favorite shows and movies with immersive, high-quality sound.
Conclusion
Pairing a soundbar with your Samsung TV can greatly enhance your entertainment experience by delivering immersive and high-quality audio. By following the steps outlined in this guide, you can successfully connect and optimize the audio performance of your soundbar with your Samsung TV.
First, ensure compatibility between the TV and the soundbar by checking the specifications and doing thorough research. Then, choose the right connection method based on the available ports and features of your devices. Whether you opt for HDMI ARC, optical audio, or Bluetooth, make sure the cables are securely connected.
Once the soundbar is connected, adjust the TV settings such as audio output, sound modes, and equalizer settings to optimize the audio performance. Don’t forget to check for firmware updates for your Samsung TV to ensure compatibility and improved performance.
Finally, test the soundbar by playing audio and evaluating the sound quality, volume control, surround sound capabilities, and subwoofer performance if applicable. If any issues arise, refer back to the previous steps for troubleshooting.
With your Samsung TV and soundbar successfully paired, you can now enjoy a more immersive and engaging home theater experience. Sit back, relax, and let the powerful soundbar enhance your entertainment enjoyment.
Remember that the specific steps and settings may vary depending on your TV and soundbar models, so always refer to the user manuals for detailed instructions and additional features specific to your devices.


