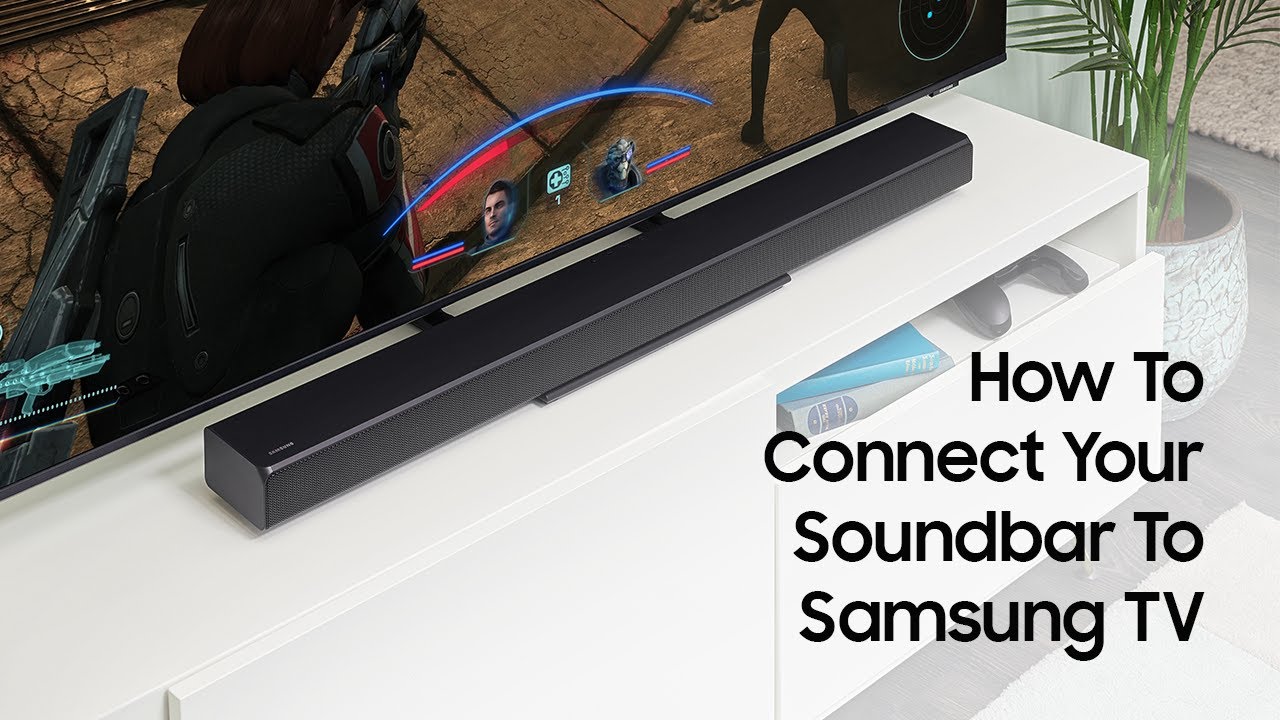
Introduction
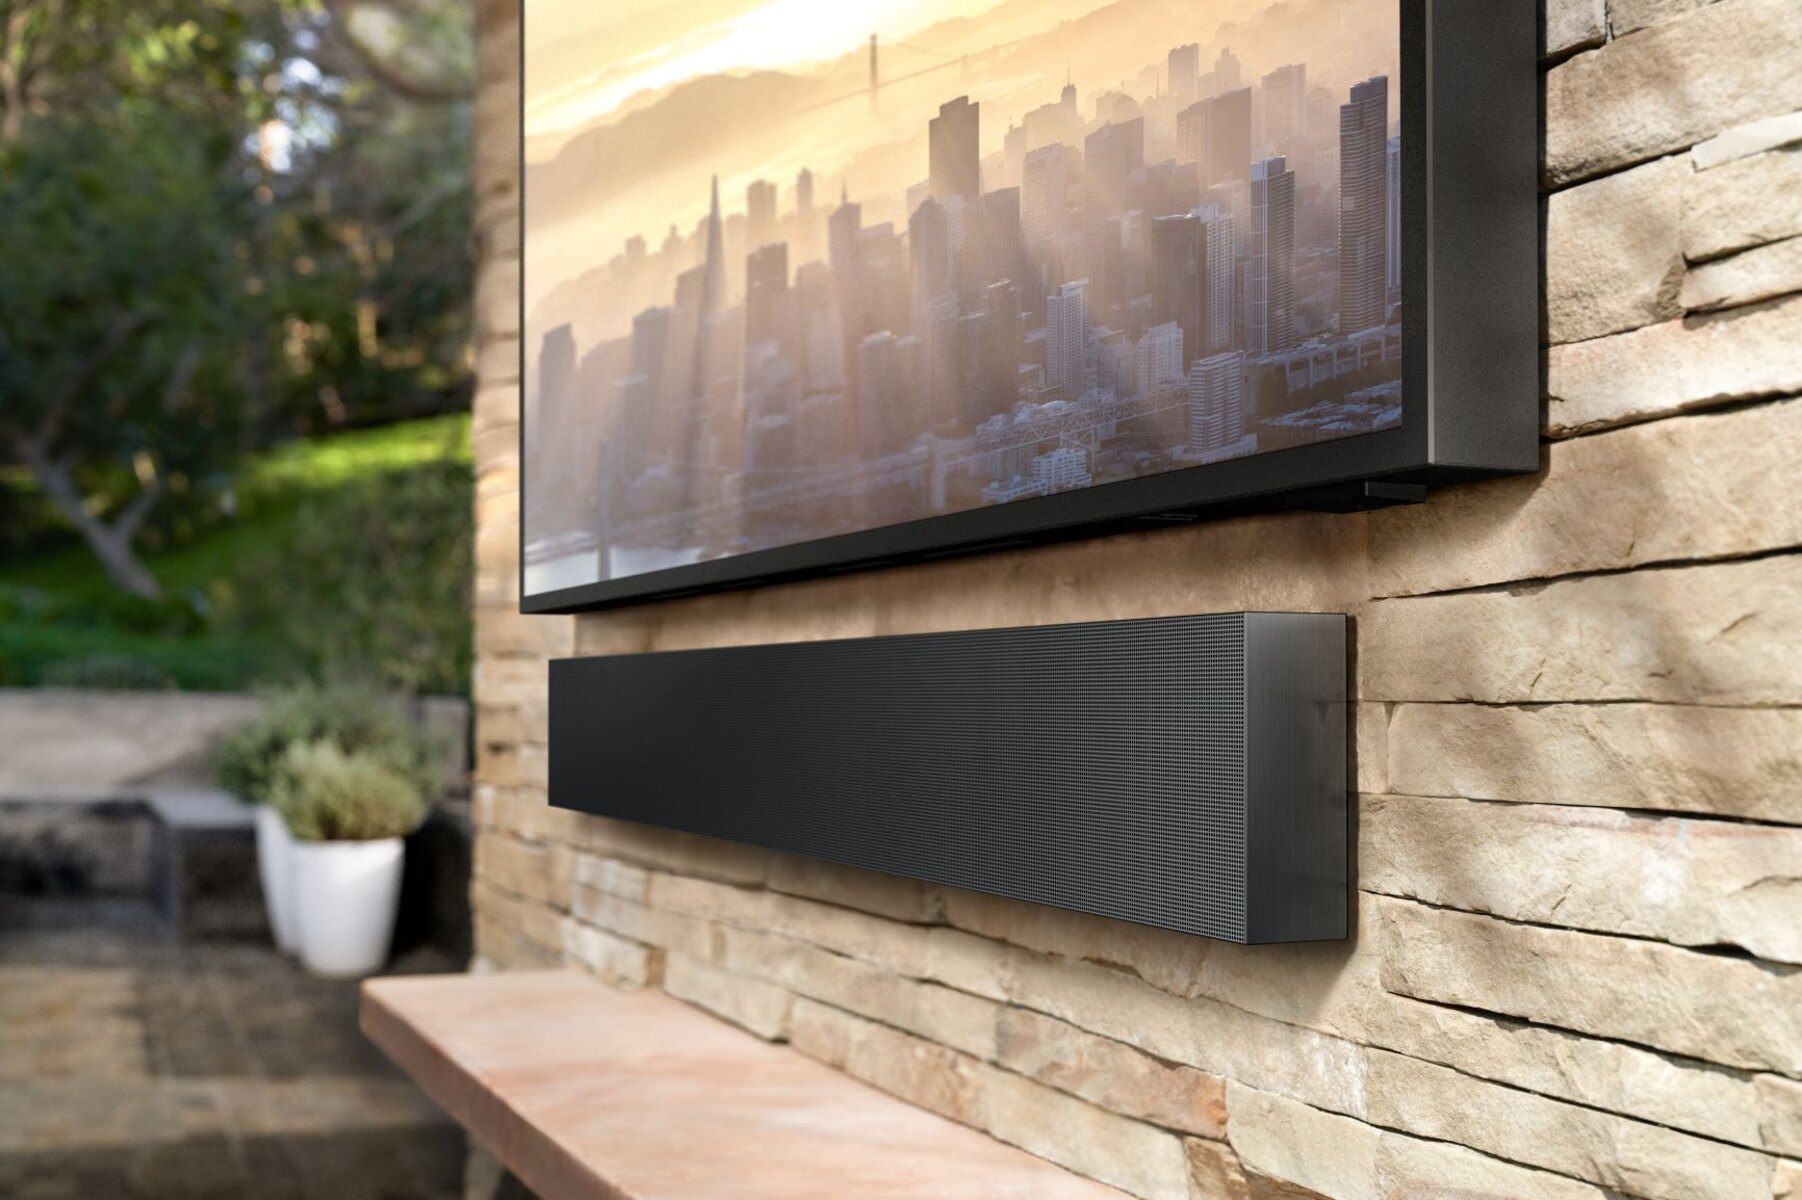
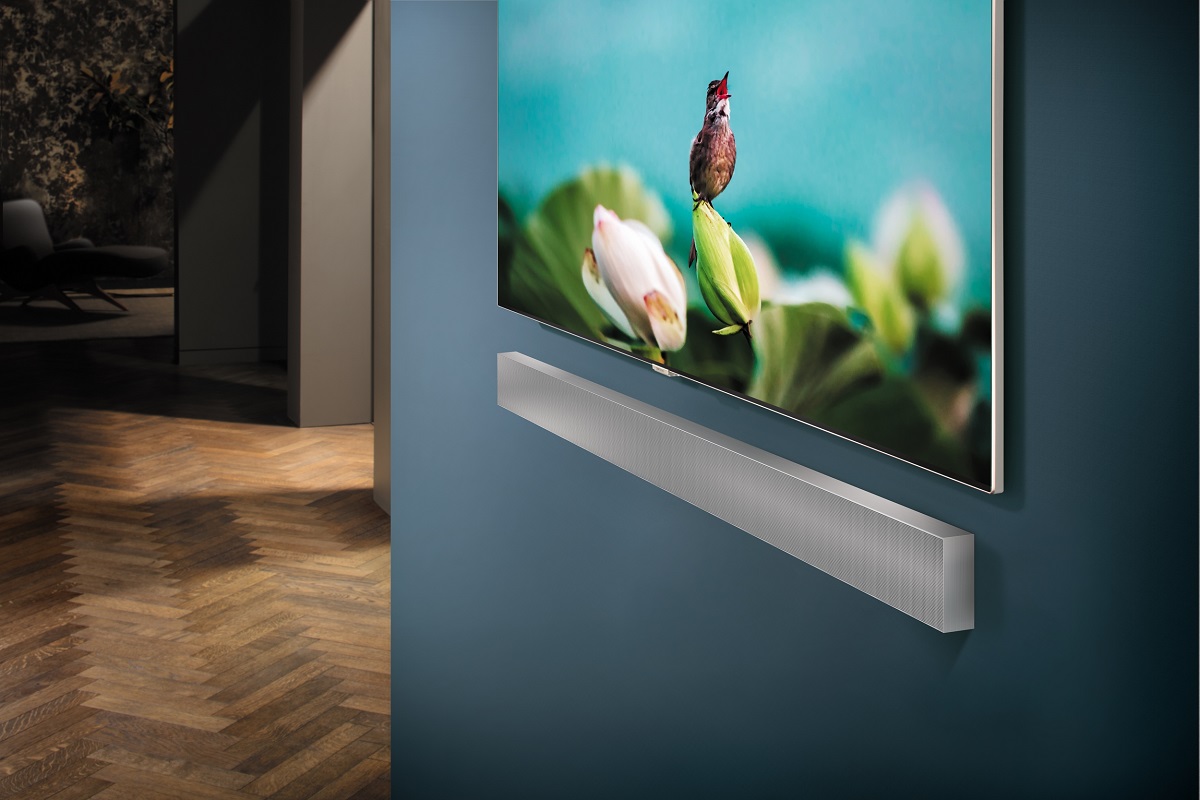
Welcome to this guide on how to connect your Samsung soundbar to your TV wirelessly. If you’ve recently purchased a Samsung soundbar, you’re probably eager to enhance your TV-watching experience with high-quality audio. By connecting your soundbar to your TV wirelessly, you can enjoy immersive sound without the hassle of tangled cables.
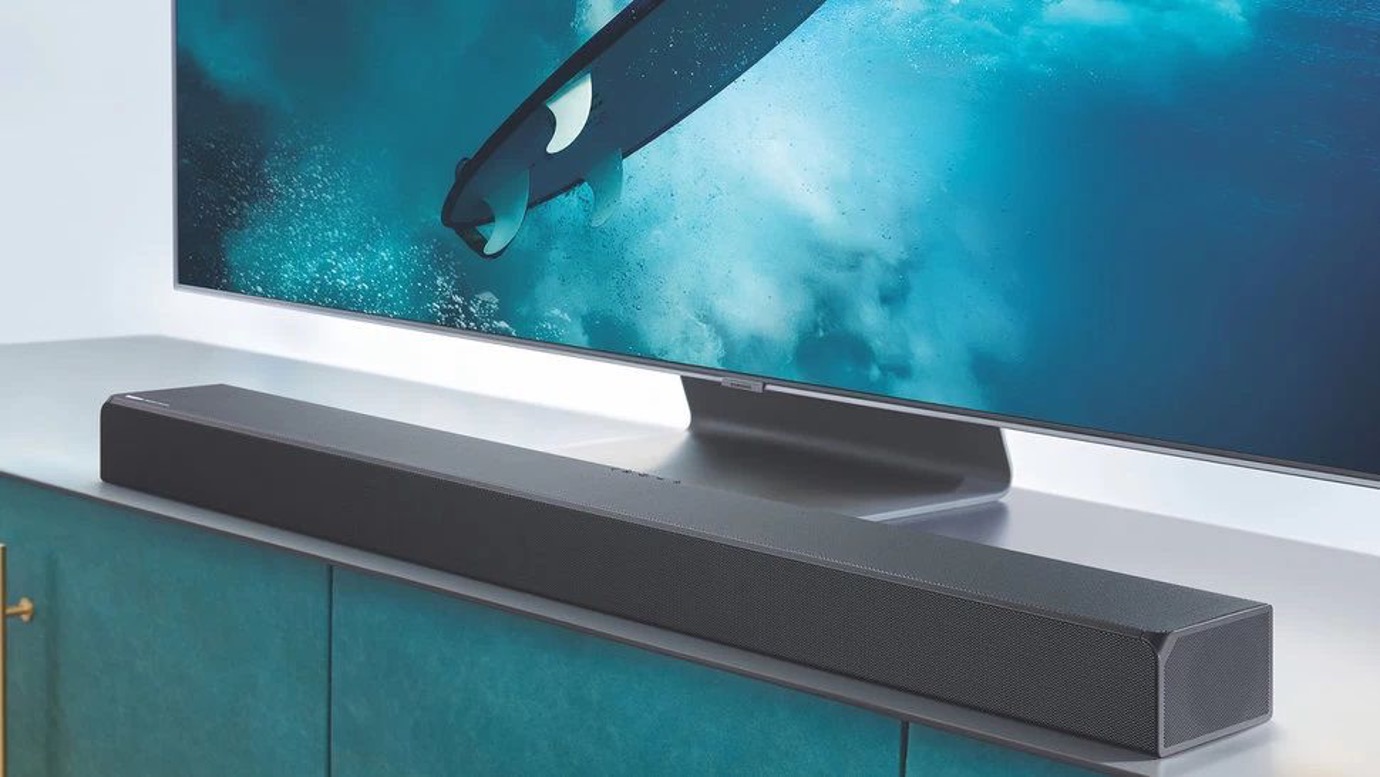
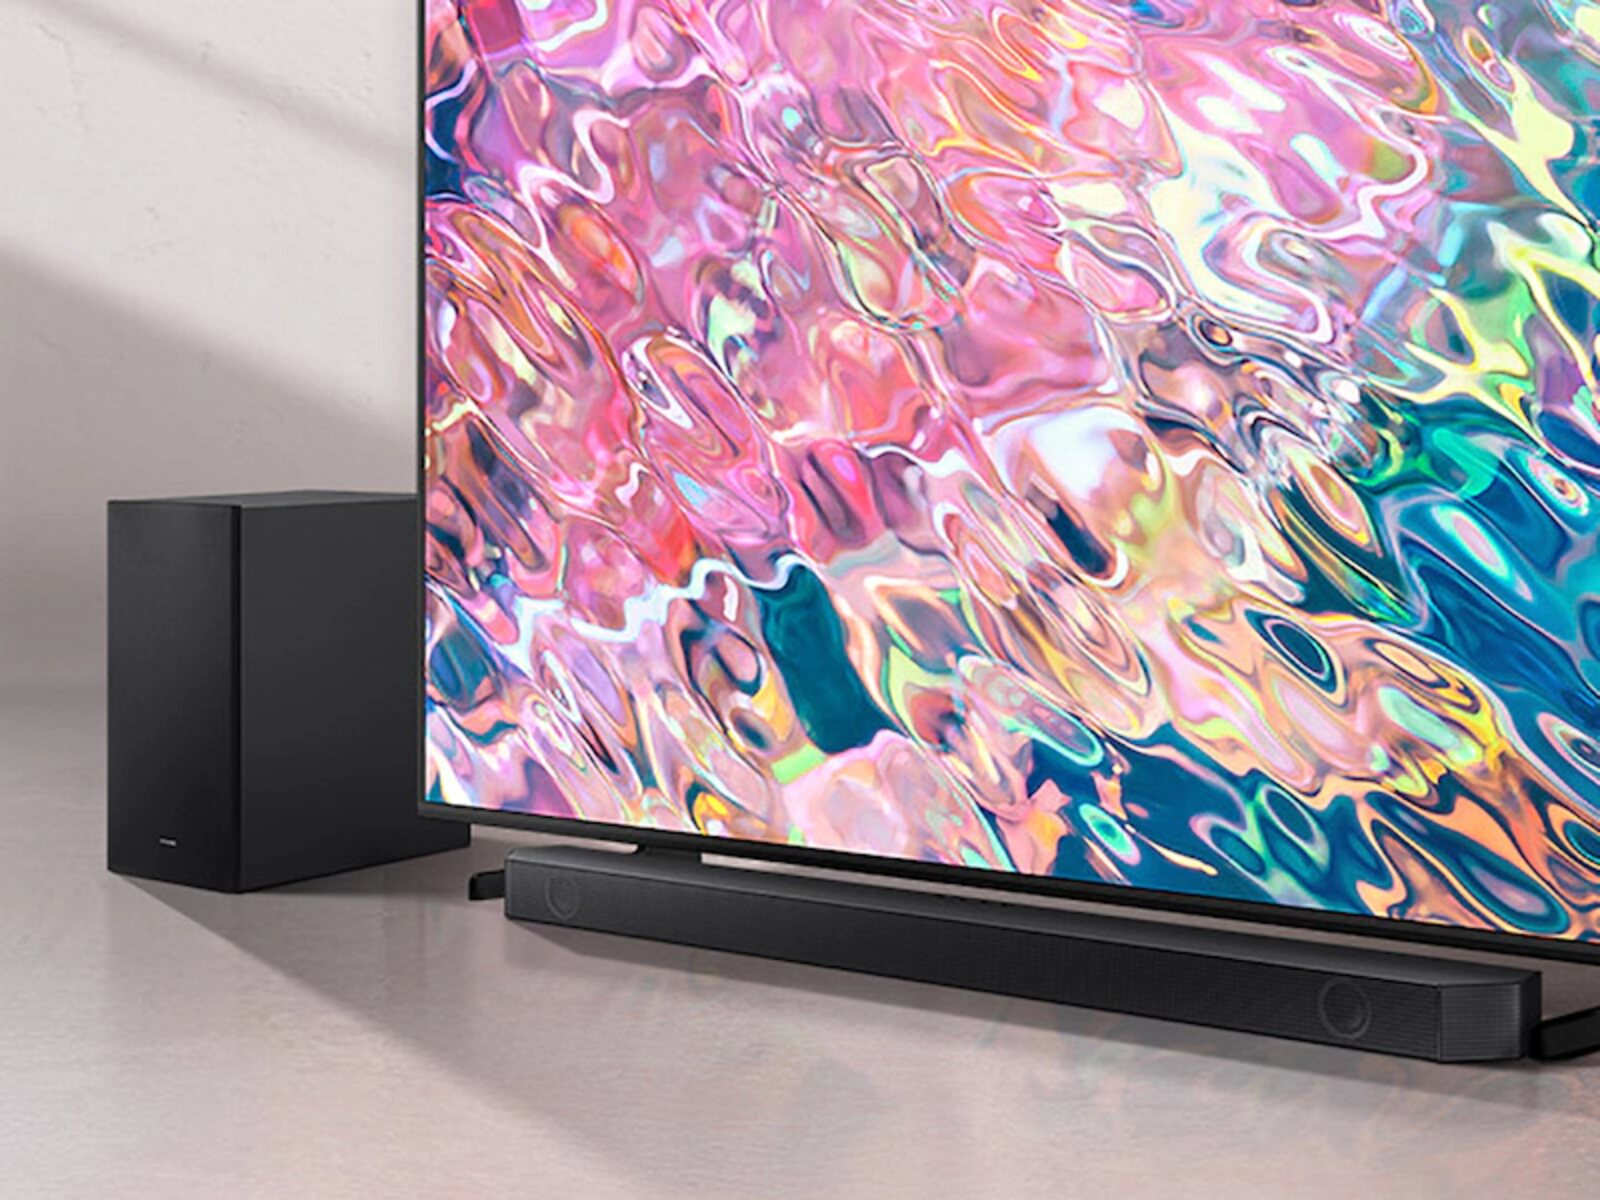
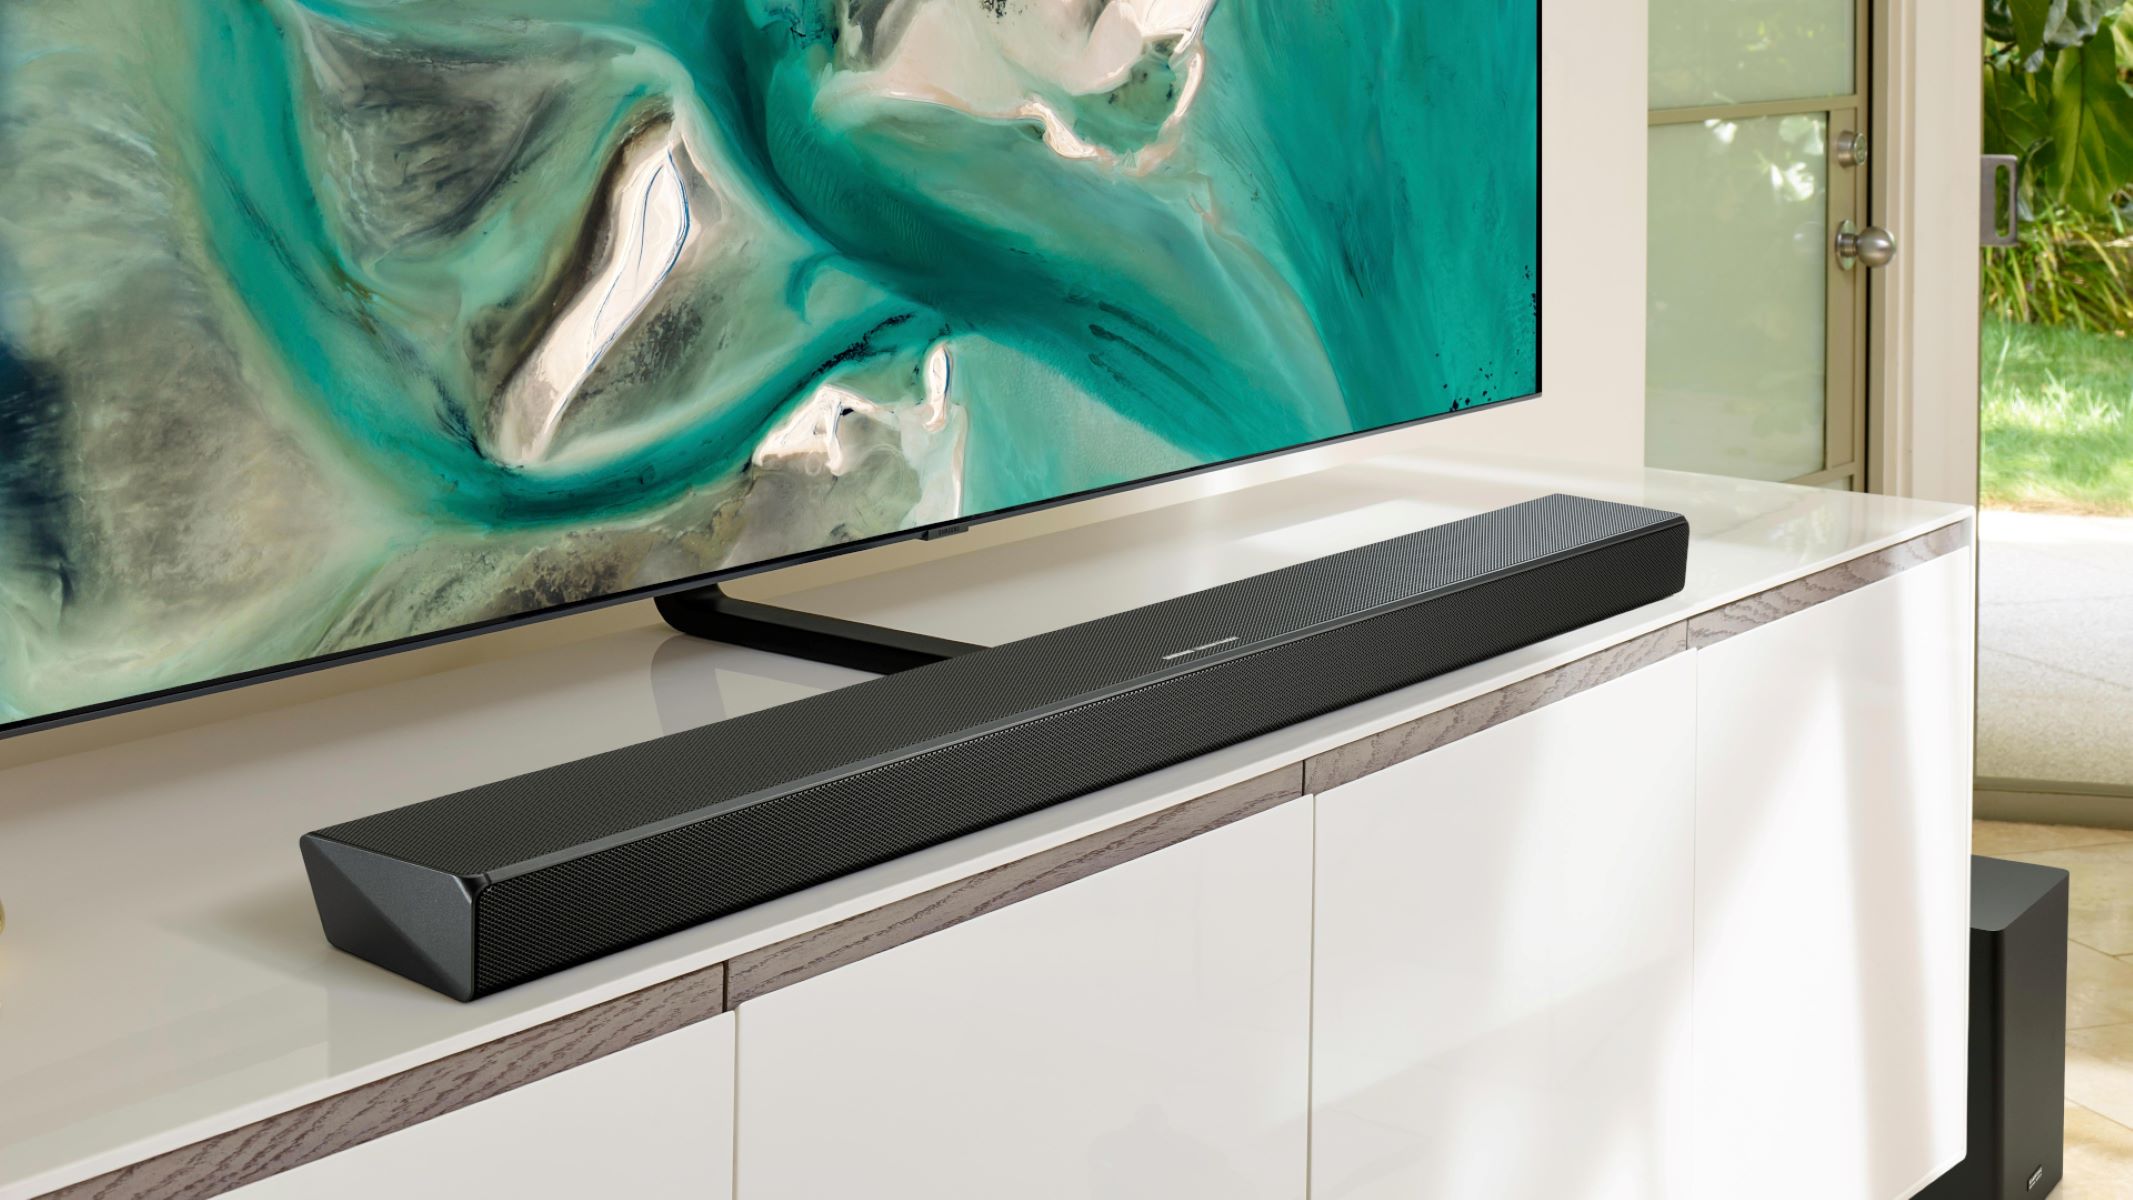
Samsung soundbars offer excellent sound quality, sleek design, and convenient connectivity options. With wireless connectivity, you can seamlessly stream audio from your TV to the soundbar, creating a more immersive and cinematic audio experience. Whether you’re watching movies, playing video games, or listening to music, a wireless connection can greatly enhance your entertainment experience.
This guide will walk you through the step-by-step process of connecting your Samsung soundbar to your TV wirelessly. From checking compatibility to adjusting sound settings, we’ll cover everything you need to know to ensure a successful and effortless setup. So, let’s get started and turn your living room into a mini theater!
Step 1: Check the compatibility of your Samsung soundbar and TV
Before attempting to connect your Samsung soundbar to your TV wirelessly, it’s essential to ensure that both devices are compatible with each other. This compatibility check will help you avoid any potential issues and ensure a seamless connection.
First, determine the model number of your Samsung soundbar and TV. You can find this information typically on the back or bottom of the devices. Refer to the user manuals or search online to find the model numbers if you’re unsure.
Next, visit the Samsung website or refer to the product specifications to verify compatibility. Look for information regarding wireless connectivity options such as Bluetooth or HDMI ARC (Audio Return Channel). The soundbar and TV must support the same wireless technology for them to connect successfully.
If your soundbar and TV are not compatible or do not support wireless connectivity, you may need to consider alternative connection options such as using audio cables or investing in a different soundbar that is compatible with your TV.
Once you have confirmed the compatibility between your Samsung soundbar and TV, you can proceed to the next step of the setup process. Remember, it’s crucial to ensure compatibility before attempting any connections to avoid frustration and potential damage to your devices.
Step 2: Ensure that the soundbar and TV are in range of each other
For a successful wireless connection between your Samsung soundbar and TV, it’s important to ensure that both devices are within range of each other. This range typically depends on the wireless technology used, such as Bluetooth or Wi-Fi.
Firstly, check the user manual or product specifications of both your soundbar and TV to determine the maximum range for wireless connectivity. This information will help you position the devices in the optimal location for a strong and reliable connection.
Ensure that there are no physical obstructions between the soundbar and the TV, such as walls or large objects, as these can weaken the wireless signal. Ideally, the soundbar and TV should be placed in the same room and unobstructed for the best wireless performance.
If you’re using Bluetooth to connect the soundbar and TV, keep in mind that the range is typically around 30 feet. This means that the soundbar and TV should be placed within this range to maintain a strong and stable connection.
On the other hand, if you’re using HDMI ARC (Audio Return Channel) for the wireless connection, you can position the soundbar and TV in different rooms as long as they are connected through an HDMI cable.
Once you have ensured that the soundbar and TV are within range of each other, you can move on to the next step of the setup process. Remember to position the devices in a way that promotes a strong and uninterrupted wireless connection.
Step 3: Power on the soundbar and TV
Before you can begin the connection process, it’s important to ensure that both your Samsung soundbar and TV are powered on. This step may seem obvious, but it’s essential to double-check to avoid any potential issues.
Start by connecting the power cords of both the soundbar and the TV to a power source. Make sure the power cables are securely plugged in and that the power source is functioning properly.
Once the power cords are connected, locate the power buttons on both the soundbar and the TV. Press the power button on the soundbar to turn it on and wait for it to initialize. It’s worth noting that some soundbars have a standby mode, so ensure that you fully power it on.
Next, press the power button on your TV to turn it on. Wait for the TV to fully boot up and reach the home screen or main menu. This may take a few moments depending on your TV model.
During the power-on process, you may see the LED indicators on the soundbar and TV light up or change colors. These indicators provide information about the power status and can be helpful in troubleshooting if any issues arise.
Once both the soundbar and TV are powered on, you’re ready to proceed to the next step of the setup process. Properly powering on the devices ensures that they are ready to establish a wireless connection and allows for a smooth setup experience.
Step 4: Connect the soundbar to the TV using HDMI ARC
To establish a wireless connection between your Samsung soundbar and TV, one of the most common and convenient methods is to use HDMI ARC (Audio Return Channel). HDMI ARC allows audio to be sent from the TV to the soundbar through a single HDMI cable, eliminating the need for additional audio cables.
Here’s how you can connect the soundbar to the TV using HDMI ARC:
- Locate the HDMI ARC ports on both your soundbar and TV. These ports are usually labeled “HDMI ARC” or have a specific symbol to indicate the feature.
- Connect one end of an HDMI cable to the HDMI ARC port on the soundbar and the other end to the HDMI ARC port on the TV.
- Ensure that the HDMI cable is securely plugged into both devices. A loose connection can cause audio or video issues.
- On your TV, navigate to the settings menu using your remote control. Look for the “Audio” or “Sound” settings and find the option for audio output. Select “HDMI ARC” as the audio output source.
- On your soundbar, make sure the input source is set to “HDMI ARC” or “ARC” using the remote control or the buttons on the soundbar itself.
- Test the connection by playing a video or audio file on the TV. The sound should now be coming through the soundbar, indicating a successful HDMI ARC connection.
It’s important to note that not all HDMI ports on a TV support ARC. Ensure that you have connected the HDMI cable to the correct HDMI ARC port for the connection to work properly.
If you encounter any issues with the HDMI ARC connection, you can try troubleshooting by checking the HDMI cable, ensuring that the soundbar and TV firmware is up to date, and consulting the user manuals for detailed instructions specific to your devices.
Once the soundbar and TV are successfully connected using HDMI ARC, you can enjoy high-quality audio wirelessly from your TV to the soundbar.
Step 5: Pair the soundbar and TV through Bluetooth
If your Samsung soundbar and TV support Bluetooth connectivity, you can establish a wireless connection between the two devices using this method. Bluetooth allows you to stream audio from your TV directly to the soundbar without the need for any cables.
To pair the soundbar and TV through Bluetooth, follow these steps:
- Make sure that both the soundbar and TV have Bluetooth functionality enabled. Check the user manuals or settings menus of both devices for instructions on how to enable Bluetooth.
- On the soundbar, press the Bluetooth pairing button or navigate to the Bluetooth settings menu. This may vary depending on the model of your soundbar.
- On your TV, navigate to the Bluetooth settings menu using the TV’s remote control. Look for the option to pair or connect with a Bluetooth device.
- Select the soundbar from the list of available devices on the TV’s Bluetooth settings menu.
- If prompted, enter a PIN or passcode to complete the pairing process. This step may vary depending on the TV and soundbar model.
- Once the pairing process is complete, you should see a confirmation message on both the TV and soundbar indicating a successful Bluetooth connection.
- Test the connection by playing an audio or video file on the TV. The sound should now be coming through the soundbar wirelessly, providing you with an immersive audio experience.
If you are unable to see the soundbar on the TV’s Bluetooth settings menu, make sure that the soundbar is in pairing mode and is within range of the TV. Additionally, ensure that there are no other Bluetooth devices nearby that could interfere with the pairing process.
It’s worth noting that some Samsung soundbars and TVs may have specific Bluetooth requirements or limitations. Refer to the user manuals for detailed instructions and compatibility information specific to your devices.
Once the soundbar and TV are successfully paired through Bluetooth, you can enjoy the convenience and flexibility of wireless audio streaming from your TV to the soundbar.
Step 6: Set the TV audio output to the soundbar
After the wireless connection between your Samsung soundbar and TV is established, you need to set the TV audio output to the soundbar. This step ensures that the audio from your TV is routed to the soundbar for an optimal listening experience.
Here’s how you can set the TV audio output to the soundbar:
- Using your TV’s remote control, navigate to the settings menu.
- Look for the “Audio” or “Sound” settings and select it.
- Within the audio settings menu, locate the option for “Speaker” or “Audio Output.”
- Select the soundbar from the available audio output options. It may be listed as the specific soundbar model or as “HDMI ARC” or “Bluetooth,” depending on the connection method used.
- Save the settings and exit the audio settings menu.
By setting the TV audio output to the soundbar, you ensure that all audio from the TV, including streaming content, cable or satellite TV, and gaming consoles, is automatically routed to the soundbar for playback. This allows you to enjoy high-quality audio through the soundbar’s speakers.
It’s important to note that the specific steps may vary depending on the TV model and brand. Refer to the user manual for detailed instructions on how to set the audio output to the soundbar.
Once the TV audio output is correctly set to the soundbar, you can enjoy immersive and enhanced audio while watching your favorite movies, TV shows, and other content.
Step 7: Adjust the sound settings on the TV and soundbar
Now that your Samsung soundbar is connected to your TV wirelessly, it’s time to fine-tune the sound settings to suit your preferences. By adjusting the sound settings on both the TV and soundbar, you can optimize the audio quality and ensure an immersive listening experience.
Here are some key sound settings you may want to adjust:
- Equalizer Settings: Explore the equalizer settings on both the TV and soundbar to customize the audio output according to your preferences. These settings allow you to adjust the bass, treble, and other audio frequencies to enhance the sound quality.
- Sound Modes: Both the TV and soundbar may offer various sound modes such as movie, music, sports, or gaming. Experiment with these modes to find the one that enhances the audio experience based on the content you’re watching.
- Volume Control: Adjust the volume levels on the TV and soundbar to achieve a balanced sound. You can use the TV remote control to control the overall volume, or use the soundbar’s remote control to fine-tune the soundbar-specific settings.
- Surround Sound: If your soundbar supports surround sound, ensure that it is enabled and properly configured. This will provide a more immersive audio experience, especially when watching movies or playing video games.
- Sound Effects: Explore any additional sound effects or enhancement settings available on the TV and soundbar. These features can enhance the audio by simulating a larger soundstage or adding spatial effects.
Make sure to refer to the user manuals for your specific TV and soundbar models to understand the available sound settings and how to adjust them. Experimenting with different settings can help you find the perfect audio configuration for your viewing and listening preferences.
Remember to periodically check and update the firmware for both the TV and soundbar to ensure you have the latest features and performance improvements.
By fine-tuning the sound settings on your TV and soundbar, you can create a personalized audio experience that complements your preferred content and takes your entertainment to the next level.
Conclusion
Congratulations! You have successfully connected your Samsung soundbar to your TV wirelessly. By following the steps outlined in this guide, you can now enjoy an enhanced audio experience while watching your favorite movies, TV shows, and more.
We started by checking the compatibility of your soundbar and TV to ensure a seamless connection. Then, we made sure that the soundbar and TV were within range of each other, eliminating any potential signal interruption.
Next, we powered on both devices and connected them using the HDMI ARC feature, allowing audio to be sent from the TV to the soundbar through a single cable. Alternatively, we explored how to pair the soundbar and TV through Bluetooth for wireless audio streaming.
After establishing the connection, we set the TV audio output to the soundbar, ensuring that all audio is routed through the soundbar’s speakers. Lastly, we adjusted the sound settings on both the TV and soundbar, giving you the ability to customize the audio to your liking.
Remember, the specific steps may vary depending on your Samsung soundbar and TV models. Always refer to the user manuals provided with your devices for detailed instructions tailored to your specific setup.
Now, sit back, relax, and immerse yourself in rich, high-quality audio that elevates your entertainment experience. Whether you’re watching movies, playing games, or enjoying your favorite music, the wireless connection between your Samsung soundbar and TV ensures an enhanced audio experience.
If you have any further questions or encounter any issues during the setup process, don’t hesitate to consult the user manuals or reach out to the Samsung support team for assistance.
Enjoy your new wireless audio setup and happy viewing!