Introduction
Welcome to our guide on how to connect a JBL Soundbar to a TV using an HDMI cable. If you are looking to enhance your TV audio experience, a soundbar is an excellent choice. JBL soundbars are known for their superior sound quality and user-friendly features, making them a popular choice among audio enthusiasts.
Connecting your JBL soundbar to your TV using an HDMI cable is a straightforward process that will allow you to enjoy immersive sound while watching your favorite movies, TV shows, or playing video games. HDMI (High-Definition Multimedia Interface) cables offer superior audio and video quality and provide a seamless connection between your soundbar and TV.
Before we dive into the step-by-step process, it’s important to note that the specific steps may vary depending on the model of your JBL soundbar and TV. However, the general approach described in this guide should apply to most setups.
In the following sections, we will walk you through each step, from verifying compatibility to configuring the TV settings. So, let’s get started and turn your living room into a mini theater with the powerful sound of your JBL soundbar.
Step 1: Verify Compatibility
Before you begin the process of connecting your JBL soundbar to your TV, it’s essential to ensure that both devices are compatible with each other. Here are a few things you should check:
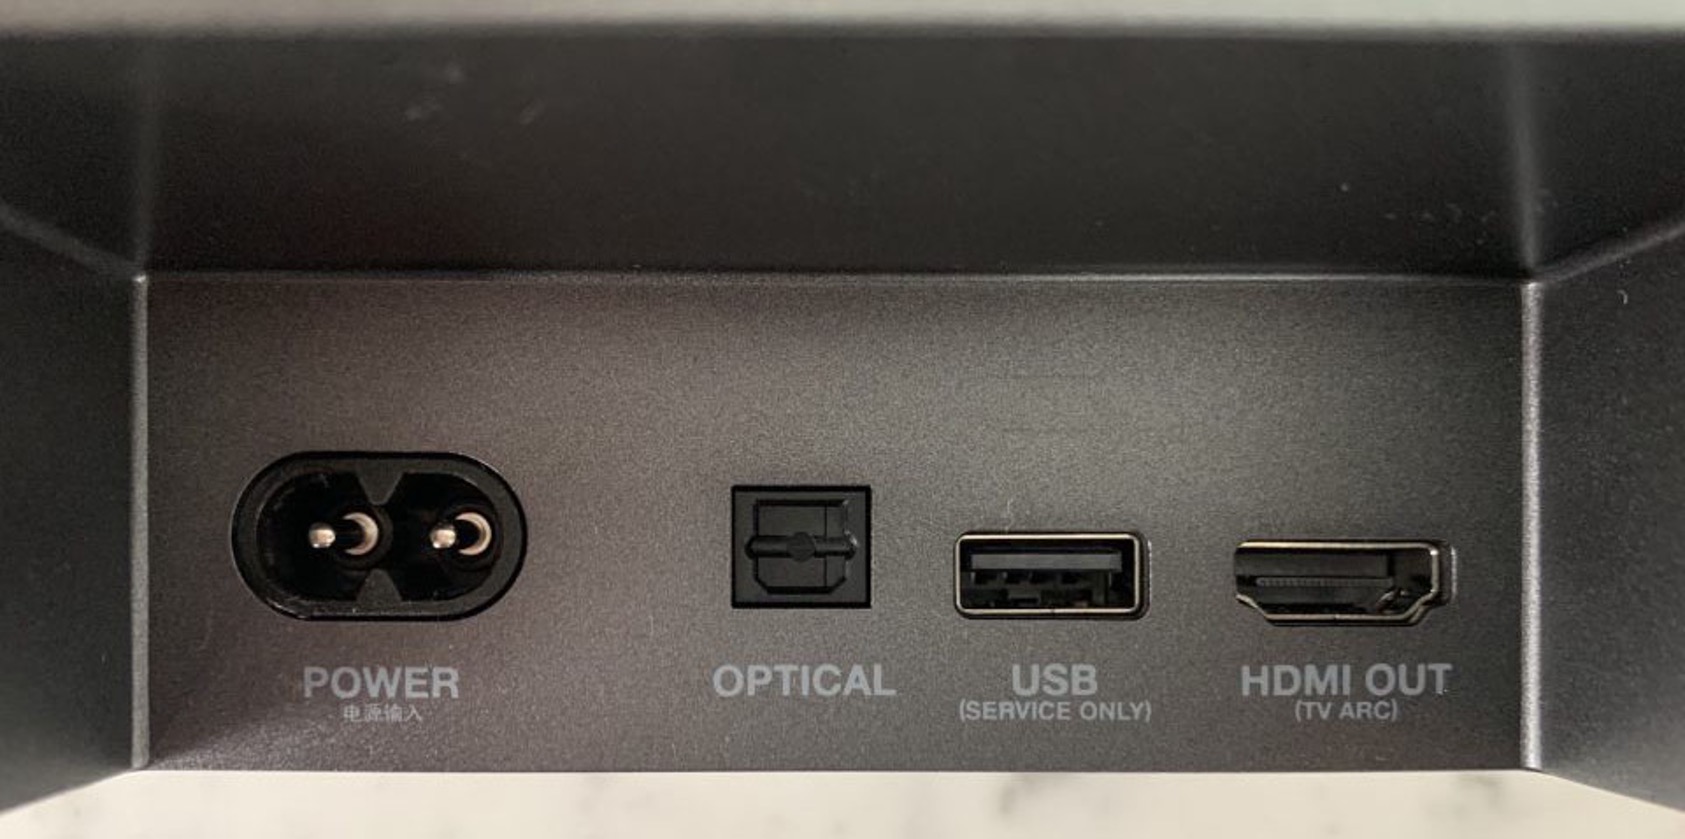
- TV and Soundbar Ports: Take a look at the ports available on both your TV and JBL soundbar. HDMI ports are the most common and preferred method of connection, but your TV and soundbar may also support other types of audio connections such as optical or AUX. Make sure that your TV has an available HDMI ARC (Audio Return Channel) port, as this enables two-way communication between the TV and soundbar.
- Arc Support: Check whether your TV and soundbar support HDMI ARC. ARC allows the sound from your TV to be sent back to the soundbar, eliminating the need for a separate audio connection. Look for the HDMI ARC label on the HDMI ports or refer to the user manuals of your devices.
- TV Audio Output Settings: Access the audio settings on your TV and ensure that the audio output is set to HDMI or ARC. This setting may vary depending on your TV model, so consult the TV’s user manual if you are unsure how to access the audio settings.
- Soundbar Compatibility: Verify that your JBL soundbar is compatible with HDMI connections. Most JBL soundbars support HDMI connectivity, but it’s always a good idea to double-check the specifications of your specific model.
Once you have confirmed the compatibility between your TV and JBL soundbar, you can proceed to gather the required cables and equipment for connecting them.
Step 2: Gather the Required Cables and Equipment
Now that you have verified the compatibility of your TV and JBL soundbar, it’s time to gather the necessary cables and equipment for the connection. Here’s what you’ll need:
- HDMI Cable: Ensure that you have an HDMI cable that is long enough to reach from your TV to your soundbar. Ideally, use an HDMI cable that supports HDMI version 1.4 or higher, as it can transmit higher audio quality and video resolutions.
- Power Cables: Have the power cables for both your TV and JBL soundbar readily available. These cables will be used to supply power to the devices during the setup process.
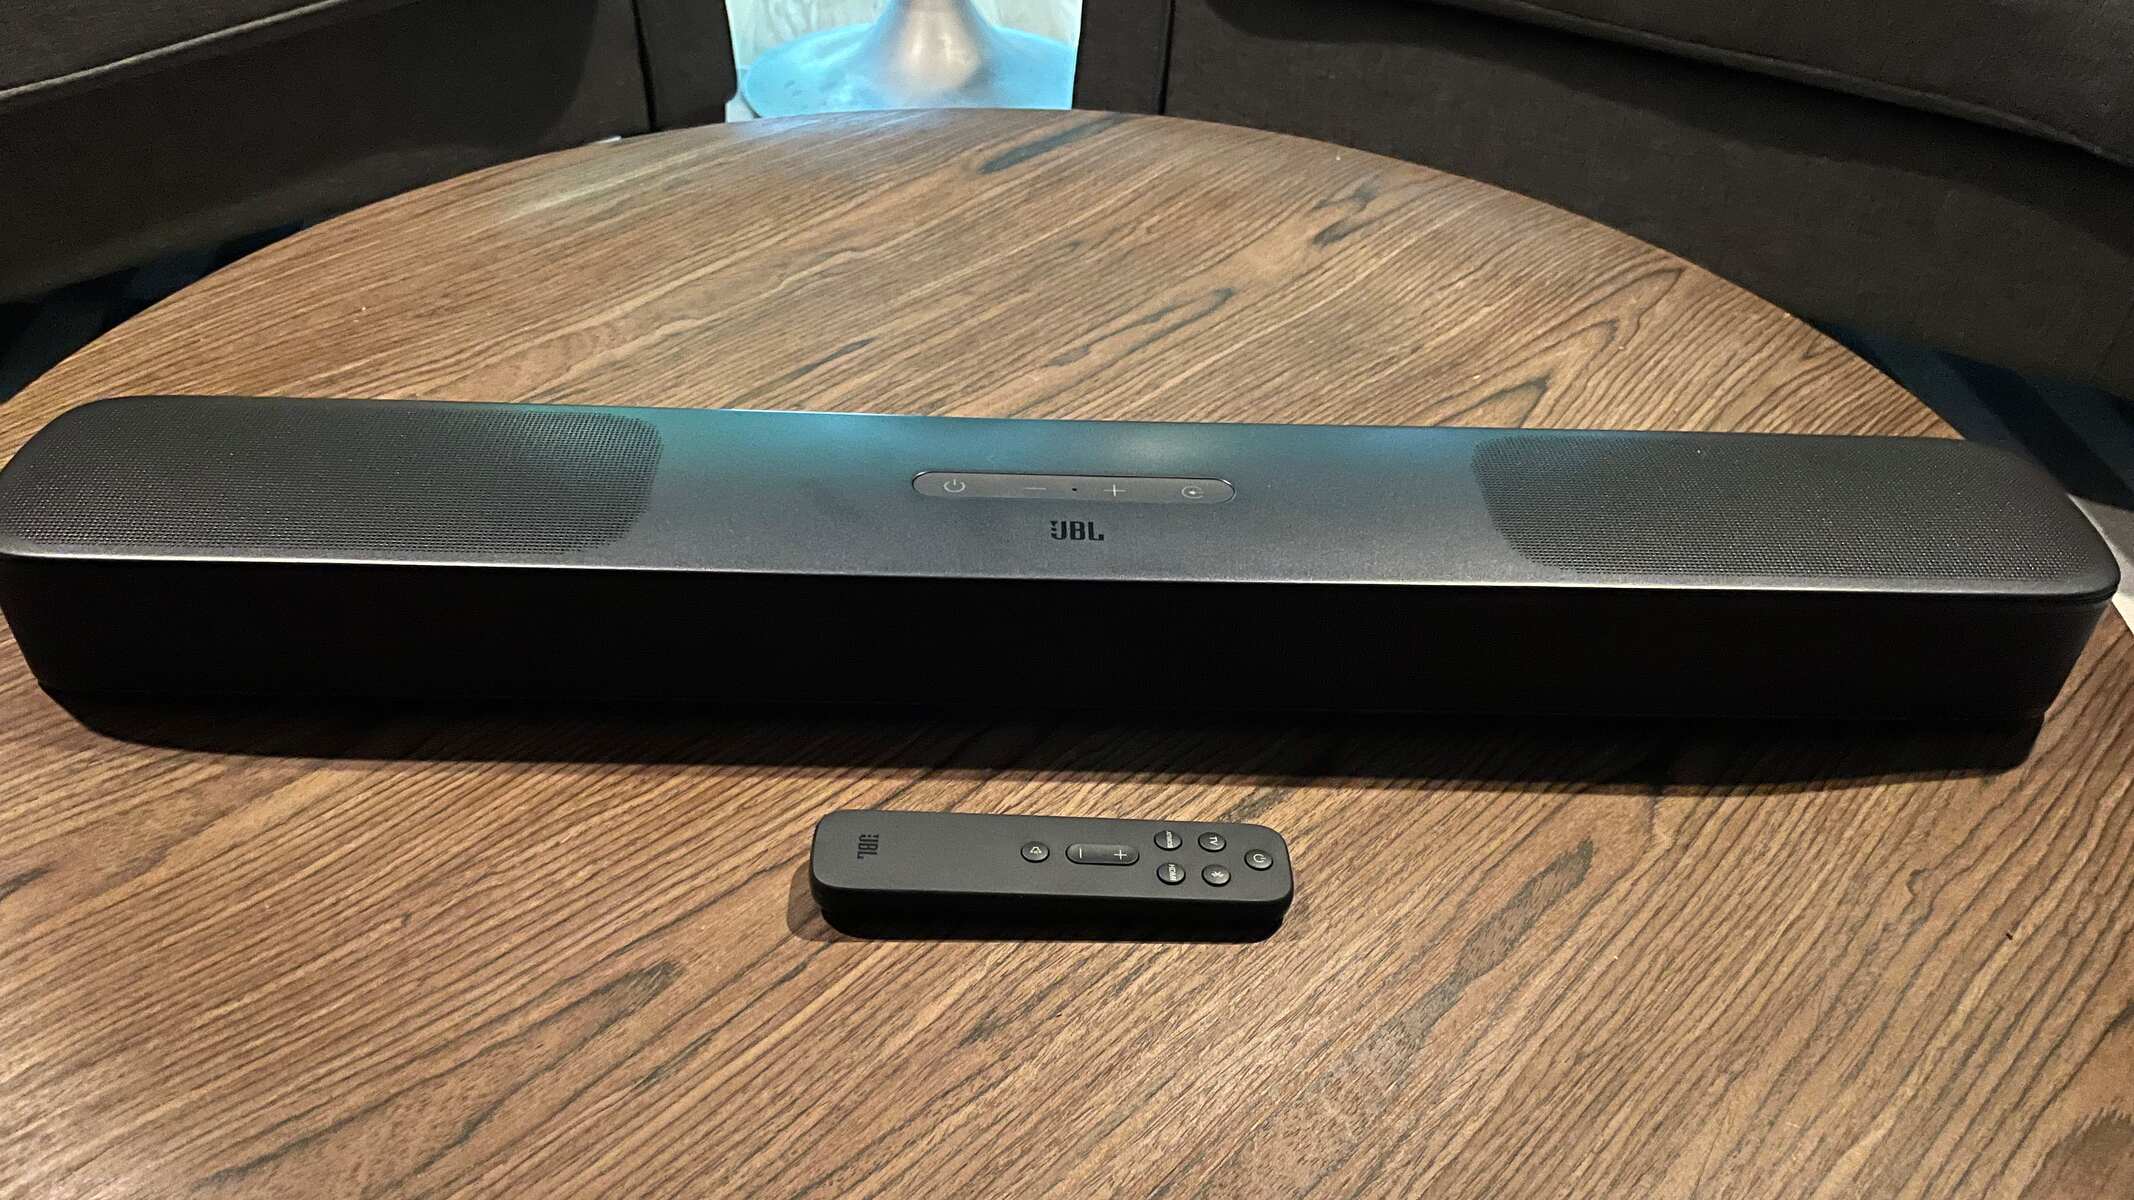
- Remote Control: Keep the remote control for your JBL soundbar nearby. You may need it to access certain settings or features during the setup process.
Ensure that all the necessary cables are in good condition and free from any defects or damages. It’s always a good idea to have spare cables on hand, just in case.
With the required cables and equipment gathered, you are now ready to proceed to the next step: powering up your JBL soundbar.
Step 3: Power up Your JBL Soundbar
Before connecting your JBL soundbar to your TV, it’s important to ensure that the soundbar is properly powered up. Here’s how you can do it:
- Locate the power cord of your JBL soundbar and plug one end into the power port located at the back of the soundbar.
- Connect the other end of the power cord into an electrical outlet or power strip.
- Press the power button on the soundbar or on the remote control to turn it on.
- Wait for the soundbar to power up completely. This may take a few seconds, and you may see a power indicator light or display on the soundbar indicating that it is on.
It’s important to ensure that your JBL soundbar is properly powered up before proceeding to the next step. Once your soundbar is powered on, you can move on to connecting the HDMI cable between your TV and soundbar.
Note: If your JBL soundbar comes with additional setup requirements or special features, refer to the user manual provided with the soundbar for specific instructions.
Step 4: Connect the HDMI Cable to Your TV
Now that your JBL soundbar is powered up, it’s time to establish the connection between your TV and soundbar using an HDMI cable. Follow these steps to connect the HDMI cable to your TV:
- Locate the HDMI ARC (Audio Return Channel) port on your TV. This port is usually labeled as ARC or HDMI Out.
- Take one end of the HDMI cable and insert it into the HDMI ARC port on your TV. Ensure that it is securely plugged in.
- Connect the other end of the HDMI cable to the HDMI ARC input port on your JBL soundbar. This port is typically labeled as ARC or HDMI In.
- Double-check that the HDMI cable is firmly connected to both the TV and soundbar.
Connecting the HDMI cable to your TV establishes the audio-visual link between your TV and soundbar. The HDMI ARC feature allows the sound from your TV to be sent back to the soundbar, eliminating the need for a separate audio connection.
Now that the HDMI cable is securely connected, you can proceed to the next step, which involves connecting the HDMI cable to your JBL soundbar.
Step 5: Connect the HDMI Cable to Your JBL Soundbar
With the HDMI cable successfully connected to your TV, it’s time to establish the connection on the JBL soundbar side. Follow these steps to connect the HDMI cable to your soundbar:
- Locate the HDMI ARC (Audio Return Channel) input port on your JBL soundbar. This port is usually labeled as ARC or HDMI In.
- Take the other end of the HDMI cable that is already connected to your TV and insert it into the HDMI ARC input port on your JBL soundbar. Ensure that it is securely plugged in.
- Double-check that the HDMI cable is firmly connected to both the TV and soundbar.
By connecting the HDMI cable to your JBL soundbar, you are establishing the audio connection between your TV and soundbar. This allows the soundbar to receive the audio signal from your TV and deliver high-quality audio output.
Once the HDMI cable is securely connected to your JBL soundbar, you are now ready to move on to the next step: configuring the TV settings.
Step 6: Configure the TV Settings
Now that you have connected the HDMI cable to both your TV and JBL soundbar, it’s time to configure the TV settings to ensure the proper audio output. Follow these steps to configure the settings on your TV:
- Turn on your TV and navigate to the settings menu.
- Look for the audio or sound settings in the menu. The location and naming of these settings may vary depending on your TV model.
- Select the audio output option and choose HDMI ARC or ARC as the preferred audio output mode.
- Adjust the audio settings according to your preference, such as volume, equalizer, or audio modes.
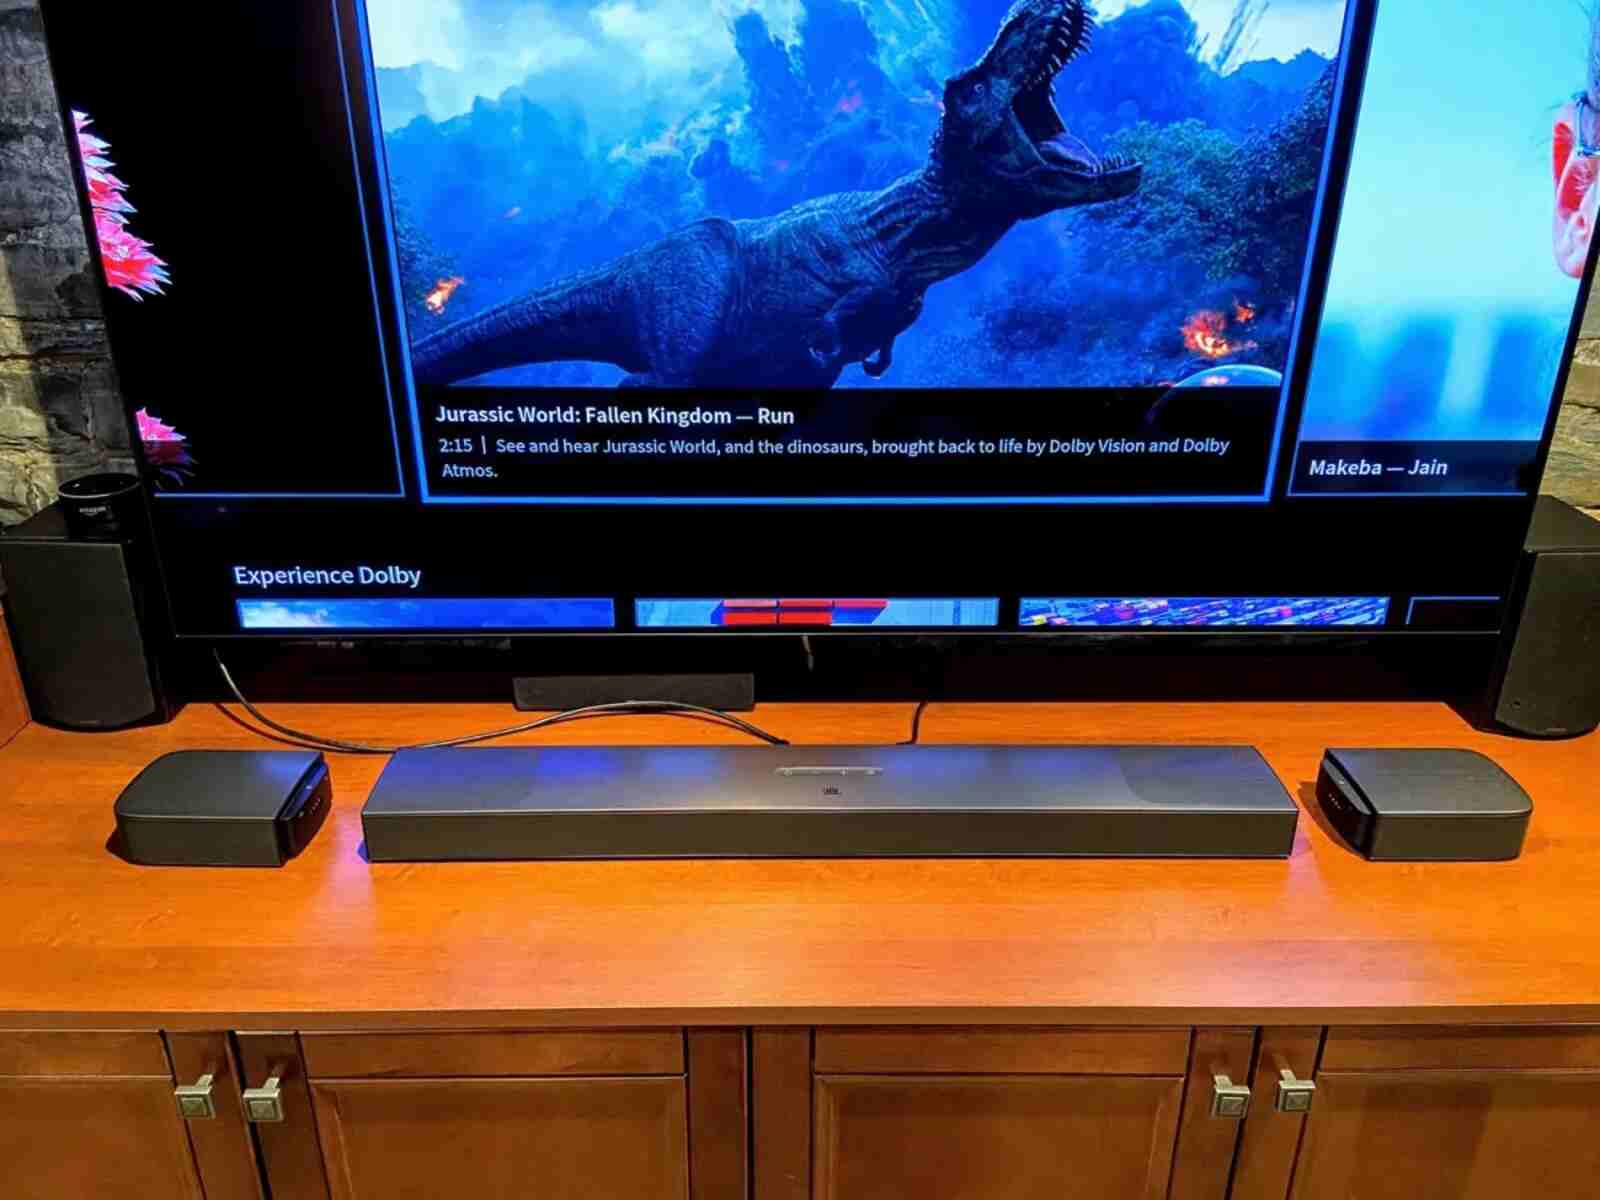
- Exit the settings menu and play some audio or video content on your TV to test the sound output through the JBL soundbar.
Configuring the TV settings allows you to optimize the audio experience and ensures that the soundbar is properly recognized as the audio output device.
If you encounter any issues with the audio output or if the soundbar is not functioning correctly, refer to the user manual of your JBL soundbar or consult the troubleshooting section on the JBL website for further assistance.
Congratulations! You have successfully connected your JBL soundbar to your TV using an HDMI cable and configured the TV settings. Enjoy immersive sound quality and enhanced audio experience while watching your favorite movies, TV shows, or playing games on your TV.
Conclusion
Connecting your JBL soundbar to your TV using an HDMI cable can greatly enhance your audio experience and make your entertainment sessions more immersive. By following the step-by-step guide outlined in this article, you can successfully establish the audio connection between your TV and JBL soundbar.
Starting with verifying compatibility and gathering the necessary cables and equipment, you can then power up your JBL soundbar and connect the HDMI cable to both your TV and soundbar. Configuring the TV settings ensures that the audio is properly routed through the soundbar, providing you with high-quality sound.
Remember, the specific steps may vary depending on your TV and JBL soundbar model, so be sure to consult the user manuals provided with your devices for any specific instructions or troubleshooting tips.
Now that you have successfully connected your JBL soundbar to your TV, it’s time to sit back, relax, and enjoy the impressive audio performance delivered by your JBL soundbar. Whether you’re watching movies, playing games, or simply enjoying your favorite TV shows, the enhanced sound quality will elevate your viewing experience to new heights.
We hope this guide has been helpful in assisting you with connecting your JBL soundbar to your TV using an HDMI cable. Enjoy the rich, immersive sound and make the most out of your home entertainment setup!