Introduction
Welcome to this guide on how to set up Wi-Fi on the JBL 9.1 Soundbar. The JBL 9.1 Soundbar is a sleek and powerful audio device that delivers an immersive sound experience. With its Wi-Fi connectivity feature, you can easily stream music wirelessly and enjoy your favorite songs with exceptional audio quality.
Setting up Wi-Fi on the JBL 9.1 Soundbar is a straightforward process that allows you to access various online streaming services, such as Spotify, Pandora, and Apple Music, directly from your soundbar. Additionally, Wi-Fi connectivity enables you to control and manage your soundbar remotely using your mobile device or a compatible digital assistant, like Alexa or Google Assistant.
Whether you’re a music enthusiast or a movie lover, having a reliable Wi-Fi connection on your JBL 9.1 Soundbar opens up a whole new world of entertainment possibilities. You can effortlessly stream your favorite playlists, podcasts, and even enhance your movie-watching experience through services like Netflix and Hulu.
In this guide, we will walk you through the step-by-step process of setting up Wi-Fi on your JBL 9.1 Soundbar. From unboxing the soundbar to troubleshooting potential connection issues, we’ve got you covered. So, let’s get started and transform your living room into a vibrant audio hub!
Step 1: Unboxing the JBL 9.1 Soundbar
Before you can set up Wi-Fi on your JBL 9.1 Soundbar, you’ll need to unbox and prepare the soundbar for installation. Follow these steps to ensure a smooth unboxing process:
- First, find a suitable area in your home where you plan to set up the soundbar. Make sure it’s close to your TV and within reach of a power outlet.
- Gently remove the JBL 9.1 Soundbar from the packaging, being careful not to damage any of the components. The soundbar is usually well-protected with foam or plastic wrapping.
- Once the soundbar is out of the box, take a moment to inspect it for any visible damage. If you notice any, contact JBL customer support for assistance.
- Next, carefully unwrap and remove the accessories that come with the soundbar, such as the remote control, batteries, power cord, HDMI cable, and any additional cables.
- Set aside the accessories in a safe place for later use. It’s a good idea to keep everything in one location to avoid misplacing any components.
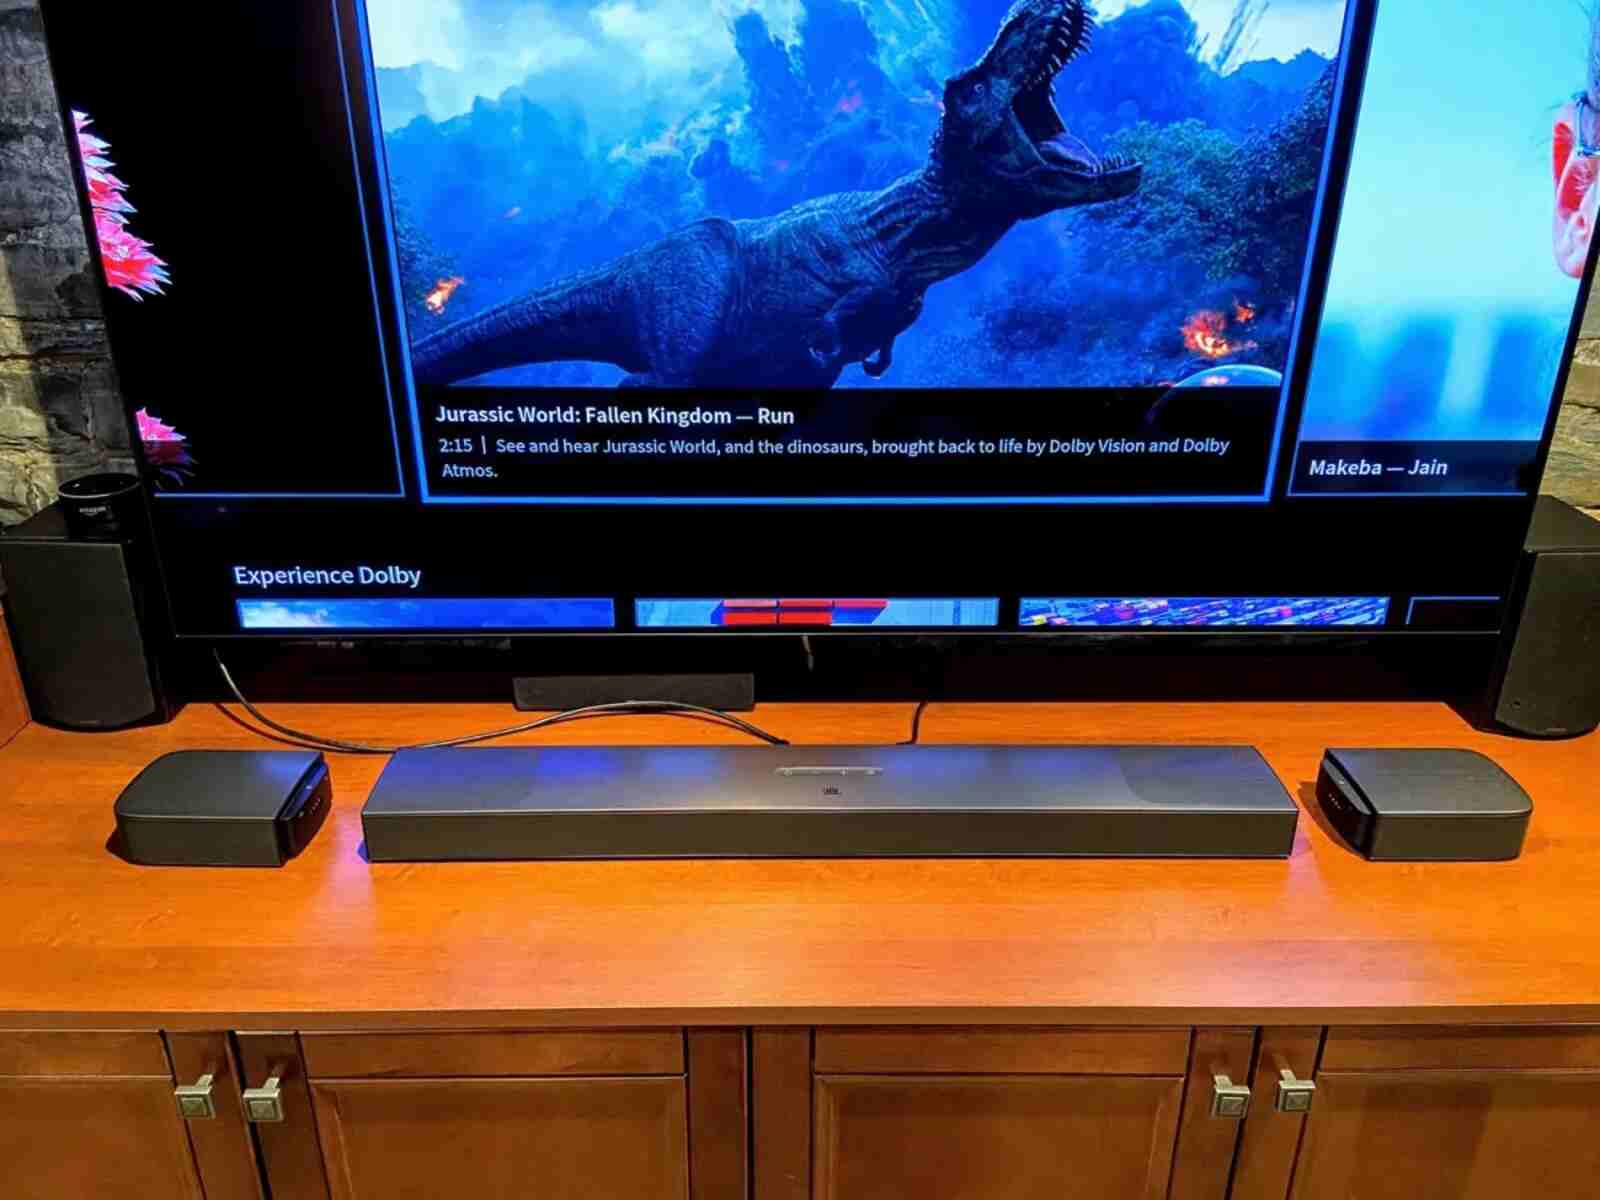
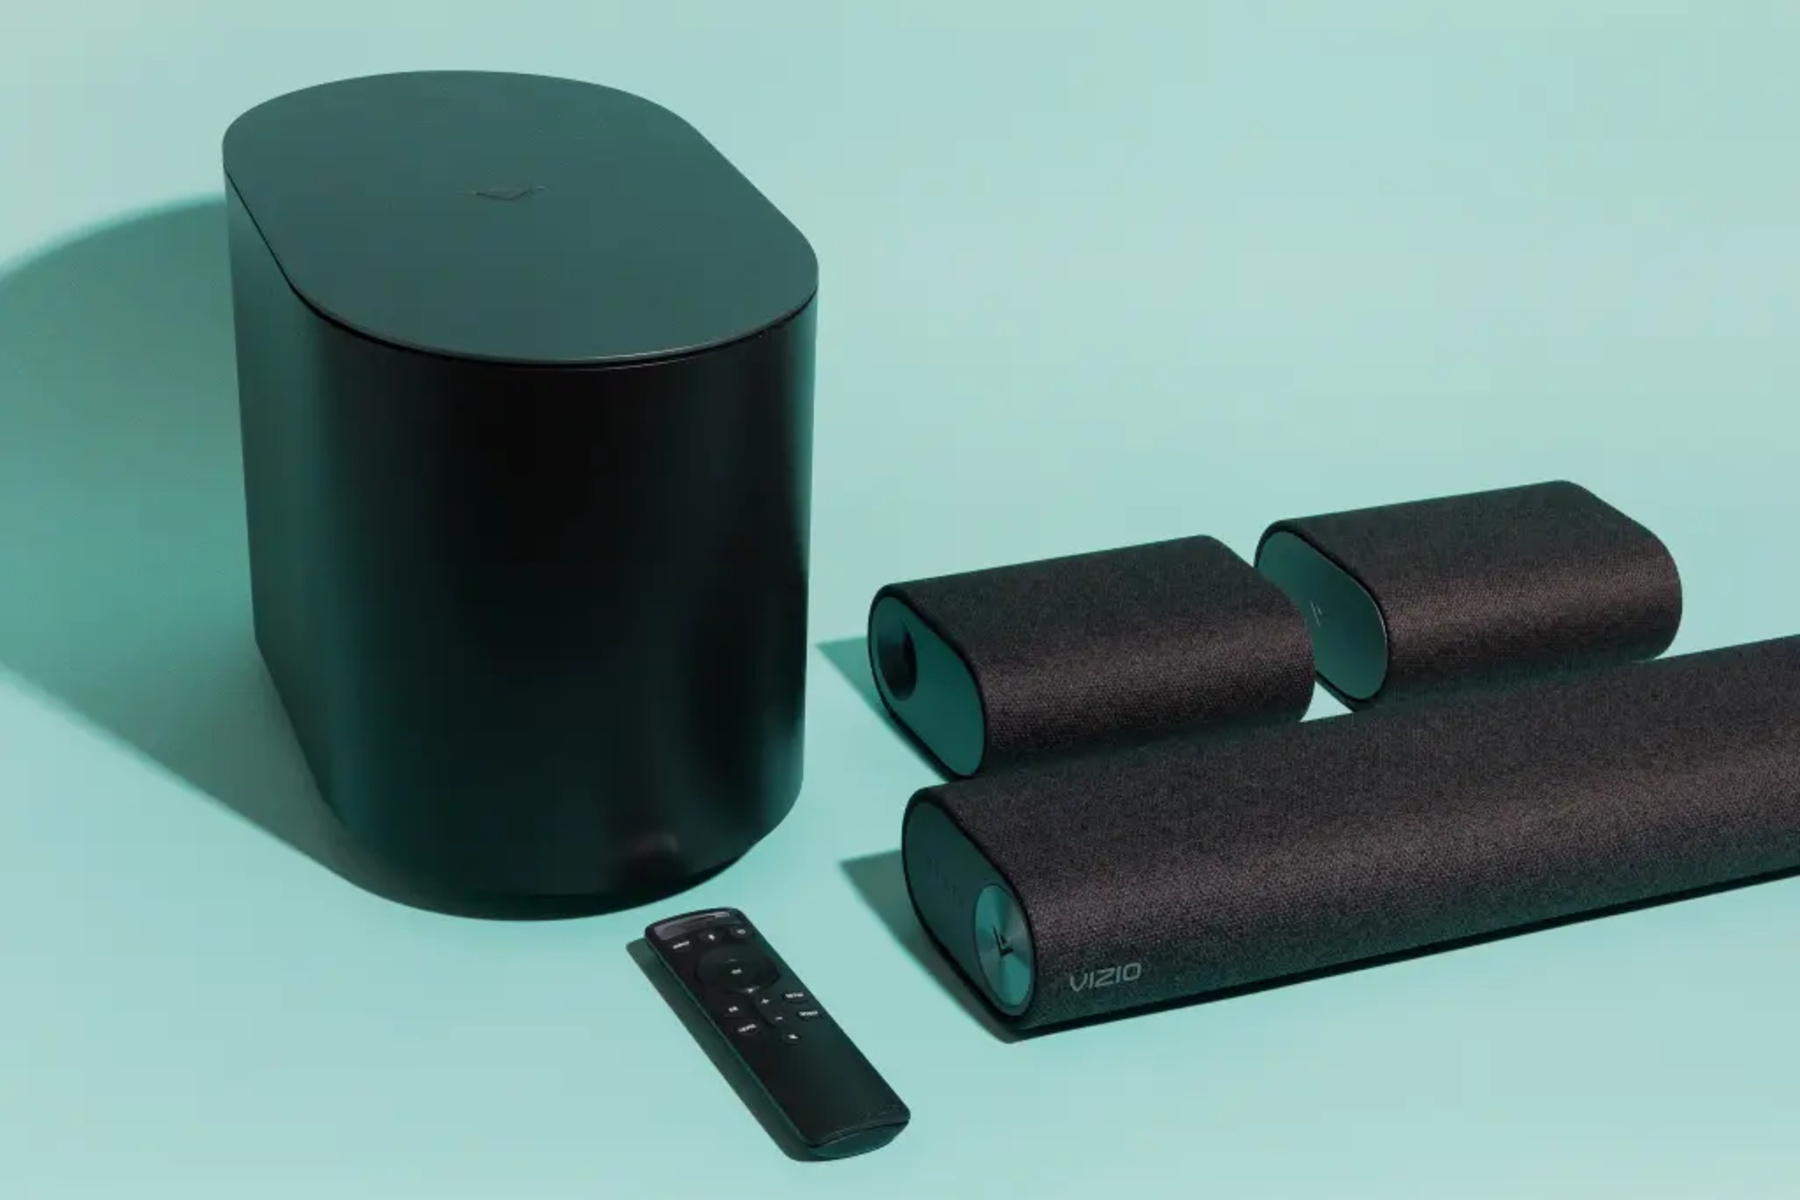
- Now, take a look at the soundbar itself. Depending on the model, you may have a main soundbar unit along with separate satellite speakers and a subwoofer. Ensure all the components are present.
- If your JBL 9.1 Soundbar comes with satellite speakers and a subwoofer, take them out of their packaging and place them in their designated positions. Refer to the user manual for guidance if needed.
- Once everything is unboxed and accounted for, you’re ready to move onto the next step, which involves connecting the soundbar to power.
By following these steps, you have successfully unboxed the JBL 9.1 Soundbar and prepared it for installation. Now, let’s proceed to the next step of connecting the soundbar to power.
Step 2: Connecting the JBL 9.1 Soundbar to Power
Now that you have unboxed the JBL 9.1 Soundbar, it’s time to connect it to a power source. Follow these steps to ensure a proper power connection:
- Locate the power cord that came with the JBL 9.1 Soundbar. It is usually a thick black cable with a plug at one end and a connector at the other.
- Take the plug end of the power cord and insert it firmly into an electrical outlet or power strip near your soundbar setup. Ensure that the outlet or power strip is functioning properly.
- Next, locate the connector on the other end of the power cord. You should see a corresponding port on the back of the soundbar unit labeled “Power” or something similar.
- Gently insert the connector into the power port on the soundbar, ensuring a secure and snug fit. Be careful not to force it or bend any of the pins.
- Once the power cord is properly connected, turn on the soundbar by pressing the power button either on the soundbar unit itself or using the remote control.
- Look for a power indicator light on the soundbar to confirm that it has successfully powered on. Different models may have different indicator lights, so refer to the user manual if needed.
- If the power indicator light is on or blinking, it means the soundbar is receiving power and ready to be set up further. If the light does not turn on, double-check the power connection and try a different power outlet.
- With the JBL 9.1 Soundbar successfully connected to power, you’re now ready to move on to the next step, which involves connecting the soundbar to your TV.
By following these steps, you have successfully connected the JBL 9.1 Soundbar to a power source. Now, let’s proceed to the next step of connecting the soundbar to your TV.
Step 3: Connecting the Soundbar to Your TV
Now that you have connected the JBL 9.1 Soundbar to power, it’s time to establish a connection between the soundbar and your TV. Follow these steps to ensure a proper audio and video connection:
- Identify the audio output ports on your TV. They are usually located on the back or side of the TV and may be labeled as “Audio Out,” “HDMI ARC,” or “Digital Audio Out.
- Choose the type of connection you prefer based on the available ports on your TV and the options provided by the JBL 9.1 Soundbar. There are typically three common connection options: HDMI ARC, optical cable, or AUX (analog) cable.
- If you’re using HDMI ARC, connect one end of an HDMI cable to the HDMI ARC port on your TV and the other end to the HDMI ARC input on the JBL 9.1 Soundbar. This allows for audio and control signals to be transmitted through a single HDMI cable.
- If your TV doesn’t support HDMI ARC, you can use an optical cable. Connect one end of an optical cable to the optical audio output port on your TV and the other end to the optical input port on the soundbar.
- If you prefer to use an analog connection, such as AUX or RCA, check if your TV has the corresponding audio output ports. Then, connect one end of the chosen cable to the TV’s audio output ports and the other end to the analog audio input on the JBL 9.1 Soundbar.
- Once the audio connection is established, you may also want to connect your TV to the JBL 9.1 Soundbar for video pass-through. To do this, connect an HDMI cable from an HDMI output port on your TV to an HDMI input port on the soundbar.
- After connecting the audio and video cables, turn on your TV and soundbar. Use the TV’s remote control to access the audio settings and ensure that the sound is routed through the connected soundbar.
- Finally, play some audio or video content on your TV to confirm that the sound is coming through the JBL 9.1 Soundbar. You may need to adjust the soundbar’s volume or switch to the appropriate input source.
By following these steps, you have successfully connected the JBL 9.1 Soundbar to your TV. Now, let’s move on to the next step of setting up Wi-Fi on the soundbar.
Step 4: Setting Up Wi-Fi on the JBL 9.1 Soundbar
Now that you have successfully connected the JBL 9.1 Soundbar to your TV, it’s time to set up Wi-Fi on the soundbar. Follow these steps to establish a wireless connection:
- Using the remote control or the buttons on the soundbar, navigate to the settings menu. Look for an option that says “Wi-Fi,” “Network,” or something similar.
- Select the Wi-Fi option to enter the Wi-Fi setup menu. Here, you may be prompted to choose your network or enter your network credentials (SSID and password).
- If your soundbar has a display panel, use the remote control to scroll through the available Wi-Fi networks. Select your network from the list and enter the password, if required.
- If your soundbar doesn’t have a display, you may need to use the JBL mobile app or a web interface to complete the Wi-Fi setup. Follow the on-screen instructions provided by the app or the interface.
- Once you have entered the network information, the soundbar will attempt to connect to your Wi-Fi network. It may take a few moments to establish the connection, so be patient.
- If the connection is successful, you may see a confirmation message on the display panel or the app interface. The Wi-Fi indicator light on the soundbar should also remain steady or turn a solid color.
- At this point, your JBL 9.1 Soundbar is now connected to your Wi-Fi network. This allows you to access streaming services, control the soundbar remotely, and enjoy a wide range of online audio content.
- Test the Wi-Fi connection by streaming music or playing content from a compatible device. Ensure that the sound is coming through the soundbar and that you can control it using the app or the provided remote control.
By following these steps, you have successfully set up Wi-Fi on the JBL 9.1 Soundbar. Now, you can unlock the full potential of your soundbar and enjoy wireless audio streaming at its best.
Step 5: Connecting Your Mobile Device to the JBL 9.1 Soundbar
With Wi-Fi set up on your JBL 9.1 Soundbar, you can now easily connect your mobile device to enjoy seamless control and streaming capabilities. Follow these steps:
- Ensure that your mobile device is connected to the same Wi-Fi network as your JBL 9.1 Soundbar. This is essential for establishing a connection between the two devices.
- Download and install the JBL mobile app on your smartphone or tablet. The app is available for both iOS and Android devices and can be found on the respective app stores.
- Once the app is installed, open it and follow the on-screen instructions to set it up. You may need to grant permissions for the app to access your device’s location or Wi-Fi settings.
- In the app, navigate to the “Devices” or “Settings” section to search for available JBL soundbars. Make sure your JBL 9.1 Soundbar is turned on and within range of your mobile device.
- Once the app detects your JBL 9.1 Soundbar, select it from the list of available devices. You may need to enter a pairing code or confirm the connection on both your JBL Soundbar and mobile device.
- After the connection is established, your mobile device is now paired with the JBL 9.1 Soundbar. This allows you to control various settings, adjust the volume, and stream audio directly from your device.
- Explore the features and options offered by the JBL mobile app. Depending on the model, you may have access to EQ settings, preset audio modes, and the ability to link multiple JBL speakers for a multi-room audio setup.
- To stream music from your mobile device to the JBL 9.1 Soundbar, open your preferred music streaming app (e.g., Spotify, Apple Music) and select the JBL Soundbar as the output device.
- Enjoy your favorite songs, playlists, and podcasts through the JBL 9.1 Soundbar with enhanced audio quality and wireless convenience.
By following these steps, you have successfully connected your mobile device to the JBL 9.1 Soundbar. Now you can control and stream audio effortlessly, adding another layer of convenience and versatility to your sound system.
Step 6: Configuring Wi-Fi Settings on the JBL 9.1 Soundbar
After connecting your JBL 9.1 Soundbar to Wi-Fi and pairing your mobile device, you may want to further configure the Wi-Fi settings for optimal performance. Follow these steps to customize the Wi-Fi settings on your soundbar:
- Open the JBL mobile app on your connected mobile device.
- Navigate to the “Settings” or “Wi-Fi” section within the app.
- Here, you may find various options to enhance the Wi-Fi experience. Some common settings include:
- Network Selection: If there are multiple Wi-Fi networks available, you may have the option to manually select the desired network for your soundbar.
- Wi-Fi Password: If you need to change your Wi-Fi password, look for an option to update or modify the password within the app.
- Advanced Settings: Explore any advanced settings available within the app to optimize the Wi-Fi connection, such as channel selection, frequency band, or signal strength adjustment.
- Network Diagnostic: Some apps may provide a network diagnostic feature to troubleshoot Wi-Fi issues and improve the connection stability.
- Adjust the necessary settings according to your preferences or requirements. Take note that these settings may vary depending on the model of your JBL soundbar and the capabilities of the app.
- Once you have configured the Wi-Fi settings, confirm the changes and allow the soundbar to apply the new settings.
- Test the Wi-Fi connection by streaming music or playing content through your connected mobile device. Ensure that the sound is coming through the JBL 9.1 Soundbar and that the Wi-Fi connection remains stable.
- Monitor the Wi-Fi performance and make further adjustments as needed. If you encounter any issues with the connection, refer to the troubleshooting steps or contact JBL customer support for assistance.
By following these steps, you have successfully configured the Wi-Fi settings on your JBL 9.1 Soundbar. Customizing these settings can help ensure a reliable and optimized Wi-Fi connection, enhancing your audio streaming experience.
Step 7: Troubleshooting Wi-Fi Connection Issues
While setting up Wi-Fi on your JBL 9.1 Soundbar, you may encounter some common issues that can hinder the proper connection. Follow these troubleshooting steps to address and resolve Wi-Fi connection issues:
- Ensure that your JBL 9.1 Soundbar is within range of your Wi-Fi router. If the soundbar is too far away, it may struggle to maintain a stable connection.
- Restart your JBL Soundbar and Wi-Fi router. Sometimes, a simple reboot can fix temporary glitches or conflicts between devices.
- Verify that your Wi-Fi network is functioning properly by connecting other devices, such as smartphones or laptops, to the same network.
- Double-check that you have entered the correct network SSID (name) and password during the Wi-Fi setup process. Typos or incorrect credentials can prevent the soundbar from connecting.
- If you’re using a dual-band Wi-Fi router, make sure that your soundbar is connected to the appropriate frequency band (2.4 GHz or 5 GHz) that is compatible with its capabilities.
- Move your router and soundbar away from any potential interference sources, such as other electronic devices, thick walls, or metal objects.
- Update the firmware of your JBL 9.1 Soundbar. Visit the JBL website or use the mobile app to check for the latest firmware version and follow the instructions to update if necessary.
- Reset the Wi-Fi settings on your soundbar. Consult the user manual or contact JBL customer support for instructions on how to perform a Wi-Fi reset.
- If none of the above solutions work, consider contacting JBL customer support for further assistance. They can provide specific troubleshooting guidance based on your soundbar model and network setup.
By following these troubleshooting steps, you can resolve common Wi-Fi connection issues with your JBL 9.1 Soundbar and ensure a stable and uninterrupted audio streaming experience.
Conclusion
Congratulations! You have successfully set up Wi-Fi on your JBL 9.1 Soundbar and established a seamless connection to enjoy wireless audio streaming and control. By following the steps outlined in this guide, you have unboxed the soundbar, connected it to power, established an audio connection with your TV, and configured the Wi-Fi settings.
With Wi-Fi connectivity, you can now effortlessly stream your favorite music, podcasts, and online content directly through your JBL 9.1 Soundbar. Take advantage of the JBL mobile app to customize settings, adjust volume, and even create a multi-room audio setup with other compatible JBL speakers.
If you encounter any issues during the process or experience connectivity problems, refer to the troubleshooting steps provided to address and resolve any Wi-Fi connection issues. Don’t hesitate to reach out to JBL customer support for additional assistance tailored to your specific soundbar model.
Now that your JBL 9.1 Soundbar is set up and connected to Wi-Fi, it’s time to sit back, relax, and immerse yourself in a superior audio experience. Enjoy your favorite music, watch movies with enhanced sound quality, and transform your living room into a true entertainment hub!


