Introduction
Welcome to the ultimate guide on how to hook up a soundbar to your TV! Whether you’re a movie enthusiast, a gamer, or simply someone who loves good audio quality, connecting a soundbar to your TV can greatly enhance your audio experience.
A soundbar is a slim, compact speaker system that is designed to deliver high-quality audio without the need for complicated surround sound setups. It’s a convenient and space-saving solution that provides immersive sound for your favorite movies, TV shows, and games.
While the idea of setting up a soundbar may seem daunting at first, it’s actually a relatively simple process that anyone can do. In this guide, we’ll walk you through the step-by-step instructions to ensure a seamless and hassle-free setup.
We’ll cover everything from finding the right cables and connections, choosing the ideal location for your soundbar, to connecting it to your TV and configuring the audio settings. We’ll also provide tips on troubleshooting common issues and connecting additional devices to your soundbar.
So, if you’re ready to take your TV audio to the next level, let’s dive into the detailed instructions on how to hook up a soundbar to your TV!
Step 1: Find the right cables and connections
The first step in hooking up a soundbar to your TV is to gather the necessary cables and connections. The specific cables you’ll need may vary depending on the model of your soundbar and TV, but there are a few common options to consider.
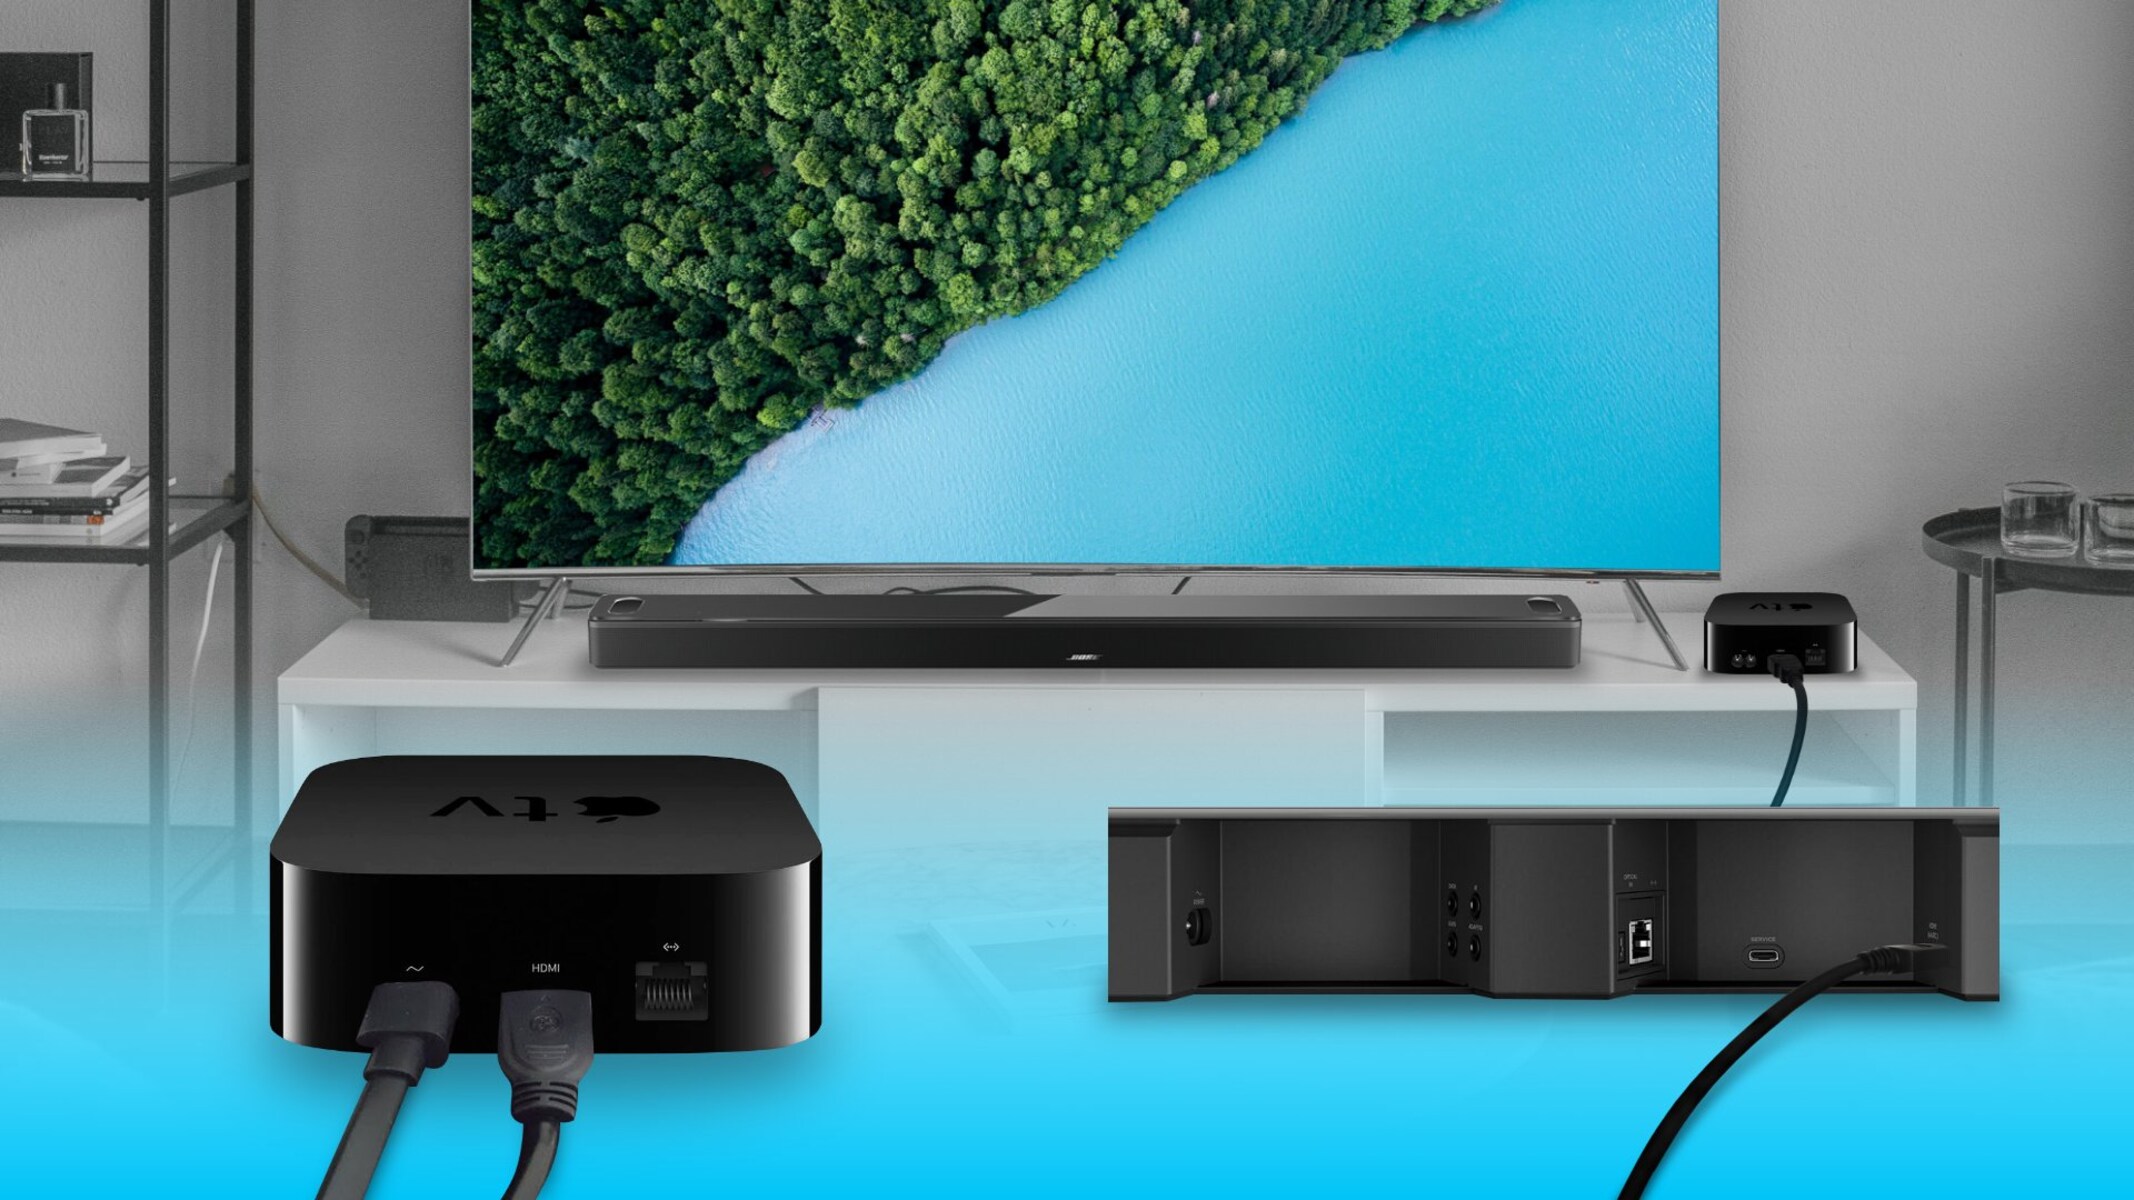
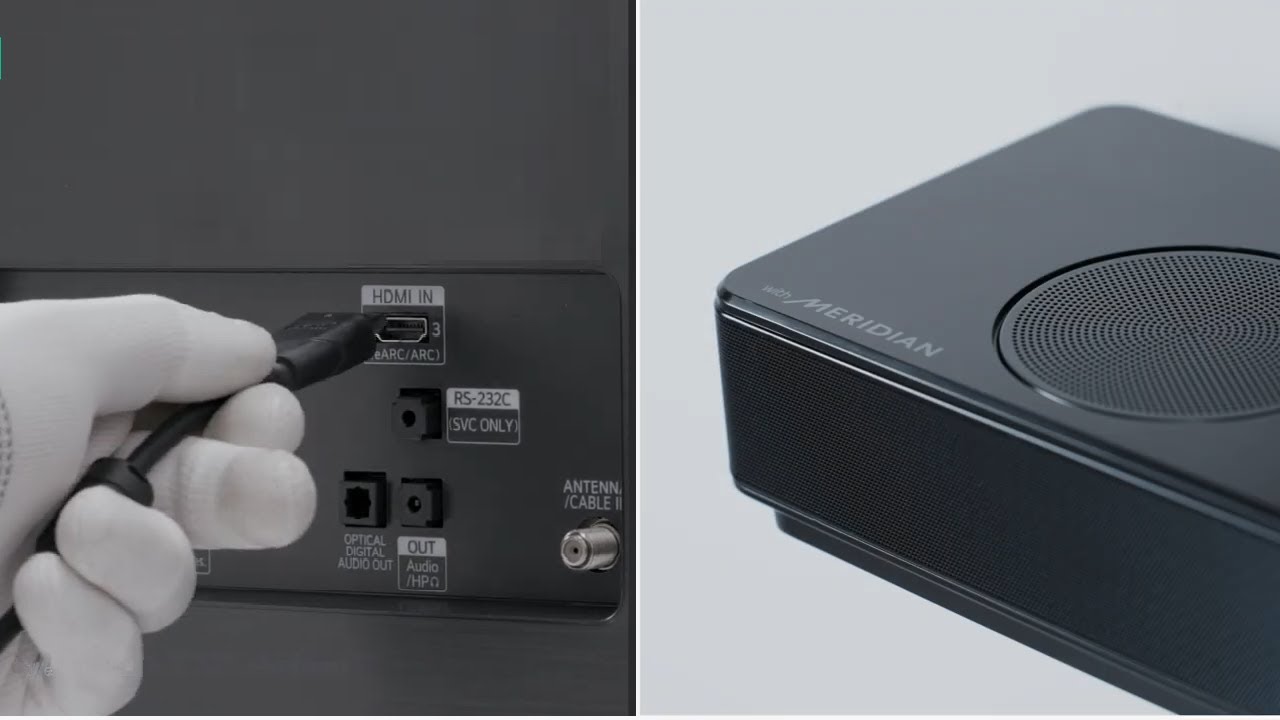
One of the most common and recommended options to connect a soundbar to your TV is through an HDMI cable. HDMI cables transmit both audio and video signals, allowing for a seamless connection between your devices. Ensure that both your soundbar and TV have HDMI ports.
If your TV doesn’t have an HDMI port or you prefer using a different connection method, another option is an optical audio cable. This cable carries digital audio signals from your TV to the soundbar. Most modern soundbars and TVs have an optical audio port.
For older TVs that lack HDMI and optical audio ports, you may need to use an analog audio cable. This cable usually has red and white RCA connectors and can be connected to the soundbar’s auxiliary input or TV’s audio output.
Once you’ve identified the appropriate cables, double-check their length. Ensure that the cables you choose are long enough to reach from your TV’s audio output to the soundbar’s input without straining or stretching.
Lastly, make sure that you have all the necessary adapters or converters, if required, to connect the cables to your TV and soundbar. These adapters may include HDMI-to-HDMI adapters, optical-to-RCA converters, or any specific connectors compatible with your devices.
With the right cables and connections in hand, you’re ready to move on to the next step: choosing the ideal location for your soundbar.
Step 2: Choose the ideal location for your soundbar
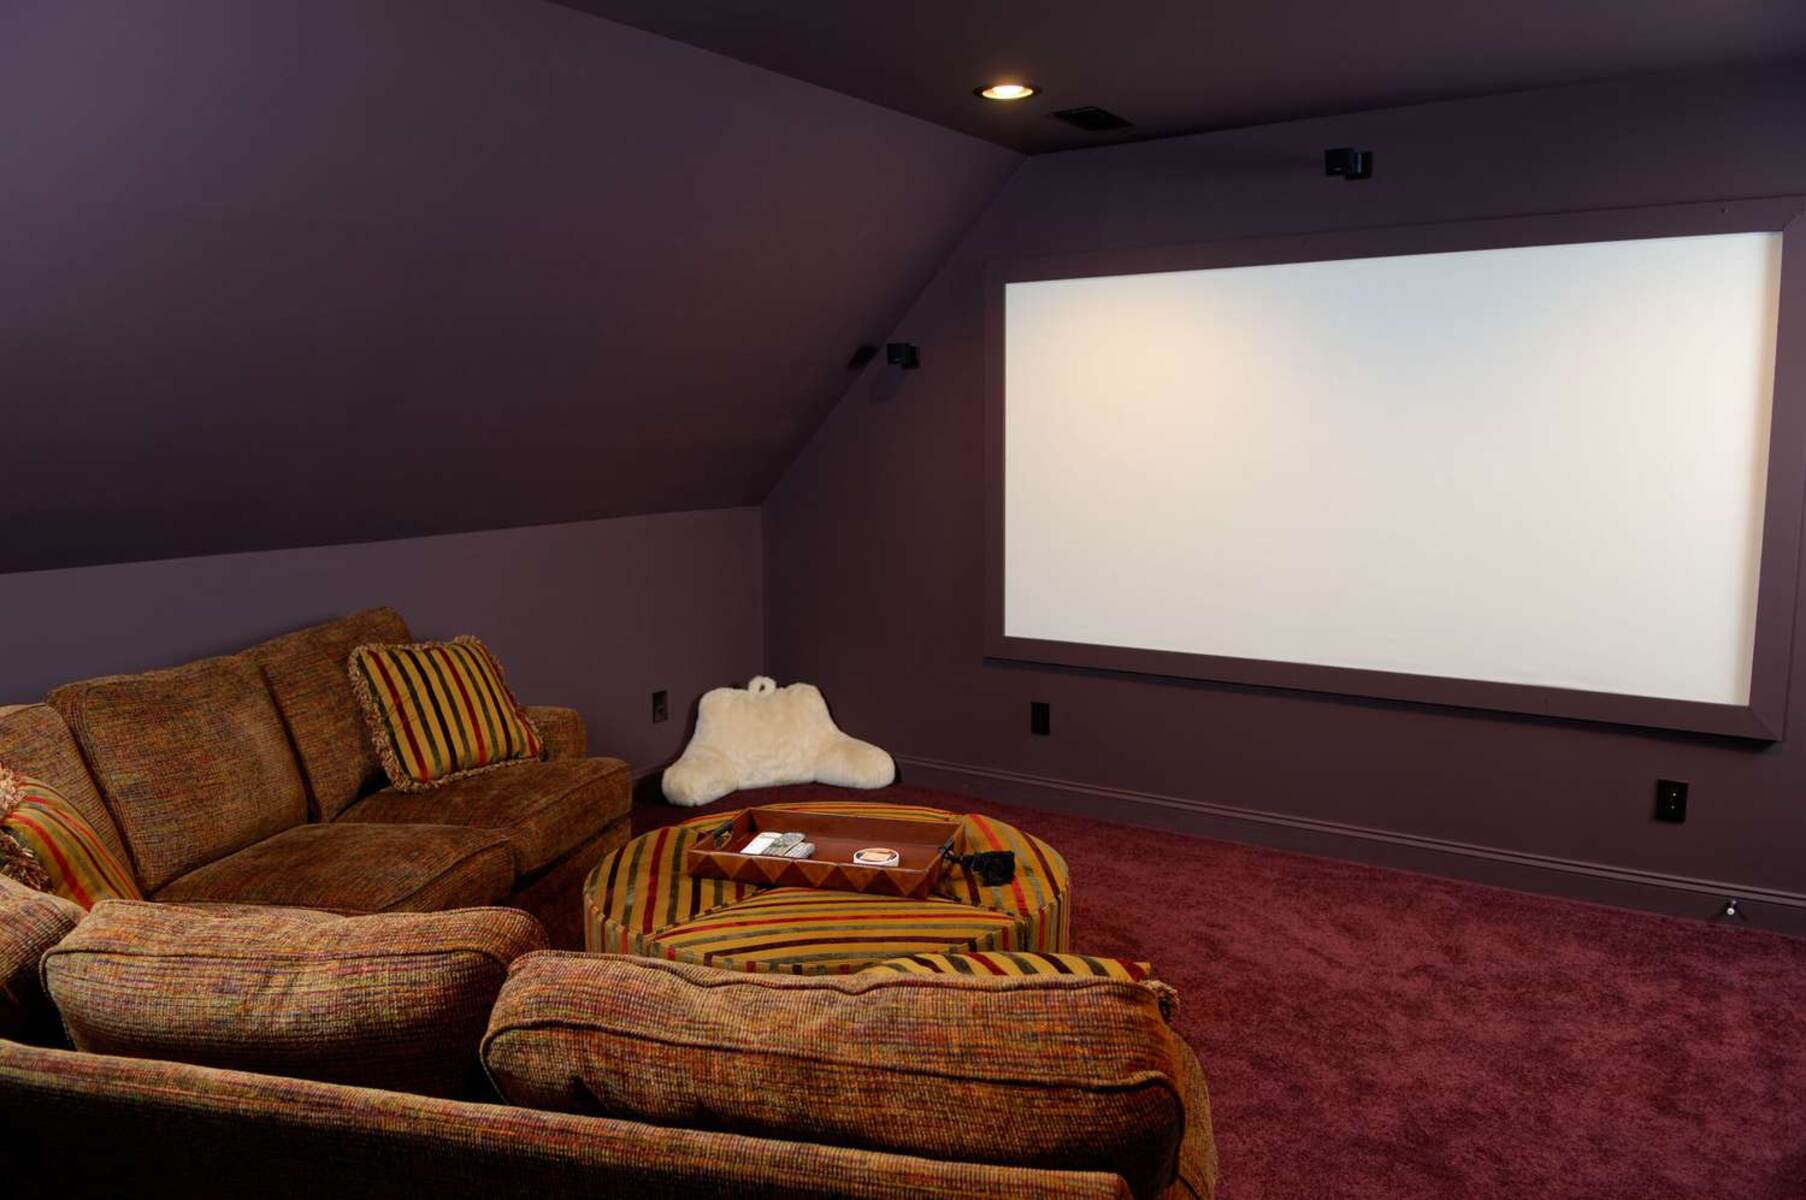
Now that you have the necessary cables and connections, the next step in setting up your soundbar is to choose the ideal location for it. The placement of your soundbar can greatly impact the audio quality and overall experience.
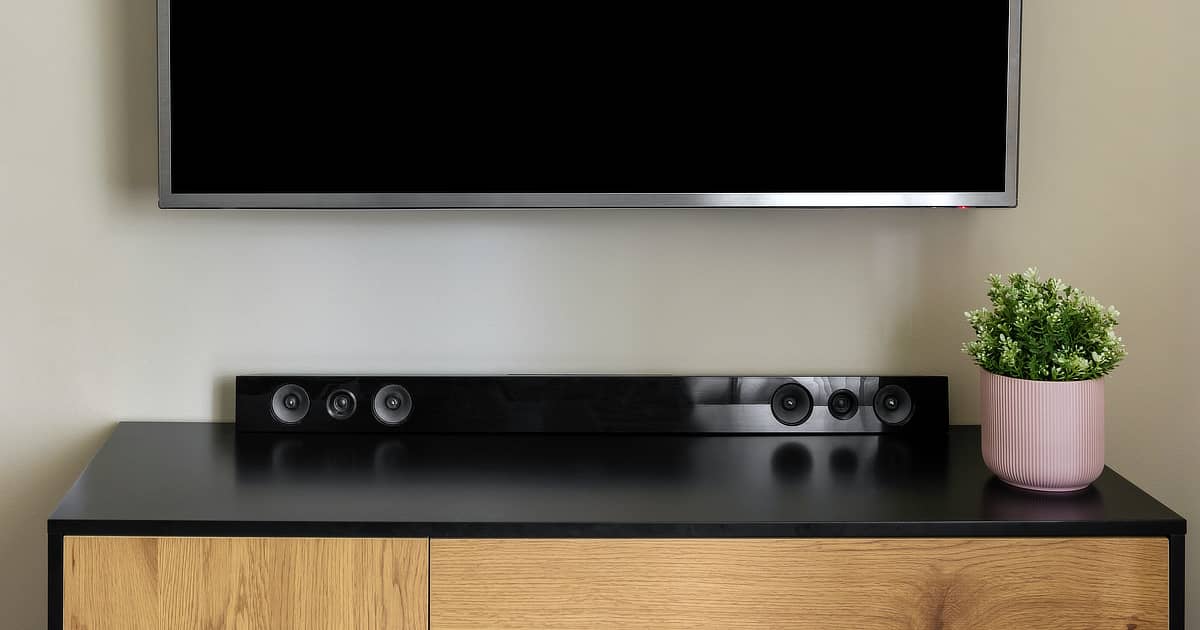
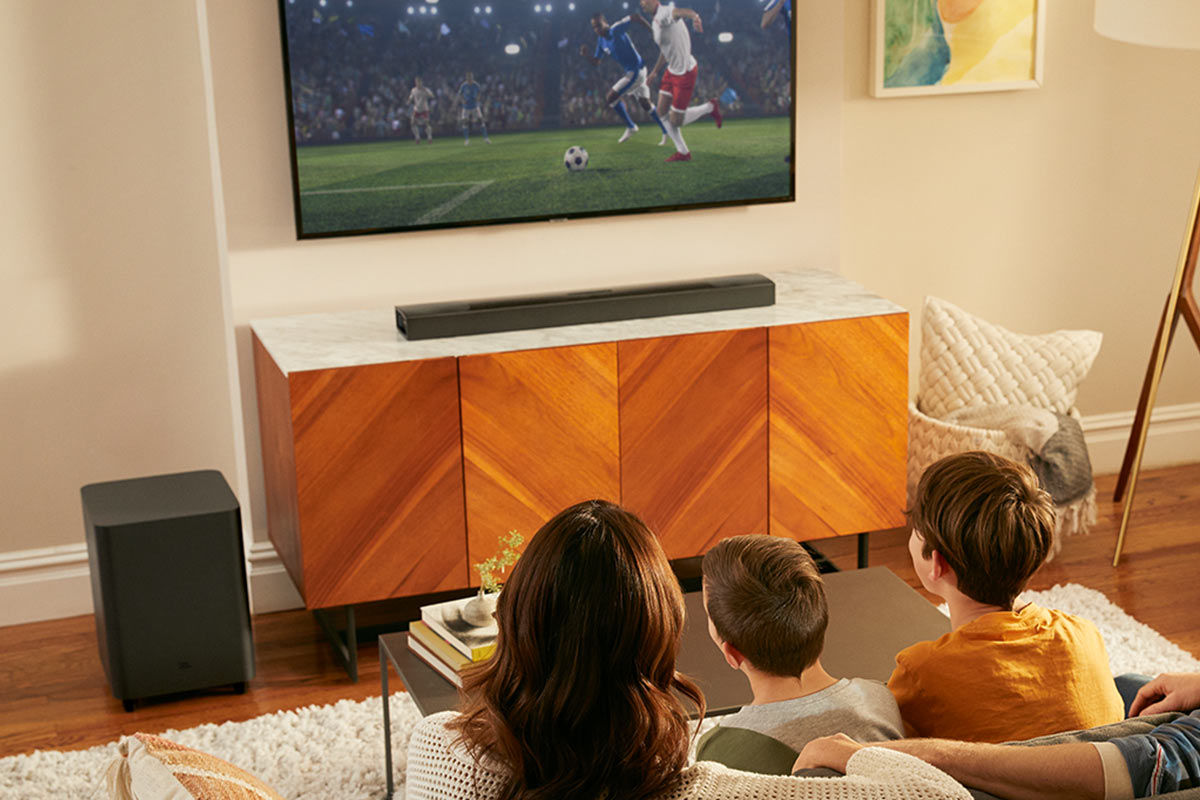
Start by considering the layout of your room and the location of your TV. Ideally, the soundbar should be positioned directly in front of you, either mounted below the TV or placed on a TV stand. This ensures that the sound is projected towards you, creating a more immersive experience.
Avoid placing the soundbar too close to walls or corners, as this can cause sound reflections and distortions. If possible, leave some space between the soundbar and any nearby surfaces to allow for better audio dispersion.
If you’re mounting the soundbar below your TV, make sure it is securely attached to the wall using a wall mount or bracket that is suitable for your specific soundbar model. Follow the manufacturer’s instructions for proper installation and ensure that it is positioned at an optimal height for optimal sound projection.
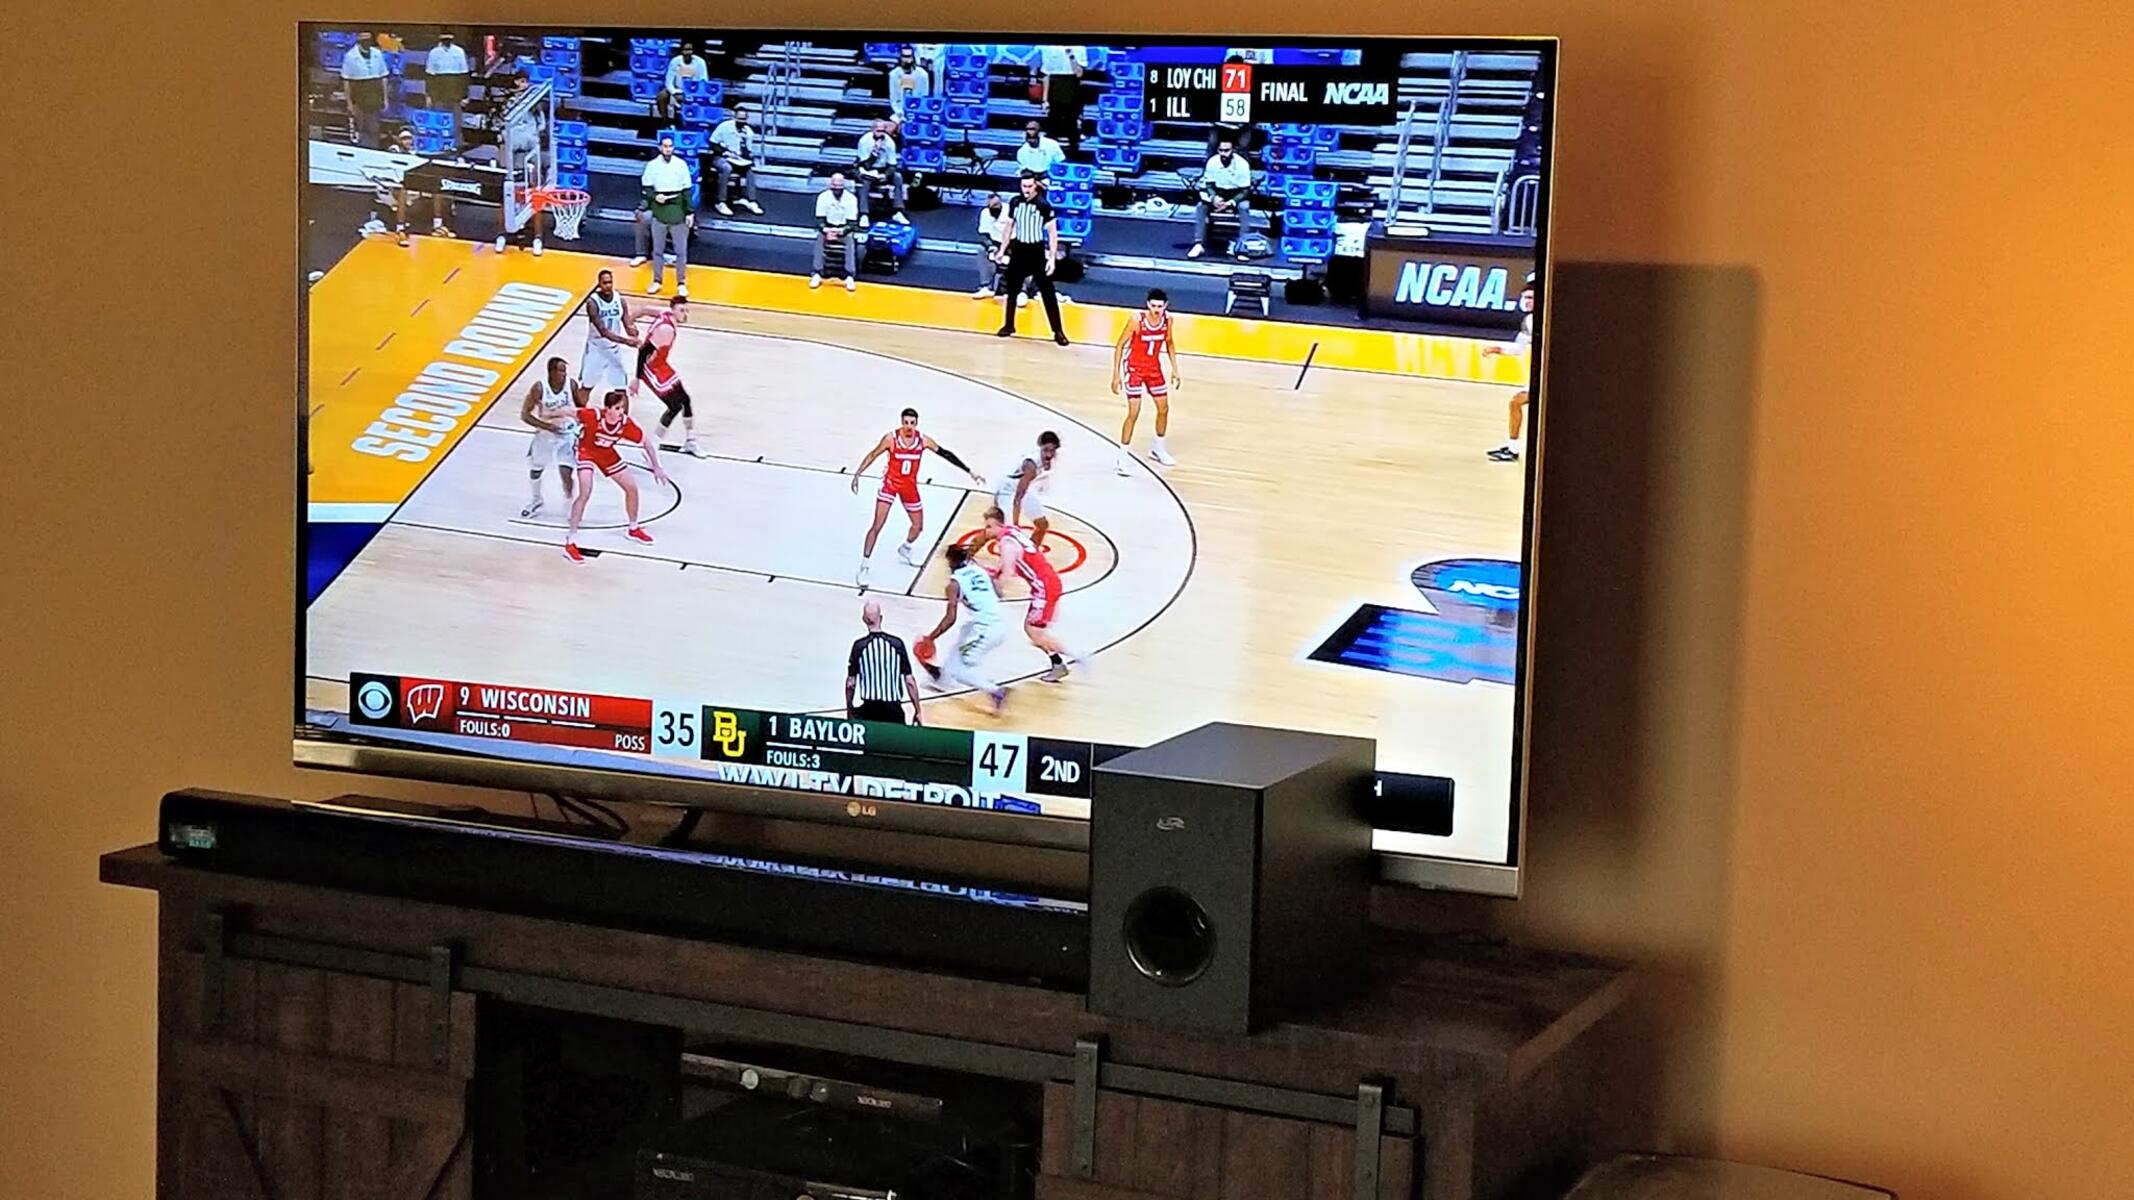
If you opt to place the soundbar on a TV stand or entertainment center, make sure it is centered and aligned with your TV. You can also use soundbar-specific mounting options provided by your TV stand or accessory manufacturers for a more streamlined look.
Additionally, consider the distance between the soundbar and your seating area. The placement should allow for optimal audio coverage throughout the room. Experiment with different positions and listen to the sound quality from different spots until you find the sweet spot.
Keep in mind that every room is different, and the ideal location for the soundbar may vary depending on your specific room layout and acoustic conditions. Trust your ears and adjust the placement accordingly to achieve the best audio performance.
Once you have chosen the ideal location for your soundbar, you’re ready to move on to the next step: connecting the soundbar to your TV using an HDMI cable or the appropriate connection method.
Step 3: Connect the soundbar to the TV using an HDMI cable
Now that you have chosen the ideal location for your soundbar, it’s time to connect it to your TV using an HDMI cable. This is one of the most common and recommended methods for connecting a soundbar to a TV.
Start by locating the HDMI ports on both your soundbar and TV. Most modern soundbars and TVs have multiple HDMI ports, so choose one that you can dedicate to the soundbar. Make a note of which HDMI port you will be using.
Take the HDMI cable and insert one end into the HDMI output port on your soundbar. Make sure it is securely connected.
Next, locate the HDMI input port on your TV and insert the other end of the HDMI cable into it. Again, ensure a secure connection.
Now, using your TV’s remote control, navigate to the audio settings. Look for the option to select the audio output or audio source. Choose the HDMI input that corresponds to the port you connected the soundbar to.
Depending on your TV model, you may need to adjust additional audio settings such as enabling ARC (Audio Return Channel) or choosing the proper audio format. Consult your TV’s user manual for specific instructions on adjusting audio settings.
Once you have selected the appropriate audio source on your TV, you should start hearing the audio from your TV through the soundbar. If you don’t hear any sound or encounter any issues, ensure that the soundbar and TV are powered on and that the volume levels are adjusted accordingly.
It’s important to note that some soundbars require a separate power connection in addition to the HDMI connection. If this applies to your soundbar, make sure it is properly plugged into an electrical outlet.
With the HDMI cable connected and the audio settings configured, you have successfully connected your soundbar to your TV. The audio from your TV should now be playing through the soundbar, providing a enhanced and immersive experience.
Next, we’ll move on to Step 4: configuring the audio settings on your TV to optimize the soundbar’s performance.
Step 4: Configure the audio settings on your TV
With your soundbar connected to your TV, it’s important to configure the audio settings on your TV to optimize the performance of your soundbar and ensure the best audio experience.
Start by accessing the audio settings on your TV. This can usually be done through the settings menu or the audio options on your remote control. Look for settings related to audio output, sound, or speakers.
First, check if your TV has an audio output setting. This setting should be set to “HDMI” or “External Speakers” to ensure that the audio is routed through the connected soundbar instead of the TV’s built-in speakers.
Next, explore the sound modes or equalizer settings on your TV. These settings allow you to adjust the audio output to suit your preferences. Many TVs offer preset sound modes like “Movie,” “Music,” or “Sports,” which optimize the audio for specific types of content. Experiment with different sound modes and choose the one that enhances your viewing experience.
If your TV has advanced audio settings, you may also be able to adjust bass, treble, or balance settings. These adjustments can help you fine-tune the sound output to your liking. Make small adjustments and listen to the audio to find the perfect balance.
Additionally, look for any audio delay or lip sync settings. If you notice any mismatch between the audio and video, you can adjust these settings to sync them properly. Follow your TV’s instructions on adjusting audio delay or lip sync for a seamless viewing experience.
Some TVs also offer audio format settings. If your soundbar supports specific audio formats like Dolby Digital or DTS, ensure that your TV is set to output audio in the compatible format. This ensures that you can take full advantage of your soundbar’s capabilities.
Remember to refer to your TV’s user manual for specific instructions on accessing and adjusting the audio settings. Every TV model may have a slightly different menu layout and options.
After configuring the audio settings, test the soundbar to ensure that the changes you made have improved the audio quality and overall experience.
With the audio settings properly configured, you are now ready to move on to Step 5: testing the soundbar to ensure that everything is working as intended.
Step 5: Test the soundbar
After connecting and configuring your soundbar, it’s essential to test it to ensure that everything is working correctly. Testing the soundbar will help you verify the audio quality, connection stability, and ensure that the soundbar is enhancing your overall viewing experience.
Start by playing some audio or video content on your TV. This can be a movie, TV show, or even a video clip from a streaming service or Blu-ray disc.
Listen carefully and pay attention to the sound coming from your soundbar. Check if the audio is clear, balanced, and free from any distortions. If you notice any issues, make sure the soundbar is properly connected to the TV and that the volume levels are adjusted correctly.
During the testing, try different sound modes and settings on your soundbar and TV to see which ones suit your preference and provide the best audio experience for the content you’re watching. Experiment with different genres of music or movie scenes with varying sound effects to gauge the soundbar’s performance in different scenarios.
If your soundbar features virtual surround sound technology or other audio enhancements, test these features as well. These technologies aim to simulate a surround sound experience, delivering an immersive audio environment that enhances your viewing experience.
While testing the soundbar, also pay attention to any synchronization issues between the audio and video. If you notice a noticeable delay, adjust the audio delay or lip sync settings on your TV to sync them properly.
If you encounter any issues during the testing phase, consult the troubleshooting section of your soundbar’s user manual or visit the manufacturer’s support website for assistance. Many common issues can be resolved by double-checking the connections, adjusting the settings, or updating the firmware.
Once you’re satisfied with the sound quality and performance of the soundbar, congratulations! You have successfully set up and tested your soundbar. Your TV audio experience should now be enhanced, providing you with rich, immersive sound that complements your visual content.
Now that you’ve tested the soundbar, you can move on to Step 6: connecting additional devices to the soundbar to expand your audio options and create a more versatile entertainment setup.
Step 6: Connect additional devices to the soundbar
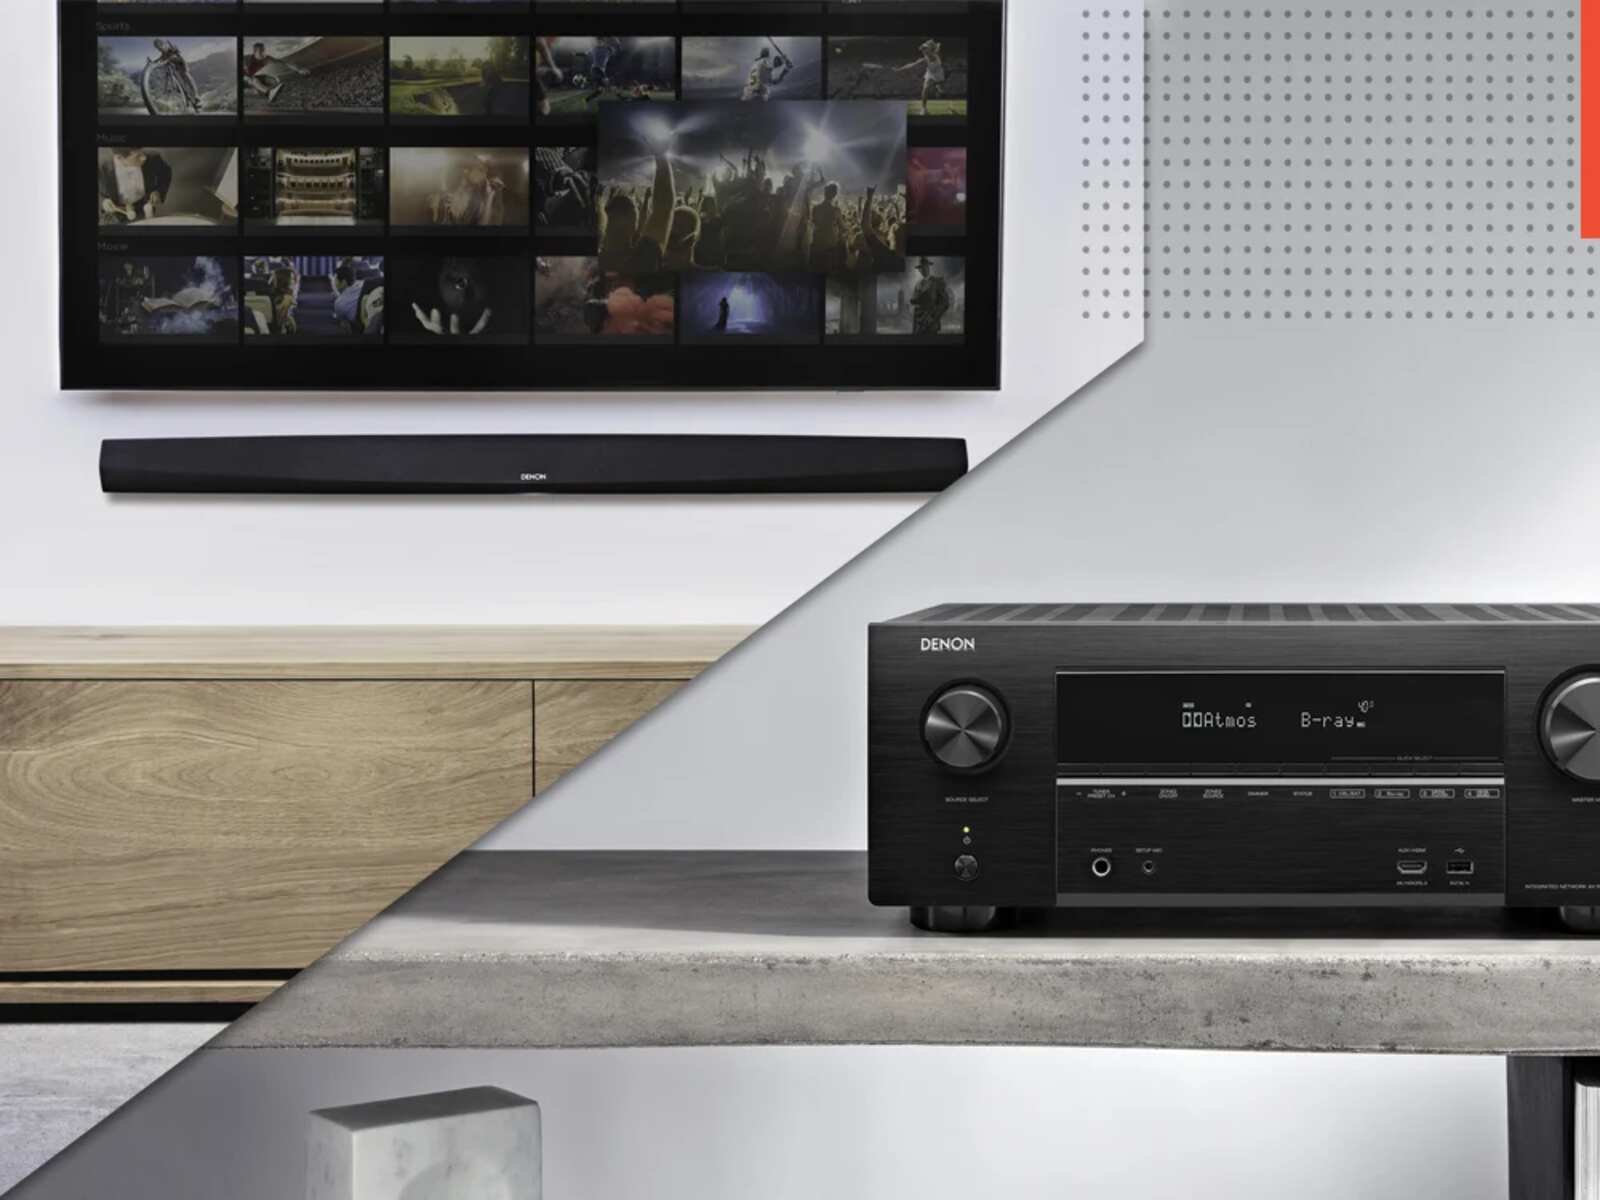
One of the advantages of having a soundbar is the ability to connect multiple devices to it, allowing you to enjoy enhanced audio from various sources. In this step, we’ll explore how you can connect additional devices, such as gaming consoles, Blu-ray players, or streaming devices, to your soundbar.
Start by identifying the available input ports on your soundbar. Most soundbars have multiple input options, such as HDMI, optical, or auxiliary (3.5mm) ports. Determine which input ports are available and make note of the corresponding labels.
If you have a gaming console, such as an Xbox or PlayStation, connect it to your soundbar using an HDMI cable. Plug one end of the HDMI cable into the HDMI output port on your console and the other end into an available HDMI input on the soundbar.
For Blu-ray players or DVD players, use an HDMI cable to connect them to the soundbar. Connect one end of the HDMI cable to the HDMI output port on the player and the other end to an available HDMI input on the soundbar.
If you have a streaming device, such as an Apple TV, Roku, or Amazon Fire Stick, you can connect it to the soundbar using either an HDMI or optical cable. Select the appropriate cable based on the available ports on both the streaming device and soundbar.
Once you have connected the additional devices to your soundbar, select the corresponding input on the soundbar using either the remote control or the control buttons on the soundbar itself. Switch to the HDMI or optical input that is connected to the desired device.
It’s crucial to ensure that your soundbar is set to the proper input so it can receive audio signals from the selected device. Refer to your soundbar’s manual or on-screen instructions for guidance on selecting inputs and switching between devices.
Additionally, you may need to configure the audio settings on the devices you have connected to the soundbar. Check the settings menu on each device and select the audio output to be routed through the soundbar. This will ensure that the audio is sent to the soundbar rather than the TV’s speakers.
With the additional devices connected and properly set up, you can now enjoy enhanced audio from gaming consoles, Blu-ray players, streaming devices, and other sources through your soundbar. Immerse yourself in the rich sound quality and experience your favorite content like never before.
Congratulations! You have successfully connected and configured additional devices to your soundbar, expanding your audio options and creating a more versatile entertainment setup.
Now that you have completed all the necessary steps, you can sit back, relax, and enjoy an elevated audio experience whenever you watch your favorite movies, TV shows, play games, or stream content.
Conclusion
Congratulations on successfully setting up your soundbar and connecting it to your TV! By following the step-by-step instructions in this guide, you have enhanced your audio experience and opened the door to immersive sound while watching movies, TV shows, gaming, or streaming content.
We started by finding the right cables and connections for your specific setup, ensuring that you had the necessary tools to make the connection. Then, we moved on to choosing the ideal location for your soundbar, considering factors such as room layout, TV placement, and optimal audio dispersion.
Next, we guided you through connecting the soundbar to your TV using an HDMI cable or the appropriate connection method. This step allowed you to establish a stable audio connection and paved the way for a seamless audio experience.
After connecting the soundbar, we recommended configuring the audio settings on your TV to optimize the soundbar’s performance. Adjusting sound modes, equalizer settings, and checking for audio synchronization ensured that you achieved the best audio quality.
Following that, we guided you through testing the soundbar to ensure everything was working as intended. Testing the sound quality, exploring different sound modes, and checking for synchronization issues allowed you to fine-tune the audio settings and make any necessary adjustments.
Lastly, we explored how to connect additional devices, such as gaming consoles, Blu-ray players, or streaming devices, to your soundbar. This expanded your audio options and provided you with a more versatile entertainment setup.
By completing these steps, you are now equipped with the knowledge and skills to set up a soundbar and enjoy an enhanced audio experience with your TV. Remember to refer to your specific soundbar and TV manuals for any additional guidance or troubleshooting steps.
Now, sit back, relax, and immerse yourself in the rich, high-quality sound that your soundbar delivers. Enjoy your favorite movies, shows, games, and music with enhanced audio that brings your entertainment to life!