Introduction
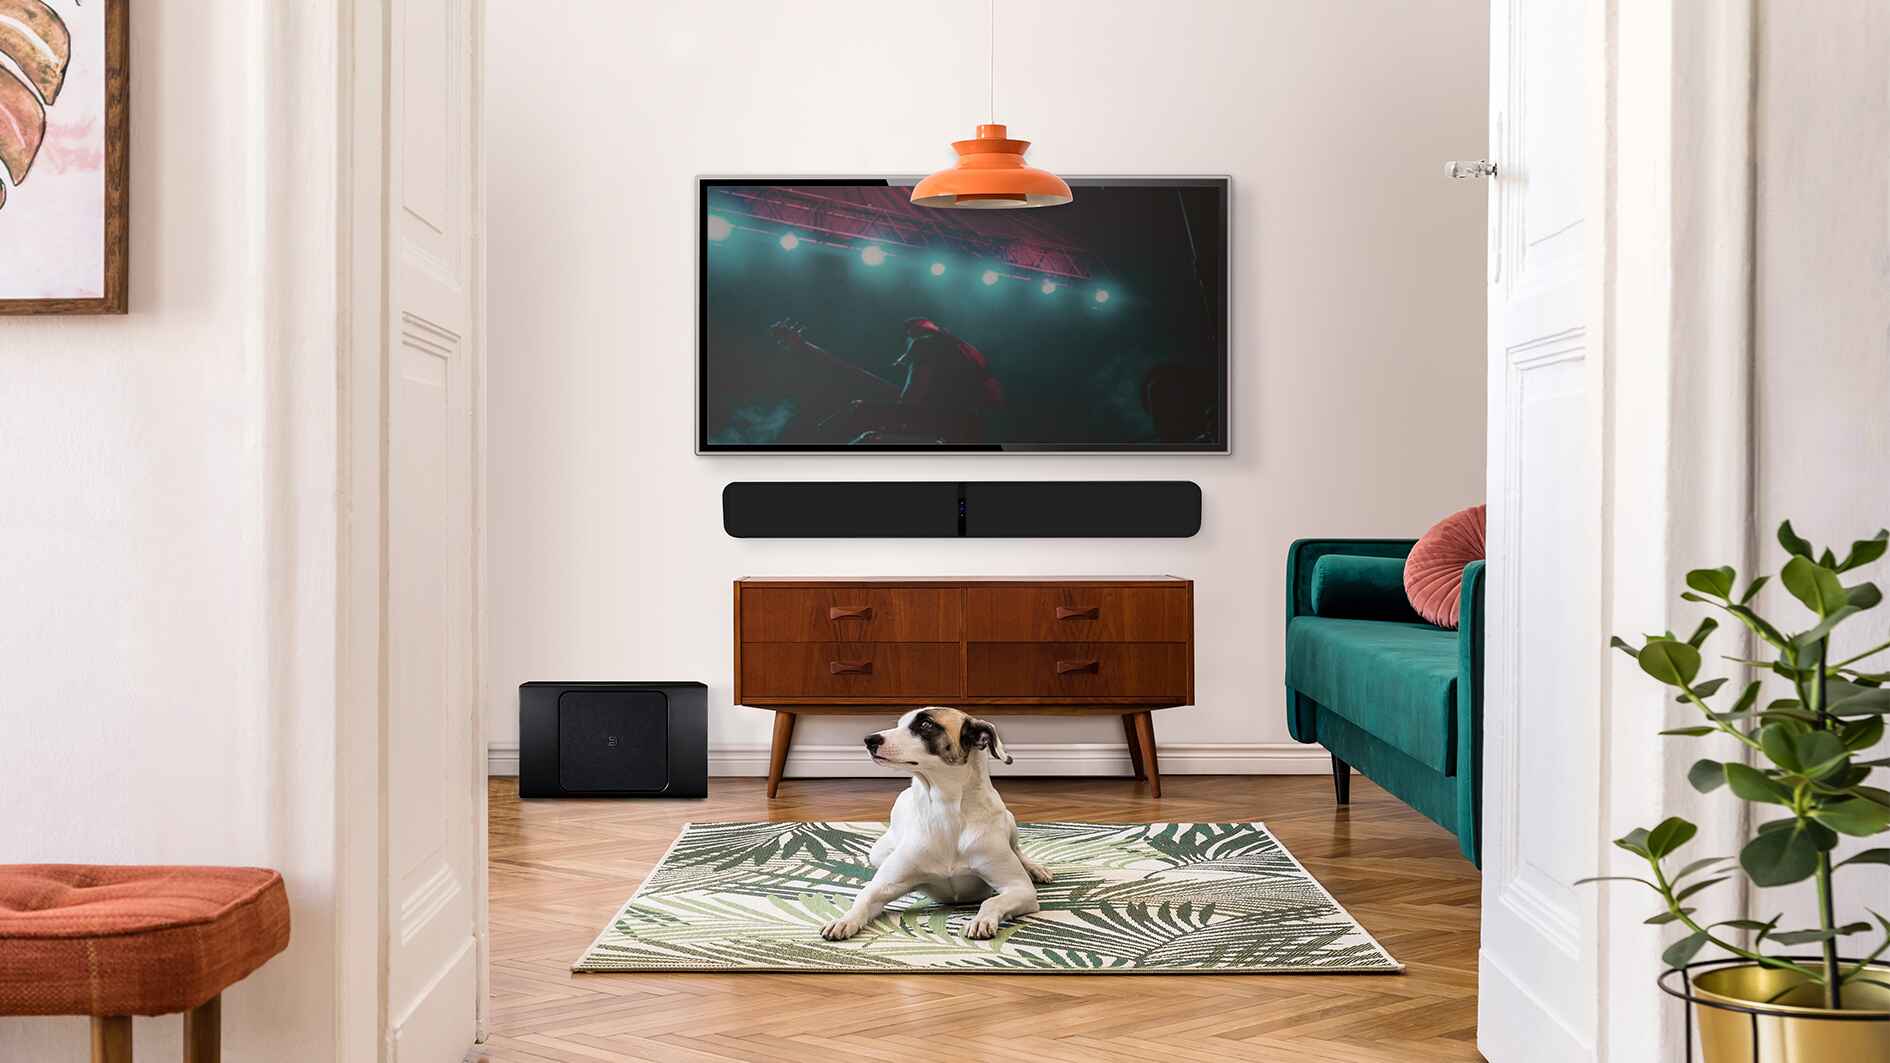
Welcome to the step-by-step guide on how to wall mount a soundbar! If you’re tired of dealing with messy cables and limited space, wall mounting your soundbar can be a game-changer. Not only does it provide a sleek and modern look to your entertainment setup, but it also enhances the audio experience by optimizing sound projection. Whether you’re a tech-savvy enthusiast or a DIY beginner, this guide will walk you through the process, ensuring a secure and seamless installation.
Moving your soundbar from your TV stand to the wall has multiple benefits. Not only does it free up valuable tabletop space, but it also creates a clean and organized look. By mounting your soundbar, you can also achieve better audio dispersion and avoid any interference caused by furniture or obstructions. Plus, with proper cable management, you can eliminate the unsightly tangle of wires.
But before we dive into the step-by-step process, it’s important to gather the necessary tools and materials to ensure a smooth installation. You’ll need a few common items such as a measuring tape, a level, a drill, screws, and wall anchors. Additionally, make sure to check whether your soundbar comes with a wall mount kit or if you’ll need to purchase one separately.
Now that you have an overview of the benefits and requirements, let’s move on to the next section where we’ll discuss the tools and materials needed in more detail. Remember, the key to a successful installation lies in thorough preparation and careful execution, so let’s get started!
Tools and Materials Needed
Before you begin the process of wall mounting your soundbar, it’s important to gather all the necessary tools and materials. Here’s a comprehensive list of what you’ll need:
- Measuring tape: This will help you accurately measure the distance and ensure proper alignment when mounting the brackets.
- Level: A level is essential to ensure that the soundbar is mounted straight and level on the wall.
- Drill: You’ll need a drill to create holes in the wall for mounting the brackets securely.
- Screws and wall anchors: These are necessary for attaching the soundbar brackets to the wall and ensuring stability.
- Screwdriver: Depending on the type of screws used, you may need a screwdriver to tighten them.
- Soundbar wall mount kit: Some soundbars come with a wall mount kit included, while others require you to purchase it separately. Make sure you have the appropriate kit for your soundbar model.
- Pencil or marker: This will be used to mark the spots where you’ll be drilling the holes.
- Cable management solutions: To keep your cables organized and hidden, consider using cable clips, cable covers, or cable raceways.
Having these tools and materials ready before you begin the installation process will save you time and ensure a smoother experience. It’s a good idea to double-check the compatibility of the wall mount kit with your soundbar model to avoid any compatibility issues later on.
Now that you have everything you need, let’s move on to the next section, where we’ll discuss how to choose the right wall mount for your soundbar. Remember, proper preparation is crucial for a successful installation!
Step 1: Choosing the Right Wall Mount
When it comes to wall mounting your soundbar, selecting the right wall mount is essential to ensure a secure and stable installation. Here are a few factors to consider when choosing the appropriate wall mount for your soundbar:
Compatibility: The first thing you need to determine is whether your soundbar is compatible with a wall mount. Check the specifications of your soundbar to see if it has mounting holes or a dedicated mounting bracket. If it does, you’re in luck! If not, you may need to consider alternative mounting options.
Weight capacity: The wall mount you choose should be able to support the weight of your soundbar. Be sure to check the weight capacity of the mount and compare it to the weight of your soundbar. It’s always better to choose a mount with a slightly higher weight capacity to ensure stability.
Adjustability: Consider the level of adjustability you desire for your soundbar. Some mounts offer tilt and swivel capabilities, allowing you to adjust the soundbar’s positioning for the optimal viewing and listening experience. This flexibility can be beneficial if you have a multi-purpose room or if you want to change the soundbar’s angle based on your seating arrangement.
Installation ease: Look for a wall mount that offers easy installation. Some mounts come with a simple bracket system that allows for quick and hassle-free mounting, while others may require more complex installation procedures. Assess your comfort level with DIY projects and choose a mount that suits your skillset.
Reviews and recommendations: Before finalizing your decision, it’s always a good idea to research and read reviews on different wall mounts. Check for feedback on durability, ease of installation, and overall customer satisfaction. Additionally, seek recommendations from friends or online forums to get insights from those who have already gone through the wall mounting process.
By taking these factors into consideration, you can confidently select the right wall mount for your soundbar. Don’t rush this step, as choosing the appropriate mount will ensure a secure and satisfactory installation. With the right mount in hand, you’re ready to move on to the next step: locating the ideal position for mounting your soundbar.
Step 2: Locating the Ideal Position
Once you’ve chosen the right wall mount for your soundbar, the next step is to determine the ideal position for mounting it on the wall. Finding the optimal location will ensure the best audio experience and visual appeal. Here’s a guide to help you locate the perfect spot:
1. Consider the viewing angle: Start by considering the viewing angle from your seating area. The soundbar should be positioned in a way that allows sound to project towards the viewers, enhancing the audio experience. Consider the height and distance of your seating area when choosing the mounting position.
2. Assess the wall space: Look for a suitable wall space that can accommodate your soundbar. Ensure that it’s free from any obstructions such as shelves, wall décor, or windows. You want the soundbar to have enough room to be placed at an optimal height and aligned with your TV or display.
3. Keep cable management in mind: Consider the placement of power outlets and any other necessary connections for your soundbar. It’s important to have easy access to power outlets and audio inputs. Additionally, plan your cable management strategy beforehand to ensure a clean and organized setup.
4. Balance aesthetics and functionality: Take into account the overall aesthetics of your room. You want your wall-mounted soundbar to complement the design and style of your space. Finding a balance between functionality and visual appeal will result in a seamless integration of your soundbar into your home entertainment setup.
5. Utilize a stud finder: To ensure a secure and stable mounting, use a stud finder to locate the studs behind the wall. Mounting the soundbar directly into the studs provides the strongest support. If you can’t mount it on a stud, make sure to use appropriate wall anchors to secure the mount to the wall.
6. Mark the mounting position: Once you’ve identified the ideal mounting position, use a pencil or marker to mark the spots where you’ll be drilling the holes for the soundbar brackets. Use your level to ensure that the markings are level and aligned.
By following these guidelines, you can confidently locate the ideal position for mounting your soundbar. With the mounting position determined, you’re ready to move on to the next step: preparing the soundbar for mounting.
Step 3: Preparing the Soundbar for Mounting
Before you mount your soundbar on the wall, it’s crucial to properly prepare it to ensure a secure and hassle-free installation. Here’s a step-by-step guide on how to prepare your soundbar for mounting:
1. Read the manual: Start by carefully reading the user manual that came with your soundbar. Familiarize yourself with any specific instructions or precautions provided by the manufacturer for wall mounting.
2. Remove the stand: If your soundbar has a stand or feet, detach them according to the instructions in the manual. The stand is unnecessary for wall mounting and removing it will ensure a sleek and flush installation.
3. Measure the soundbar: Use a measuring tape to determine the width, height, and depth of your soundbar. These measurements will help you ensure that the soundbar brackets align properly with your soundbar.
4. Attach the wall mount bracket: If your soundbar comes with a dedicated wall mount bracket, follow the instructions in the manual to securely attach it to the back of your soundbar. Ensure that it is centered and properly aligned.
5. Check the wiring: Take a moment to check the wiring and connections on your soundbar. Ensure that all cables and connectors are securely plugged in and properly organized. This will make the installation process smoother and help prevent any cable-related issues later on.
6. Test the soundbar: Before mounting, it’s a good idea to test your soundbar to ensure it’s functioning correctly. Connect it to your TV or audio source and play some audio to verify that the sound is coming through properly.
7. Gather any additional accessories: Depending on your setup and preferences, you may need additional accessories such as cable clips, adhesive hooks, or cable covers for effective cable management. Gather these accessories and have them ready for the installation process.
By following these steps, you’ll be well-prepared to mount your soundbar securely. Properly preparing your soundbar ensures a smooth and efficient installation process, allowing you to enjoy optimal audio performance. With your soundbar prepared and ready to go, let’s move on to the next step: mounting the soundbar brackets to the wall.
Step 4: Mounting the Soundbar Brackets to the Wall
Now that you have prepared your soundbar, it’s time to mount the soundbar brackets onto the wall. Follow these steps to ensure a secure and stable installation:
1. Check your measurements: Double-check the measurements and markings you made earlier to ensure that the brackets will be mounted at the desired height and aligned properly. Measure the distance between the markings to ensure accuracy.
2. Drill pilot holes: Using a drill with the appropriate bit, carefully drill pilot holes into the wall at the marked spots. Make sure the drill bit is slightly smaller than the screws or wall anchors you’ll be using. If you’re drilling into studs, skip this step.
3. Insert wall anchors (if needed): If you’re not mounting the brackets directly into studs, insert wall anchors into the pilot holes. Gently tap the anchor into the hole until it sits flush with the wall surface. This will provide stability and support for the brackets.
4. Attach the brackets: Line up the soundbar brackets with the pilot holes or wall anchors. Securely attach the brackets to the wall using screws or the appropriate hardware provided with your wall mount kit. Ensure that the brackets are level and aligned correctly.
5. Double-check the stability: After attaching the brackets, give them a slight tug to ensure they’re firmly secured to the wall. Wiggle them gently to check for any signs of instability. If the brackets feel loose, recheck the installation and tighten the screws or adjust the wall anchors if necessary.
6. Verify the alignment: Use a level to confirm that the brackets are straight and aligned. Make any necessary adjustments to ensure a level mount, as this will affect the overall appearance and stability of your soundbar installation.
7. Test the brackets: Before proceeding, test the brackets’ strength by gently applying pressure without the soundbar attached. This will help you confirm that the brackets can securely hold the weight of your soundbar.
By following these steps, you’ll successfully mount the soundbar brackets onto the wall. Taking the time to ensure proper alignment and stability will result in a secure and reliable installation. With your brackets securely attached, you’re one step closer to enjoying your wall-mounted soundbar. The next step will guide you on how to attach the soundbar to the brackets.
Step 5: Attaching the Soundbar to the Brackets
With the brackets securely mounted on the wall, it’s time to attach your soundbar to the brackets. Follow these steps to ensure a proper and secure attachment:
1. Line up the soundbar: Carefully hold your soundbar and align it with the brackets on the wall. Ensure that the soundbar is level and centered between the brackets, for both aesthetic and functional purposes.
2. Slide or hook the soundbar onto the brackets: Depending on the type of mount you have, there will be different attachment methods. Some mounts require sliding the soundbar onto the brackets, while others utilize hooks that hold the soundbar in place. Follow the instructions provided with your mount to correctly attach the soundbar.
3. Double-check the stability: Test the stability by gently shaking the soundbar and ensuring that it’s securely attached to the brackets. Verify that there is no wobbling or any signs of instability. If necessary, readjust the soundbar on the brackets to achieve a firm and balanced attachment.
4. Verify proper alignment and positioning: Stand back and ensure that the soundbar is straight, level, and centered. Take a moment to check its position in relation to your TV or display, and make any required adjustments for optimal visual appeal.
5. Consult the manual for further steps (if applicable): Some soundbars may have additional steps required for attaching them to the brackets. Refer to the user manual provided with your soundbar to ensure you are following all the manufacturer’s instructions for proper attachment.
By following these steps, you will securely attach your soundbar to the brackets mounted on the wall. Proper alignment and stable attachment are essential for both the visual appeal and functionality of your wall-mounted soundbar. With your soundbar successfully attached, it’s time to move on to the next step: cable management.
Step 6: Cable Management
Proper cable management is crucial to maintaining a tidy and organized appearance for your wall-mounted soundbar setup. Follow these steps to effectively manage your cables:
1. Plan your cable route: Decide on the path you want your cables to follow from the soundbar to the nearest power outlet and audio source. Consider the shortest and most discreet route to prevent cables from becoming a visual distraction.
2. Use cable clips or adhesive hooks: Attach cable clips or adhesive hooks along the planned cable route to secure the cables and prevent them from dangling or tangling. These clips or hooks can be easily attached to the wall without causing any damage.
3. Bundle and hide cables: Bundle the cables together using cable ties or Velcro straps to create a neater and more organized appearance. Avoid tying the cables too tightly to allow for flexibility and easier maintenance if adjustments need to be made in the future.
4. Use cable covers or raceways: If you prefer a more discrete cable management solution, consider using cable covers or raceways to hide the cables and blend them with the wall. These coverings can be painted to match the wall color and provide a cleaner aesthetic.
5. Consider wireless solutions: If your soundbar supports wireless connectivity, take advantage of it to minimize cable clutter. Utilizing wireless connections for audio transmission can greatly reduce the number of cables needed for your soundbar setup.
6. Verify signal and power integrity: After managing the cables, ensure that all connections remain secure and that there is no interference or loss of audio or power. Test the soundbar to ensure that it functions correctly without any interruptions.
7. Regularly check and maintain: Make it a habit to periodically check and maintain the cable management system. Over time, cables may become loose or tangled, so it’s important to recheck the cable clips, covers, or raceways to maintain a neat and organized appearance.
Following these cable management steps will help you achieve a clean and clutter-free look for your wall-mounted soundbar. A well-organized cable setup enhances the overall aesthetics of your entertainment area and ensures hassle-free maintenance. With your cables managed successfully, it’s time for the final step: testing and making any necessary adjustments.
Step 7: Testing and Adjustments
After completing the installation and cable management, it’s important to thoroughly test the functionality and make any necessary adjustments. Follow these steps to ensure your wall-mounted soundbar is working optimally:
1. Check audio output: Connect your soundbar to the audio source, whether it’s your TV, AV receiver, or another device. Play some audio and check that the sound is coming through the soundbar as expected. Adjust the volume levels to ensure an optimal listening experience.
2. Evaluate sound projection: Pay attention to the sound projection and directionality. Walk around the room and confirm that the soundbar is projecting sound evenly and accurately. Make adjustments if necessary to optimize the audio dispersion.
3. Fine-tune positioning: If you notice any issues with the sound quality or projection, consider fine-tuning the positioning of the soundbar. Small adjustments in its angle or height can significantly impact the audio performance. Experiment with different positions and angles until you find the sweet spot.
4. Verify stability: Give the soundbar a gentle shake to ensure it remains securely attached to the brackets. If you notice any wobbling or instability, double-check the brackets’ attachment and make necessary adjustments to ensure a stable installation.
5. Review cable management: Take a final look at the cable management system you implemented. Ensure that the cables are neatly organized and hidden from view. Make any adjustments necessary to optimize the cable management and maintain a clean and clutter-free setup.
6. Revisit sound settings: Depending on your soundbar model and personal preferences, you may need to adjust the sound settings to fine-tune the audio output. Explore the available equalizer settings, surround sound options, and other audio features to customize the sound to your liking.
7. Repeat the tests: After making adjustments or changing settings, repeat the audio tests to ensure that the changes have had the desired effect. This iterative process allows you to fine-tune the soundbar’s performance until it meets your expectations.
By following these testing and adjustment steps, you can ensure that your wall-mounted soundbar is functioning optimally and delivering an enhanced audio experience. Regularly reevaluate and make any necessary adjustments to maintain an enjoyable and immersive audio setup. Congratulations on successfully wall mounting your soundbar!
Conclusion
Congratulations! You’ve now successfully completed the process of wall mounting your soundbar. By following the step-by-step guide, you’ve not only enhanced the aesthetics of your entertainment area but also optimized the audio experience in your space.
Throughout this guide, you learned how to choose the right wall mount for your soundbar, locate the ideal position for installation, prepare the soundbar for mounting, attach the soundbar to the wall brackets, manage the cables effectively, and conduct thorough testing and adjustments. By carefully following these steps, you’ve ensured a secure, organized, and functional wall-mounted soundbar setup.
Remember to regularly check the stability of your installation and maintain proper cable management to preserve the clean and clutter-free appearance. Additionally, don’t hesitate to revisit the sound settings and positioning of your soundbar to fine-tune the audio experience to your liking.
By wall mounting your soundbar, you’ve freed up valuable space, improved audio projection, and created a sleek and modern look for your entertainment area. Now, sit back, relax, and enjoy an immersive audio experience that brings your favorite movies, music, and games to life.
Thank you for following this guide, and we hope you enjoy your newly wall-mounted soundbar!