Introduction
Welcome to our guide on how to mount an LG soundbar to the wall! Mounting your soundbar can not only save space but also enhance your audio experience by positioning it at the ideal height. Whether you want to create a sleek and minimalist look or simply need to optimize your soundbar’s performance, this step-by-step tutorial will walk you through the process.
Before we get started, it’s important to note that the specific instructions may vary slightly depending on the model of your LG soundbar. However, the general principles and techniques outlined here should apply to most LG soundbars. Please refer to your soundbar’s user manual for any model-specific instructions or guidelines.
In this guide, we’ll cover the necessary tools and materials, considerations before mounting, locating the ideal position, measuring and marking the mounting points, securing the mounting bracket, attaching the soundbar, concealing cables and wires, adjusting the position, and testing the functionality. So let’s dive in and get your LG soundbar mounted to the wall!
Tools and Materials Needed
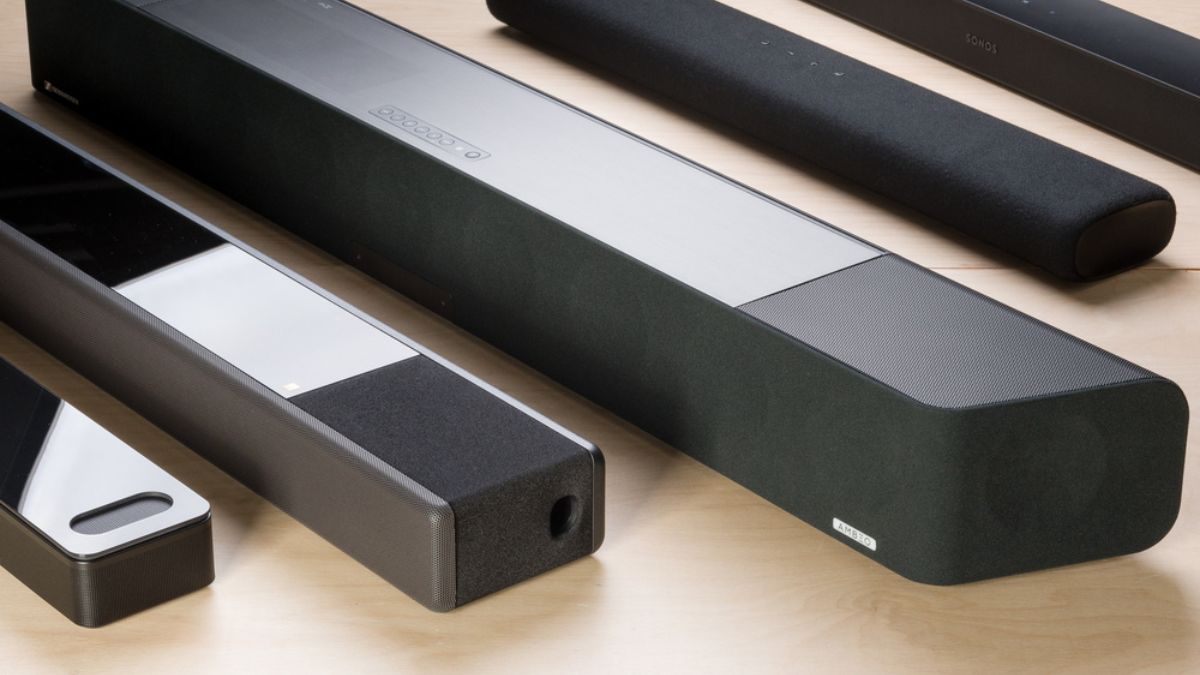
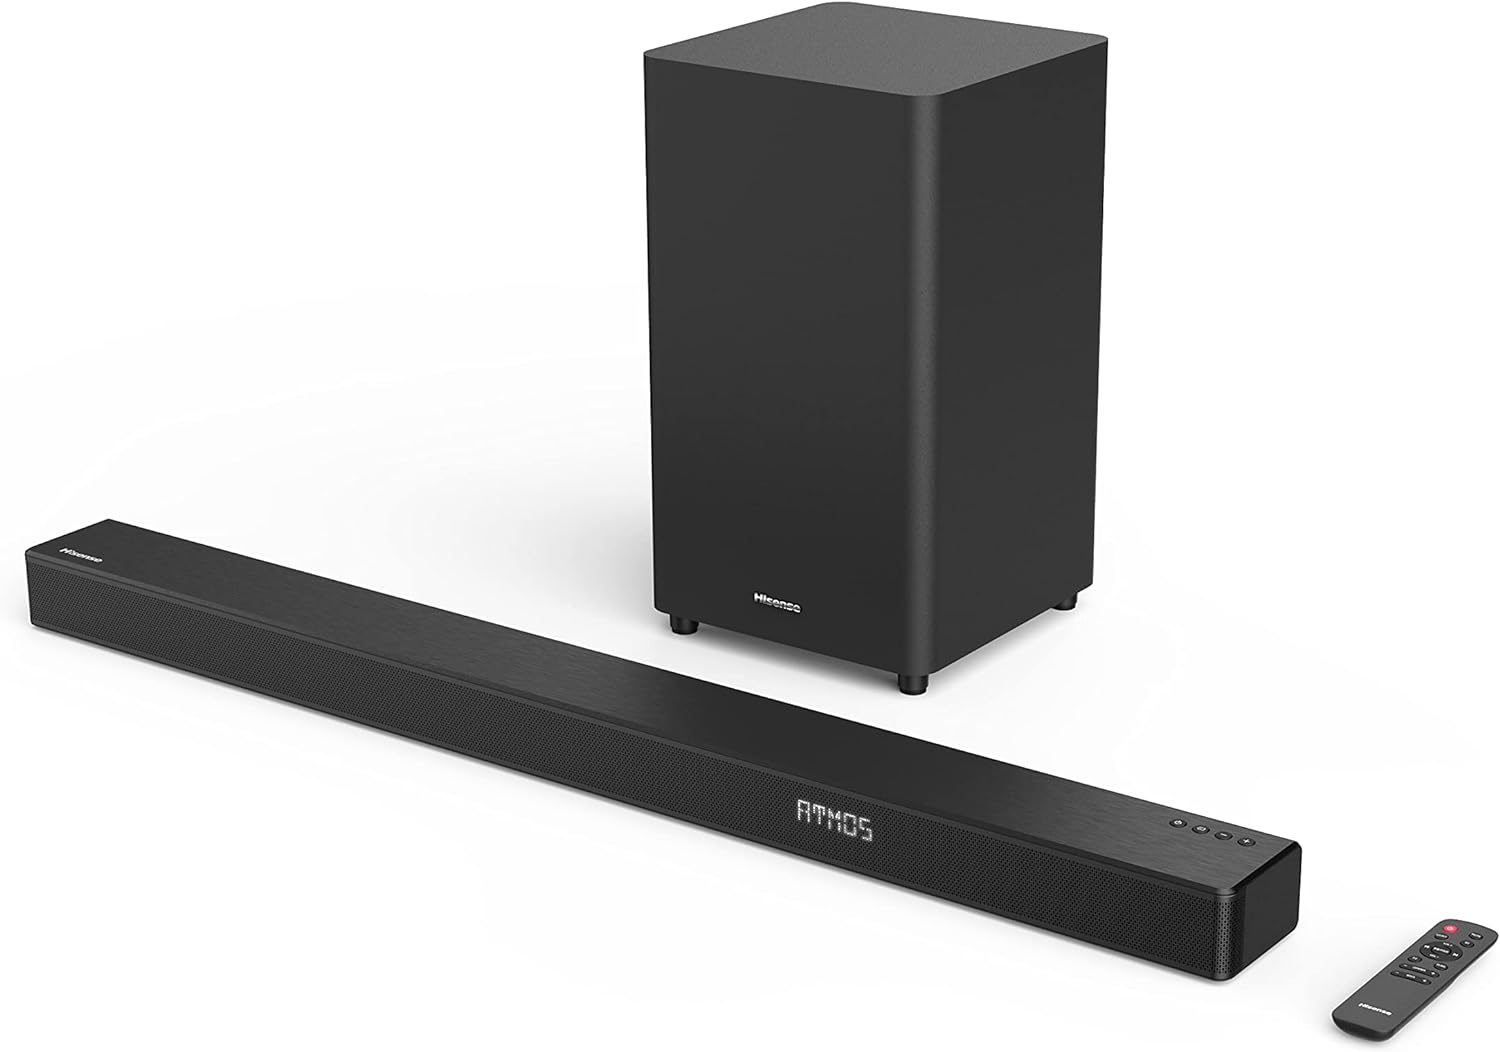
Before you begin the process of mounting your LG soundbar to the wall, it’s important to gather all the necessary tools and materials to ensure a smooth and successful installation. Here are the tools and materials you will need:
Tools:
- Power drill
- Drill bits
- Screwdriver
- Tape measure
- Pencil or marker
- Level
- Stud finder
- Wall anchors (if needed)
- Wire cutter/stripper
Materials:
- Mounting bracket or wall mount kit
- Mounting screws (included with the soundbar or mount)
- Wall screws (if necessary)
- Wall anchors (if necessary)
- Cable management clips or raceways
- Optional: HDMI cables, optical cables, or any other necessary audio cables for connection
It’s important to have all these tools and materials on hand before you begin the installation process. This will ensure that you have everything you need to complete the task smoothly and efficiently.
Step 1: Considerations Before Mounting
Before you start mounting your LG soundbar to the wall, there are a few important considerations to keep in mind. These considerations will help ensure that you achieve the best possible setup and avoid any potential issues down the line.
1. Wall compatibility: Assess the type of wall you will be mounting your soundbar onto. Ensure that the wall is stable and strong enough to support the weight of the soundbar and the wall mount. Different wall materials may require different mounting techniques, so make sure to follow the manufacturer’s recommendations.
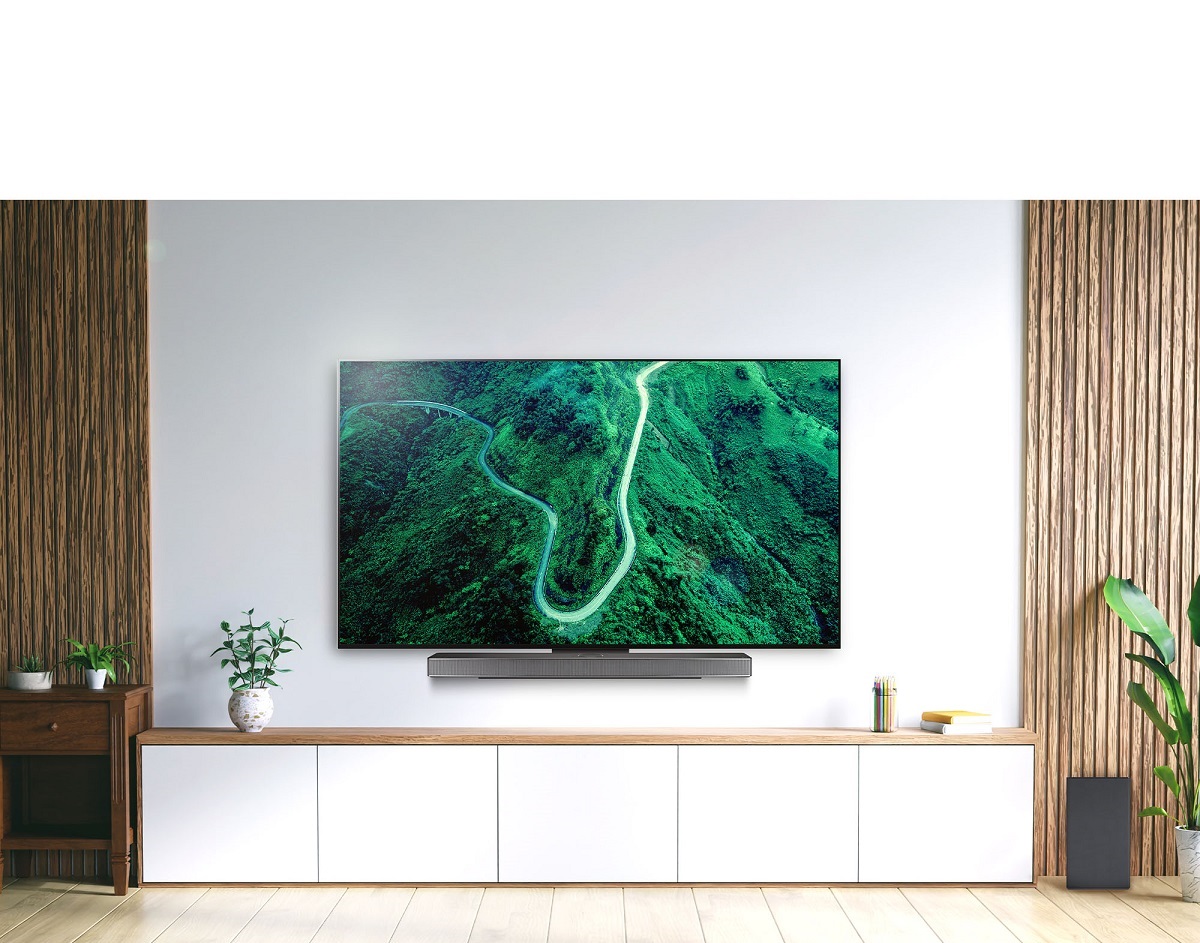
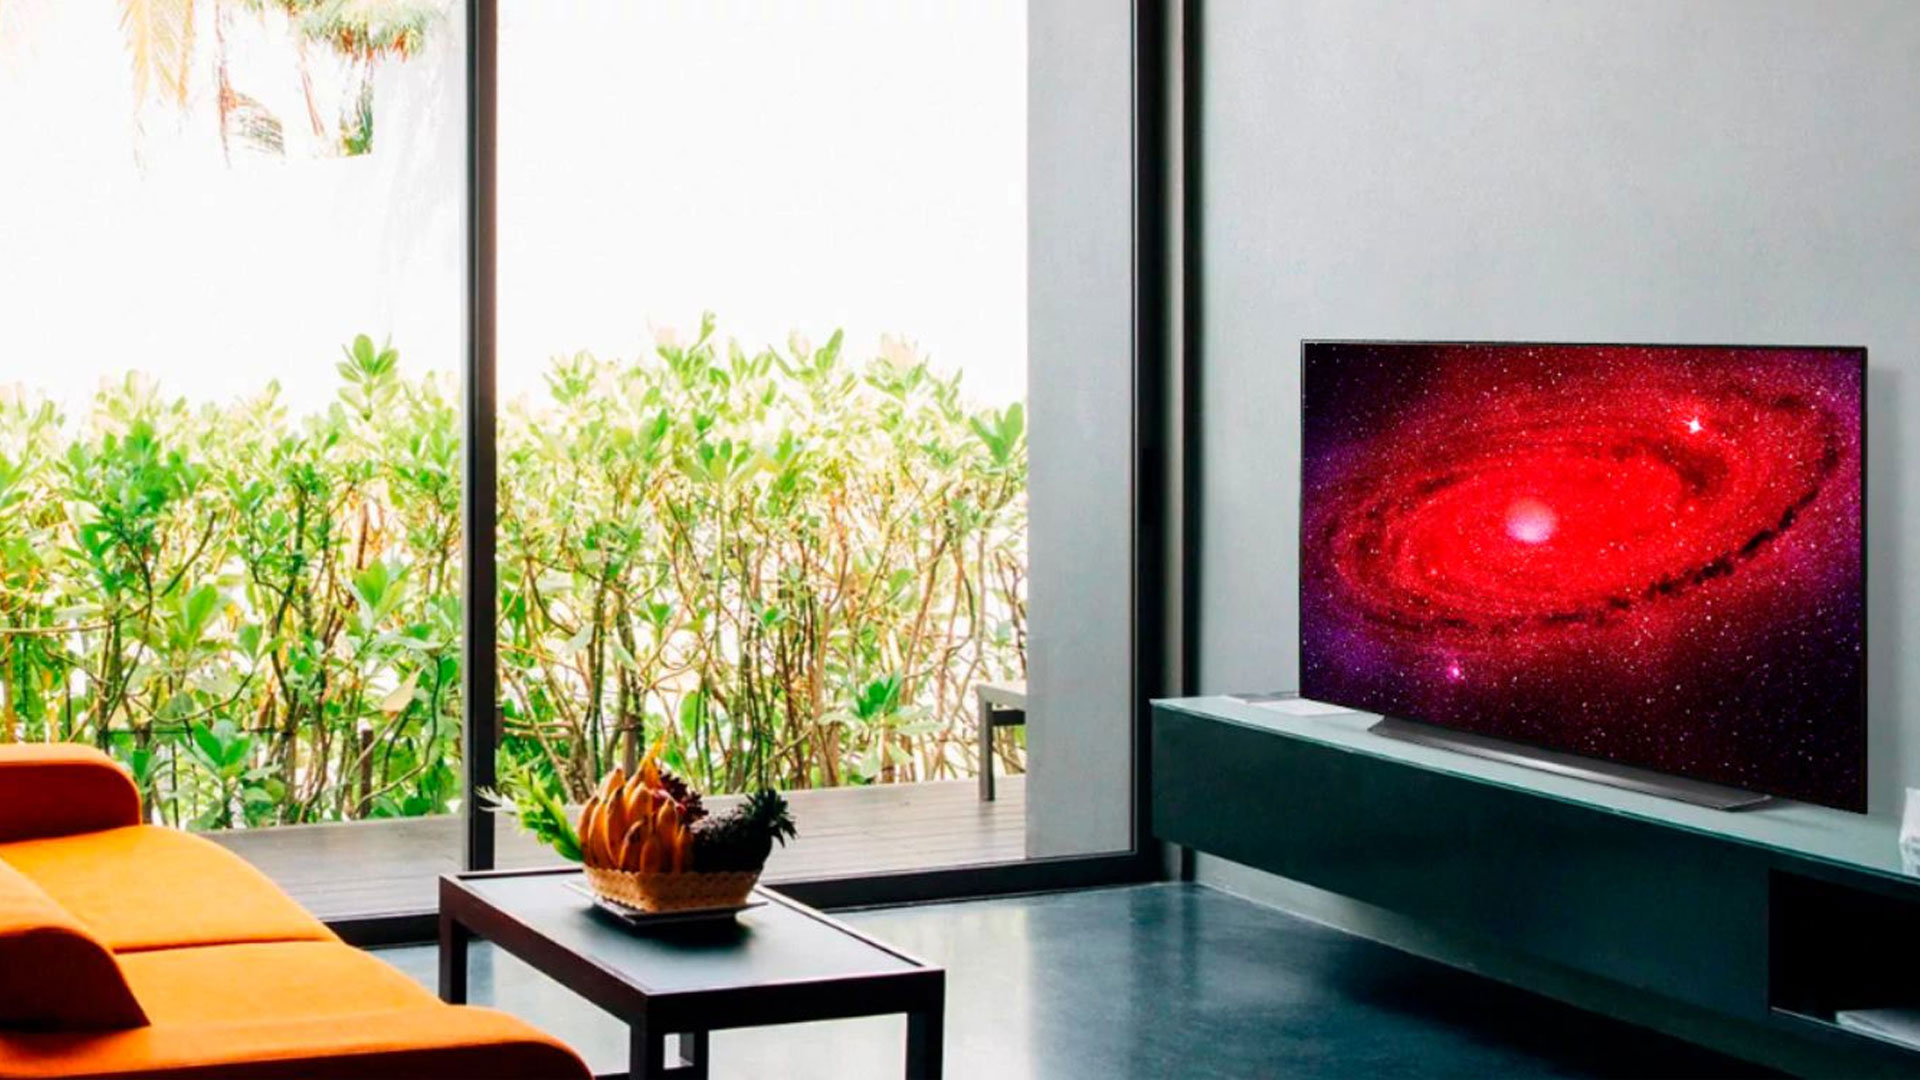
2. Ideal positioning: Determine the best location to mount your soundbar. Consider factors such as your seating arrangement, room acoustics, and the soundbar’s audio dispersion. Ideally, the soundbar should be centered horizontally and positioned at ear level when seated to ensure optimal audio performance.
3. Wiring considerations: Think about how you plan to connect your soundbar to the audio source and power supply. Consider the location of power outlets and the availability of the necessary cables. It’s essential to plan the cable routing and make provisions for cable concealment to maintain a clean and organized look.
4. Remote control access: Check if your soundbar’s remote control requires a direct line of sight to operate. If so, ensure that the soundbar is not obstructed by any objects or furniture that could interfere with the remote’s signal.
5. Personal preferences: Ultimately, consider your own preferences and aesthetic preferences when deciding on the mounting location. Take into account the overall room decor and layout to achieve a visually pleasing setup.
By considering these factors beforehand, you can ensure a successful and satisfying soundbar installation. Now that you have taken these considerations into account, it’s time to move on to the next step: locating the ideal position for mounting your LG soundbar.
Step 2: Locate the Ideal Position for Mounting
Now that you have considered the necessary factors, it’s time to determine the ideal position for mounting your LG soundbar. Finding the right location will ensure optimal sound performance and complement your room’s layout. Follow these steps to locate the perfect spot:
1. Assess the viewing area: Stand or sit in your usual viewing position and determine where the soundbar will have the maximum impact. Consider factors such as eye level, viewing angles, and any obstructions that may affect sound projection.
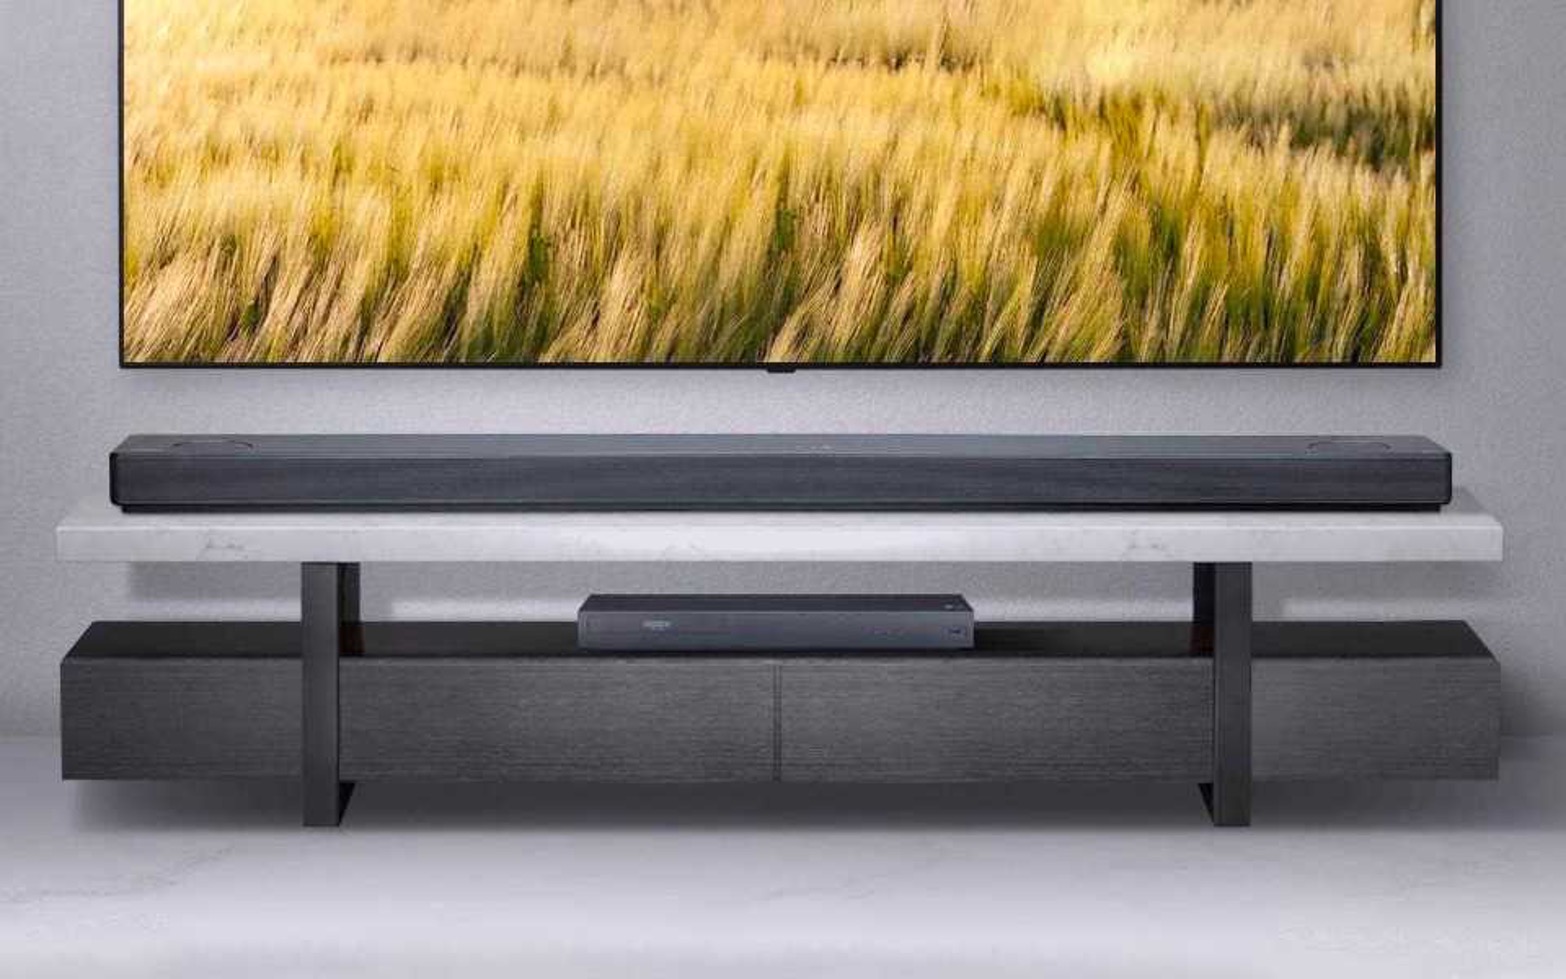
2. Centered placement: Ideally, your soundbar should be centered horizontally, aligned with your TV or the focal point of your viewing area. This will help ensure an immersive audio experience and a balanced visual aesthetic.
3. Distance from the wall: Consider how far away from the wall you want your soundbar to be. This will depend on the available space and your personal preference. Keep in mind that a soundbar too close to the wall may hinder sound projection, while too much distance may affect the overall balance and spatial audio experience.
4. Position relative to the seating area: Take into account the seating arrangement in your room. Ideally, the soundbar should be positioned at or slightly above ear level when seated to ensure optimal audio clarity and immersion.
5. Testing the sound: If possible, temporarily position the soundbar at different locations within the identified area and play some audio content. Listen for any sound imbalances, distortion, or obstructions caused by nearby objects. This will help you fine-tune the position and find the optimal spot for mounting.
By following these steps, you can determine the ideal position for mounting your LG soundbar and create an immersive audio experience. Once you have found the perfect location, it’s time to move on to the next step: measuring and marking the mounting points.
Step 3: Measure and Mark the Mounting Points
With the ideal position for mounting your LG soundbar identified, it’s time to measure and mark the mounting points on the wall. Properly measuring and marking will ensure that your soundbar is level and securely mounted. Follow these steps to measure and mark the mounting points accurately:
1. Gather your tools: Gather your tape measure, pencil or marker, and level for accurate measurements and markings.
2. Determine the height: Measure and mark the desired height for your soundbar. Remember to consider factors such as eye level when seated and any objects or furniture that may obstruct the sound projection.
3. Mark the center point: Find the center of the soundbar and mark it with a small dot or X on the wall. This will serve as the reference point for aligning the soundbar with the mounting bracket.
4. Measure the distance: Use your measuring tape to measure the distance between the mounting holes on the back of the soundbar. Transfer these measurements horizontally to the wall, aligning them with the center mark.
5. Use a level: Place a level horizontally on the wall, aligning it with the marked mounting points. Ensure that the bubbles on the level are centered, indicating a straight and level position. Adjust the markings as necessary.
6. Mark the screw locations: Once the measurements and level position are confirmed, mark the screw locations on the wall. Use your pencil or marker to indicate where the screws will go, ensuring they align with the mounting holes on the soundbar and mounting bracket.
7. Double-check the measurements: Before proceeding, double-check all measurements and markings to ensure accuracy. This will help avoid any issues during the installation process.
By measuring and marking the mounting points accurately, you will ensure a level and secure installation for your LG soundbar. Once you have completed this step, it’s time to move on to the next: securing the mounting bracket to the wall.
Step 4: Secure the Mounting Bracket to the Wall
Now that you have measured and marked the mounting points, it’s time to secure the mounting bracket to the wall. The mounting bracket provides a sturdy and stable support for your LG soundbar. Follow these steps to ensure a secure installation:
1. Gather your tools: Make sure you have your power drill, appropriate drill bit, screws, and wall anchors (if necessary) ready for use.
2. Pre-drill the holes: If using wall anchors, use an appropriate drill bit to pre-drill holes at the marked locations. If you’re screwing directly into a stud, skip this step. The size of the drill bit should match the size of the wall anchors or screws you’re using.
3. Install wall anchors (if applicable): If your wall requires wall anchors for proper support, insert them into the pre-drilled holes until they are flush with the wall’s surface. This will ensure a solid mounting point.
4. Attach the mounting bracket: Align the mounting bracket with the marked holes on the wall. Secure it in place by driving screws through the bracket into the pre-drilled holes or wall anchors. Use your power drill for this step. Ensure the bracket is level and securely mounted.
5. Test the stability: Give the mounting bracket a gentle tug to ensure it is securely attached to the wall. If there is any wobbling or instability, double-check the screws and wall anchors to ensure they are properly tightened.
6. Verify the level: Use a level to confirm that the mounting bracket is still level after securing it. Adjust if necessary to maintain a straight and balanced installation.
By following these steps, you will securely attach the mounting bracket to the wall, providing a stable foundation for your LG soundbar. Once the bracket is securely mounted, you’re ready to move on to the next step: attaching the soundbar to the wall mount.
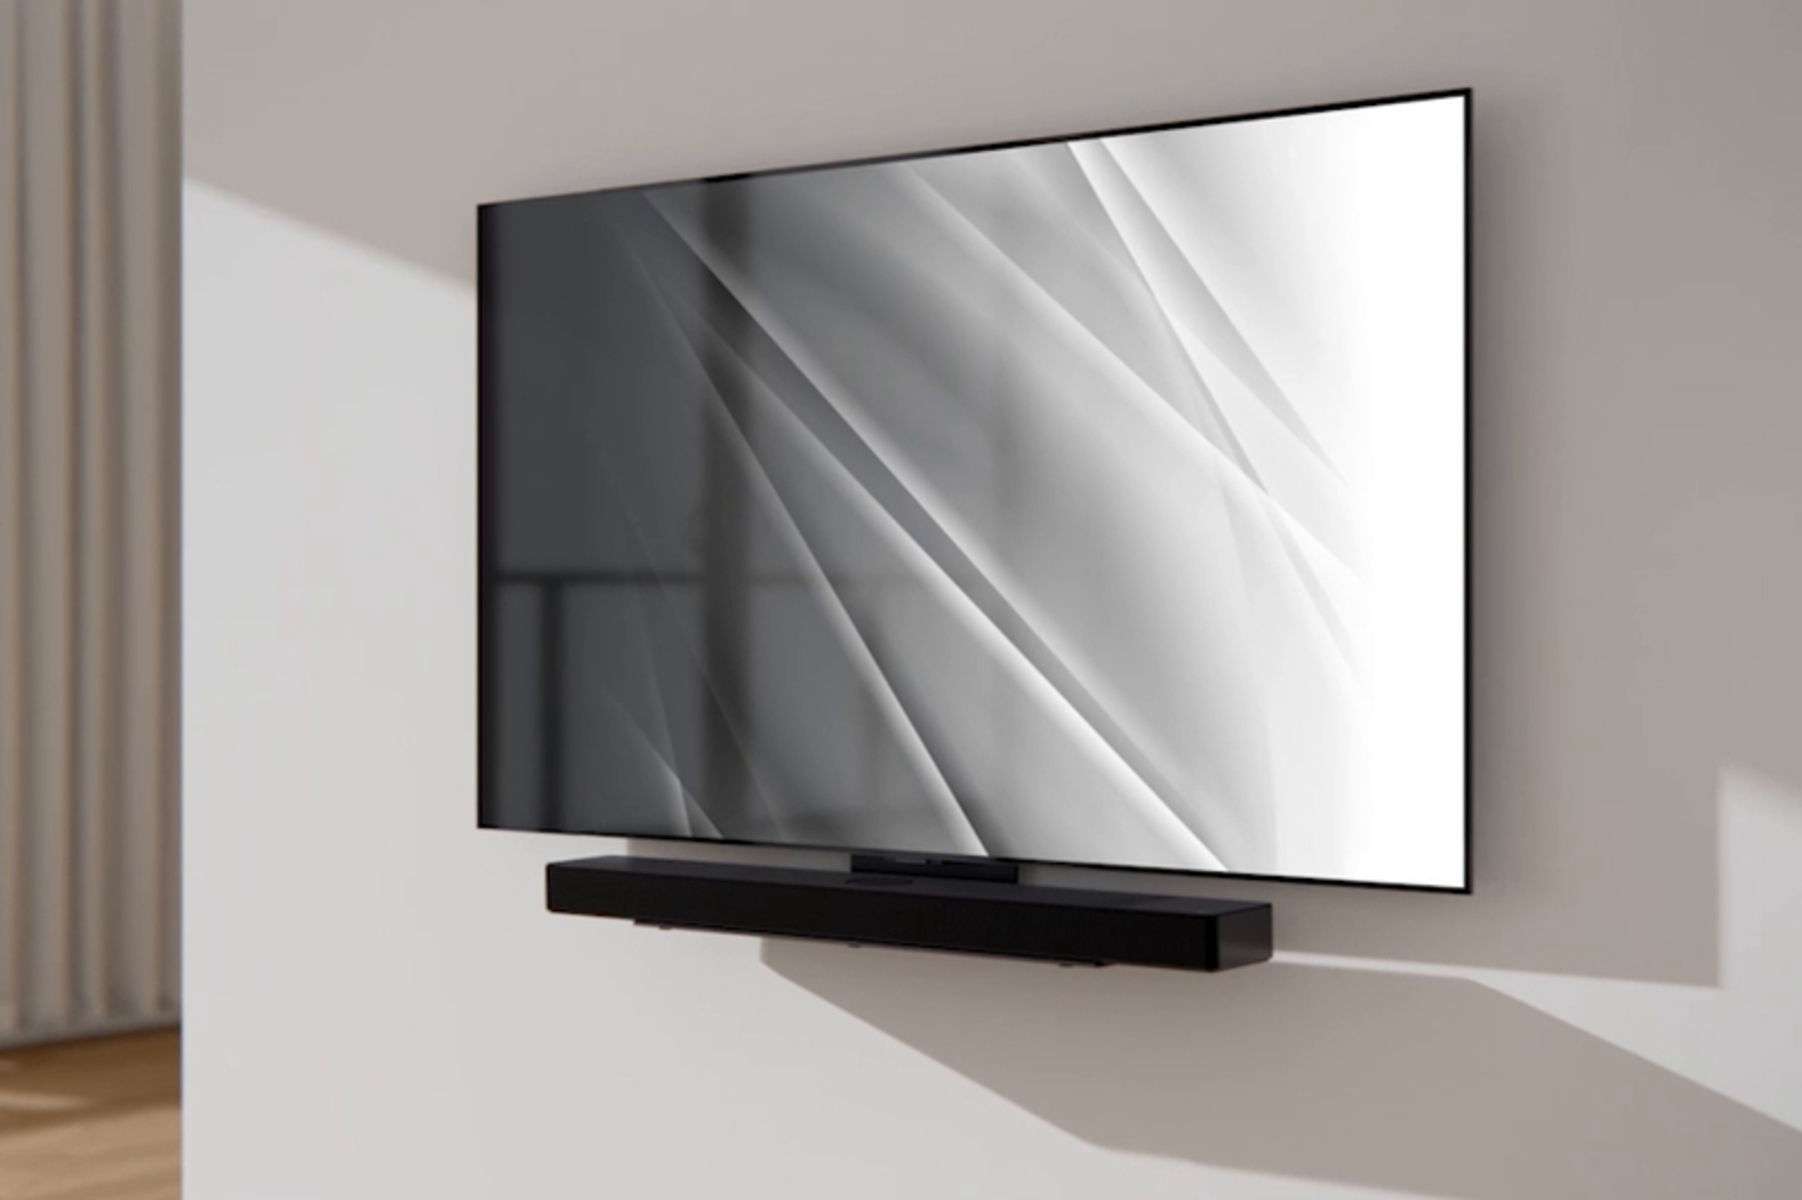
Step 5: Attach the Soundbar to the Wall Mount
Now that the mounting bracket is securely attached to the wall, it’s time to attach your LG soundbar to the wall mount. This step will ensure that your soundbar is properly aligned with the mounting bracket and securely attached. Follow these steps to complete this process:
1. Check the soundbar’s compatibility: Before proceeding, ensure that your soundbar is compatible with the specific wall mount or mounting bracket you are using. Refer to the soundbar’s user manual or consult with the manufacturer if you are unsure.
2. Align the soundbar with the mounting bracket: Carefully place the soundbar onto the mounting bracket, ensuring that the mounting holes on the back of the soundbar align with the corresponding screws or hooks on the bracket. Take your time to properly align the soundbar with the bracket to avoid any issues later on.
3. Secure the soundbar: Once the soundbar is aligned with the bracket, use the provided screws or locking mechanism to secure it in place. Follow the manufacturer’s instructions for your specific soundbar model, making sure to tighten the screws or engage the locking mechanism securely.
4. Test the stability: Gently give the soundbar a slight tug to ensure that it is securely attached to the wall mount. Make sure there is no wobbling or movement that could affect the stability of the installation.
5. Verify the alignment: Step back and visually confirm that the soundbar is level and aligned with the mounting bracket. Use a level if necessary to ensure it is straight and balanced.
6. Check for obstruction: Make sure that the soundbar is not obstructed by any objects or furniture that may interfere with the audio projection or remote control functionality. Adjust the positioning if needed to ensure a clear line of sight.
By following these steps, you will successfully attach your LG soundbar to the wall mount. This ensures a secure and aligned installation that enhances your audio experience. With the soundbar attached, it’s time to move on to the next step: concealing cables and wires.
Step 6: Conceal Cables and Wires
Now that your LG soundbar is securely mounted to the wall, it’s time to tackle cable management. Concealing cables and wires will not only enhance the visual appeal of your setup but also reduce the risk of tripping hazards. Follow these steps to effectively conceal the cables and wires:
1. Assess the cable length: Take note of the length of each cable and determine the best route for them to reach their respective destinations (e.g., power outlet, audio source).
2. Use cable management clips or raceways: Consider using cable management clips or raceways to neatly route and secure the cables along the wall or baseboard. These accessories can help keep the cables organized and prevent them from dangling or tangling.
3. Thread cables through the wall (optional): For a cleaner and more streamlined look, you may choose to route cables through the wall. This requires more advanced knowledge and may involve drilling holes and using in-wall cable management solutions. If unsure, consult with a professional to ensure a safe and proper installation.
4. Ensure proper cable length: Before securing the cables, make sure they have enough slack to allow for any repositioning or adjustments of the soundbar in the future. Avoid pulling the cables too tightly, as this could strain the connections or limit the flexibility of the setup.
5. Secure cables along the route: Using the cable management clips or raceways, secure the cables along the designated route. Ensure that the cables are neatly organized and not twisted or tangled. This will help maintain a clean and tidy appearance.
6. Test for functionality: Once the cables are concealed, recheck the functionality of the system. Ensure that all cables are properly connected and that there are no issues with the audio or power supply.
By following these steps, you can effectively conceal the cables and wires associated with your LG soundbar. This will create a visually pleasing setup while minimizing the risk of accidents. With the cables neatly managed, it’s time to move on to the next step: adjusting and fine-tuning the soundbar’s position.
Step 7: Adjust and Fine-Tune the Soundbar’s Position
Now that your LG soundbar is mounted and the cables are concealed, it’s time to fine-tune the position for optimal audio performance. Adjusting the soundbar’s position may involve making minor tweaks to achieve the best soundstage and clarity. Follow these steps to fine-tune the soundbar’s position:
1. Listen to audio content: Play various types of audio content, such as music or movies, to get a sense of the sound quality and characteristics in your listening area.
2. Assess the soundstage: Pay attention to the sound dispersion and imaging. Make adjustments to the soundbar’s position if necessary to achieve a balanced soundstage with clear separation between different audio channels.
3. Experiment with different angles: Adjust the angle of the soundbar to optimize the audio projection towards your listening area. Tilting the soundbar slightly up or down can make a difference in sound clarity and immersion.
4. Evaluate the bass response: Consider the bass performance of your soundbar. If the bass feels overpowering or lacking, experiment with the soundbar’s position to achieve a more balanced bass response within your listening space.
5. Consider the room acoustics: Take into account the unique acoustics of your room. Factors such as room size, shape, and the presence of acoustic treatments or furniture can impact the sound quality. Adjust the soundbar’s position to optimize the audio performance based on these factors.
6. Fine-tune the height: Pay attention to the height of the soundbar in relation to your seating position. Adjust the mounting bracket if needed to ensure the soundbar is at ear level or slightly above for the best audio experience.
7. Test different listening positions: If you have multiple seating positions, test the sound quality from various locations. Adjust the soundbar’s position to ensure a consistent and enjoyable listening experience for everyone in the room.
By following these steps and making the necessary adjustments, you can fine-tune the position of your LG soundbar for optimal audio performance. Take the time to listen and experiment until you achieve the best possible sound quality. Once you are satisfied with the soundbar’s position, it’s time for the final step: testing and enjoying your mounted LG soundbar!
Step 8: Test and Enjoy Your Mounted LG Soundbar
Congratulations! You have successfully mounted your LG soundbar and fine-tuned its position. Now it’s time to put it to the test and enjoy the immersive audio experience it provides. Follow these steps to ensure everything is functioning correctly:
1. Test audio playback: Play your favorite audio content, such as movies, music, or games, to fully experience the sound quality of your new setup. Listen for clarity, balance, and spatial positioning of the audio elements.
2. Adjust sound settings: Explore the sound settings and customization options offered by your LG soundbar. You may have the ability to adjust bass, treble, and other audio parameters to match your personal preferences or the content you are listening to.
3. Test different audio sources: Connect different audio sources to your soundbar, such as a TV, gaming console, or music player, to ensure compatibility and versatility. Switch between these sources and test the audio quality of each one.
4. Verify remote control functionality: Ensure that your soundbar’s remote control functions correctly by testing all the buttons and features. Make sure you can adjust the volume, switch inputs, and access other essential functions without any issues.
5. Check for any audio or connectivity issues: Listen for any potential audio distortion, dropout, or connectivity issues. If you encounter any problems, consult the user manual or contact LG customer support for assistance in troubleshooting and resolving the issues.
6. Make final adjustments if necessary: After testing, make any final adjustments to the soundbar’s position or settings if needed. Fine-tune the audio performance to your personal preferences and the specific content you will be enjoying on your soundbar.
Once you have completed these tests and made any necessary adjustments, sit back, relax, and enjoy your newly mounted LG soundbar. Immerse yourself in high-quality audio and elevate your entertainment experience!
Conclusion
Mounting your LG soundbar to the wall can greatly enhance your audio experience while providing a sleek and clutter-free setup. By following the step-by-step instructions outlined in this guide, you have successfully accomplished the mounting process and ensured optimal audio performance.
Throughout this guide, we covered essential considerations before mounting, locating the ideal position, measuring and marking the mounting points, securing the mounting bracket, attaching the soundbar, concealing cables and wires, adjusting the position, and testing the functionality. Each step was designed to help you achieve a professional and hassle-free installation.
Remember, while the instructions in this guide are general, it’s crucial to consult your LG soundbar’s user manual for any model-specific instructions or guidelines. Additionally, consider seeking professional assistance if you are unsure about any aspects of the mounting process.
Now that your LG soundbar is mounted and perfectly positioned, take the time to fine-tune the audio quality to your liking and immerse yourself in your favorite movies, music, or games. Enjoy the enhanced soundstage, clarity, and immersive audio experience that your mounted LG soundbar provides.
Thank you for choosing our guide and congratulations on your successful installation. Sit back, relax, and enjoy the captivating audio experience your mounted LG soundbar delivers!