Introduction
Welcome to our step-by-step guide on how to attach a soundbar to your TV. If you’re tired of relying on your TV’s built-in speakers and want to enhance your audio experience, a soundbar can be a great solution. Whether you enjoy watching movies, playing video games, or simply listening to your favorite music, a soundbar can provide a more immersive and high-quality sound.
Attaching a soundbar to your TV might seem like a complex task, but fear not! With the right tools and a little guidance, you’ll have your soundbar up and running in no time. This guide will take you through each step of the process, from gathering the necessary tools and materials to testing the soundbar connection.
Before we dive in, it’s important to note that the specific steps may vary depending on the make and model of your TV and soundbar. We recommend consulting the user manuals for both devices for any specific instructions. Now, let’s get started!
Step 1: Gather the necessary tools and materials
Before you begin attaching your soundbar to your TV, make sure you have the following tools and materials on hand:
- A soundbar: This is the main device that will provide the audio output. Make sure you have a soundbar that is compatible with your TV.
- HDMI cable: Most soundbars connect to the TV using an HDMI cable. Ensure you have a high-speed HDMI cable that is long enough to reach the soundbar from your TV.
- Power cables: You will need power cables for both the soundbar and the TV.
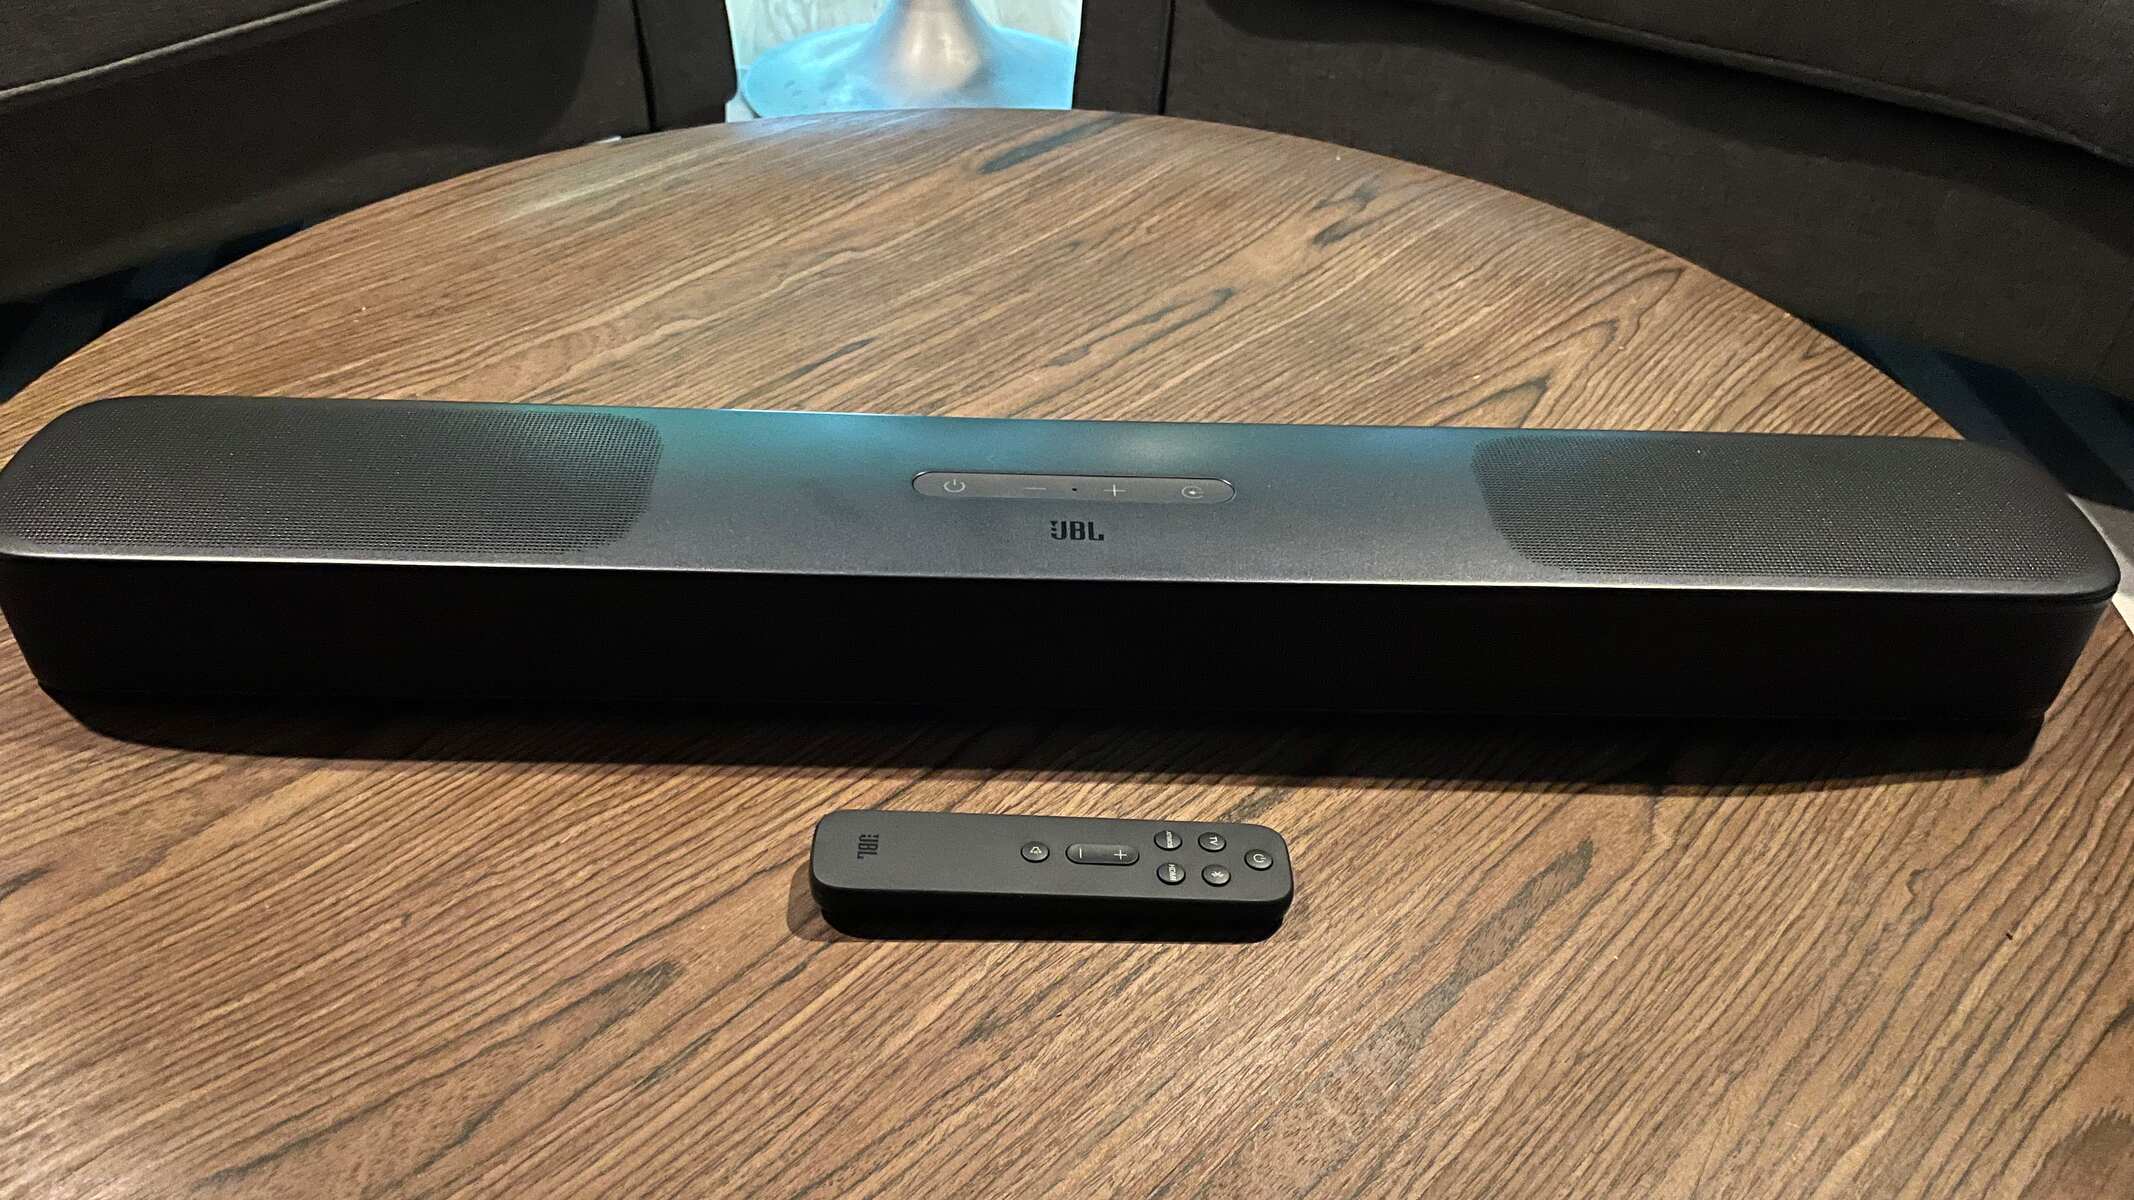
- Remote control or mobile app: Depending on the soundbar model, you may have a remote control or an accompanying mobile app to control the soundbar settings.
- Mounting hardware (if necessary): If you plan to mount the soundbar on a wall, check if your soundbar comes with mounting hardware. If not, you may need to purchase the appropriate mounting brackets separately.
Having these tools and materials ready will ensure a smoother installation process. Take a moment to gather everything before you proceed to the next step.
Step 2: Understand the available connections on your TV
Before connecting your soundbar to your TV, it’s important to familiarize yourself with the available connection ports on your TV. This will help you determine which connection method is compatible with your TV.
Most modern TVs offer multiple audio output options. Here are some common types of audio connections you may find:
- HDMI ARC (Audio Return Channel): This is the most common and preferred method for connecting a soundbar to a TV. HDMI ARC allows for both audio signals and control signals to be transmitted through a single HDMI cable. Look for an HDMI ARC port on your TV, usually labeled as “ARC”.
- Optical (Toslink) port: Some older TVs may have an optical audio output port. This connection method requires an optical cable to transmit the audio signal from the TV to the soundbar. Ensure that your soundbar has an optical input port.
- 3.5mm audio jack: This is a small audio connector commonly found on laptops, computers, and some TVs. If your TV has a 3.5mm audio output jack, you can connect it to the line-in or AUX input on your soundbar using a 3.5mm audio cable.
- Bluetooth: If your soundbar supports Bluetooth connectivity, you can pair it with your TV wirelessly. However, note that the audio quality may be slightly compromised compared to a wired connection.
Check the user manual of your TV to identify the available connections and their specifications. Once you understand the available options, you can proceed to the next step to determine the best location for your soundbar.
Step 3: Determine the best location for your soundbar
Now that you’re familiar with the available connections on your TV, it’s time to find the optimal location for your soundbar. The placement of your soundbar can greatly impact the audio quality and overall viewing experience.
Consider the following factors when determining the best location:
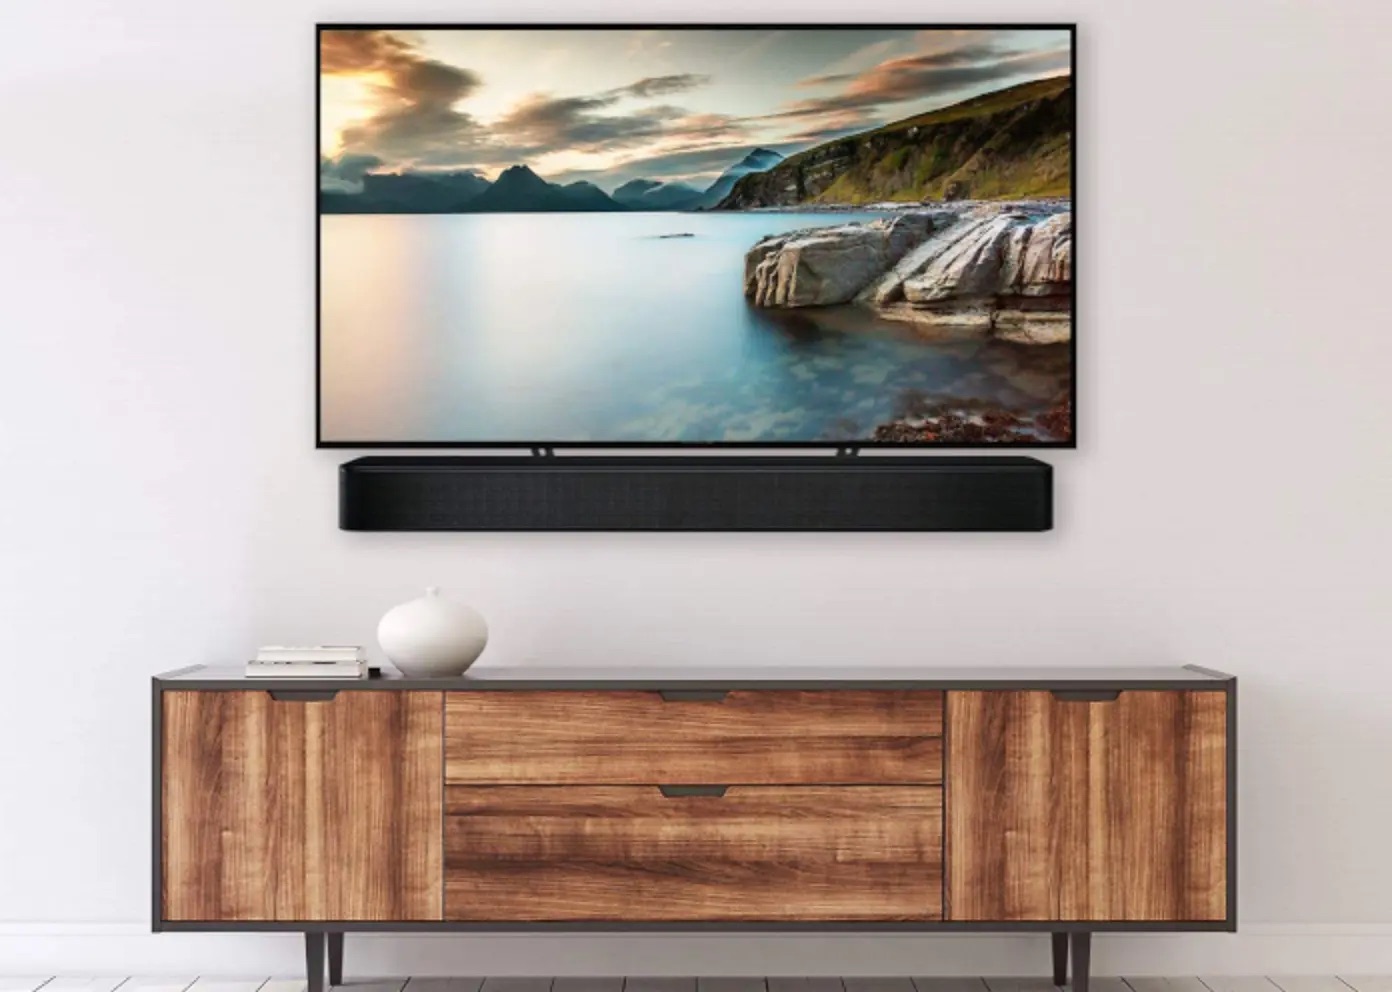
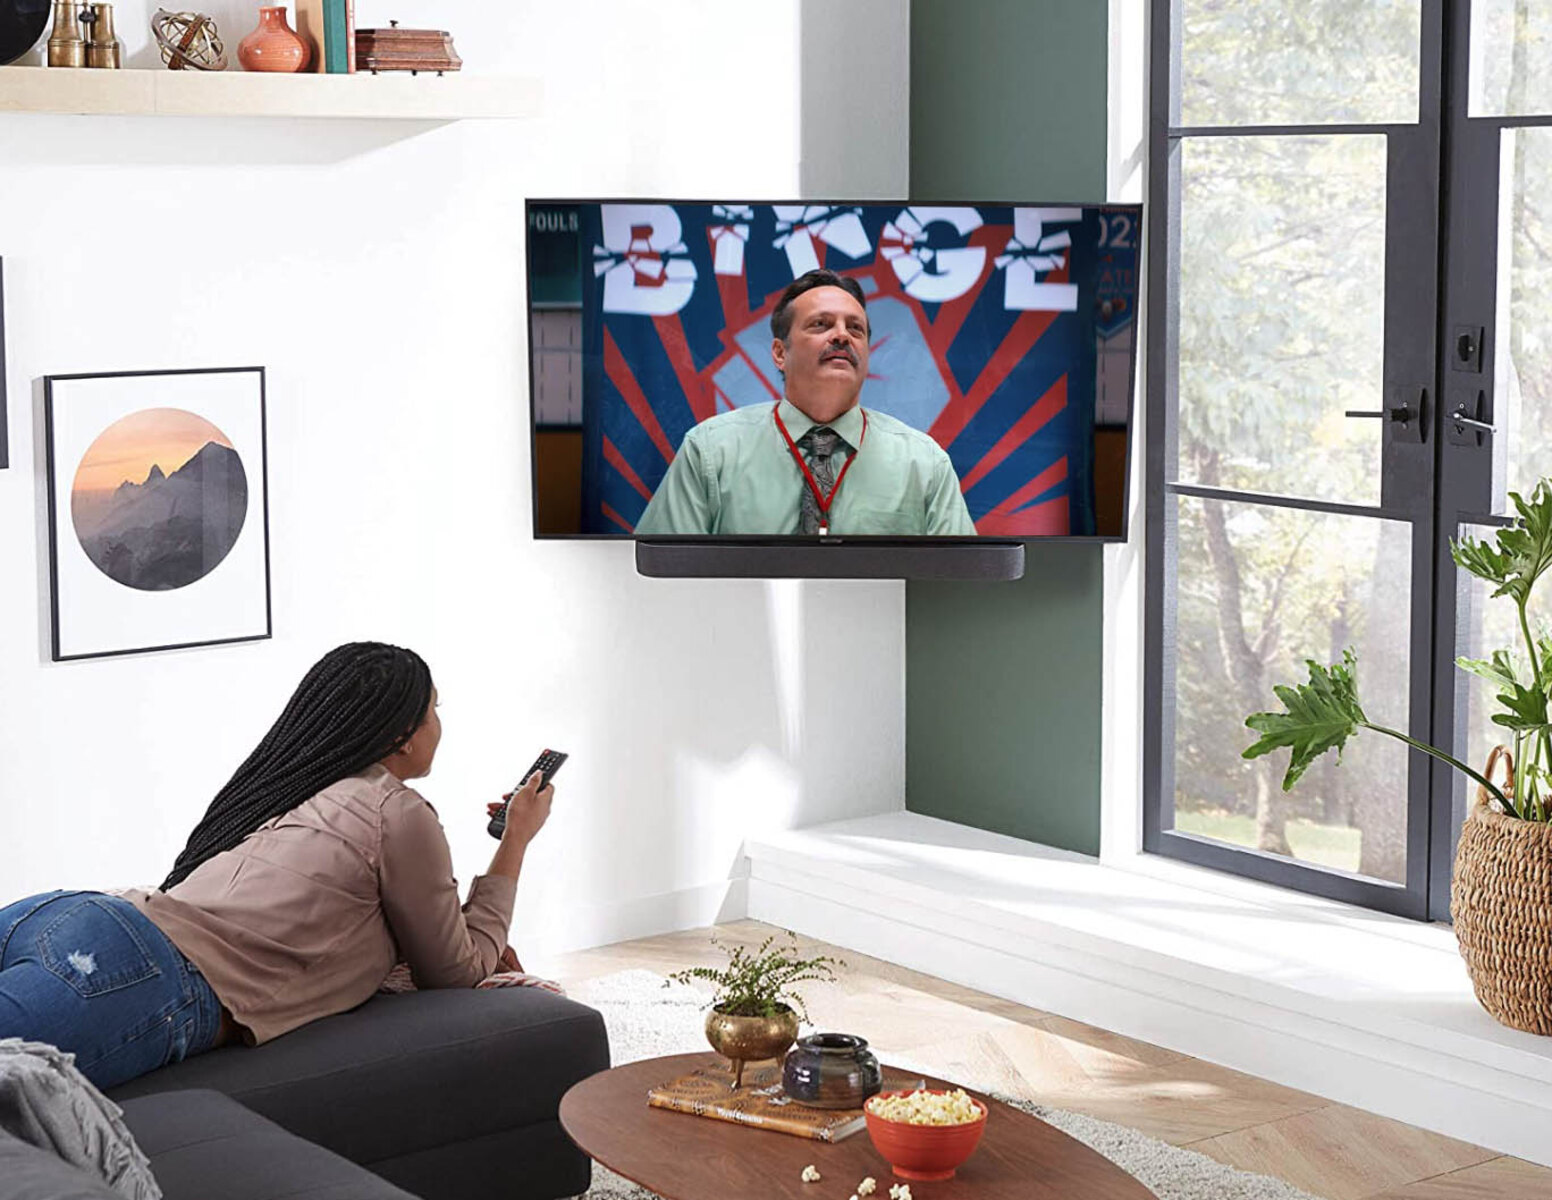
- TV position: Take note of where your TV is positioned in the room. Ideally, the soundbar should be placed directly below or above the TV for optimal sound projection.
- Room layout: Consider the layout of the room and any potential obstructions. Avoid placing the soundbar in a corner or behind any bulky furniture that may impede the sound quality.
- Mounting options: If you plan to mount the soundbar on a wall, ensure that the chosen location allows for secure mounting. Check if there are any studs or suitable mounting points in that area.
- Wire management: Keep in mind the length of the cables and the ease of hiding them. Tangled or exposed wires can be unsightly and pose a tripping hazard.
- Acoustic considerations: Consider the acoustics of the room. Hard surfaces can cause sound reflections and distortions, so adding some soft furnishings or using acoustic panels can help improve the sound quality.
Take your time to experiment with different locations and listen to how the soundbar performs in each position. Once you have determined the best location, you can move on to the next step of mounting or placing your soundbar.
Step 4: Mount or place your soundbar
With the ideal location in mind, it’s time to mount or place your soundbar. Depending on your soundbar model and personal preference, you have a few options:
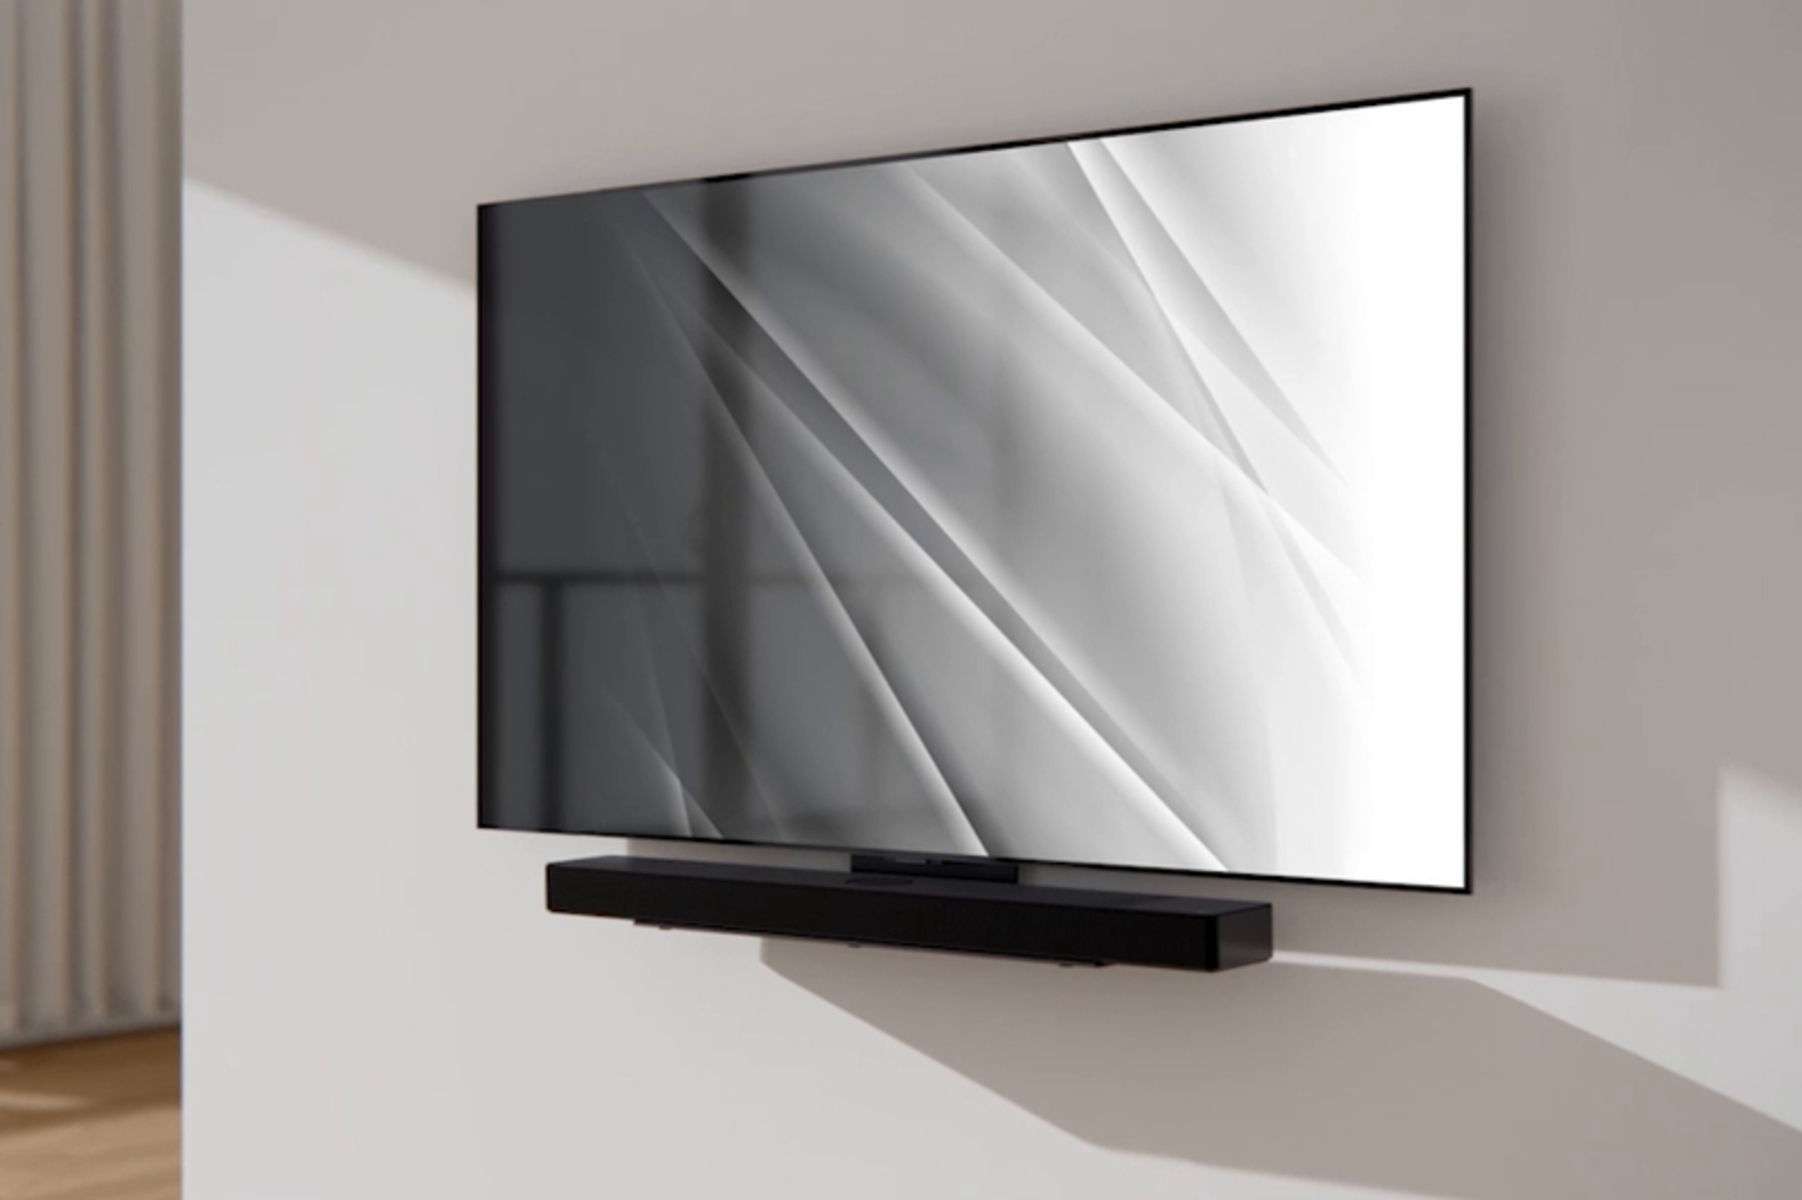
- Wall mounting: If you prefer a clean and streamlined look, you can mount your soundbar on the wall. Check if your soundbar comes with mounting brackets and follow the manufacturer’s instructions for installation. Make sure to use appropriate wall anchors and screws to ensure a secure attachment.
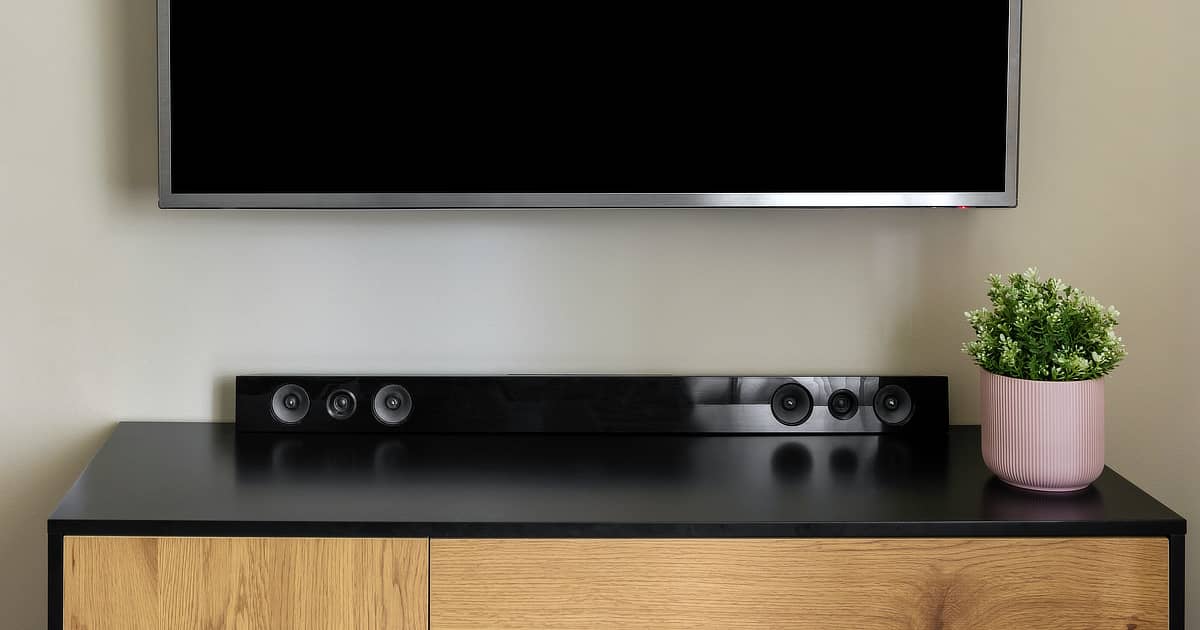
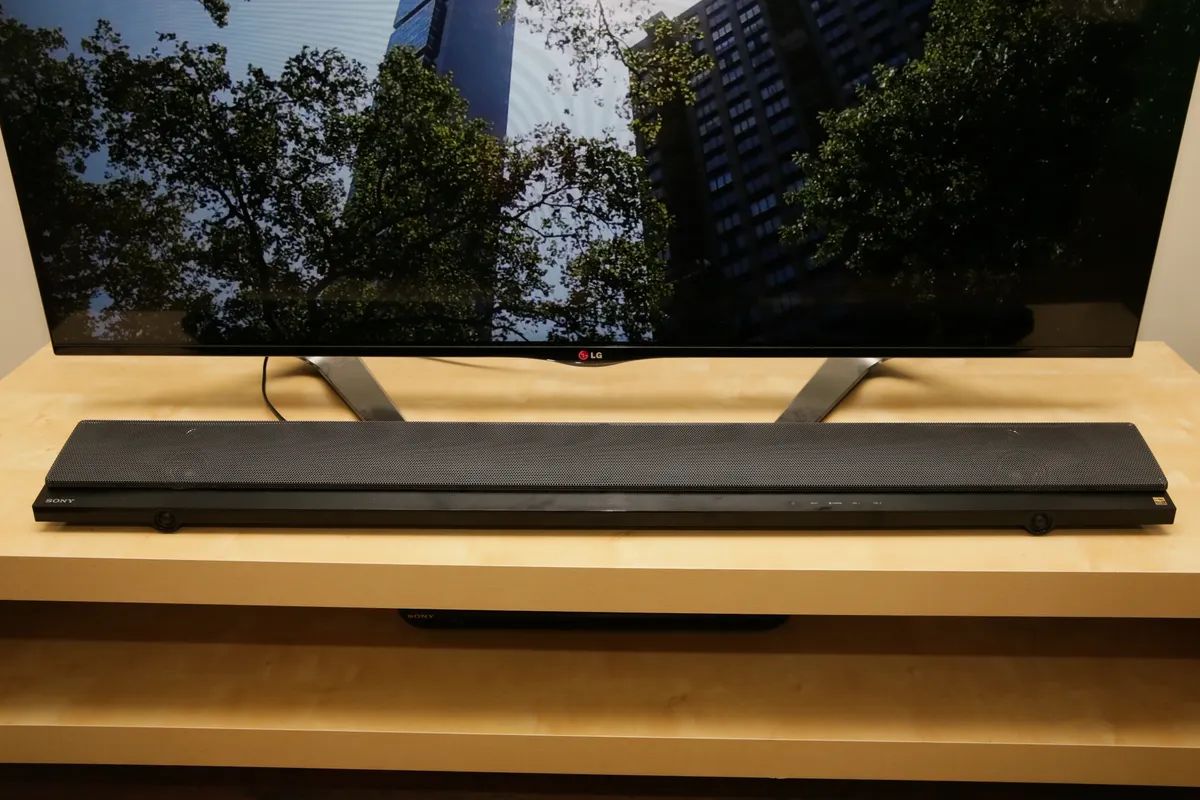
- Tabletop placement: Another option is to place your soundbar on a tabletop or TV stand. Ensure that the surface is sturdy enough to support the weight of the soundbar. Some soundbars come with rubber feet or pads to prevent slipping and minimize vibrations.
- TV mounting: If you have a TV mount, you may be able to find a soundbar bracket that attaches directly to it. This allows you to mount the soundbar directly below the TV, creating a cohesive look.
Regardless of the mounting option you choose, make sure the soundbar is positioned at the appropriate height for optimal audio projection. Double-check that it is securely attached or placed to avoid any accidents.
Once you have successfully mounted or placed your soundbar, you are ready to move on to the next step: connecting it to your TV using HDMI ARC or your preferred method.
Step 5: Connect the soundbar to your TV using HDMI ARC
Connecting your soundbar to your TV using HDMI ARC (Audio Return Channel) offers the most convenient and high-quality audio experience. Follow these steps to establish the HDMI ARC connection:
- Locate the HDMI ARC ports: On both your TV and soundbar, locate the HDMI ARC ports. These are usually labeled as “ARC” and may be color-coded differently.
- Connect the HDMI cable: Take one end of the HDMI cable and plug it into the HDMI ARC port on your soundbar. Ensure it is securely connected.
- Connect the other end of the HDMI cable: Plug the other end of the HDMI cable into the HDMI ARC port on your TV. It is typically labeled, so refer to your TV’s user manual if you’re unsure.
- Power on the devices: Turn on both your TV and soundbar. They should detect the HDMI ARC connection automatically. If not, look for the HDMI ARC option in the TV’s audio settings and enable it.
- Set the soundbar as the audio output: Using either the TV’s remote control or the soundbar’s remote/control panel, select the soundbar as the desired audio output. This will ensure that the sound from your TV is routed through the soundbar.
Once the HDMI ARC connection is established, you can control the soundbar’s volume and settings through your TV’s remote control. It will also allow for seamless audio synchronization between your TV and soundbar.
Note: If your soundbar or TV does not have HDMI ARC capability, refer to the respective user manuals for alternative connection methods, such as the optical audio or 3.5mm audio jack.
Now that your soundbar is successfully connected to your TV, you can proceed to the next step of adjusting the soundbar settings to enhance your audio experience.
Step 6: Adjust the soundbar settings to enhance the audio experience
Now that your soundbar is connected to your TV, it’s time to fine-tune the settings to optimize your audio experience. Follow these steps to adjust the soundbar settings:
- Access the soundbar settings: Using the soundbar’s remote control or the control panel, access the settings menu. The exact method may vary depending on your soundbar model, so refer to the user manual if needed.
- Sound modes and equalizer settings: Explore the different sound modes and equalizer settings available on your soundbar. These settings can enhance the audio for different types of content, such as movies, music, or sports. Experiment with different modes and adjust the equalizer to suit your preferences.
- Volume and balance adjustments: Adjust the volume levels and balance between the left and right speakers to ensure a balanced and immersive sound experience. You can do this through the soundbar’s settings or using the TV’s remote control if it offers audio control for external devices.
- Additional features: Some soundbars offer additional features, such as virtual surround sound, dialogue enhancement, or bass boost. Explore these features and enable/disable them based on your preferences and the type of content you’re enjoying.
- Test and fine-tune: Play different types of content, such as movies, music, or games, to test the soundbar’s performance. Make adjustments to the settings as needed to achieve your desired audio experience.
Take your time to explore the various settings and find the perfect balance for your audio preferences. Remember, the settings can be adjusted at any time, so feel free to make changes as needed.
Once you have optimized the soundbar settings, you’re ready to enjoy a more immersive audio experience with your connected TV.
Step 7: Test your soundbar connection
After setting up your soundbar and adjusting the settings, it’s important to test the connection to ensure everything is working properly. Follow these steps to test your soundbar connection:
- Select an audio source: Choose a source, such as a movie, TV show, or music, that you regularly enjoy. This will allow you to assess the quality of the audio when played through the soundbar.
- Play the content: Start playing the selected content on your TV. Verify that the sound is coming through the soundbar and not the TV’s built-in speakers. Adjust the volume level on the soundbar to your desired level.
- Listen for audio clarity: Pay attention to the audio clarity and detail. Ensure that the sound is balanced and all elements, such as voices and background music, are distinct and well-balanced.
- Test different sound effects: If your soundbar has various sound modes or virtual surround sound features, try switching between them to experience the different sound effects. This will give you a sense of how the soundbar enhances the audio based on your preferences.
- Check for audio synchronization: Observe whether the audio is in sync with the video. If there is a noticeable delay or lag, access the soundbar settings and look for an audio delay or lip-sync adjustment option. Fine-tune this setting until the audio and video are perfectly synchronized.
- Adjustments as needed: If you notice any issues or areas of improvement, make the necessary adjustments. This may involve tweaking the volume balance, equalizer settings, or exploring other sound enhancement features offered by your soundbar.
By thoroughly testing the soundbar connection, you can ensure that you’re getting the best audio experience possible. Don’t hesitate to make any additional adjustments or revisit the previous steps if needed.
Congratulations! You have successfully attached and tested your soundbar connection. Sit back, relax, and enjoy the enhanced audio experience as you watch your favorite movies, play games, or listen to music.
Conclusion
Attaching a soundbar to your TV can greatly enhance your audio experience, providing you with immersive sound and a more enjoyable viewing or listening experience. By following the steps outlined in this guide, you can easily connect and set up your soundbar with your TV.
We began by emphasizing the importance of gathering the necessary tools and materials to ensure a smooth installation process. Understanding the available connections on your TV was the next crucial step, allowing you to determine the best method for connecting your soundbar.
Once you determined the optimal location for your soundbar, you were ready to mount or place it according to your preference. Connecting the soundbar to your TV using HDMI ARC provided the most convenient and high-quality audio experience.
Adjusting the soundbar settings to enhance the audio experience allowed you to customize the sound output to perfectly suit your preferences and the type of content you enjoy. Finally, testing the soundbar connection ensured that everything was properly set up and working as expected.
Now that you’ve completed the process, you can sit back, relax, and enjoy a more immersive audio experience with your connected soundbar and TV. Whether you’re watching movies, playing video games, or simply listening to music, the enhanced sound quality will elevate your entertainment to new heights.
Remember, if you encounter any issues or have questions specific to your soundbar or TV model, refer to their respective user manuals for further guidance. Cheers to a remarkable audio experience!