Introduction
Welcome to the guide on how to hook up an iLive soundbar to your TV! If you’re looking to enhance your TV viewing experience with better sound quality, a soundbar is a great choice. iLive soundbars provide immersive audio and can be easily connected to your television for a seamless setup.
With a few simple steps, you’ll be enjoying enhanced sound in no time. In this guide, we will walk you through the process of connecting your iLive soundbar to your TV, ensuring that you don’t miss a beat when it comes to your favorite shows, movies, or music.
Before we begin, it’s important to note that the specific steps may vary slightly depending on the model of your TV and iLive soundbar. It’s always a good idea to consult the user manuals of both devices for detailed instructions. But don’t worry, we’ll provide general guidelines that should be applicable to most setups.
So, let’s dive in and get your iLive soundbar set up with your TV!
Step 1: Determine the audio output on your TV
The first step in connecting your iLive soundbar to your TV is to determine the audio output options available on your TV. This will help you identify the correct method of connection.
Most modern TVs offer multiple audio output options, such as HDMI ARC (Audio Return Channel), optical audio output, or a 3.5mm headphone jack. These options may be located on the back or side of your TV, so take a look and make a note of the available ports.
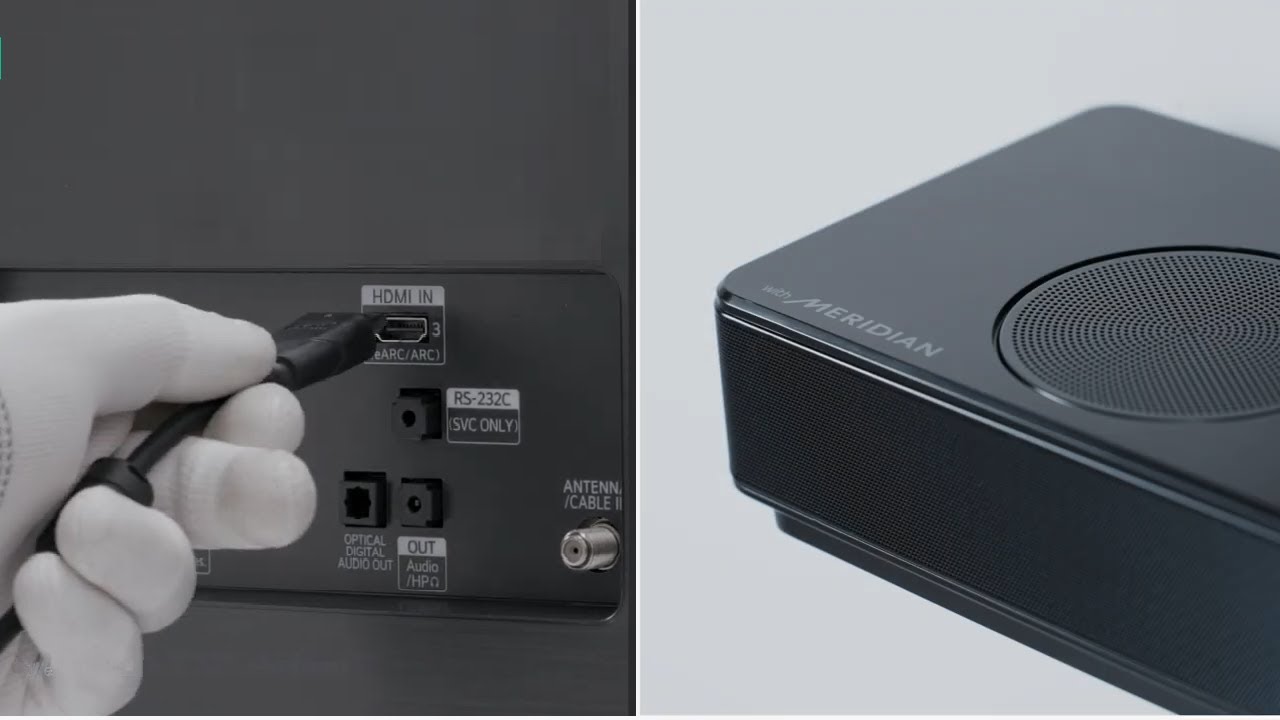
If your TV supports HDMI ARC, this is the recommended and easiest method of connection. HDMI ARC allows for both audio input and output through a single HDMI cable, eliminating the need for additional cables. If your TV has an HDMI ARC port, locate it and make a mental note, as we’ll be using it shortly.
If your TV doesn’t have an HDMI ARC port, don’t worry! You can still connect your iLive soundbar using the optical audio output or the 3.5mm headphone jack. The optical audio output uses a digital optical cable, while the 3.5mm headphone jack requires a 3.5mm audio cable.
Once you have identified the audio output options on your TV, you’re ready to move on to the next step and find the appropriate cable for your setup.
Step 2: Find the appropriate cable
Now that you know the audio output options on your TV, it’s time to find the appropriate cable to connect your iLive soundbar. The cable you’ll need will depend on the audio output port on your TV.
If your TV has an HDMI ARC port, you’ll need an HDMI cable. Ensure that the HDMI cable supports ARC functionality, as not all HDMI cables are ARC-enabled. This cable will transmit both audio and video signals between your TV and soundbar.
For TVs with an optical audio output, you’ll need a digital optical cable. This cable, also known as TOSLINK, carries digital audio signals from your TV to the soundbar. Make sure to check the length of the cable you need, especially if your TV and soundbar are placed at a distance from each other.
If your TV only has a 3.5mm headphone jack, you’ll need a 3.5mm audio cable. This cable has a 3.5mm audio connector on both ends and can be used to connect the headphone jack on your TV to the input port on your iLive soundbar.
When purchasing the cable, make sure to choose one that is of good quality and matches the specifications of your audio output port. It’s always better to invest in a higher-quality cable to ensure optimal audio performance.
Now that you have the appropriate cable in hand, you’re ready to move on to the next step and start connecting your iLive soundbar to your TV.
Step 3: Connect the Soundbar to the TV
With the appropriate cable in hand, it’s time to connect your iLive soundbar to your TV. The method of connection will depend on the audio output port on your TV.
If your TV has an HDMI ARC port, you’ll simply need to connect one end of the HDMI cable to the HDMI ARC port on your TV, and the other end to the HDMI ARC input on your iLive soundbar. Ensure that both devices are powered off before making the connection. Once the connection is made, power on both the TV and soundbar.
For TVs with an optical audio output, connect one end of the digital optical cable to the optical audio output port on your TV and the other end to the corresponding input port on your iLive soundbar. Make sure the connectors are securely plugged in. After the connection, power on your TV and soundbar.
If your TV only has a 3.5mm headphone jack, take one end of the 3.5mm audio cable and plug it into the headphone jack on your TV. Then, connect the other end to the input port on your iLive soundbar. Ensure a secure connection and power on both devices.
Once the connections are made and both the TV and soundbar are powered on, check the display or indicator lights on your devices to ensure successful connection. Some soundbars may automatically detect the TV connection and switch to the correct input source, while others may require you to manually select the input source on the soundbar using the remote or control buttons. Refer to the user manuals for specific instructions on selecting the input source.
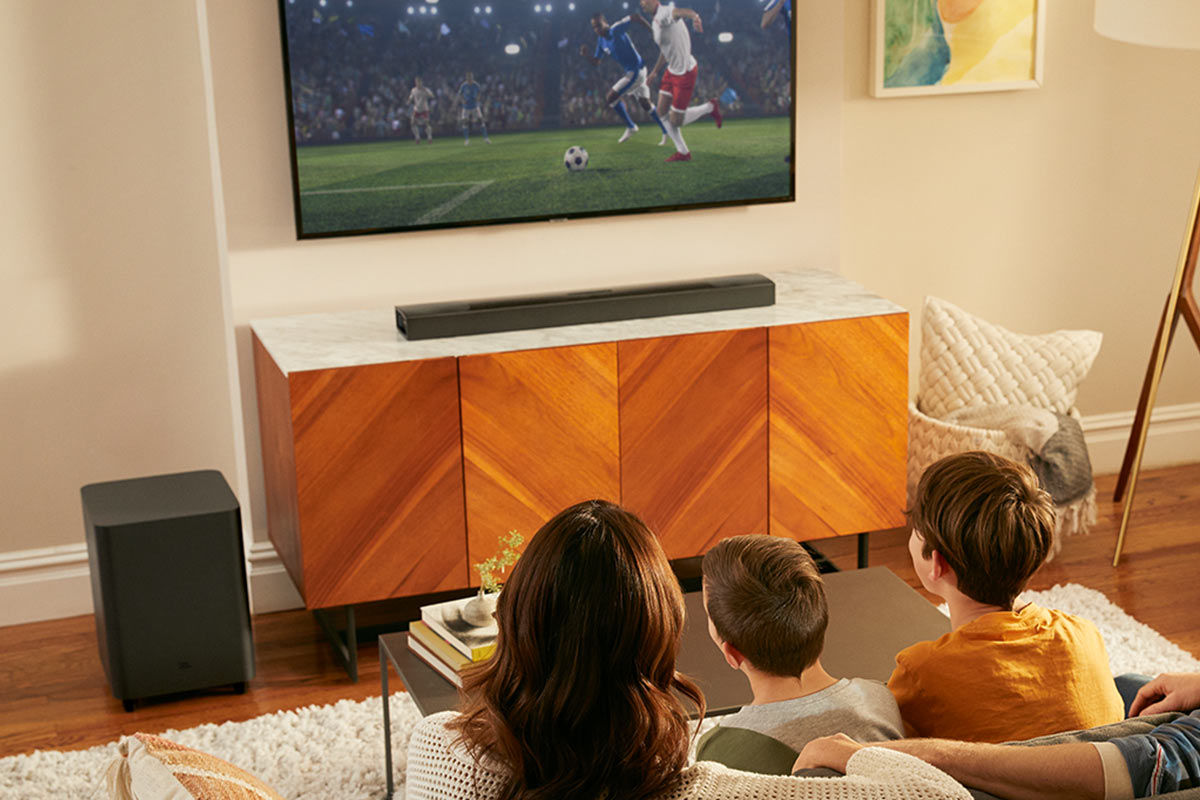
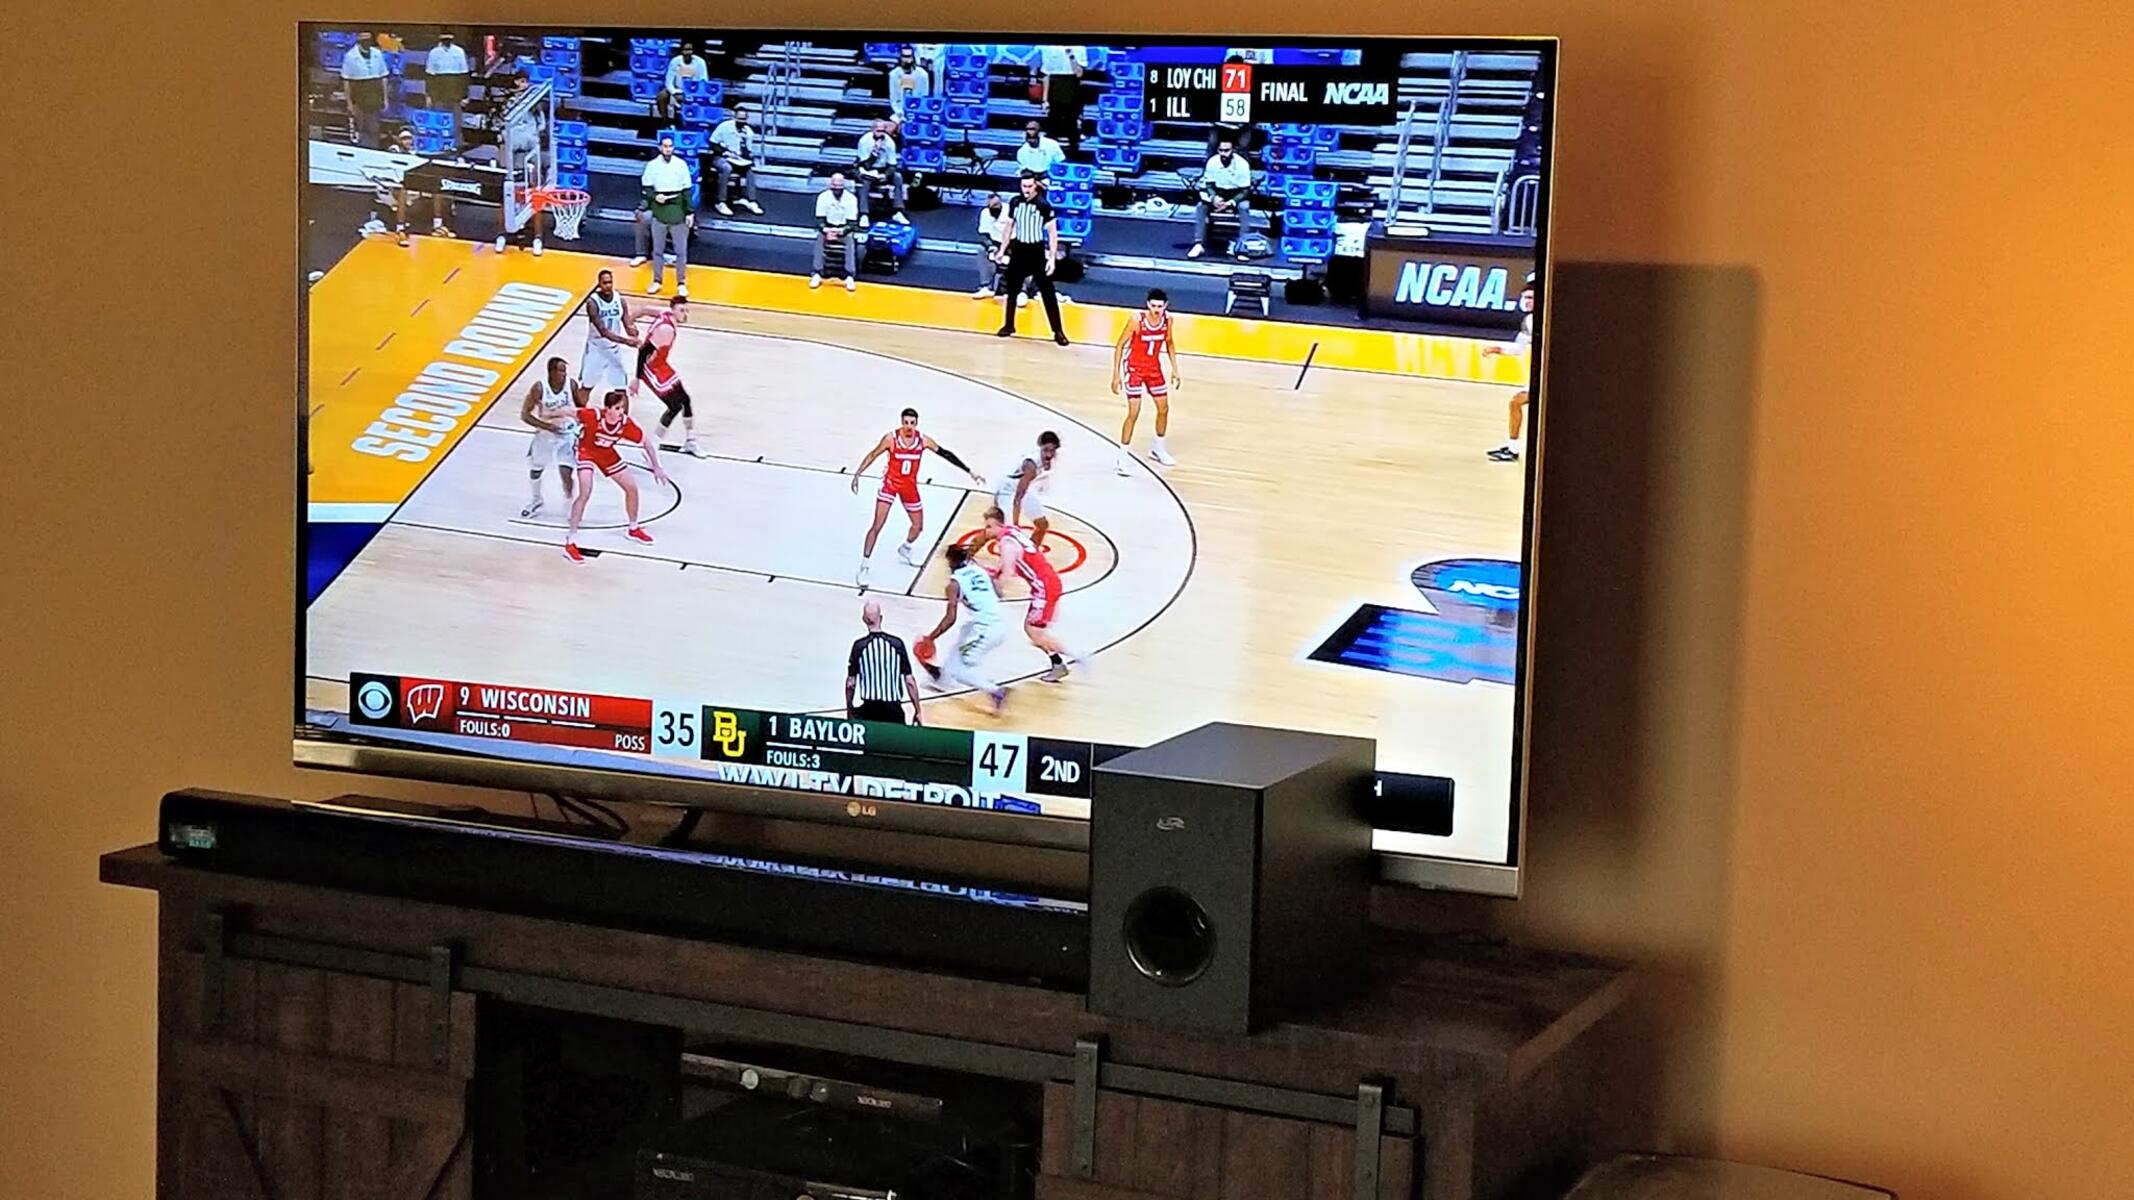
Now that your iLive soundbar is successfully connected to your TV, you can sit back, relax, and enjoy immersive audio while watching your favorite shows and movies.
Step 4: Power on the Soundbar and TV
Now that you have connected your iLive soundbar to your TV, it’s time to power on both devices. This step ensures that they are ready to deliver high-quality audio for your viewing pleasure.
Start by locating the power buttons on both your TV and iLive soundbar. The power button on the TV is usually located on the front, side, or back panel. The soundbar may have a power button on the device itself or on the remote control.
Press the power button on your TV to turn it on. Wait for the TV to fully boot up and display the home screen or input source menu. This may take a few moments, so be patient. The TV screen will indicate that it’s powered on and ready for operation.
Next, locate the power button on your iLive soundbar. Press the power button to turn it on. Some soundbars may have an indicator light that turns on or changes color to signify that it’s powered up.
During the power-up process, the soundbar may perform a self-test or display a welcome message on its screen. This is normal and indicates that the soundbar is functioning correctly. If you have any concerns, refer to the user manual for troubleshooting steps.
Once both the TV and soundbar are powered on, your TV’s audio should now be routed through the iLive soundbar, providing you with enhanced sound quality and an immersive audio experience.
Keep in mind that in order to use the iLive soundbar for audio output, you may need to adjust the audio settings on your TV. This will be covered in the next step.
Step 5: Configure audio settings on the TV
After powering on your iLive soundbar and TV, it’s important to configure the audio settings on your TV to optimize the sound output through the soundbar. By adjusting these settings, you can ensure that you’re getting the best audio experience possible.
Start by accessing the audio settings menu on your TV. This can usually be found in the settings or preferences section of the TV’s on-screen menu. The exact location may vary depending on the brand and model of your TV.
Once you’re in the audio settings menu, look for an option related to audio output or sound output. This may be labeled as “Audio Output,” “Sound Output,” or “Speaker Settings.” Select this option to access further audio output settings.
In the audio output settings, make sure to select the option that corresponds to the connection you made between your TV and the iLive soundbar. If you connected your soundbar through HDMI ARC, choose the HDMI ARC option. If you connected it through the optical audio output, select the optical option.
Additionally, you may find other settings that can further enhance your audio experience. These could include equalizer settings, surround sound options, or audio presets. Experiment with these settings to find the configuration that suits your preferences best.
After adjusting the audio settings, test the audio output to ensure that it’s coming through the iLive soundbar. Play some content on your TV, such as a movie or music, and listen for the audio coming through the soundbar. You should notice a significant improvement in sound quality and clarity.
If you encounter any issues with the sound output or are not getting the desired audio performance, refer to the user manuals of your TV and soundbar for troubleshooting tips. They might provide specific instructions or suggestions to address common audio-related issues.
By fine-tuning the audio settings on your TV, you can elevate your soundbar experience and enjoy a more immersive and engaging audio performance.
Step 6: Adjust Soundbar settings for optimal sound
Now that your iLive soundbar is connected and the TV audio settings are configured, it’s time to fine-tune the soundbar settings to ensure optimal sound quality and performance. These adjustments will allow you to customize the audio output according to your preferences.
Start by accessing the soundbar’s settings menu. This can usually be done using the remote control that came with the soundbar or through buttons on the device itself. Look for a button or menu option labeled “Settings,” “Audio,” or “Sound.”
Within the soundbar’s settings menu, you may find a variety of adjustable parameters. These can include bass and treble controls, sound modes or presets, equalizer settings, and audio input options.
Begin by adjusting the bass and treble controls to your liking. This will allow you to increase or decrease the intensity of the low-frequency (bass) and high-frequency (treble) sounds. Experiment with different levels to find the balance that suits your audio preferences.
Next, explore the sound modes or presets available on your soundbar. These settings are designed to enhance specific types of audio, such as movies, music, or dialogue. Choose the mode that aligns with the content you’re watching or listening to for a tailored audio experience.
If your soundbar offers equalizer settings, you can fine-tune the sound output across different frequency ranges. Adjusting the equalizer can help optimize the audio to match the characteristics of your room and personal preferences. Play around with the equalizer settings to find the sound profile that suits you best.
Lastly, if your soundbar has multiple audio input options, check if there are any settings specific to the type of connection you made. For example, if you connected the soundbar via HDMI ARC, there might be an HDMI-specific audio setting. Make sure these settings are adjusted accordingly to maximize sound quality.
While adjusting the soundbar settings, it’s a good idea to play some audio content and listen for the changes in sound output. This will allow you to fine-tune the settings in real-time and make immediate adjustments based on your preferences.
Remember to consult the user manual of your iLive soundbar for specific instructions on navigating the settings menu and adjusting the available options.
By adapting the soundbar settings to your liking, you can create a personalized audio experience that complements your favorite movies, shows, and music.
Conclusion
Congratulations! You have successfully hooked up your iLive soundbar to your TV, ensuring an enhanced audio experience for all your entertainment needs. By following the steps outlined in this guide, you have learned how to determine the audio output on your TV, find the appropriate cable, connect the soundbar to the TV, power on both devices, configure the audio settings on the TV, and adjust the soundbar settings for optimal sound.
With your iLive soundbar connected, you can now enjoy immersive sound while watching your favorite movies, TV shows, and music. The soundbar will provide a richer audio experience, bringing depth and clarity to the soundstage.
Remember, the specific steps may vary depending on the make and model of your TV and soundbar, so always consult the user manuals for detailed instructions. Additionally, don’t hesitate to reach out to customer support if you encounter any difficulties or have questions.
Now, sit back, relax, and enjoy the incredible audio quality that your iLive soundbar has to offer. Experience every moment with crystal-clear dialogue, powerful bass, and immersive surround sound. Turn up the volume and immerse yourself in the world of entertainment like never before!
Thank you for using this guide, and we hope you enjoy your iLive soundbar experience!