Introduction
Welcome to our comprehensive guide on how to hook up a soundbar with HDMI! If you’re looking to enhance your audio experience and enjoy a cinematic sound quality while watching movies or listening to music, connecting a soundbar to your TV via HDMI is a great way to achieve that.
Soundbars have become increasingly popular in recent years due to their sleek design and ability to provide immersive sound without the need for multiple speakers and complicated wiring. By connecting your soundbar using HDMI, you can enjoy high-quality audio and easily control the volume and settings with a single remote.
In this guide, we will walk you through the process of setting up and connecting your soundbar to your TV using HDMI cables. Whether you’re a tech enthusiast or a novice in home audio systems, you’ll find all the information you need to get started.
We’ll begin by explaining what HDMI cables are and their importance in achieving a seamless audio experience. Then, we’ll help you determine if your soundbar is compatible with HDMI connections and guide you through the steps of connecting the cables correctly.
Once the physical setup is complete, we’ll move on to setting up the soundbar itself, including adjusting the audio settings to optimize the sound quality for your specific preferences. Additionally, we’ll address common troubleshooting issues that may arise during the HDMI connection process.
By the end of this guide, you’ll have a soundbar that’s properly connected to your TV and ready to deliver incredible audio for your entertainment needs.
So, let’s dive in and get started with the basics of HDMI connections and how to ensure compatibility with your soundbar!
Understanding HDMI
HDMI (High-Definition Multimedia Interface) is a digital audio and video interface standard that carries both high-quality audio and high-definition video signals. It has become the industry standard for connecting various devices, including TVs, soundbars, Blu-ray players, gaming consoles, and more.
One of the main advantages of using HDMI cables is that they can transmit uncompressed audio and video data, resulting in superior audiovisual quality compared to other connection options. This means you can enjoy sharp images, vibrant colors, and immersive surround sound without any loss in quality.
HDMI cables are available in different versions, such as HDMI 1.4, HDMI 2.0, and HDMI 2.1, each with its own capabilities and features. These versions support different resolutions, refresh rates, and audio formats, so it’s crucial to ensure that your devices are compatible.
To determine if your soundbar supports HDMI connectivity, consult the user manual or check the specifications provided by the manufacturer. Look for terms like “HDMI input” or “HDMI ARC (Audio Return Channel)” to confirm if your soundbar is equipped with HDMI ports.
An important feature to consider is the HDMI ARC (Audio Return Channel), which allows audio to be sent from your TV to your soundbar through the HDMI cable. This eliminates the need for a separate audio connection and simplifies the setup process.
In addition to audio and video transmission, HDMI cables also support other features like CEC (Consumer Electronics Control), allowing you to control multiple HDMI-connected devices with a single remote. This convenient feature enables you to adjust the volume, power on/off the soundbar, and switch inputs seamlessly.
It’s essential to use high-quality HDMI cables for optimal performance. Look for cables labeled as “high-speed” or “premium certified,” as they are designed to handle the bandwidth required for higher resolutions, refresh rates, and audio formats.
Now that you have a better understanding of HDMI and its capabilities, let’s move on to checking the compatibility of your soundbar and preparing for the connection process!
Checking Soundbar Compatibility
Before proceeding with the connection, it’s important to ensure that your soundbar is compatible with HDMI connectivity. Here are a few steps to confirm compatibility:
1. Consult the User Manual: The first step is to refer to the user manual of your soundbar. It should provide information about the available ports and connectivity options, including HDMI. Look for any specific requirements or limitations mentioned by the manufacturer.
2. Check for HDMI Ports: Examine the back or side panel of your soundbar for HDMI input or HDMI ARC (Audio Return Channel) ports. The HDMI input allows you to connect your audio sources, such as a TV, Blu-ray player, or gaming console, to the soundbar. HDMI ARC simplifies the setup by allowing audio to be transmitted from the TV to the soundbar through a single HDMI cable.
3. Verify HDMI Version: Determine the HDMI version supported by your soundbar. Higher HDMI versions offer increased compatibility and support for advanced features. Check if your soundbar supports the HDMI version corresponding to your TV or other HDMI source devices.
4. Consider Audio Formats: Confirm that the soundbar supports the audio formats you desire. different audio formats deliver distinct sound experiences, such as Dolby Atmos or DTS:X. Check if your soundbar is compatible with the desired audio formats to ensure optimal audio performance.
5. Research Online: If you’re unsure about the soundbar’s compatibility or need additional information, consider researching online forums, reviews, or manufacturer websites. These resources often provide insights and user experiences that can help you make an informed decision.
By following these steps, you can ensure that your soundbar is compatible with HDMI connectivity, which is vital for a seamless and high-quality audio experience. Once you have confirmed compatibility, you’re ready to proceed with the connection process.
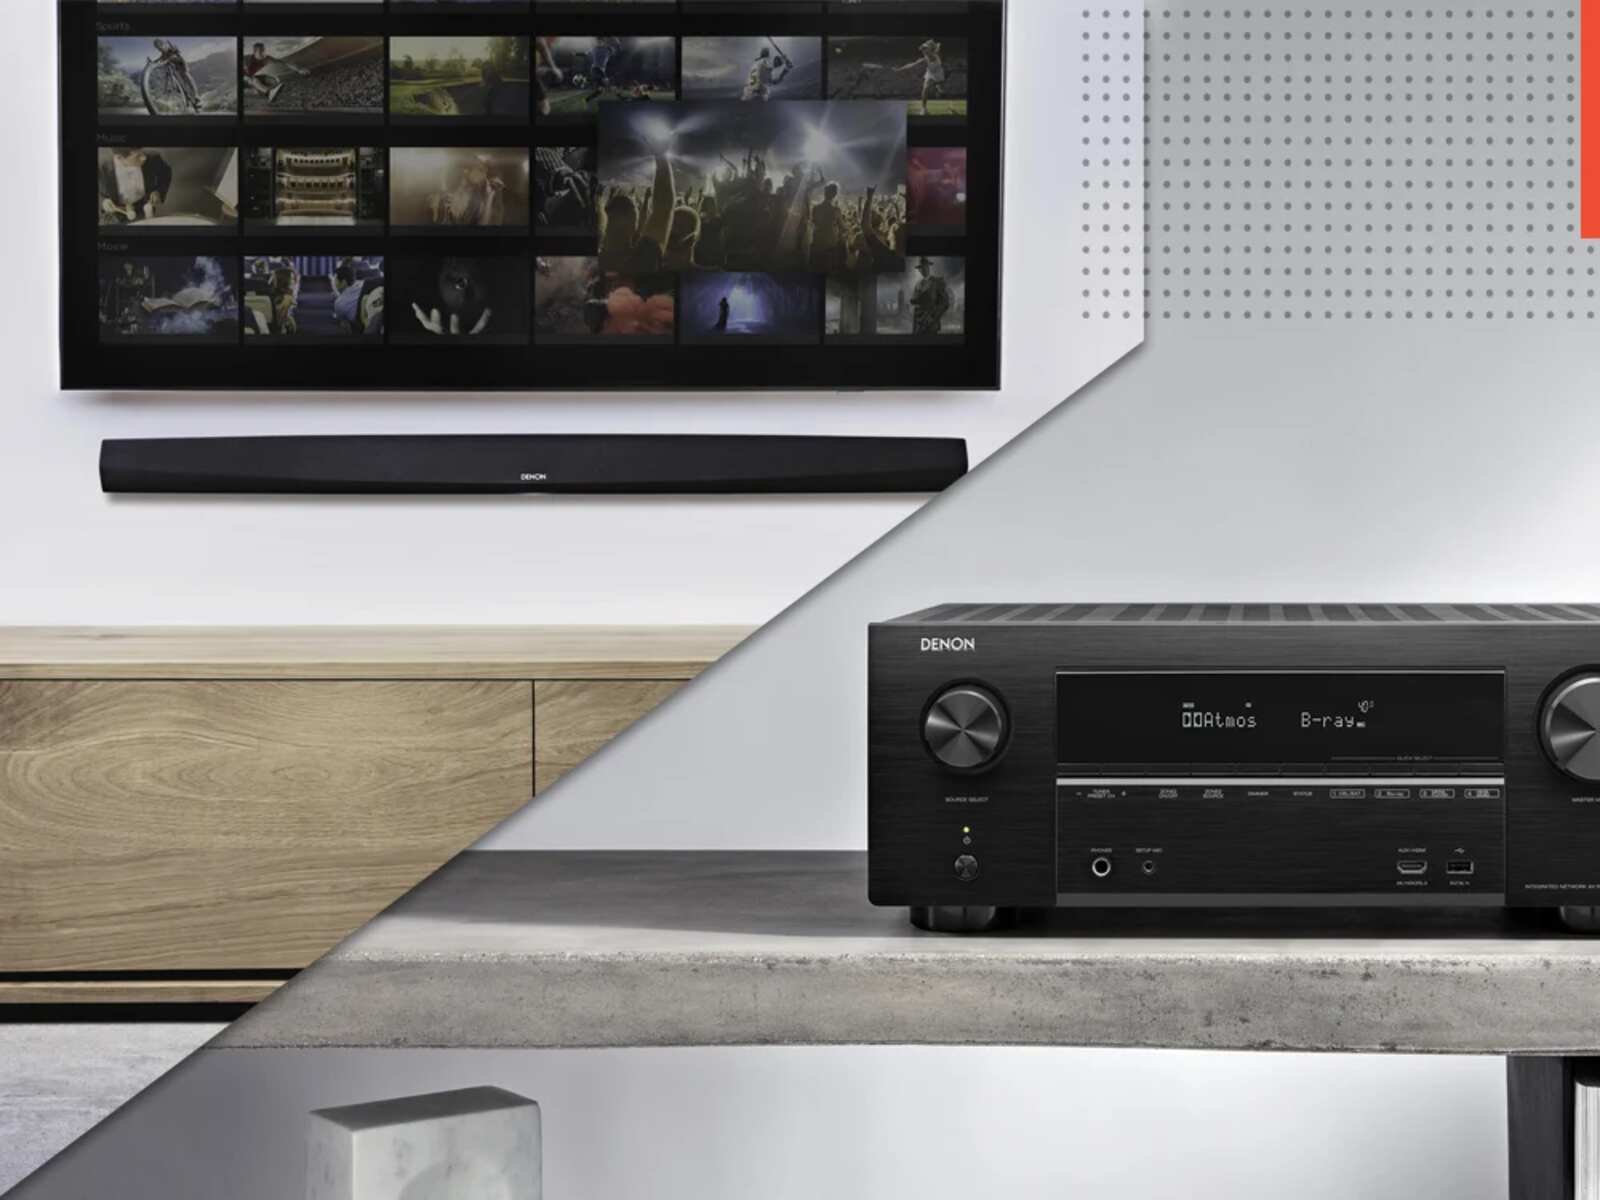
Connecting HDMI Cables
Now that you’ve confirmed your soundbar’s compatibility with HDMI, let’s move on to the connection process. Follow these steps to connect the HDMI cables:
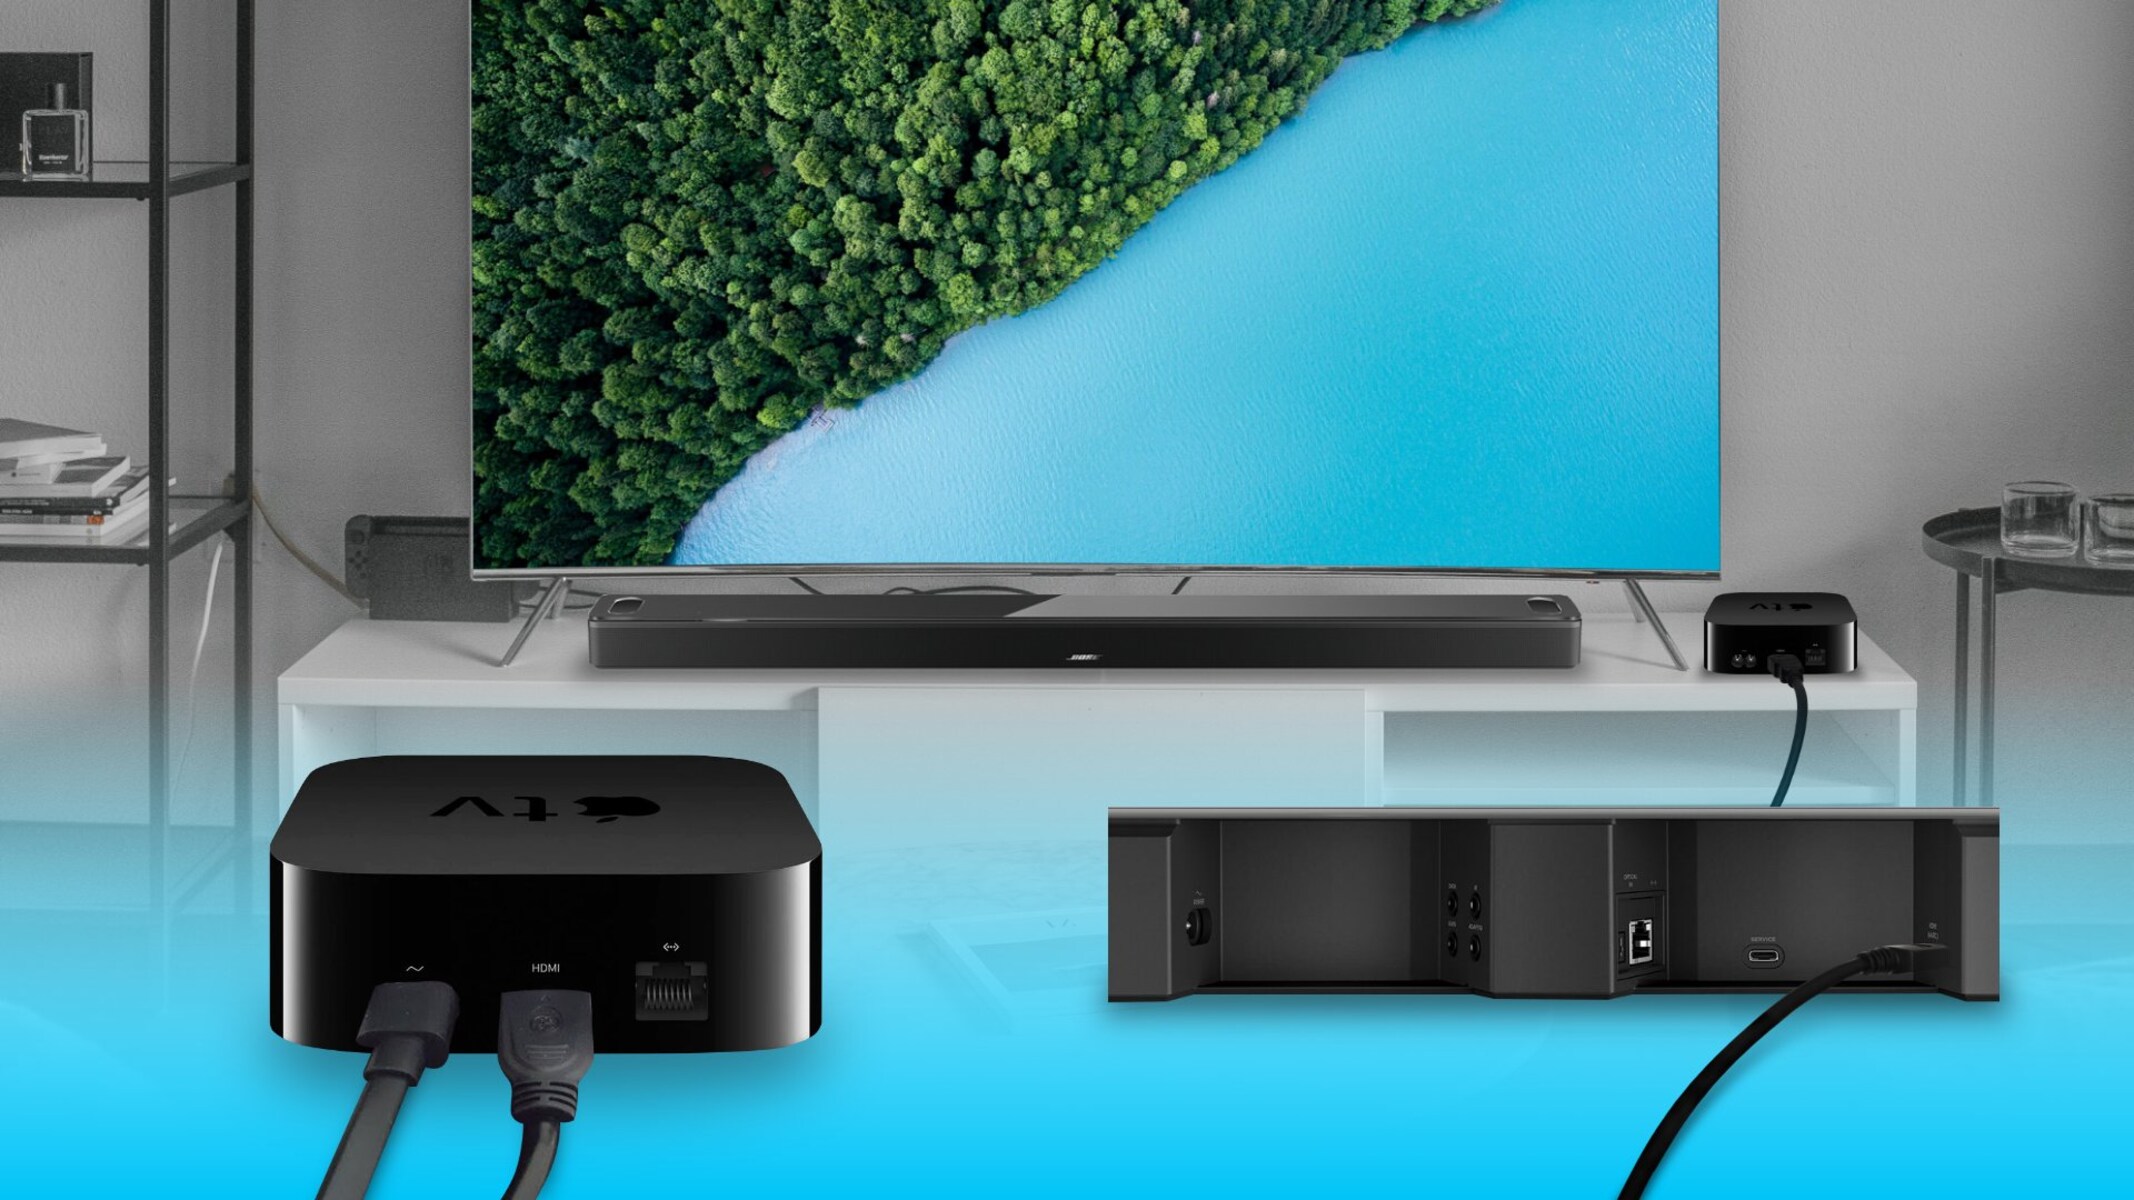
1. Identify HDMI Ports: Locate the HDMI ports on both your soundbar and your TV. The HDMI ports are usually labeled as “HDMI In” or numbered. Take note of the specific ports you’ll be using for the connection.
2. Power Off Devices: Power off both the soundbar and the TV before making any cable connections. This will help prevent any potential damage to the devices and ensure a safe connection process.
3. Connect HDMI Cable to Soundbar: Take one end of the HDMI cable and plug it into the HDMI output port on your soundbar. Ensure that the cable is firmly inserted into the port to establish a secure connection.
4. Connect HDMI Cable to TV: Next, connect the other end of the HDMI cable to the HDMI input port on your TV. Make sure to use the appropriate HDMI input port on your TV that corresponds to the soundbar connection.
5. Enable HDMI ARC (if available): If your TV and soundbar support HDMI ARC, ensure that you have enabled this feature in your TV’s settings. HDMI ARC allows for audio to be sent from the TV to the soundbar, eliminating the need for a separate audio connection.
6. Power On Devices: Once the HDMI cables are securely connected, power on both the soundbar and the TV. Wait for the devices to initialize and establish a connection.
7. Select Correct Input: Use your TV’s remote control to select the appropriate HDMI input that corresponds to the soundbar connection. This step may vary depending on your TV model, so refer to your TV’s user manual for guidance.
8. Test the Connection: Play some audio or video content to test the HDMI connection between your soundbar and TV. Ensure that the audio is coming from the soundbar speakers and adjust the volume as needed.
By following these steps, you’ll successfully connect your soundbar to your TV using HDMI cables. Next, we’ll move on to setting up the soundbar and configuring the audio settings for an optimal listening experience.
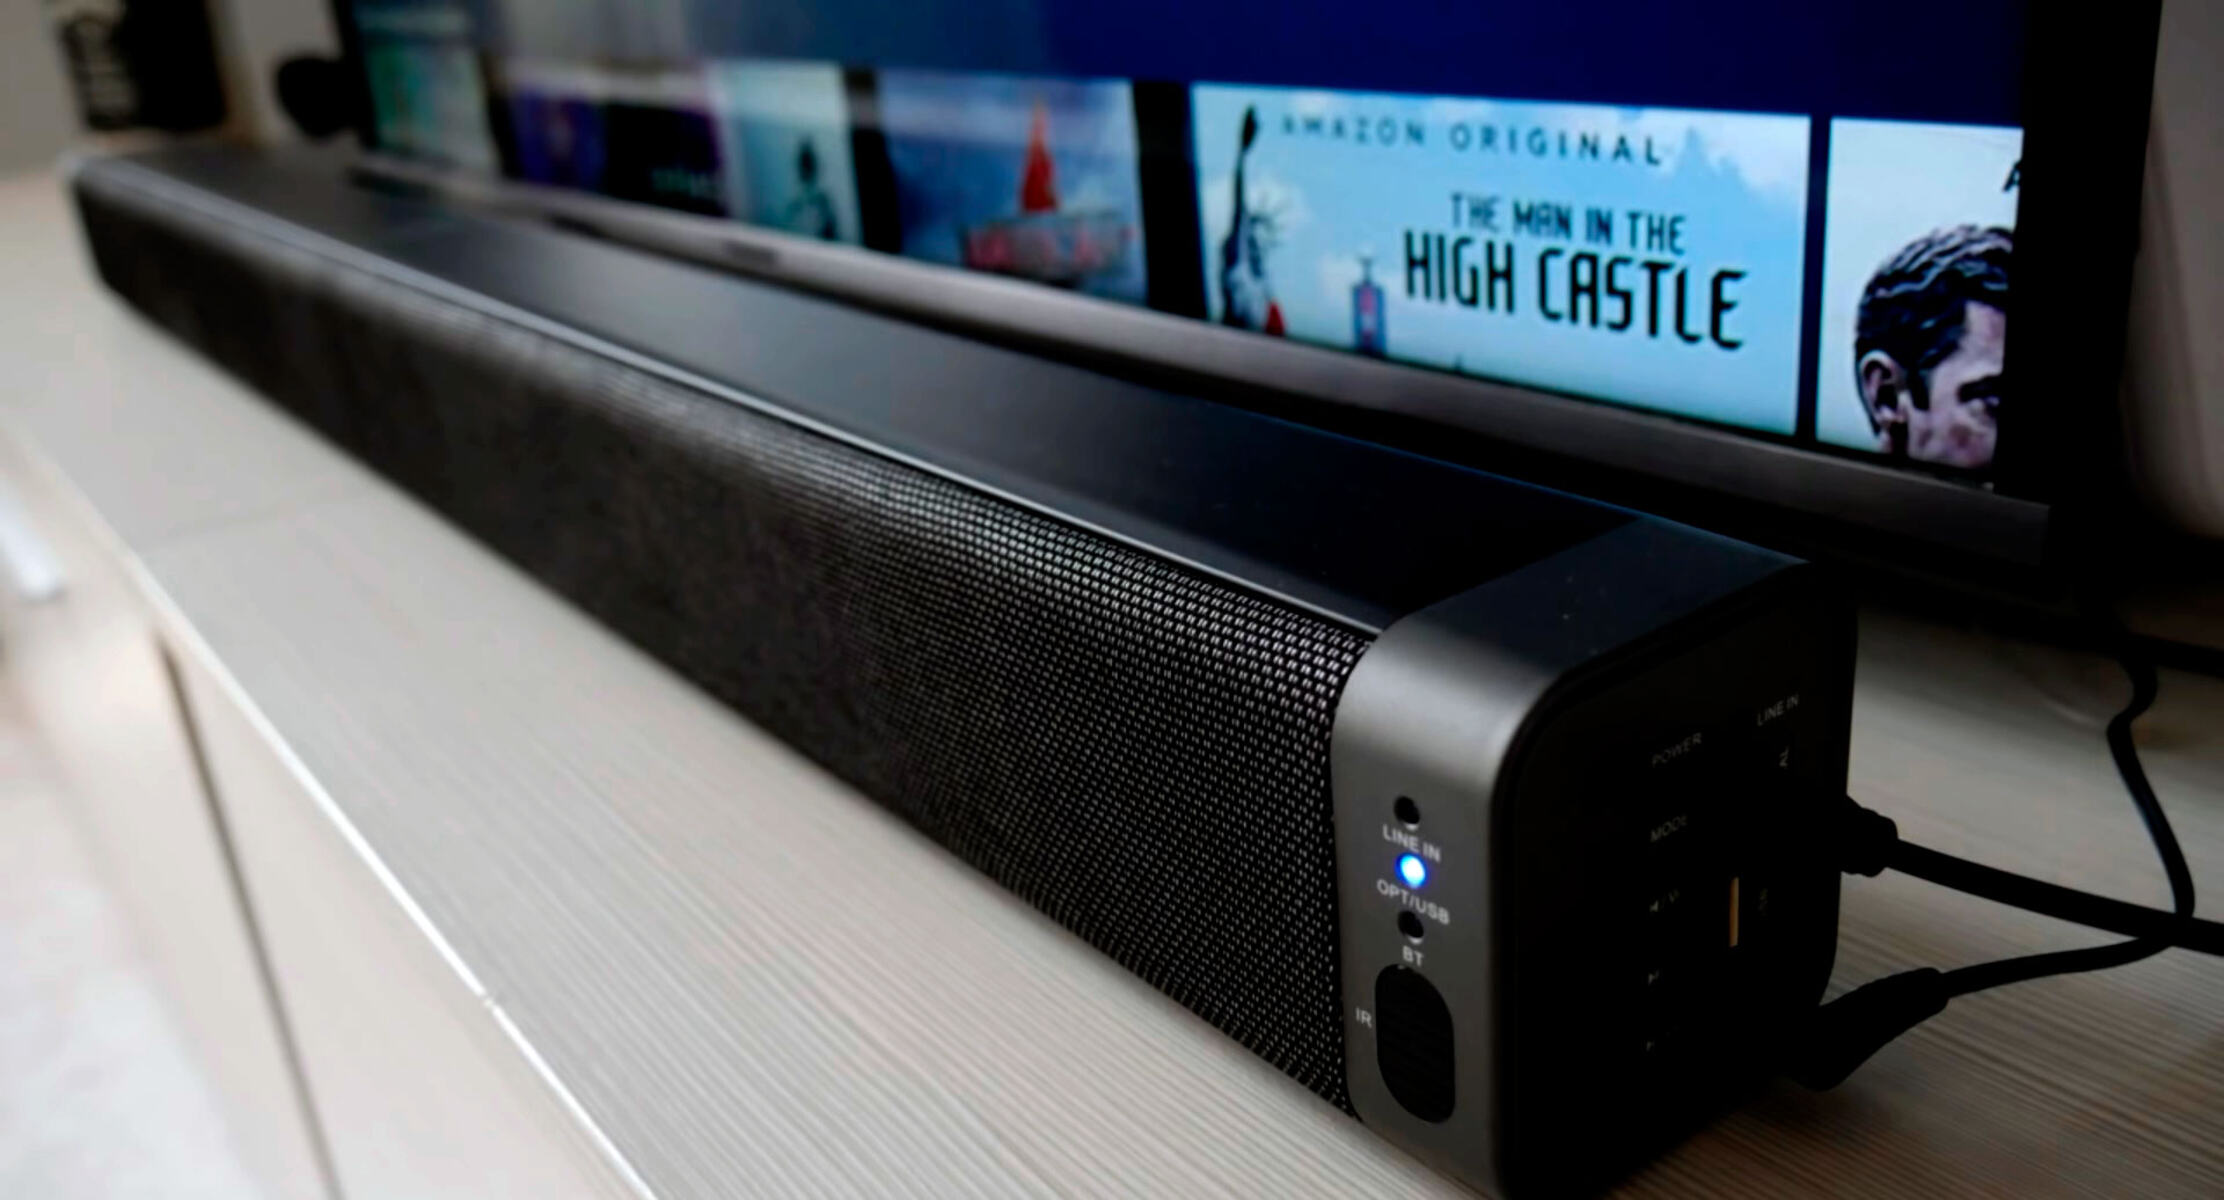
Setting up the Soundbar
With the HDMI cables connected between your soundbar and TV, it’s time to set up the soundbar itself. Follow these steps to get started:
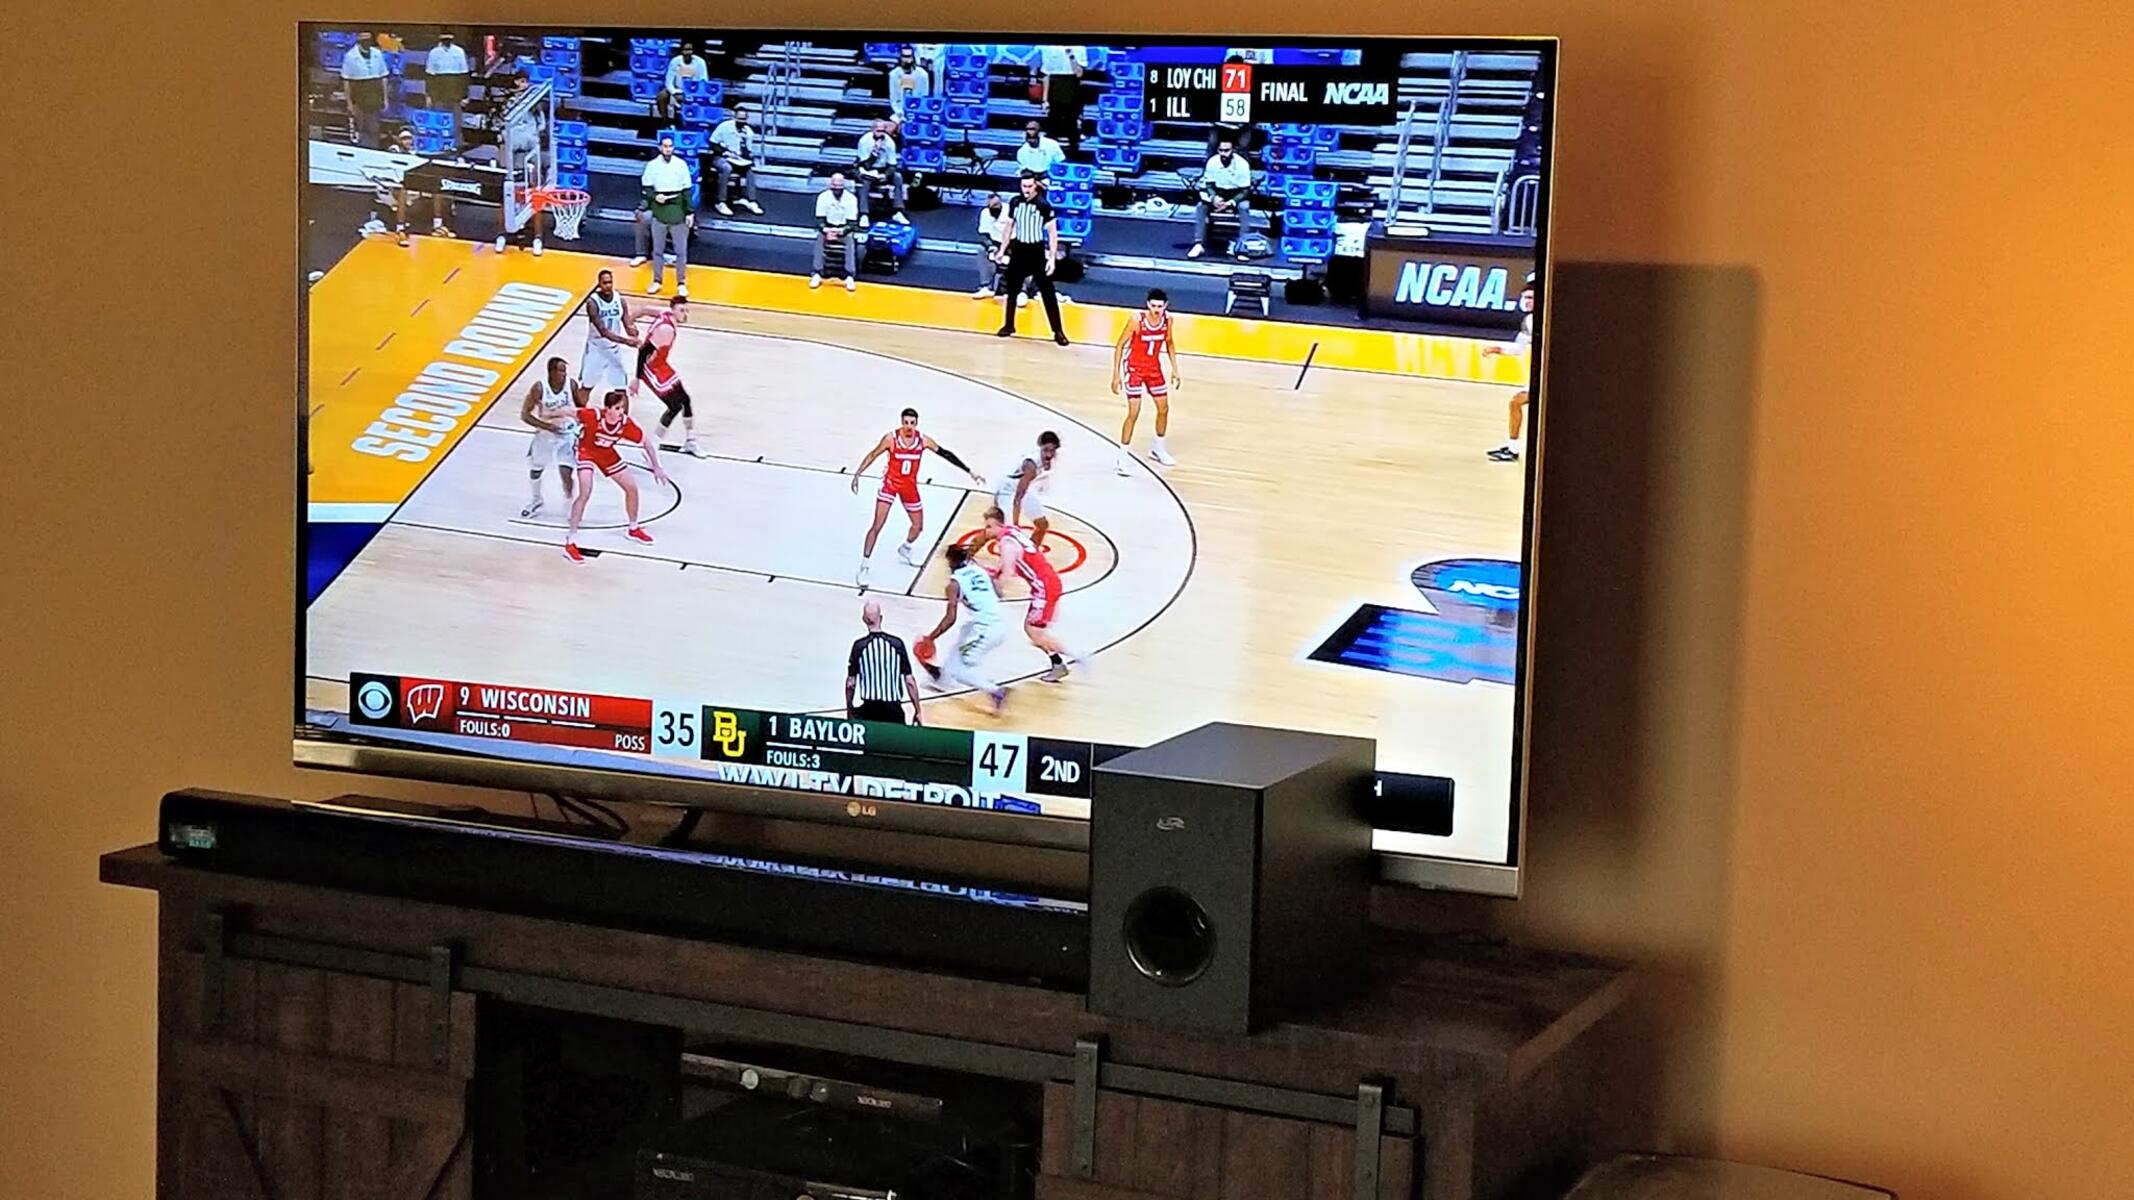
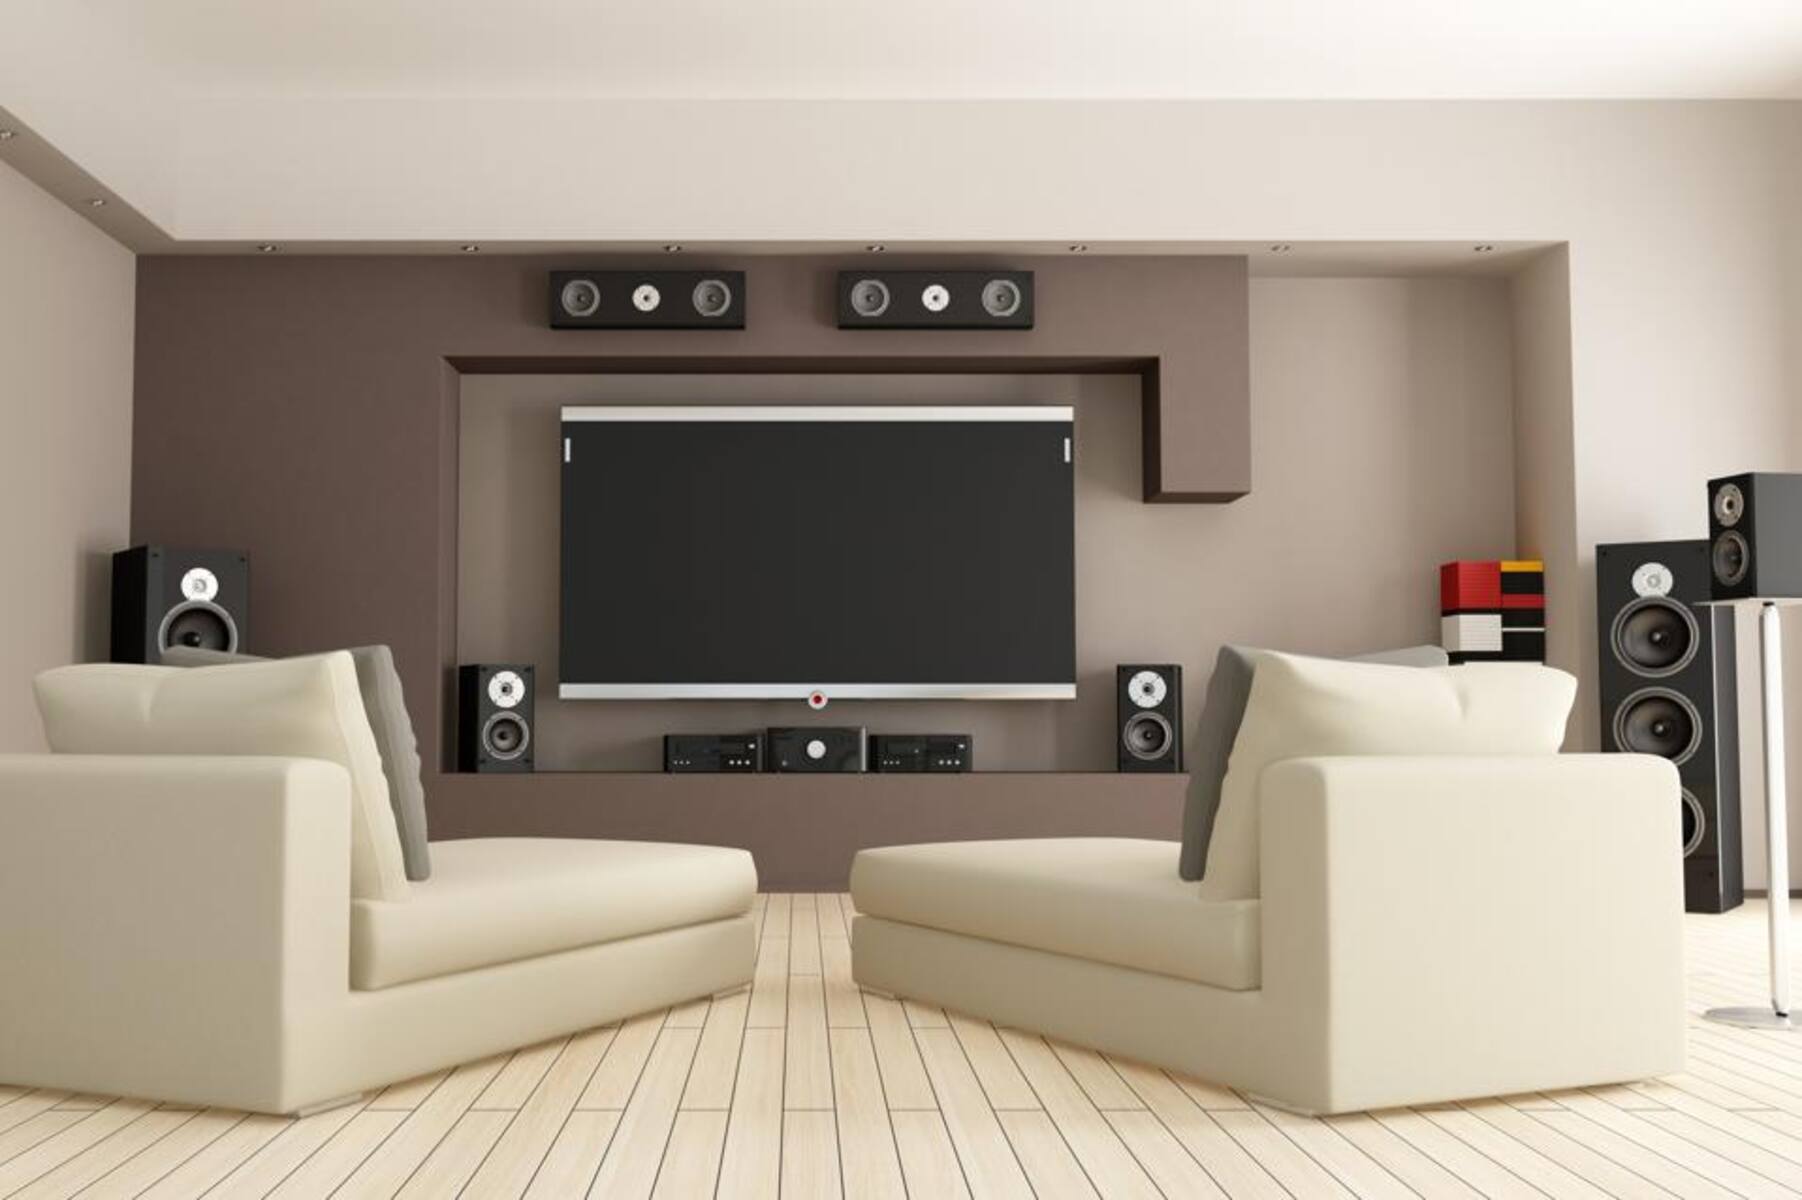
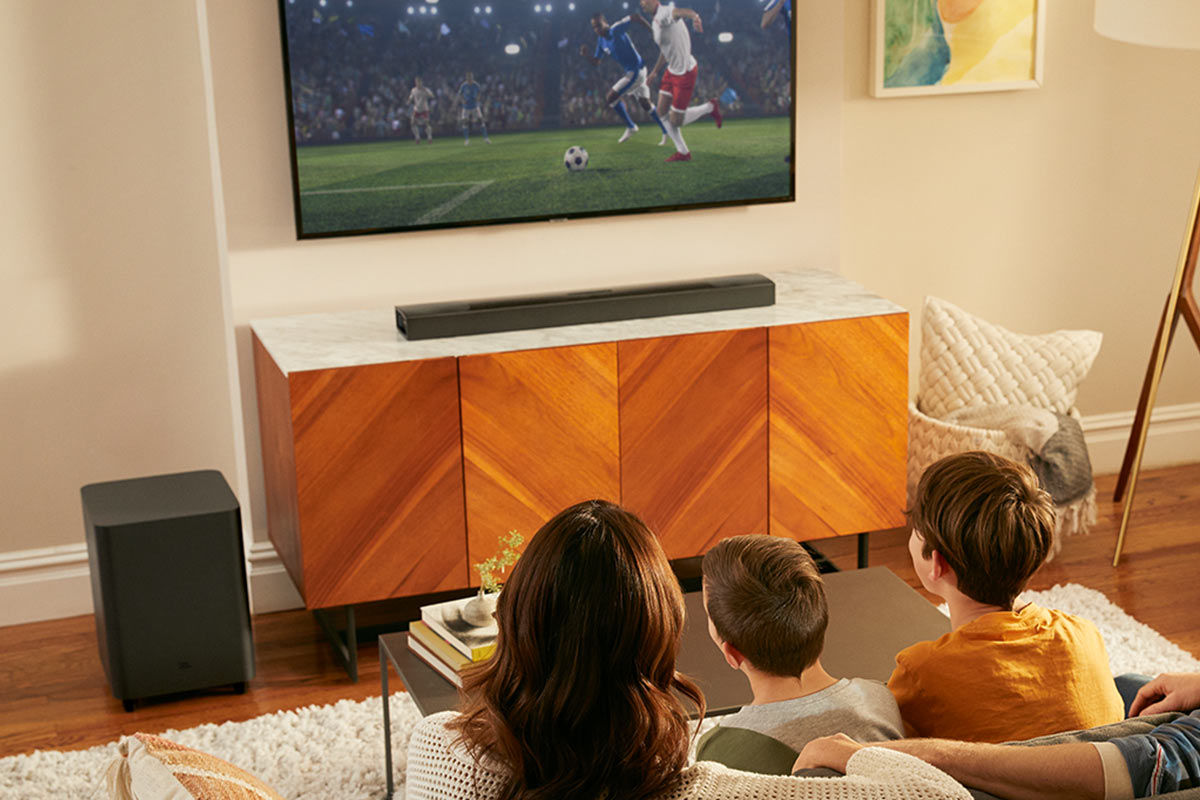
1. Placement: Choose an ideal location for your soundbar. It is typically placed below or above the TV, either mounted on the wall or positioned on a stand. Ensure that the soundbar is positioned in a way that the audio can project directly towards the listening area.
2. Power Connection: Connect the power adapter to the soundbar and plug it into a power outlet. Ensure that the power cable is securely connected and that the soundbar receives power.
3. Power On: Turn on the soundbar using the power button located either on the soundbar itself or the soundbar’s remote control. Wait for the soundbar to initialize and indicate that it is powered on.
4. Adjust Audio Settings: Access the soundbar’s menu using the remote control or physical buttons on the soundbar. Navigate to the audio settings and adjust them according to your preferences. This includes settings such as equalizer presets, bass and treble adjustments, and audio modes.
5. Pairing and Calibration: If your soundbar supports wireless connectivity or has additional features like a subwoofer or rear speakers, follow the manufacturer’s instructions to pair and calibrate them. This ensures that all speakers are properly synchronized and provide an immersive audio experience.
6. Test the Sound: Play different types of audio content, such as music or movies, to test the soundbar’s performance. Adjust the volume levels to ensure that audio is clear, balanced, and at an adequate volume for your listening environment.
7. Customization: Explore any additional features or settings that your soundbar may offer. Some soundbars come with app support or additional connectivity options. Take advantage of these features to personalize your audio experience further.
8. Calibration Tools: Some soundbars come with built-in calibration tools or smartphone apps that assist in optimizing the sound output based on your room’s acoustics. Utilize these tools to fine-tune the soundbar’s performance for your specific environment.
By following these steps, your soundbar will be properly set up and ready to deliver immersive audio. Next, we’ll move on to configuring audio settings on your TV to ensure optimal sound performance.
Configuring Audio Settings
After setting up your soundbar, it’s important to configure the audio settings on your TV to ensure optimal sound performance. Here are the steps to follow:
1. Access TV Settings: Using your TV’s remote control, navigate to the settings menu. Look for options related to audio, sound, or speakers.
2. Select Audio Output: Within the audio settings, look for the option to select the audio output. Choose the option that corresponds to the soundbar or HDMI connection. This option may be labeled as “External Speaker” or “HDMI Output”.
3. Select Sound Mode: Many TVs offer various sound modes designed to enhance specific types of audio content. Experiment with different sound modes to find one that suits your preferences. Common sound modes include “Standard”, “Movie”, “Music”, and “Sports”.
4. Adjust Sound Settings: Explore additional sound settings on your TV, such as bass, treble, balance, or virtual surround sound. Adjust these settings according to your preferences and the characteristics of your listening environment.
5. Enable Audio Pass-through: If available, enable audio pass-through to ensure that the audio signal from your connected devices is sent directly to the soundbar without any modifications or processing by the TV.
6. Check Volume Control: Ensure that the volume control on your TV is set to control the soundbar’s volume. This allows you to adjust the soundbar’s volume using your TV’s remote control. Refer to your TV’s user manual to learn how to activate this feature.
7. Test Audio Settings: Play different types of audio content, such as music, movies, or TV shows, to verify that the audio settings are properly configured. Take note of any adjustments you may need to make to achieve the desired sound quality.
8. Fine-tuning: If you prefer more precise control over the sound output, consider using the soundbar’s own audio settings to further adjust the sound parameters. This can include adjustments to bass, treble, and other equalizer settings.
By following these steps and customizing the audio settings on both your soundbar and TV, you can achieve optimal sound performance tailored to your preferences and listening environment.
Troubleshooting HDMI Connection Issues
While HDMI is a reliable and widely-used connection method, issues can sometimes arise. If you encounter any problems with the HDMI connection between your TV and soundbar, try these troubleshooting steps:
1. Check Cable Connections: Ensure that all HDMI cables are securely connected to both the soundbar and TV. Sometimes, a loose connection can cause audio or video dropout or loss of signal. Disconnect and reconnect the cables to ensure a proper connection.
2. Try Different HDMI Ports: If you’re experiencing issues with a specific HDMI port on your TV, try connecting the HDMI cable to a different port. This can help determine if the problem lies with the port itself or the cable.
3. Verify HDMI Compatibility: Make sure that your soundbar and TV support the same HDMI version or at least compatible versions. Incompatibility issues can result in audio or video inconsistencies or no signal at all.
4. Power Cycle Devices: Power off both the soundbar and TV, and unplug them from the power source. Wait for a few minutes, then plug them back in and power them on. This can sometimes resolve temporary communication issues.
5. Update Firmware: Check for any available firmware updates for your soundbar and TV. Manufacturers often release firmware updates to address compatibility issues and improve performance. Refer to the user manuals or manufacturer’s websites for instructions on updating the firmware.
6. Disable Video Processing: If you’re experiencing audio delays or synchronization issues, check your TV’s settings and disable any video processing features that may cause audio lag. This can help mitigate audio/video synchronization problems.
7. Check HDMI CEC Settings: If you’re using HDMI ARC and experiencing control issues, ensure that the HDMI CEC (Consumer Electronics Control) settings are enabled on both your soundbar and TV. This enables control between devices using a single remote.
8. Test with Different Devices: Connect a different HDMI source device, such as a Blu-ray player or gaming console, to your TV and soundbar. This can help determine if the issue lies with the soundbar, TV, or the original HDMI source device.
9. Contact Support: If you’ve exhausted all troubleshooting steps and the HDMI connection issues persist, it may be necessary to contact the customer support or technical support of your soundbar or TV manufacturer for further assistance.
By going through these troubleshooting steps, you can address common HDMI connection issues and ensure a smooth and reliable audio connection between your soundbar and TV.
Conclusion
In this guide, we have walked you through the process of hooking up a soundbar with HDMI, from understanding the basics of HDMI to troubleshooting common connection issues. By following the steps outlined in this guide, you can enjoy enhanced audio quality and a more immersive audio experience while watching your favorite movies, TV shows, and listening to music.
We began by explaining what HDMI is and its importance in achieving high-quality audiovisual performance. Understanding the compatibility of your soundbar with HDMI and verifying the available ports on both the soundbar and your TV is essential for a successful connection.
We then proceeded to outline the steps for connecting the HDMI cables, ensuring that they are securely connected to both the soundbar and TV. Configuring the audio settings on your TV and soundbar is paramount to achieving the desired sound output and personalizing your audio experience.
Additionally, we provided troubleshooting steps to address common HDMI connection issues that you may encounter. These steps can help you identify and resolve any audio or video inconsistencies that may arise during the setup process.
Remember to consult the user manuals of your soundbar and TV for device-specific instructions, as each model may have unique features and configurations.
By following this comprehensive guide, you can confidently hook up your soundbar with HDMI and enjoy immersive audio that complements your visual experience. Get ready to elevate your entertainment with crystal-clear sound and rich audio details!