Introduction
Are you ready to take your home entertainment to the next level? One of the best ways to enhance your audio experience while watching movies or listening to music is by setting up a surround sound system. By connecting your TV and Blu-ray player to a dedicated audio receiver and a set of speakers, you can create a cinematic sound experience right in your living room.
However, if you are not familiar with the process, setting up a surround sound system may seem intimidating. Don’t worry! In this article, we will guide you through the step-by-step process of hooking up your surround sound system to your TV with a Blu-ray player, making it easier for you to enjoy immersive audio quality in the comfort of your own home.
Before we begin, it’s important to note that each surround sound system may have slightly different specifications and connections. Therefore, it is recommended to consult the user manuals of your specific devices for more detailed instructions and to ensure compatibility.
Now, let’s dive into the exciting world of surround sound systems and get started on setting up the ultimate home theater experience!
Step 1: Gather the necessary equipment
Before you can start setting up your surround sound system, it’s important to gather all the necessary equipment. Here are the items you will need:
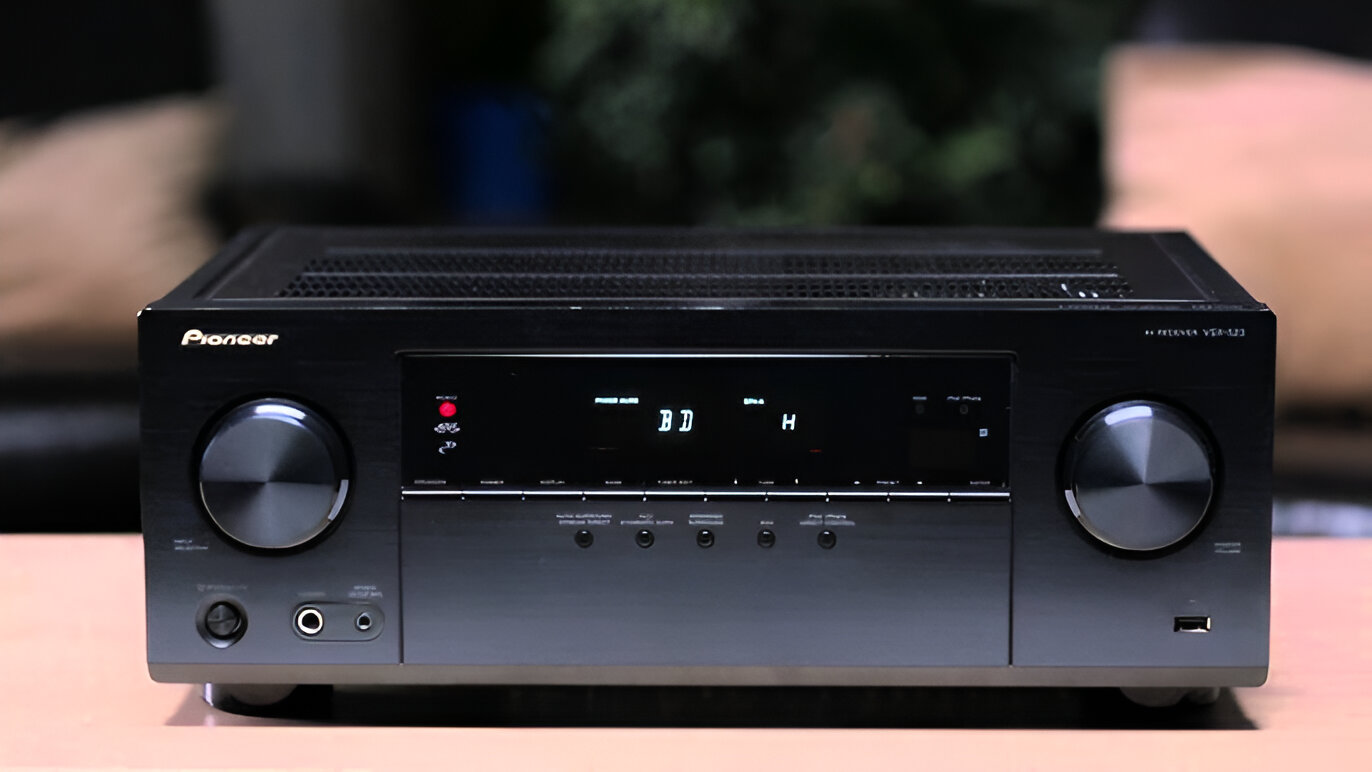
- Audio receiver: This is the central hub of your surround sound system. It receives audio signals from your devices and distributes them to the speakers.
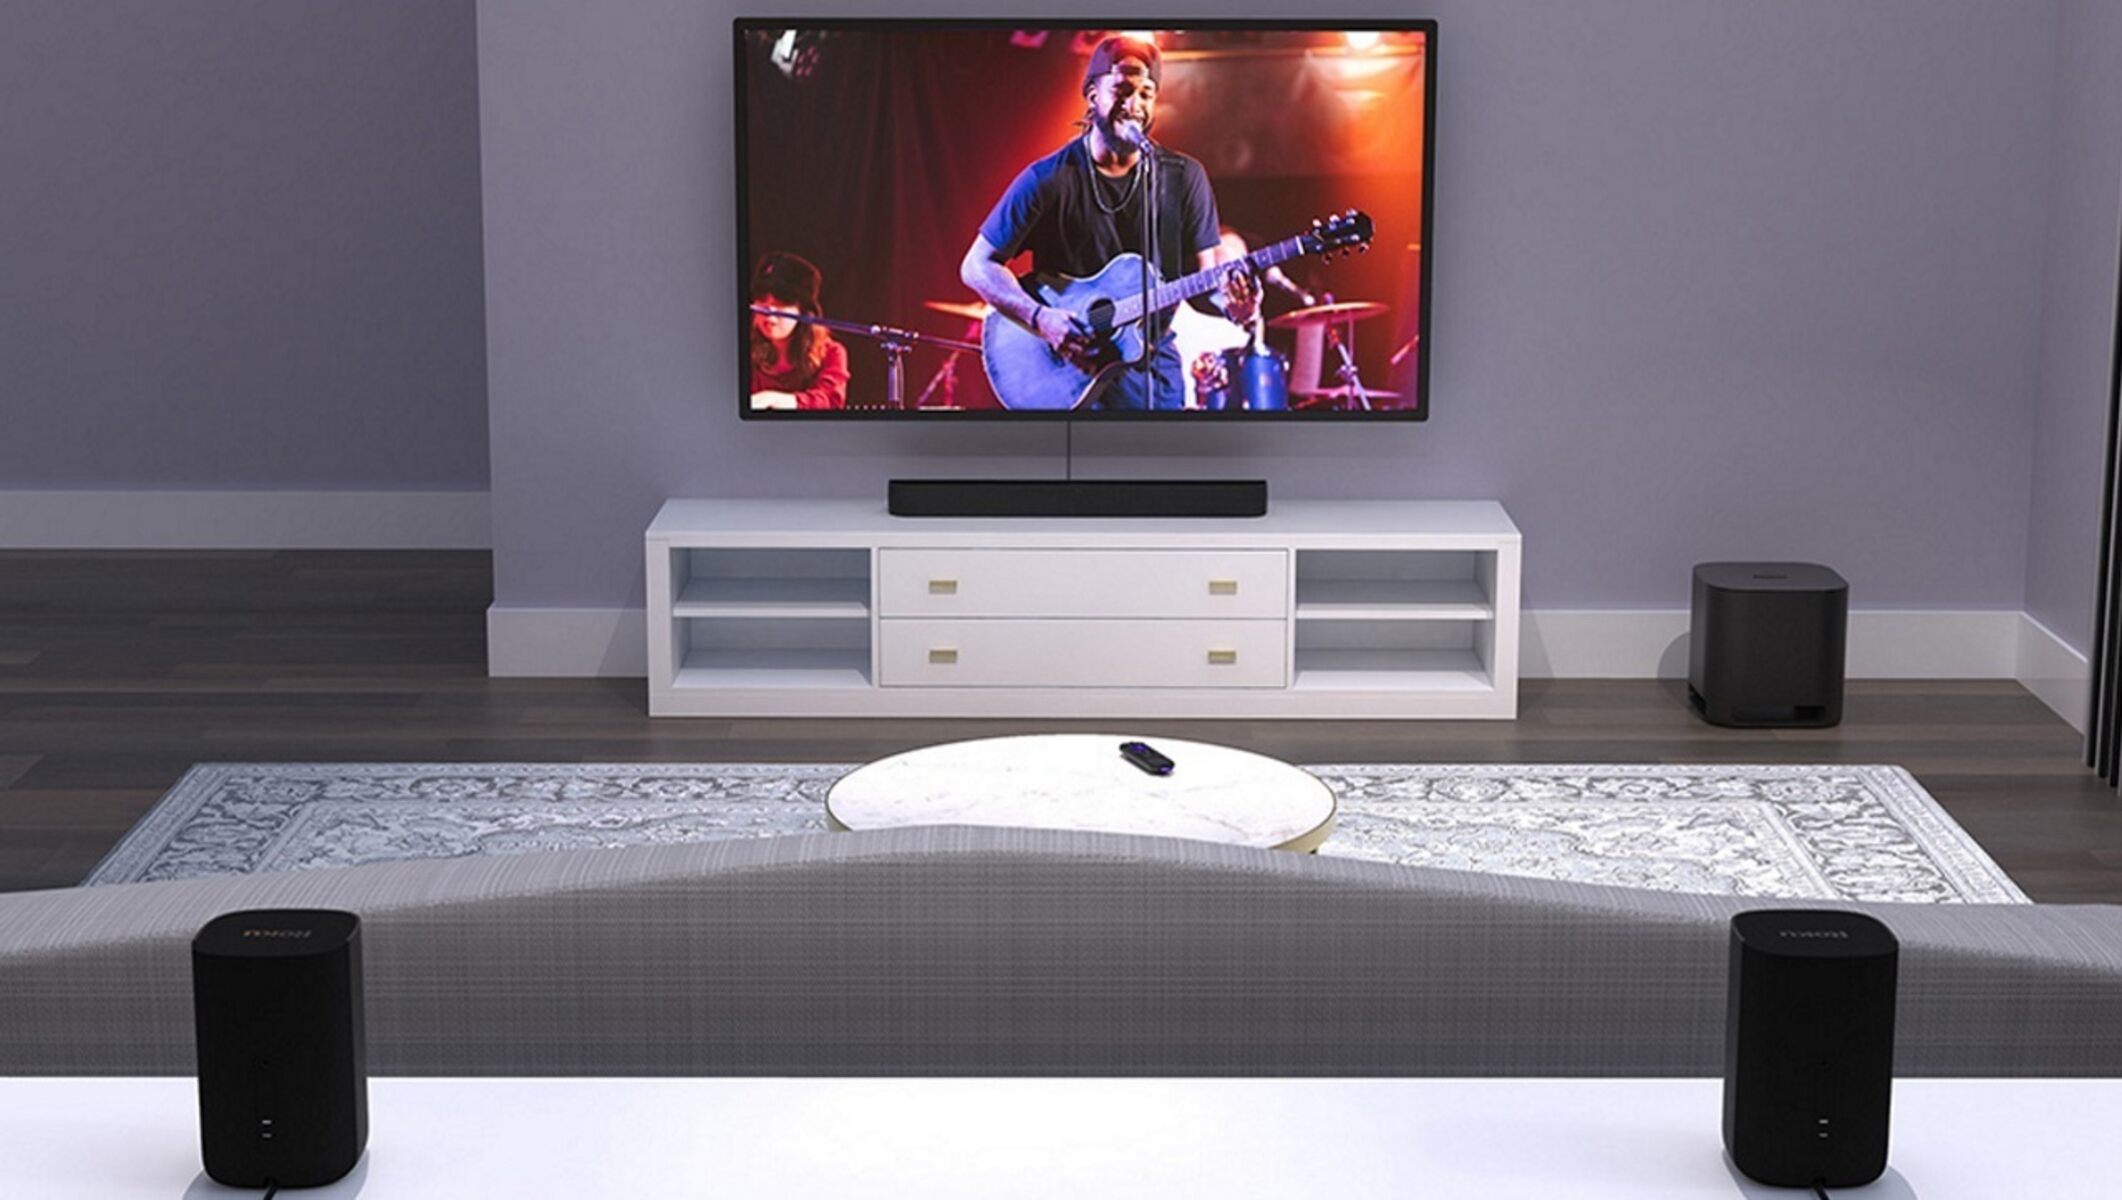
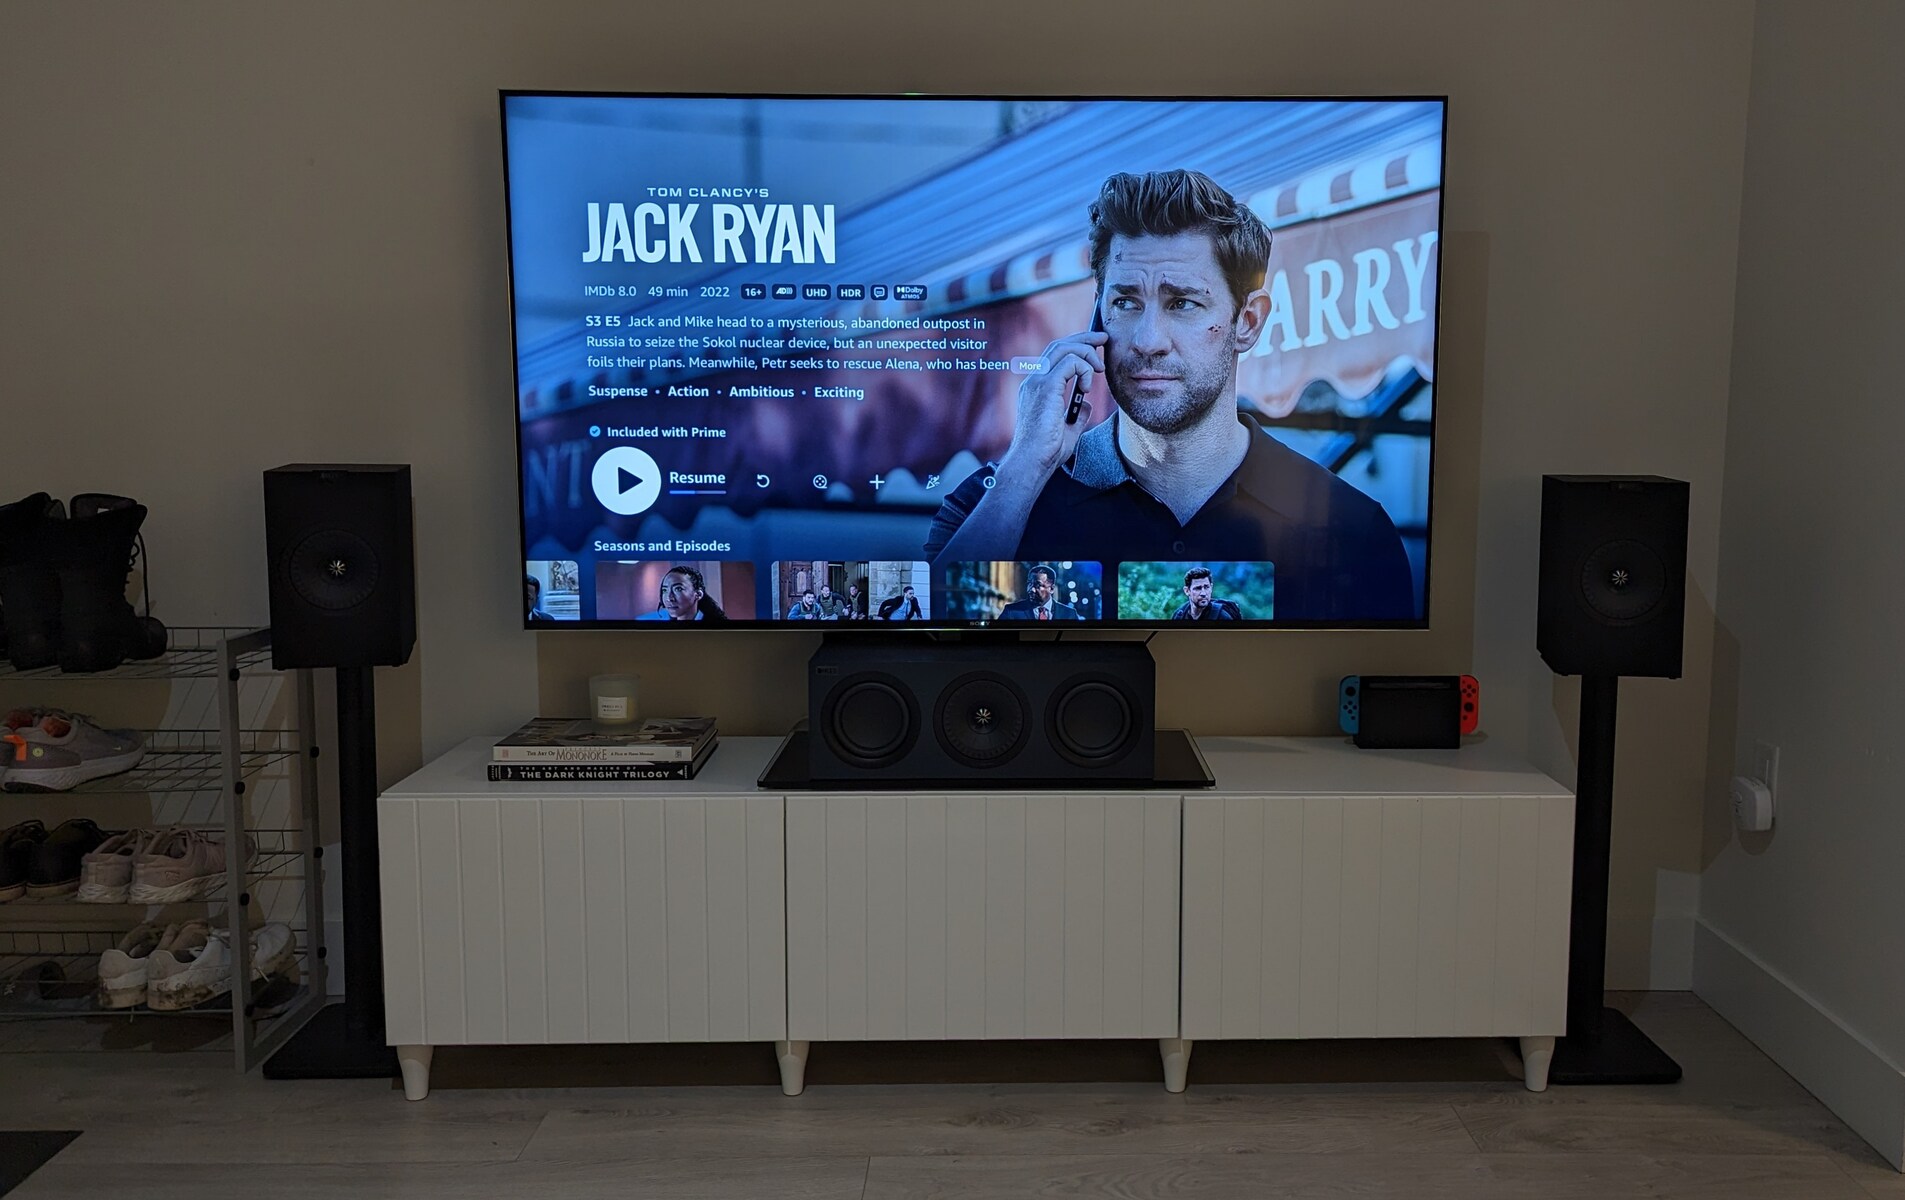
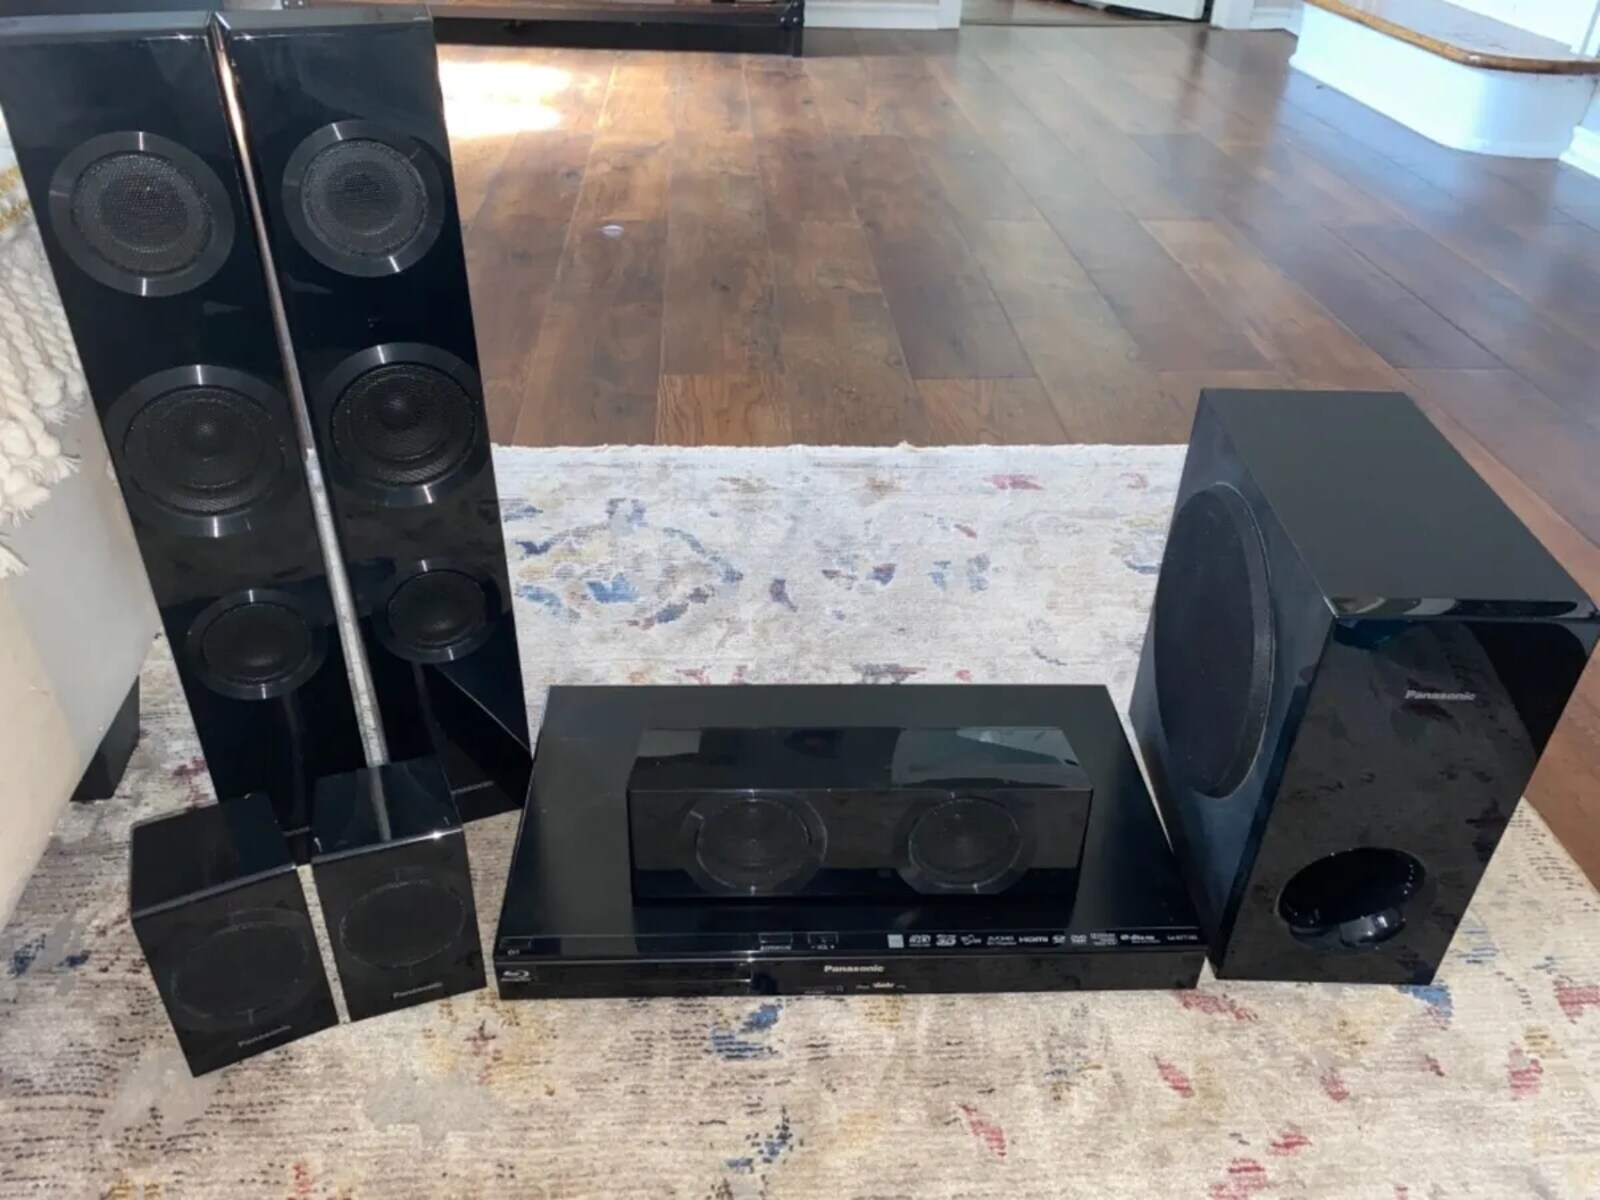
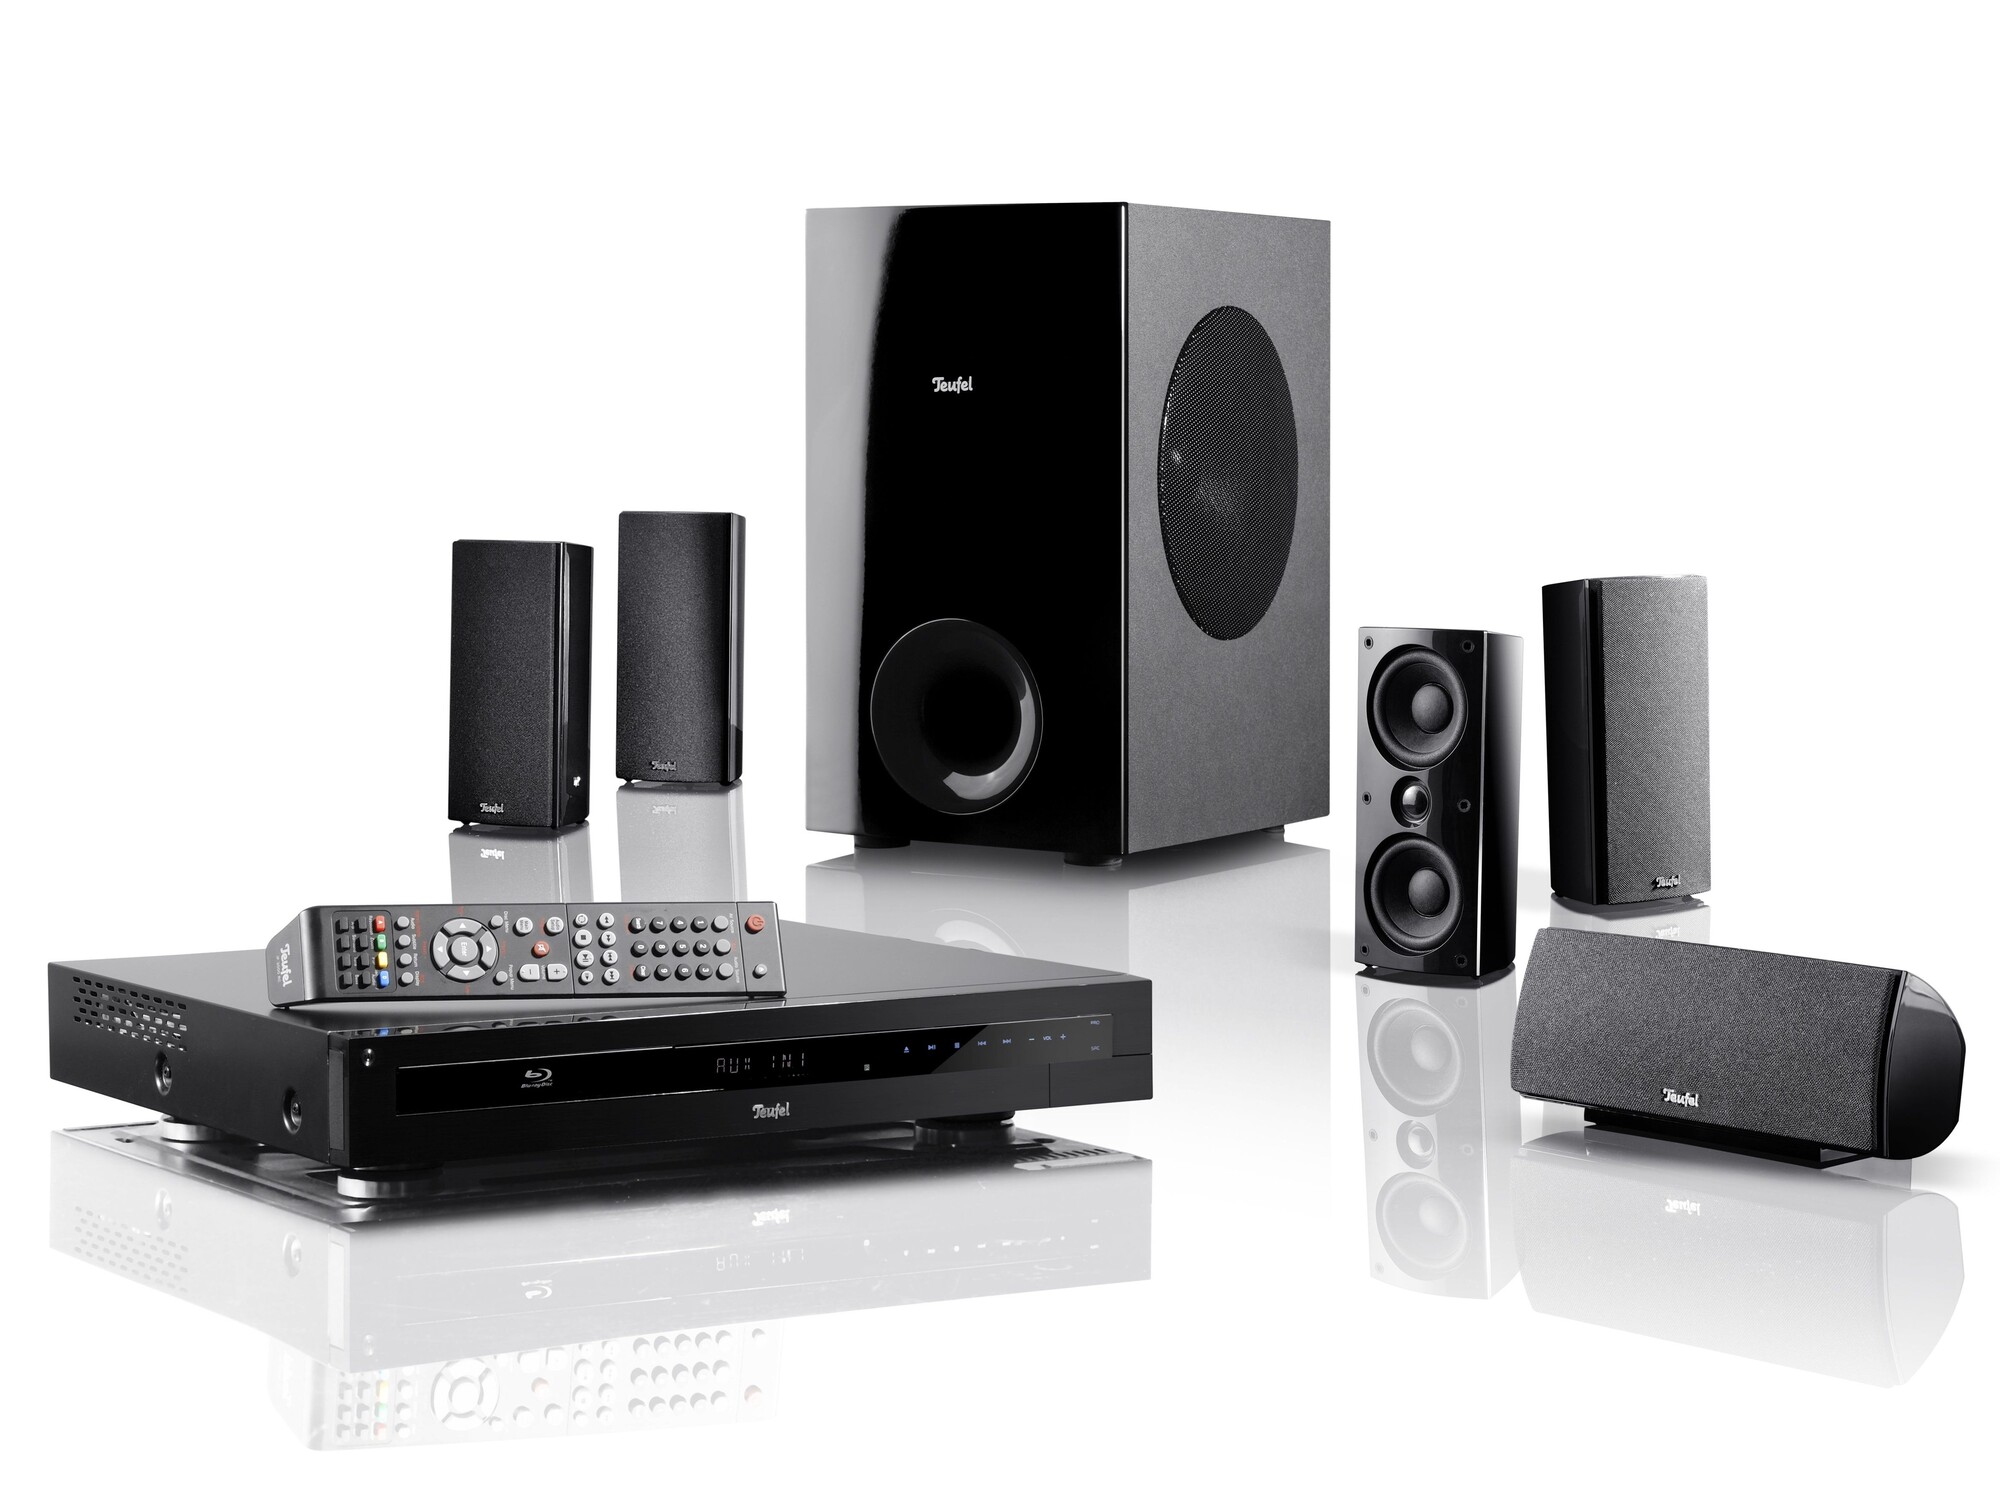
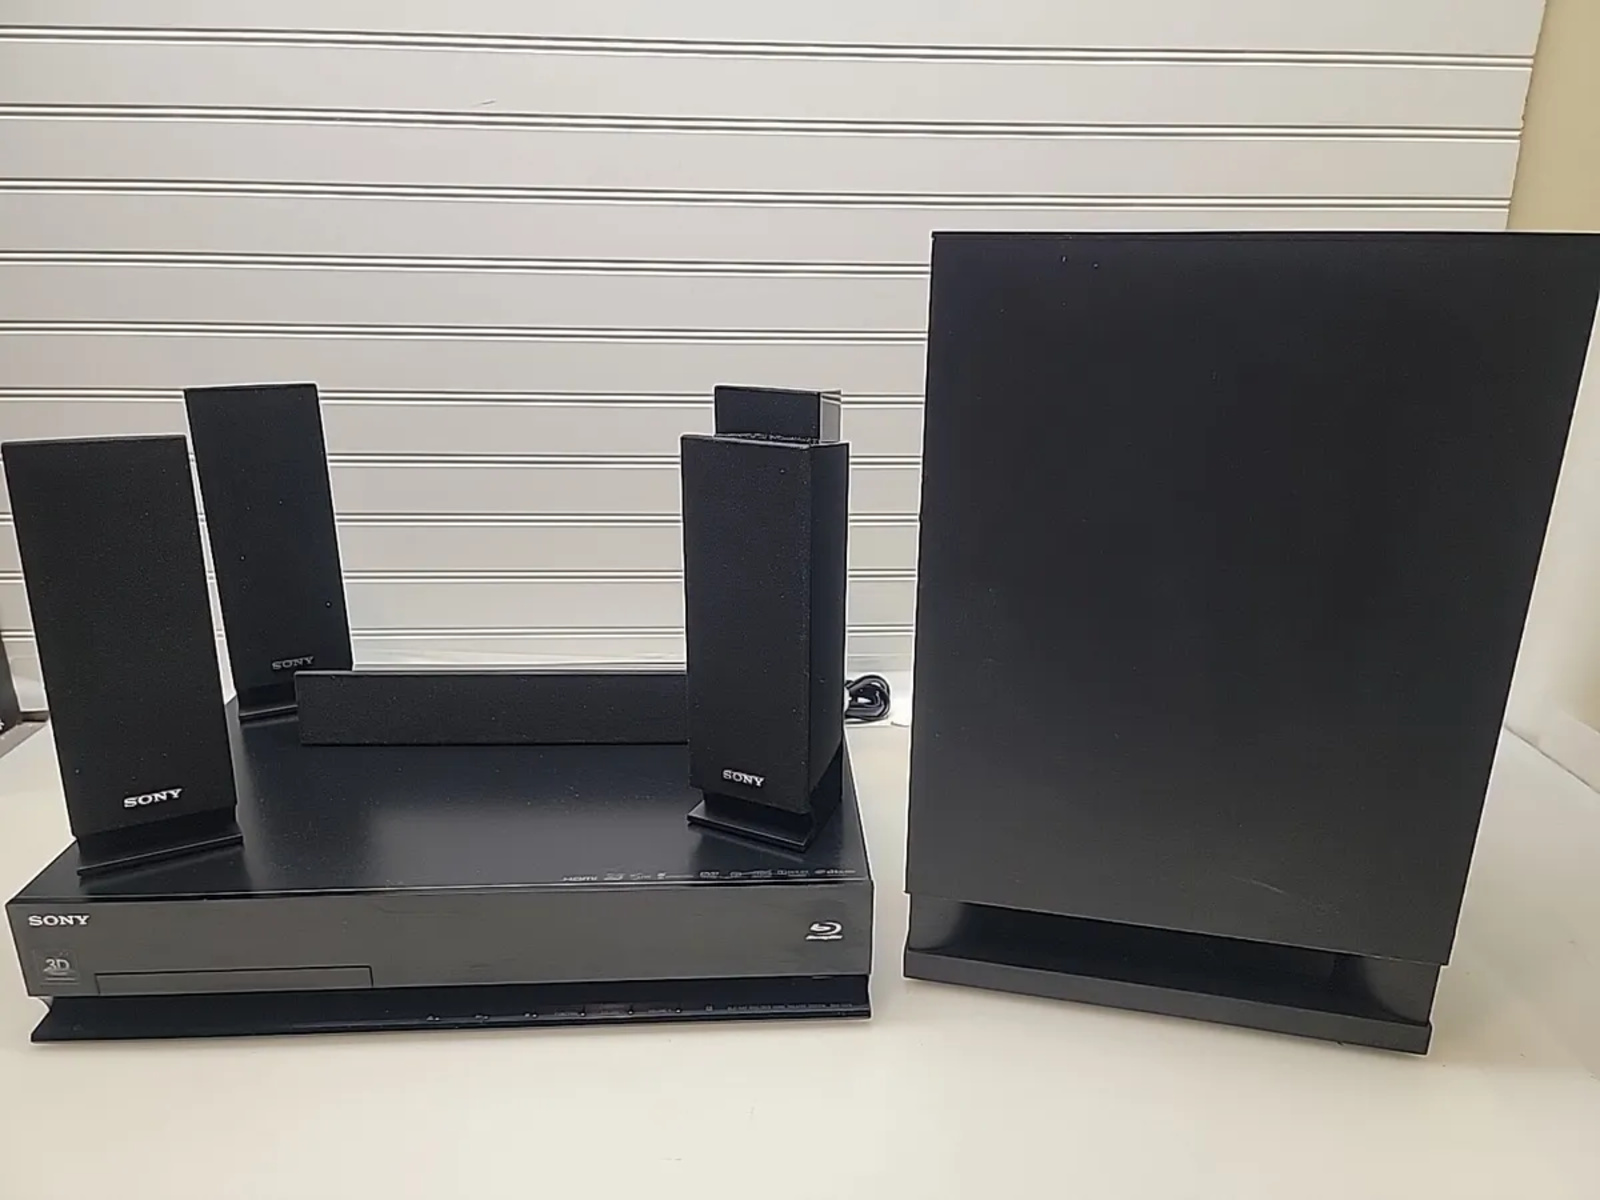
- Speakers: You will need at least five speakers for a standard surround sound setup: two front speakers, two rear speakers, and a center speaker. You can also add a subwoofer for deep bass.
- TV: Ensure that your TV has audio output options, such as HDMI ARC (Audio Return Channel) or optical audio output. This will allow you to connect it to the audio receiver.
- Blu-ray player: If you want to enjoy high-definition movies with surround sound, a Blu-ray player is essential.
- Speaker cables: You will need speaker cables to connect the speakers to the audio receiver. Ensure that you have enough length to reach each speaker.
- HDMI cables: HDMI cables are used to connect the audio receiver to the TV and the Blu-ray player. Make sure you have enough HDMI cables with the appropriate length.
Once you have gathered all the necessary equipment, you are ready to move on to the next step, which is connecting the speakers to the audio receiver.
Step 2: Connect the speakers to the audio receiver
Now that you have all the equipment ready, it’s time to connect the speakers to the audio receiver. Follow these steps:
- Identify the speaker outputs on the back of the audio receiver. They are usually labeled as Front Left, Front Right, Center, Surround Left, Surround Right, and Subwoofer.
- Take the speaker cables and strip a small portion of insulation from the ends of each cable.
- Connect the positive (+) and negative (-) ends of each speaker cable to the corresponding speaker outputs on the audio receiver. Ensure that you connect the cables in the correct polarity to avoid any audio phase issues.
- Move to the speakers and locate the corresponding speaker inputs. They are usually color-coded or labeled to match the connections on the audio receiver.
- Connect the other ends of the speaker cables to the appropriate speaker inputs, matching the positive (+) and negative (-) terminals.
- Repeat this process for each speaker in your surround sound system, ensuring that all connections are secure.
Once you have connected all the speakers to the audio receiver, you are ready to move on to the next step, which is connecting the audio receiver to the TV.
Step 3: Connect the audio receiver to the TV
After successfully connecting the speakers to the audio receiver, the next step is to establish the connection between the audio receiver and the TV. Follow these steps to do so:
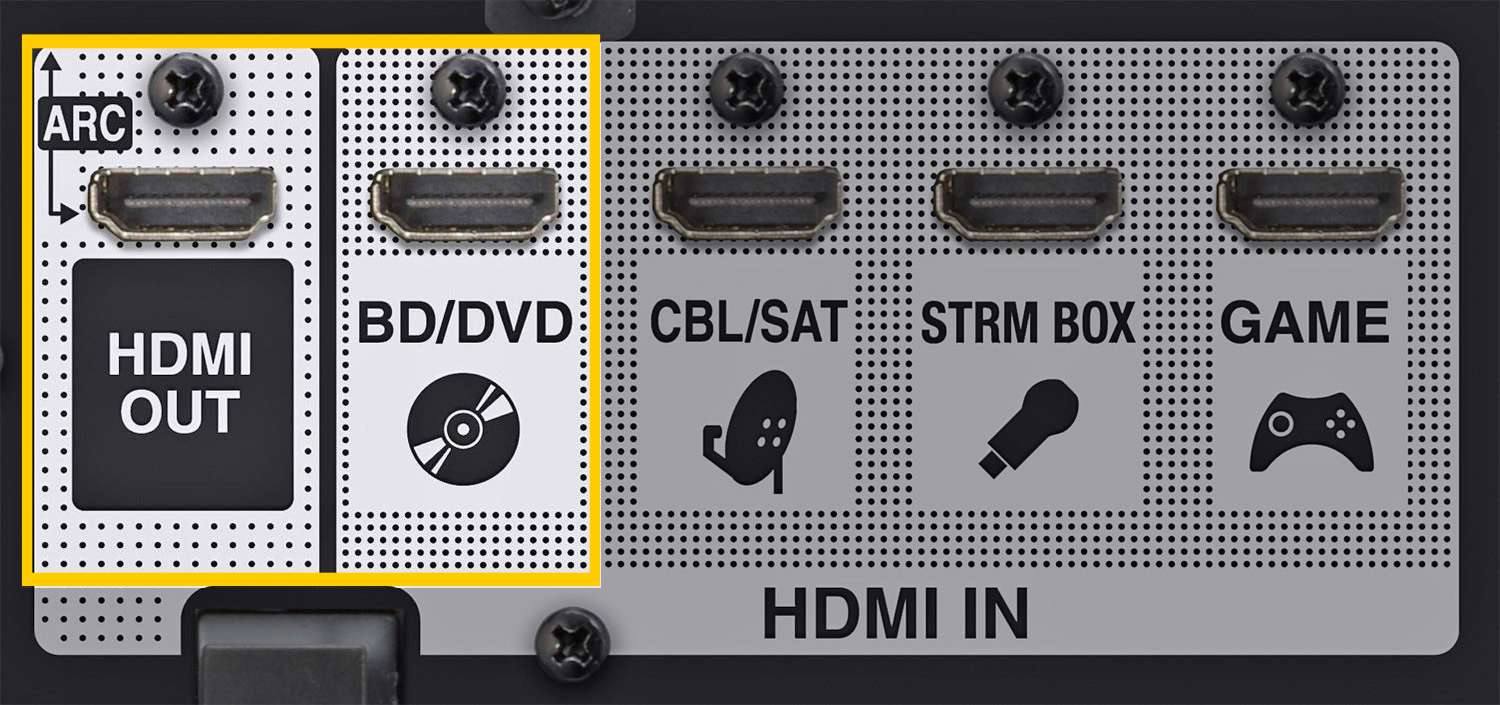
- Locate the HDMI ARC (Audio Return Channel) or optical audio output on your TV. These are usually found at the back or side of the TV.
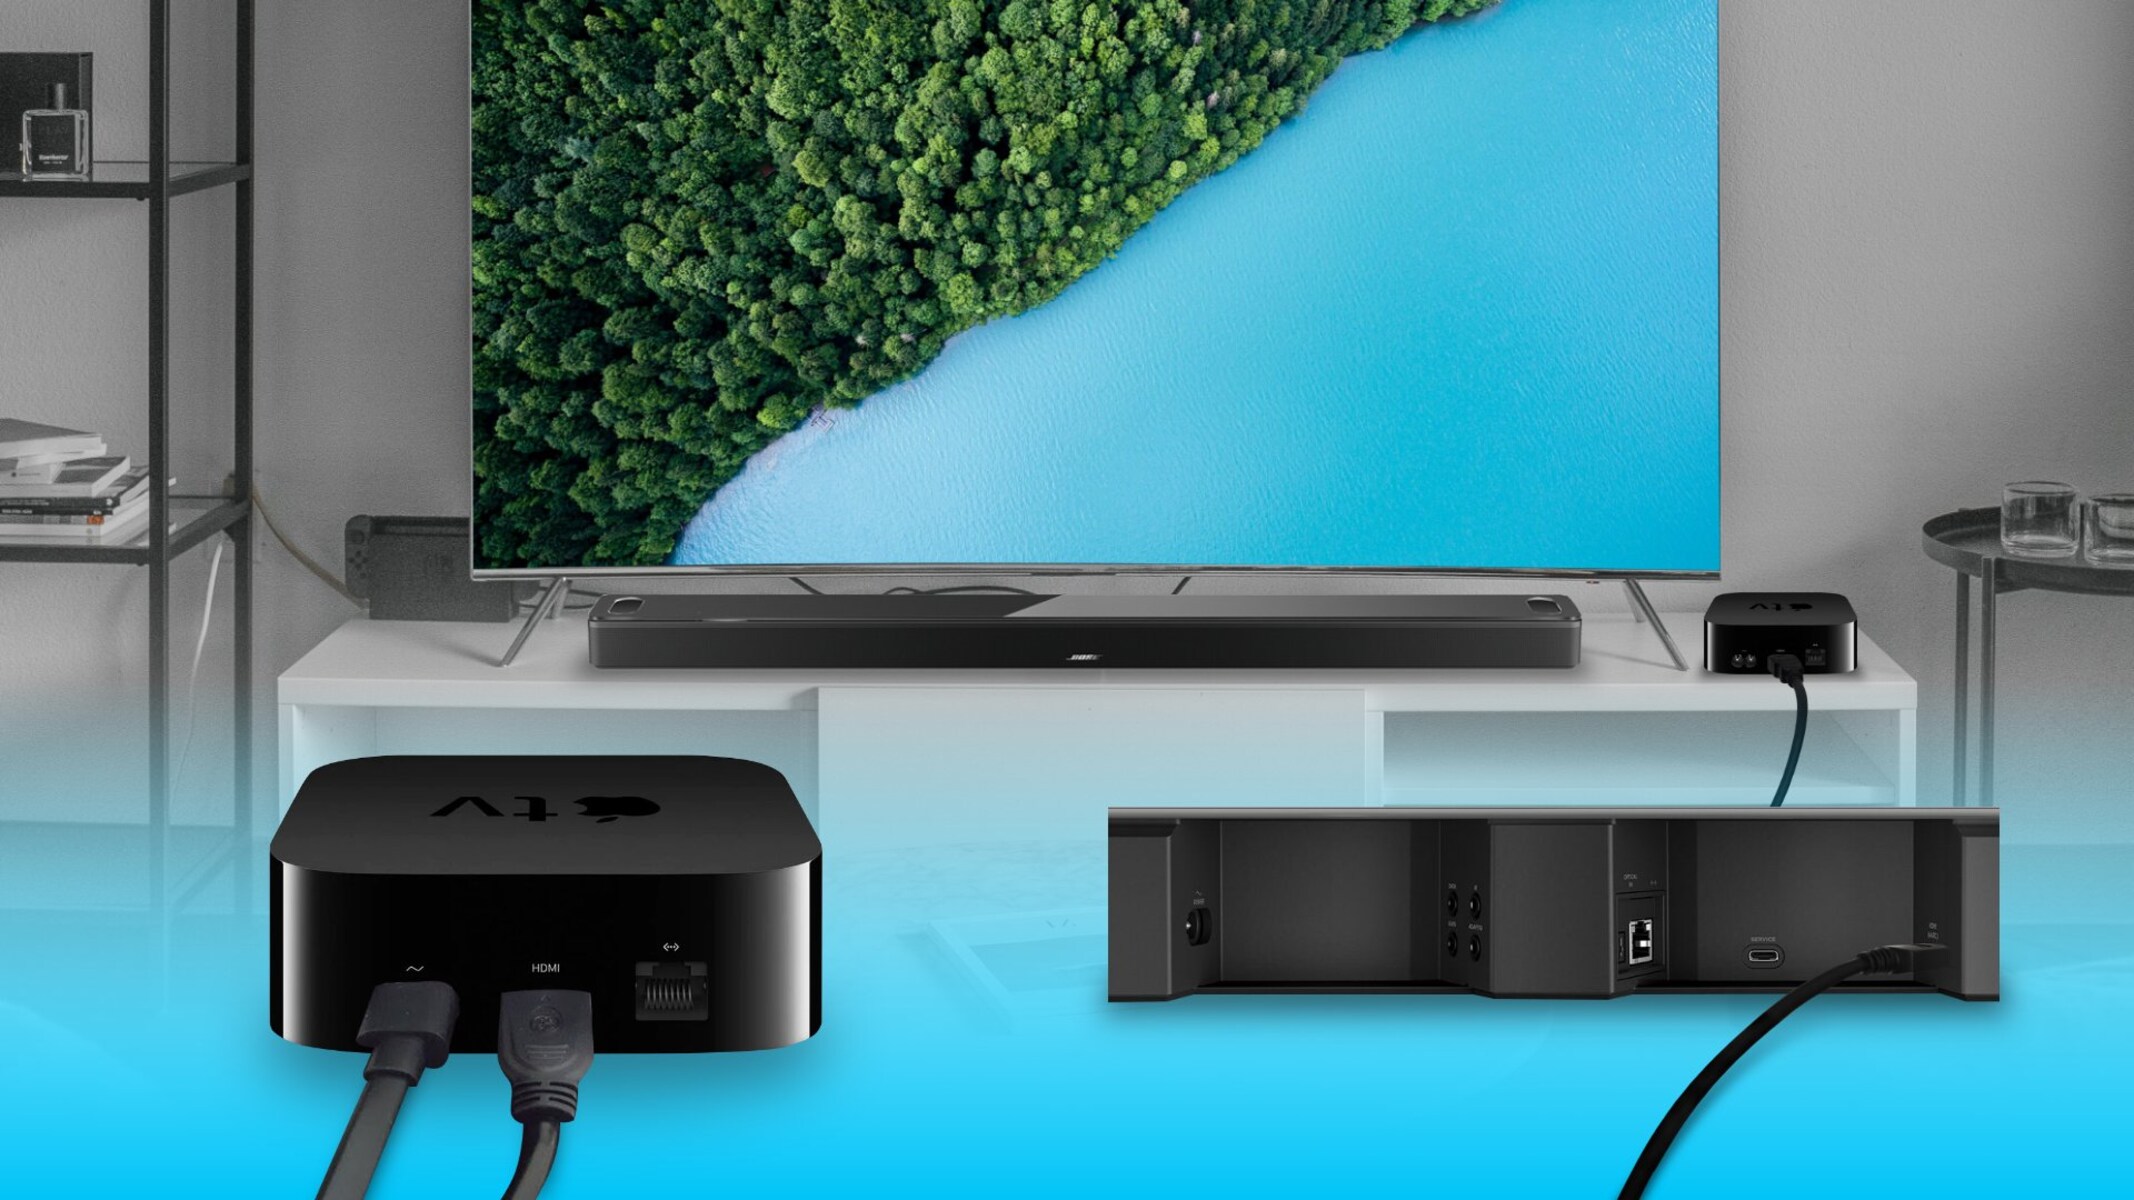
- If you are using an HDMI ARC connection, connect one end of the HDMI cable to the HDMI ARC port on your TV and the other end to the HDMI ARC input on your audio receiver.
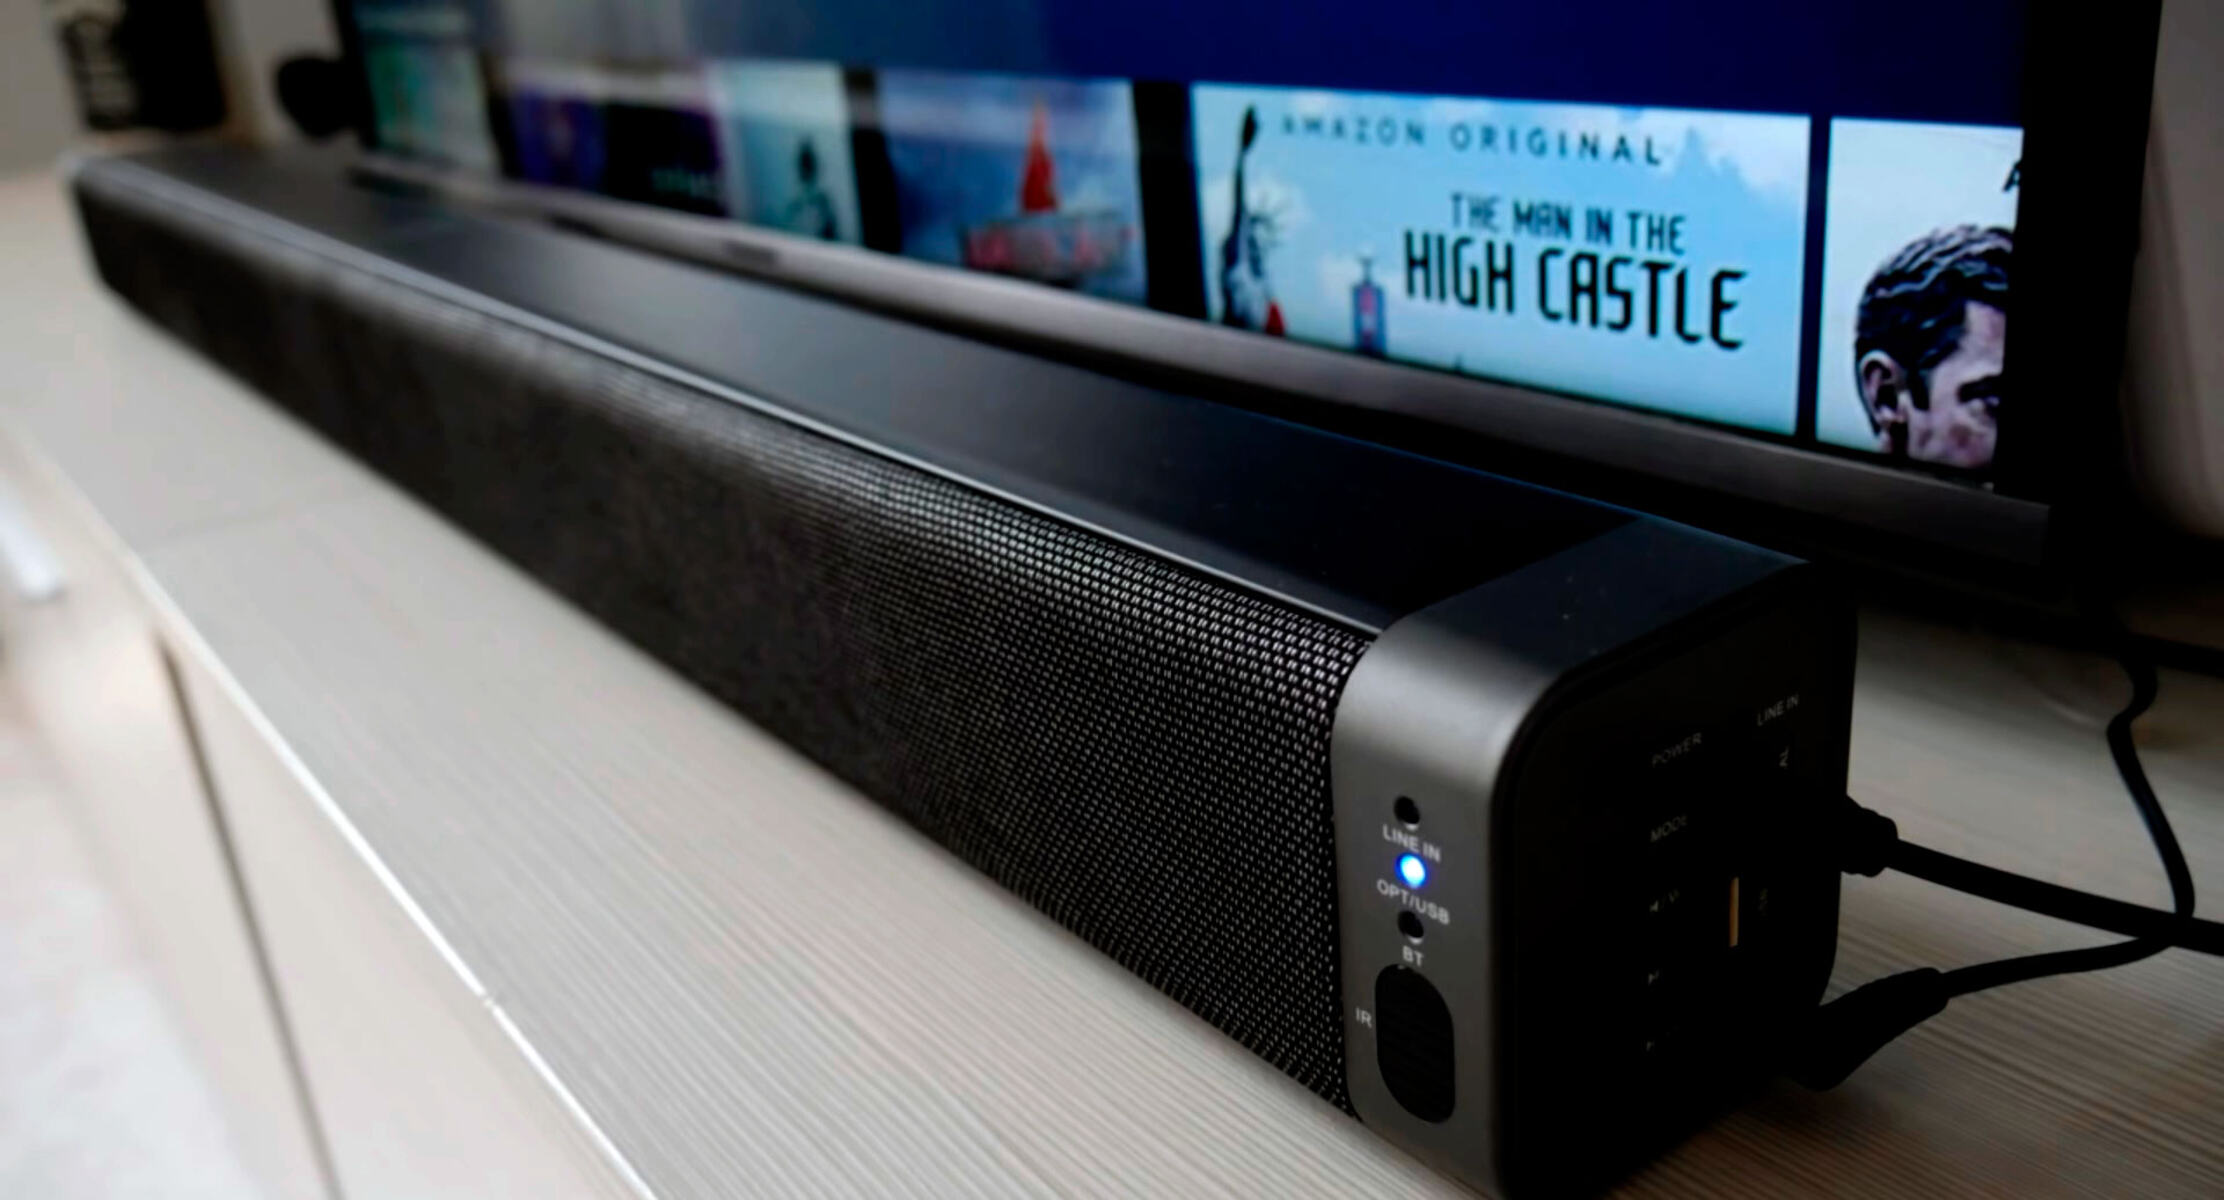
- If you are using an optical audio connection, connect one end of the optical audio cable to the optical audio output on your TV and the other end to the corresponding optical audio input on your audio receiver.
- Ensure that both ends of the cables are securely connected.
- Once the physical connections are complete, turn on your TV and audio receiver.
- On your TV’s settings menu, navigate to the audio output settings and select the option that corresponds to the connection you have made (HDMI ARC or optical audio).
- Follow the on-screen prompts to complete the audio setup process on your TV.
Now that you have successfully connected the audio receiver to the TV, you can move on to the next step, which is connecting the Blu-ray player to the audio receiver.
Step 4: Connect the Blu-ray player to the audio receiver
Now that the speakers and the audio receiver are connected, it’s time to connect the Blu-ray player, so you can enjoy high-quality audio while watching movies. Follow these steps:
- Locate the HDMI output port on your Blu-ray player. It is usually labeled as “HDMI Out” or something similar.
- Connect one end of the HDMI cable to the HDMI output port on your Blu-ray player.
- Connect the other end of the HDMI cable to an available HDMI input on your audio receiver. It may be labeled as “BD/DVD” or “Blu-ray”.
- Ensure that the HDMI cable is securely plugged into both the Blu-ray player and the audio receiver.
- Power on your Blu-ray player and audio receiver.
- On your TV, select the corresponding HDMI input that is connected to the audio receiver.
- Access the settings menu on your Blu-ray player, and make sure the audio output is set to “HDMI” or “Bitstream” to ensure that you get the best audio quality.
With the Blu-ray player successfully connected to the audio receiver, you are getting closer to creating a true surround sound experience. The final step is to configure the audio settings, which we will cover in the next step.
Step 5: Configure the audio settings
Now that all the connections are in place, it’s time to configure the audio settings on your surround sound system. Follow these steps to optimize your audio experience:
- On your audio receiver, locate the settings menu or audio setup options.
- Navigate to the audio settings and select the appropriate surround sound format. The most common options are Dolby Digital, DTS, or Dolby Atmos. Choose the format that is supported by your devices and preferred by you.
- Adjust the speaker settings to ensure that the audio output is balanced and aligned with your room layout. You may need to adjust the speaker distances, sound levels, and crossover frequencies to achieve the best audio performance.
- Test your surround sound system by playing a movie or music that is known for its immersive audio. Listen for any inconsistencies or issues and make further adjustments if necessary.
- Take some time to explore the audio settings on your Blu-ray player and TV as well. Adjust the audio output settings to match the connected devices and enable features like surround sound passthrough or audio enhancements to enhance your listening experience.
By configuring the audio settings, you can maximize the potential of your surround sound system and enjoy a truly immersive audio experience. Take your time to fine-tune the settings until you find the perfect balance that suits your preferences.
Now that you have successfully connected and configured your surround sound system, it’s time to sit back, relax, and immerse yourself in the captivating audio experience that it provides. Enjoy your favorite movies, TV shows, and music like never before!
Conclusion
Setting up a surround sound system may seem daunting at first, but by following the step-by-step process outlined in this guide, you can easily connect your surround sound system to your TV with a Blu-ray player. By doing so, you can elevate your home entertainment experience and enjoy immersive audio quality that rivals a movie theater.
Starting with gathering the necessary equipment, including an audio receiver, speakers, TV, Blu-ray player, speaker cables, and HDMI cables, you can ensure that you have everything you need to create a cinematic sound experience at home.
With the equipment at hand, you can connect the speakers to the audio receiver, making sure to match the polarity of the speaker cables correctly. Then, proceed to connect the audio receiver to your TV using HDMI ARC or optical audio connections, enabling the audio to be seamlessly transmitted from your TV to the audio receiver.
Finally, connect your Blu-ray player to the audio receiver using an HDMI cable, ensuring that you select the appropriate audio output settings on your Blu-ray player and audio receiver to maximize the audio quality.
Once all the connections are made, take the time to configure the audio settings on your surround sound system, fine-tuning the speaker settings and audio formats to suit your preferences. By doing so, you can create a personalized audio setup that enhances your viewing experience.
Now, sit back, relax, and immerse yourself in the captivating world of surround sound. Enjoy the rich, detailed audio as it envelops you and transports you into the heart of the action.
Remember, each surround sound system may have unique specifications and connections, so it’s important to consult the user manuals of your specific devices for more detailed instructions and to ensure compatibility.
With the right equipment, proper connections, and optimized audio settings, you can create a true home theater experience with your surround sound system. Grab some popcorn, gather your friends or family, and get ready to enjoy a thrilling audio journey in the comfort of your own home!


