Introduction
Are you looking to enhance your home entertainment experience by connecting a soundbar to your Dish Network? Soundbars offer a convenient and space-saving way to enjoy high-quality audio while watching your favorite shows and movies. By connecting a soundbar to your Dish Network receiver, you can elevate your sound quality and immerse yourself in a more cinematic experience.
In this guide, we will walk you through the step-by-step process of hooking up a soundbar to your Dish Network. Whether you are a tech-savvy individual or new to audio setups, don’t worry! We’ll provide clear, easy-to-follow instructions to help you get your soundbar up and running in no time.
Before getting started, make sure that you have the necessary equipment and cables ready. It’s also essential to familiarize yourself with your TV and Dish Network receiver’s input options and settings. With a little patience and attention to detail, you’ll be enjoying enhanced audio quality in the comfort of your own home.
Now, let’s dive into the step-by-step process of connecting your soundbar to your Dish Network receiver. Follow the instructions carefully, and get ready to elevate your audio experience to the next level!
Step 1: Gather the necessary equipment
Before you begin setting up your soundbar with your Dish Network, it’s important to gather all the necessary equipment. Here’s a list of items you’ll need:
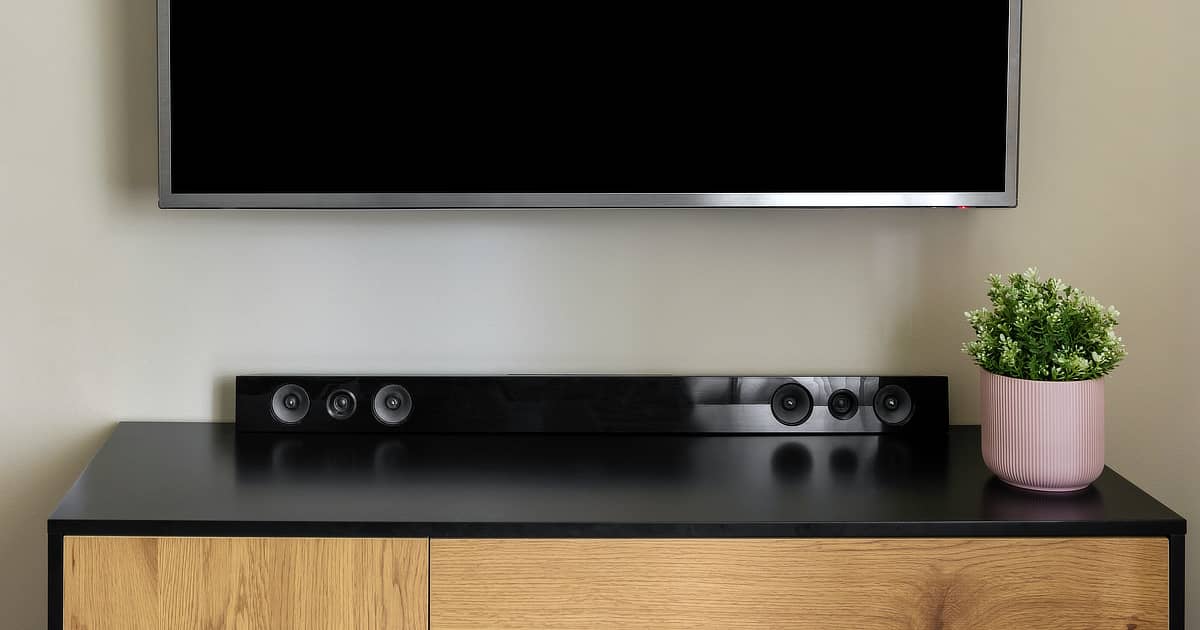
- A soundbar: Choose a soundbar that suits your audio preferences and fits well with your TV setup. Make sure it has the necessary inputs, such as HDMI or optical, to connect to your Dish Network receiver.
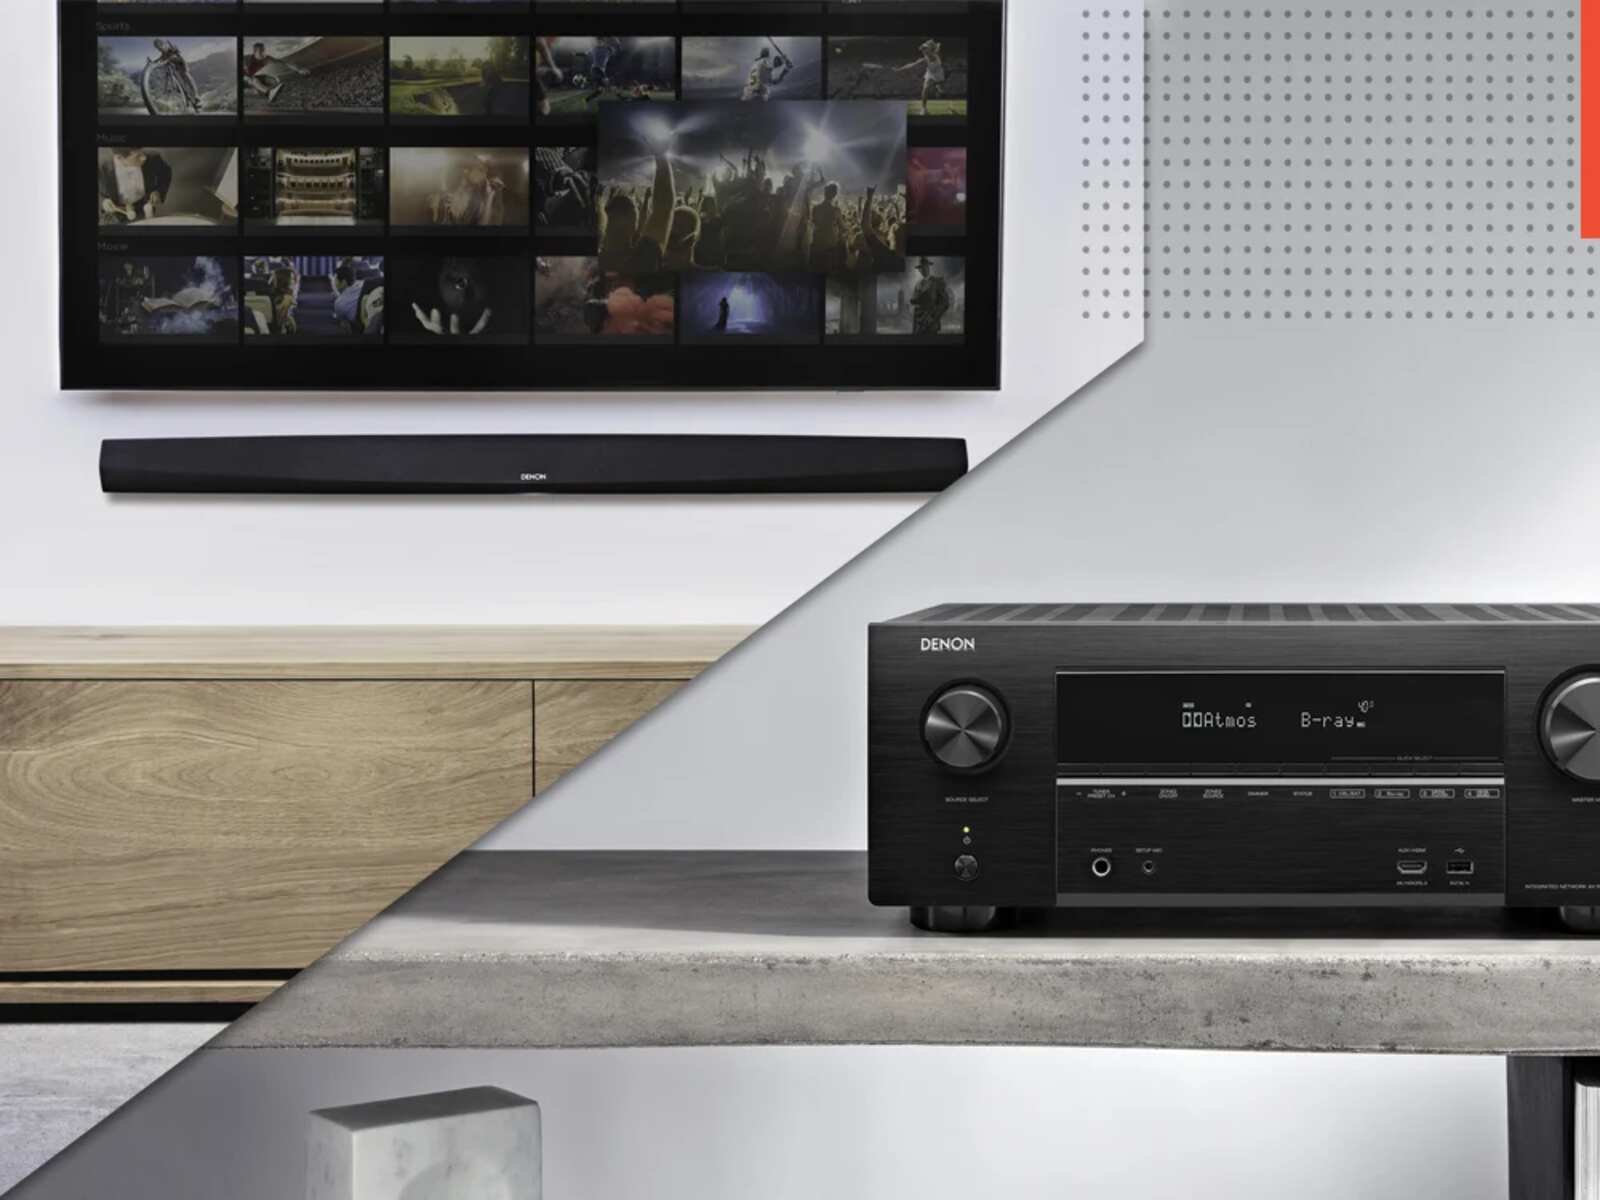
- A Dish Network receiver: This is the device that receives the satellite signal and delivers it to your TV. Ensure it is in good working condition and can provide the audio output to your soundbar.
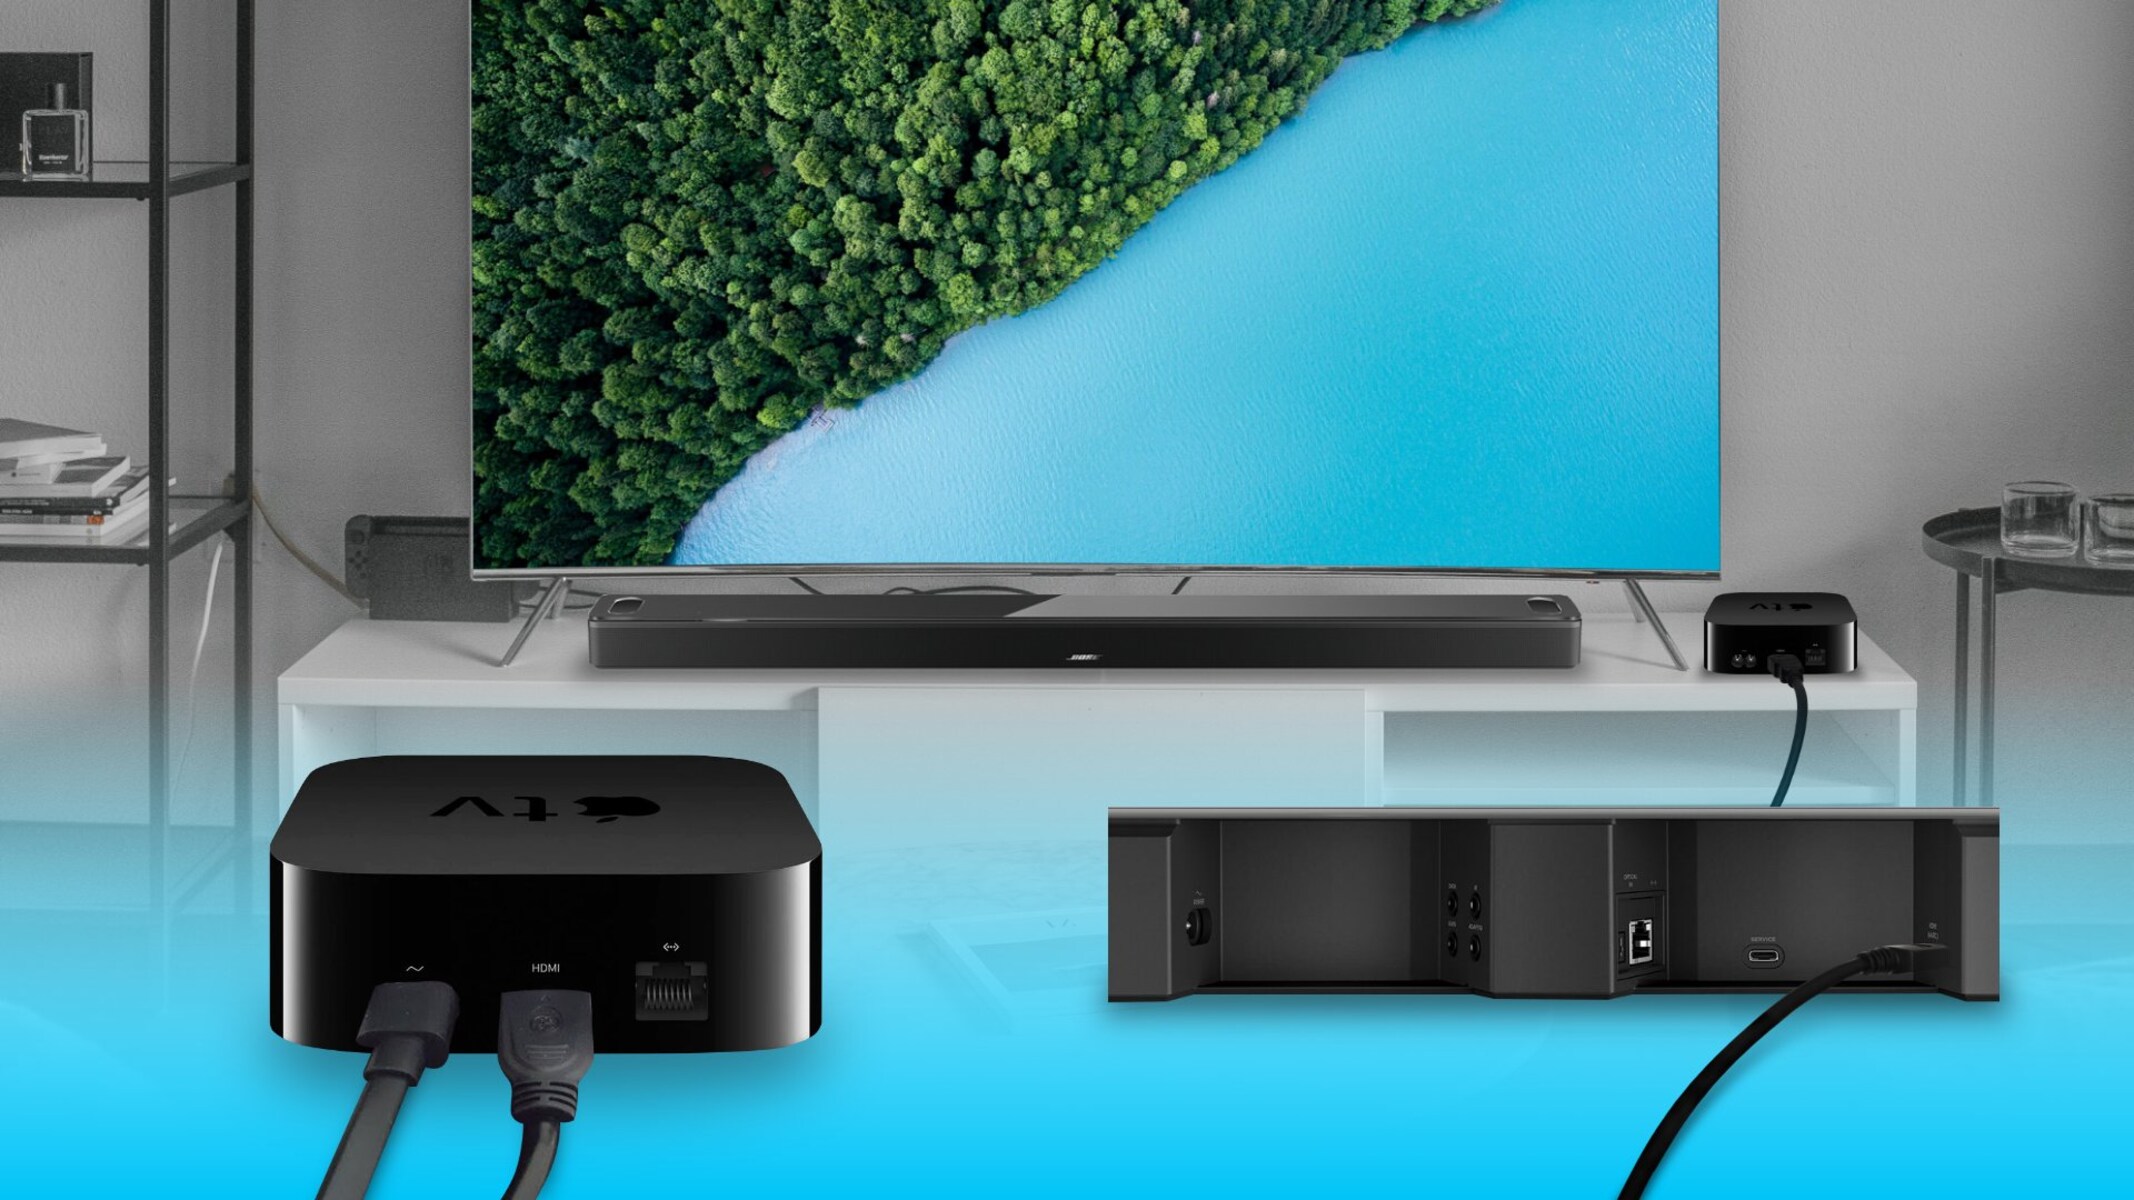
- HDMI or optical cables: Depending on the inputs available on your soundbar and Dish Network receiver, you’ll need the appropriate cables to establish the connection.
- An HDMI or optical splitter (optional): If your TV has only one HDMI or optical output, but you want to connect both your soundbar and Dish Network receiver, you may need an HDMI or optical splitter.
- A power source: Ensure that you have an available power outlet to plug in your soundbar and Dish Network receiver.
Once you have gathered all the necessary equipment, you’re ready to move on to the next step of the setup process. Having everything prepared will make the installation smoother and ensure you have a seamless audio experience with your Dish Network.
Step 2: Connect the soundbar to the TV
Now that you have all the equipment ready, it’s time to connect your soundbar to the TV. Follow these steps to ensure a successful connection:
- Locate the HDMI or optical input on your TV: Check the back or side of your TV to find the HDMI or optical input labeled “Audio Out” or “ARC” (Audio Return Channel). Note the input number or name.
- Connect one end of the HDMI or optical cable to the corresponding output on your soundbar: Plug one end of the cable into the HDMI or optical output labeled “Audio In” on your soundbar.
- Connect the other end of the cable to the TV: Plug the opposite end of the HDMI or optical cable into the corresponding input on your TV (the one you identified in step 1).
- Power on the soundbar and TV: Ensure both your soundbar and TV are powered on and set to the correct input source. Consult your soundbar and TV manuals if you’re unsure how to do this.
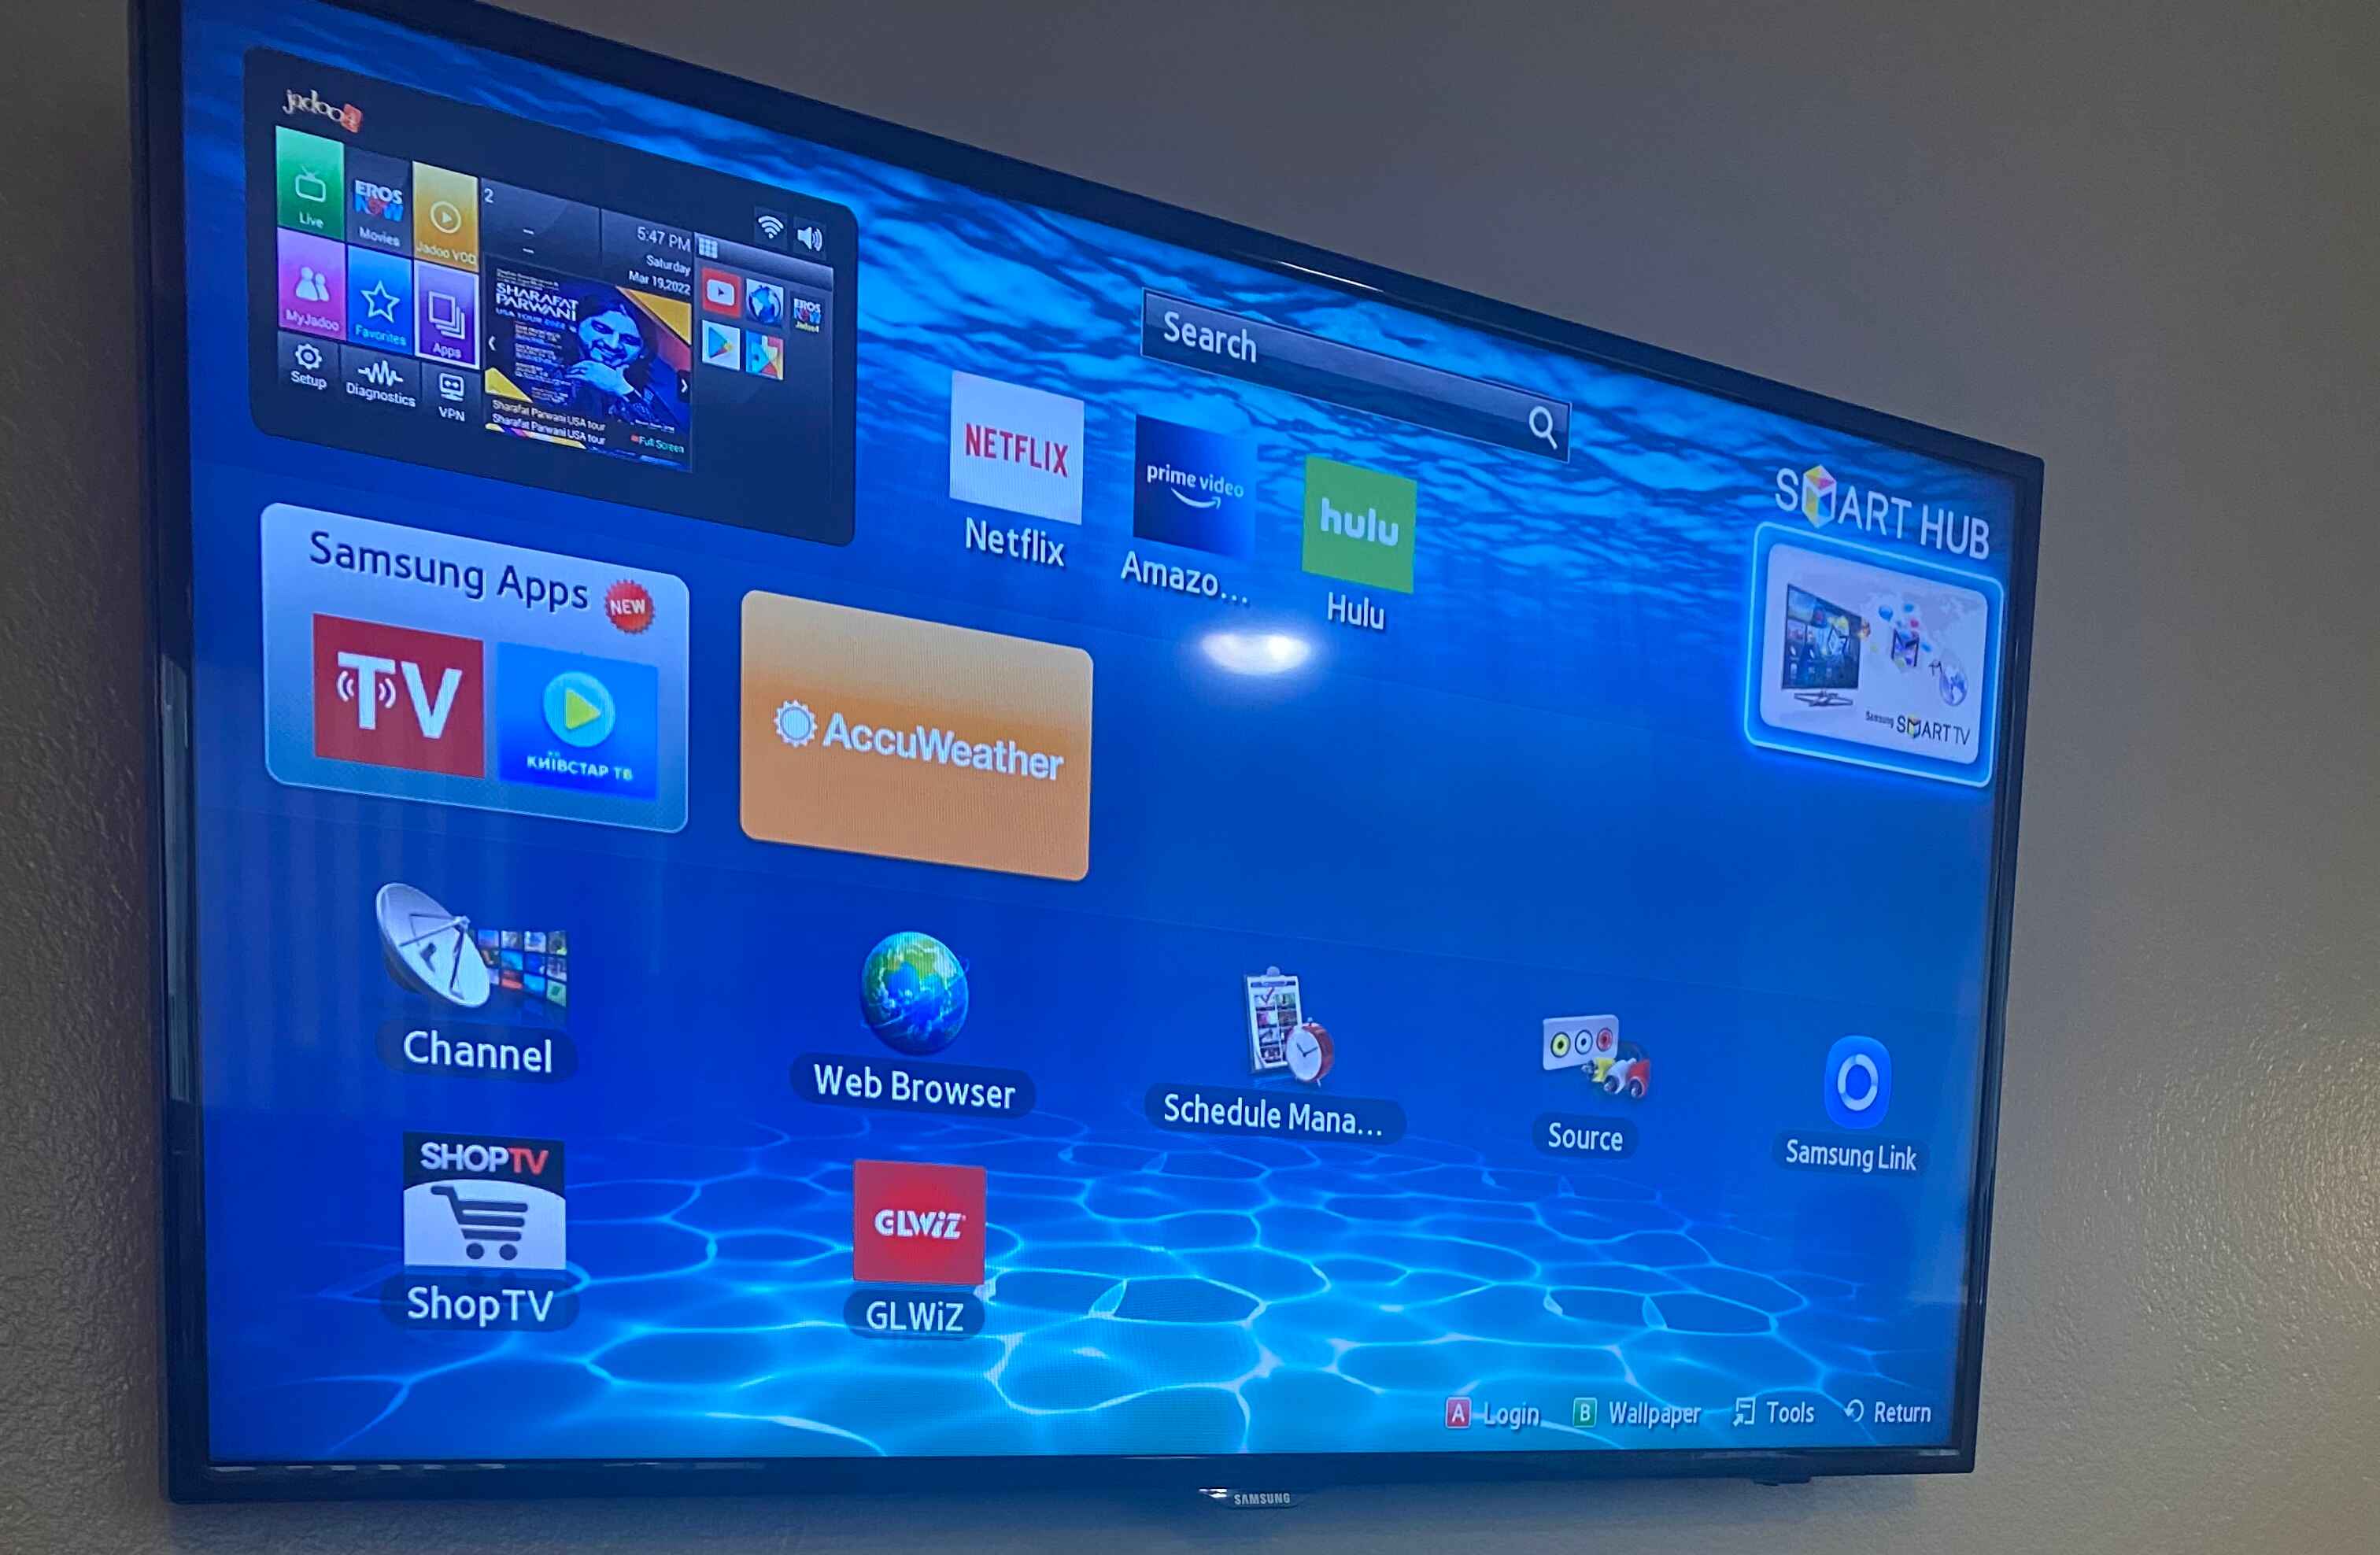
- Adjust the audio settings on your TV: Using your TV’s remote control, navigate to the audio settings and select the appropriate output source. This might be labeled as “External Speakers” or something similar. Make sure the soundbar is selected as the audio output.
- Test the sound: Play some audio or video content on your TV and verify that the sound is coming through the soundbar. Adjust the volume on both the TV and soundbar to your desired levels.
Once you have successfully connected the soundbar to your TV, you can move on to the next step of connecting it to your Dish Network receiver. This step will ensure that you can enjoy enhanced audio quality while watching your favorite shows and movies through your Dish Network.
Step 3: Set up the Dish Network receiver
Setting up your Dish Network receiver properly is crucial to ensure proper audio output to your soundbar. Follow these steps to configure your receiver:
- Locate the audio output ports on your Dish Network receiver: Look for the HDMI or optical output ports on the back of the receiver. Note the port number or name.
- Choose the appropriate cable: Depending on the available input ports of your soundbar, select either an HDMI or optical cable.
- Connect the cable to the receiver: Plug one end of the HDMI or optical cable into the audio output port on your Dish Network receiver.
- Connect the other end to the soundbar: Plug the opposite end of the cable into the corresponding input port on your soundbar, labeled “Audio In.”
- Power on the Dish Network receiver: Ensure that the receiver is powered on and connected to your TV.
- Configure the audio settings on the receiver: Using your Dish Network remote control, navigate to the audio settings menu. Select the appropriate audio output option, such as “HDMI” or “Optical,” depending on the cable connection you made in step 3.
- Verify the audio output: Play some audio or video content through your Dish Network receiver, and check if the sound is coming through the soundbar. Adjust the volume on both the receiver and soundbar as needed.
Once you have successfully set up your Dish Network receiver and established a connection with your soundbar, you’re ready to move on to the final step of the installation process.
Step 4: Connect the soundbar to the Dish Network receiver
Now that you have your soundbar connected to your TV and your Dish Network receiver set up, it’s time to establish the final connection between the soundbar and the receiver. Follow these steps to ensure a proper connection:
- Locate the audio input ports on your soundbar: Look for the HDMI or optical input ports on the back of your soundbar. Note the port number or name.
- Choose the appropriate cable: Select the HDMI or optical cable, depending on the available output ports on your Dish Network receiver.
- Connect the cable to the soundbar: Plug one end of the HDMI or optical cable into the audio input port on your soundbar.
- Connect the other end to the Dish Network receiver: Plug the opposite end of the cable into the corresponding output port on your Dish Network receiver.
- Power on the soundbar and Dish Network receiver: Ensure that both devices are powered on and properly connected to your TV.
- Adjust the audio settings on the soundbar: Using the remote control or buttons on your soundbar, select the appropriate input source. This will vary depending on the model and brand of your soundbar.
- Test the audio output: Play some audio or video content through your Dish Network receiver and soundbar. Verify that the sound is coming through the soundbar. Adjust the volume on both the receiver and soundbar to your desired levels.
Congratulations! You have successfully connected your soundbar to your Dish Network receiver. Now, sit back, relax, and enjoy remarkable audio quality during your TV viewing experience.
Step 5: Adjust audio settings and test the soundbar
After connecting your soundbar to your Dish Network receiver, it’s essential to adjust the audio settings and make any necessary adjustments to ensure optimal sound quality. Follow these steps to fine-tune your setup:
- Access the soundbar’s settings: Using the soundbar’s remote control or buttons, navigate to the settings menu. This will allow you to customize the audio settings based on your preferences.
- Equalizer settings: Many soundbars have built-in equalizer settings that let you adjust bass, treble, and other sound parameters. Experiment with these settings to find the best balance for your listening experience.
- Surround sound options: If your soundbar supports surround sound, enable this feature to create a more immersive audio experience. Adjust the levels of rear speakers or virtual surround settings to your liking.
- Audio presets: Some soundbars come with preset audio profiles designed for specific content, such as movies, music, or gaming. Explore these presets to find the one that suits your needs the best.
- Test the audio quality: Play various types of audio content, including movies, music, and dialogue-heavy scenes, to ensure the soundbar is providing clear and balanced sound. Listen for any distortions or imbalances in the audio.
- Adjust volume synchronization: If you notice a delay between the audio and video, you may need to adjust the audio delay or lip-sync settings on either the soundbar or TV to align the sound properly.
- Fine-tune volume levels: Use the soundbar’s volume control to set the desired sound level. Additionally, ensure that the volume on your Dish Network receiver and TV is set at an appropriate level.
Take your time to experiment with different settings and configurations to achieve the best audio quality that suits your preferences. Fine-tuning the sound settings will ensure a more immersive and enjoyable audio experience while using your Dish Network.
Conclusion
Congratulations! You have successfully connected your soundbar to your Dish Network and set up the audio system for an enhanced home entertainment experience. By following the step-by-step instructions outlined in this guide, you have learned how to gather the necessary equipment, connect the soundbar to the TV and Dish Network receiver, adjust audio settings, and test the soundbar.
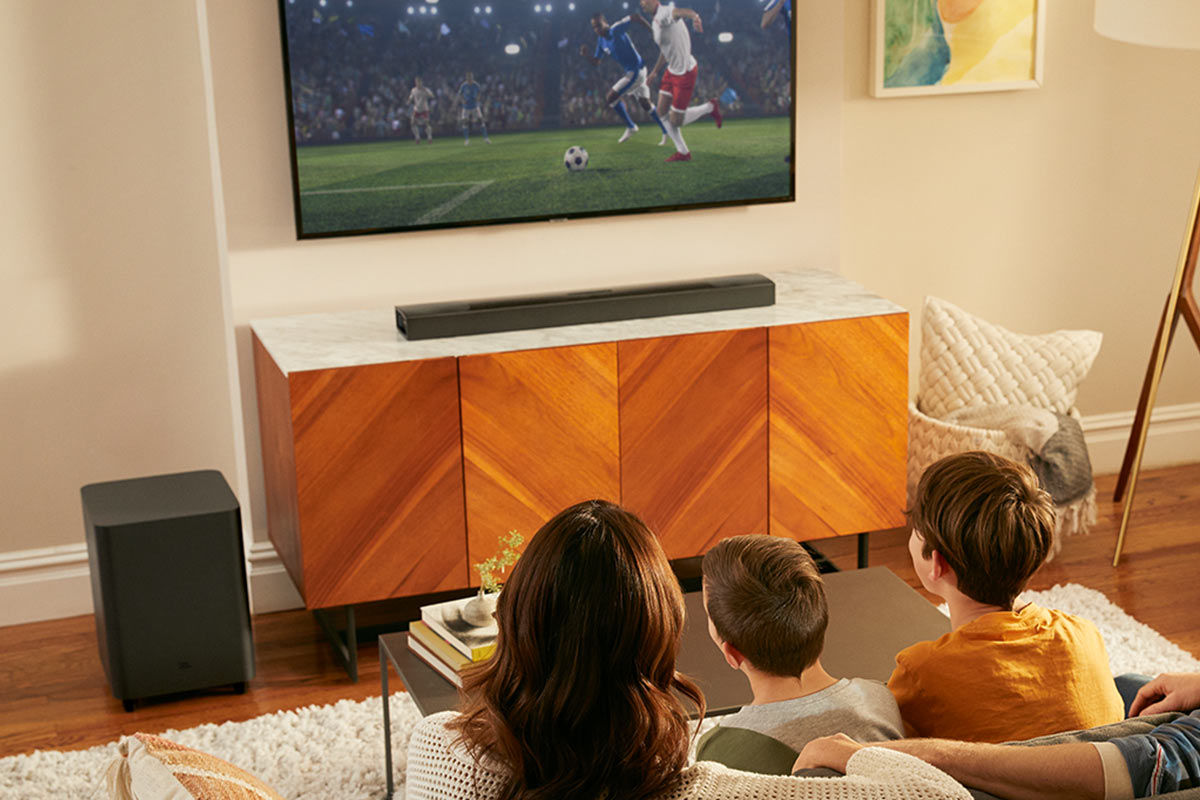
With your soundbar properly connected, you can now enjoy immersive and high-quality audio while watching your favorite shows, movies, and sports events. Whether you’re craving booming bass, crisp dialogue, or enveloping surround sound, your soundbar will deliver an enhanced audio experience that takes your entertainment to the next level.
Remember to fine-tune the audio settings on your soundbar to suit your preferences and optimize the sound quality for different types of content. Don’t hesitate to experiment with the equalizer, surround sound options, and audio presets to find the perfect audio balance for your viewing pleasure.
We hope this guide has been helpful in assisting you with setting up your soundbar with your Dish Network. If you encounter any issues during the process, refer to your soundbar and Dish Network receiver manuals for more specific instructions or consult the manufacturers’ support resources.
Now, grab your popcorn, sit back, and enjoy an immersive audio experience with your newly connected soundbar and Dish Network setup!