Introduction
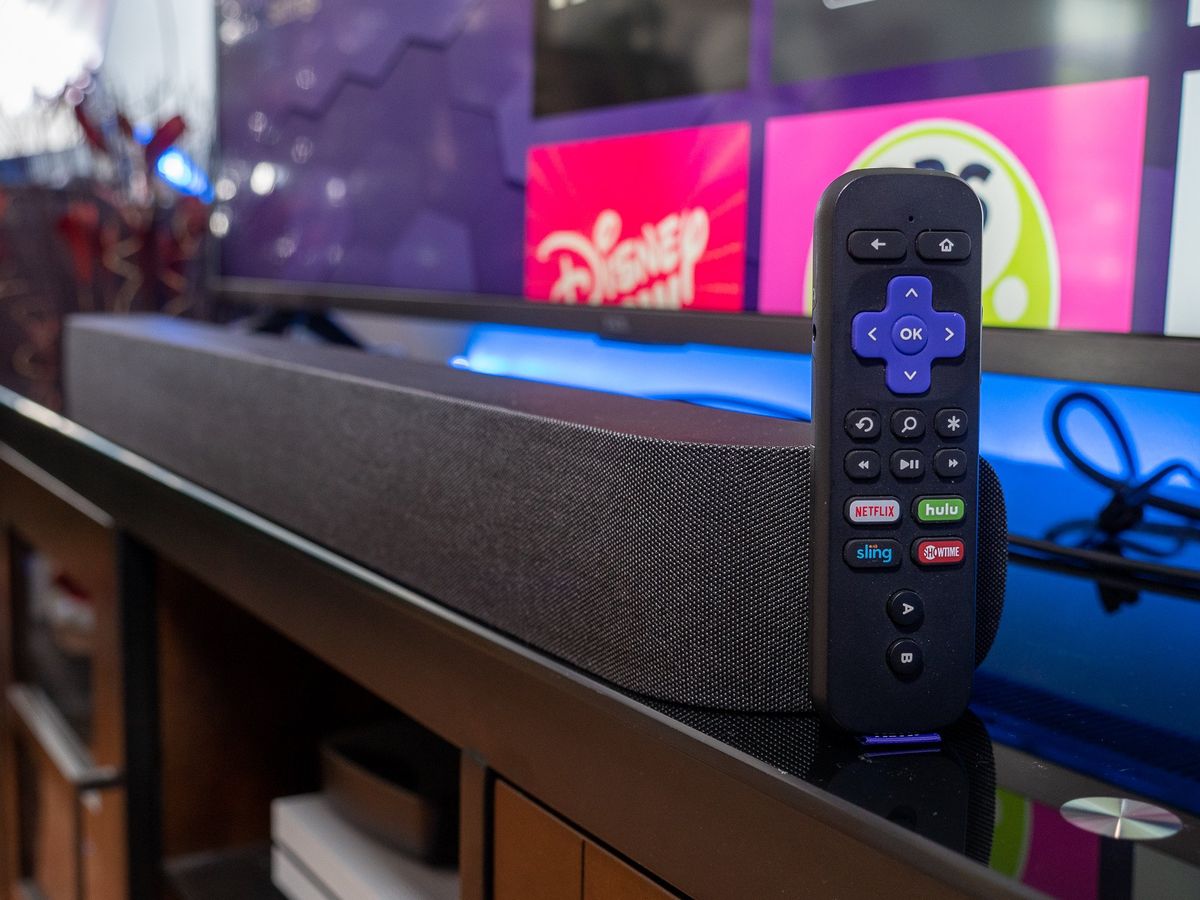
Connecting a soundbar to your Roku Stick can greatly enhance your TV viewing experience by improving the audio quality and providing a more immersive sound. Whether you want to enjoy your favorite movies, TV shows, or music with richer audio, connecting a soundbar is a simple process that can be accomplished in a few easy steps. In this guide, we will walk you through the different methods you can use to connect your soundbar to your Roku Stick.
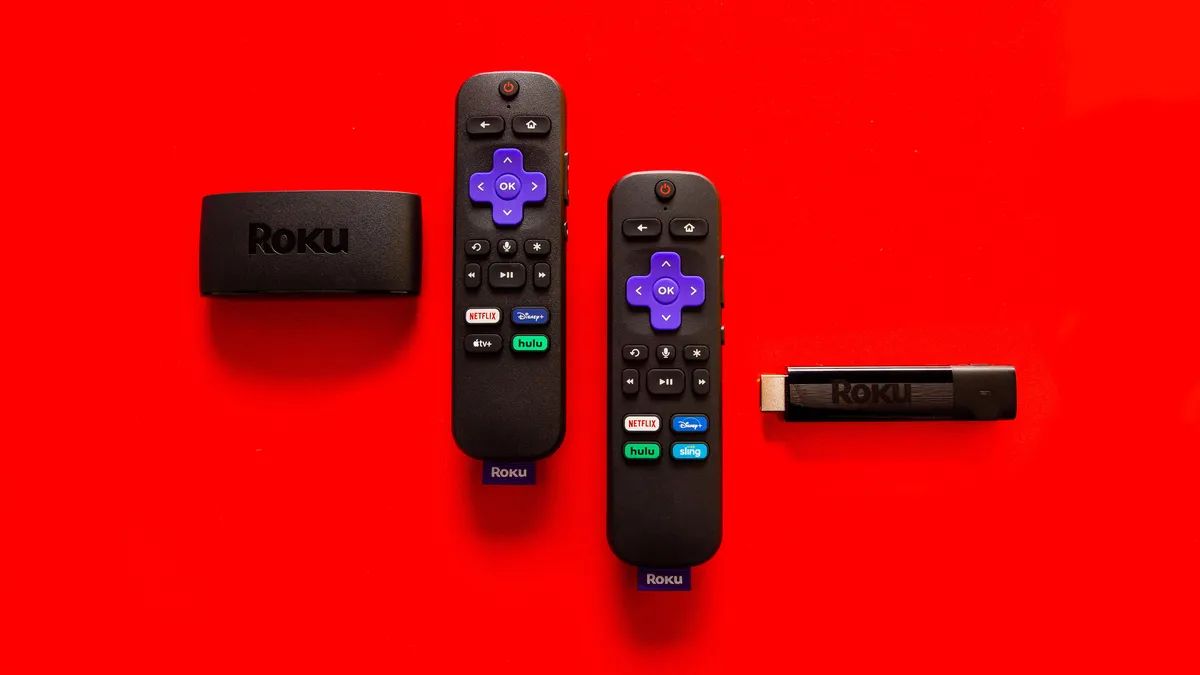
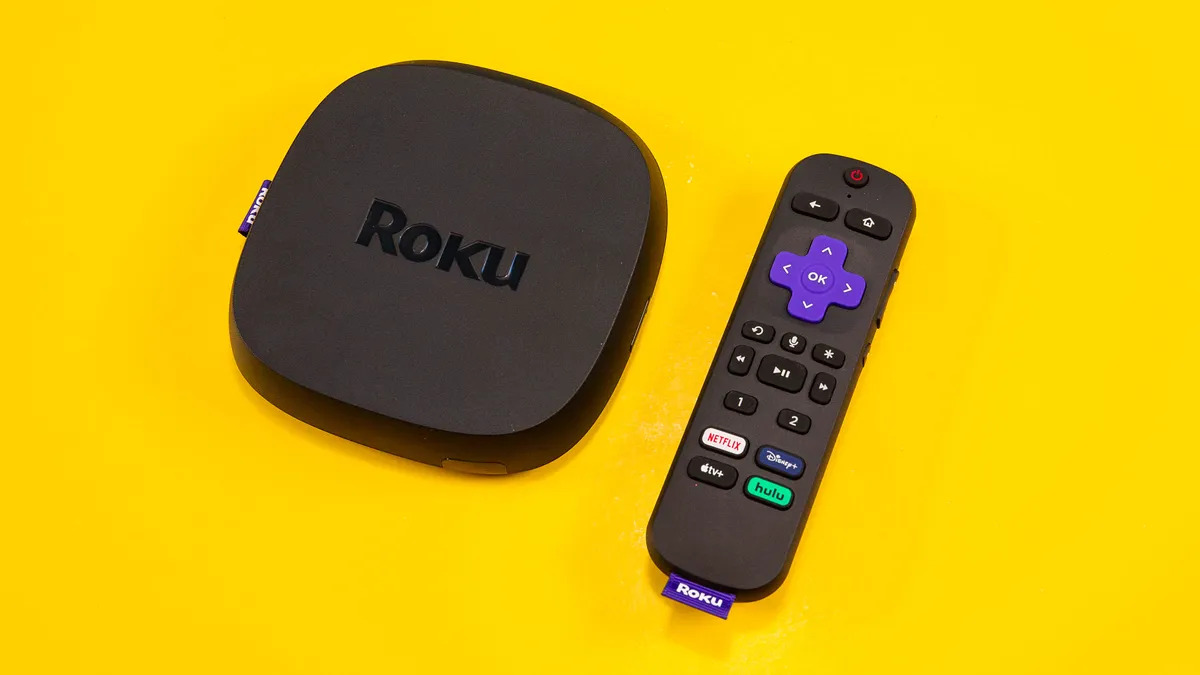
Having a soundbar is beneficial because it offers superior sound quality compared to the built-in speakers of your TV. It provides clearer dialogue, deeper bass, and a wider soundstage, making your entertainment more enjoyable. Roku Stick is a popular streaming device that allows you to access a wide range of streaming services and content. By combining the Roku Stick with a soundbar, you can create a home theater setup that delivers impressive audio performance.
Before getting started with the connection process, it is essential to ensure compatibility between your soundbar and Roku Stick. Most modern soundbars and streaming devices have multiple connectivity options, such as HDMI, optical, and Bluetooth. Depending on the available ports on your soundbar and Roku Stick, you can choose the most suitable method for connecting them together.
In the following sections, we will explore the step-by-step instructions for connecting your soundbar to your Roku Stick using HDMI, optical cable, or Bluetooth. Additionally, we will cover how to adjust the soundbar and Roku Stick audio settings to optimize your sound experience. So, without further ado, let’s dive into the process of connecting your soundbar to your Roku Stick and unlock the full potential of your home entertainment system.
Step 1: Check the Soundbar Compatibility
Before you begin connecting your soundbar to your Roku Stick, it is important to ensure that they are compatible with each other. This will ensure a seamless connection and optimal performance. Here are a few things to consider when checking the compatibility:
- Audio Output: Make sure your Roku Stick supports the audio output that your soundbar requires. Common audio outputs include HDMI, optical, and Bluetooth.
- Ports: Check the available ports on both your soundbar and Roku Stick. Ensure that they have matching ports for a direct connection.
- Audio Formats: Verify that your soundbar supports the audio formats used by your Roku Stick. This will ensure that you can enjoy high-quality audio without any compatibility issues.
Once you have confirmed the compatibility between your soundbar and Roku Stick, you can proceed to the next step of connecting them together. By taking the time to check the compatibility beforehand, you can avoid any unnecessary frustration or technical difficulties during the connection process.
Step 2: Connect the Soundbar to Roku Stick Using HDMI
One of the most common and straightforward methods to connect your soundbar to your Roku Stick is through an HDMI cable. This method not only provides high-quality audio but also allows for seamless control of the soundbar using your Roku Stick remote. Here’s how you can do it:
- Ensure that your soundbar and Roku Stick are both powered off.
- Locate the HDMI port labeled “ARC” or “HDMI Out” on your soundbar. This port is usually used for connecting audio devices.
- Connect one end of the HDMI cable to the HDMI port on your soundbar.
- Connect the other end of the HDMI cable to the HDMI port on your Roku Stick.
- Turn on your soundbar and Roku Stick.
- On your TV, navigate to the HDMI input that your Roku Stick is connected to.
- Using your Roku Stick remote, go to Settings > Audio > HDMI and select “Auto-detect.” This will enable the Roku Stick to detect and output audio through the connected soundbar.
- Adjust the volume on your soundbar and enjoy enhanced audio while streaming content on your Roku Stick.
By connecting your soundbar to your Roku Stick using an HDMI cable, you can experience improved audio quality and convenience. The HDMI connection allows for a direct and reliable audio signal transmission, ensuring that you get the most out of your home entertainment system.
Step 3: Connect the Soundbar to Roku Stick Using Optical Cable
If your soundbar and Roku Stick do not have HDMI ports or you prefer an alternative connection method, you can use an optical cable to establish the connection. The optical cable provides a digital audio connection and is capable of delivering high-quality sound. Follow these steps to connect your soundbar to your Roku Stick using an optical cable:
- Ensure that both your soundbar and Roku Stick are turned off.
- Locate the optical audio output port on your Roku Stick. It is usually labeled as “Optical” or “S/PDIF.”
- Connect one end of the optical cable to the optical audio output port on your Roku Stick.
- Locate the optical audio input on your soundbar. It is typically labeled as “Optical In.”
- Connect the other end of the optical cable to the optical audio input on your soundbar.
- Turn on your soundbar and Roku Stick.
- Navigate to the audio settings on your Roku Stick by going to Settings > Audio and select “Optical” as the audio output option.
- Adjust the volume on your soundbar and enjoy enhanced audio from your Roku Stick.
Connecting your soundbar to your Roku Stick using an optical cable allows for a reliable and high-quality digital audio connection. The optical cable ensures minimal audio loss and provides a seamless audio experience for your entertainment needs. By following these steps, you can enjoy a more immersive sound while streaming your favorite content.
Step 4: Connect the Soundbar to Roku Stick Using Bluetooth
If your soundbar and Roku Stick have Bluetooth capabilities, you can conveniently connect them wirelessly. This method eliminates the need for any physical cables and allows for flexible placement of your soundbar. Here’s how you can connect your soundbar to your Roku Stick using Bluetooth:
- Ensure that your soundbar and Roku Stick are powered off.
- Use the remote or buttons on your soundbar to put it in Bluetooth pairing mode. Refer to your soundbar’s manual for specific instructions.
- On your Roku Stick, go to Settings > Remotes & devices > Bluetooth > Pair new device.
- Select your soundbar from the list of available devices.
- Follow any on-screen instructions to complete the pairing process.
- Once the pairing is successful, turn on your soundbar and Roku Stick.
- Select the Bluetooth audio output on your Roku Stick by going to Settings > Audio > Bluetooth.
- Adjust the volume on your soundbar and enjoy the wireless audio experience with your Roku Stick.
Connecting your soundbar to your Roku Stick using Bluetooth provides the convenience of a wireless connection. It allows you to place your soundbar anywhere within the Bluetooth range without the need for physical cables. However, it is important to note that Bluetooth audio may have a slight delay compared to other connection methods. If you experience any audio syncing issues, you can explore alternative connection options like HDMI or optical cables.
Step 5: Adjust Soundbar Settings and Roku Stick Audio Settings
After successfully connecting your soundbar to your Roku Stick, it is important to fine-tune the audio settings to ensure optimal sound quality. Here are some adjustments you can make:
Soundbar Settings:
- Audio Modes: Explore different audio modes on your soundbar, such as surround sound or cinema mode, to find the setting that suits your preferences.
- Equalizer Settings: Some soundbars offer equalizer settings that allow you to adjust the bass, treble, and other audio frequencies according to your liking.
- Volume Leveling: Check if your soundbar has a volume leveling feature that helps maintain a consistent volume level across different content.
- Additional Features: Some soundbars offer additional features, such as virtual surround sound or dialogue enhancement, that can enhance your audio experience. Explore these options and adjust them as needed.
Roku Stick Audio Settings:
- Volume Mode: Roku Stick allows you to choose between “Leveling” and “Night” modes. Leveling mode helps keep the sound level consistent, while Night mode reduces sudden loud noises for late-night viewing.
- Audio Mode: Depending on your soundbar’s capabilities, you can select “Stereo” or “Dolby Digital” as the audio mode on the Roku Stick to match your soundbar’s audio format.
- Volume Control: Ensure that your Roku Stick remote is properly programmed to control the volume of your soundbar. Follow the instructions provided by Roku to set up the remote properly.
By adjusting the soundbar settings and Roku Stick audio settings, you can customize the audio experience to your liking. Experiment with different settings until you find the perfect balance for your preferences and the content you are enjoying.
Conclusion
Connecting a soundbar to your Roku Stick can significantly enhance your TV viewing experience by delivering superior audio quality. Whether you choose to connect your soundbar through HDMI, optical cable, or Bluetooth, the process is relatively simple and straightforward. Each connection method has its advantages, such as the convenience of wireless connectivity with Bluetooth or the high-quality audio transmission through HDMI.
Before connecting your soundbar, it is essential to ensure compatibility between your soundbar and Roku Stick. Checking for matching audio outputs, ports, and audio formats will help you avoid any compatibility issues that may arise. Once you have established a connection, adjusting the soundbar and Roku Stick audio settings can help you fine-tune the audio experience to your liking.
Remember to explore the various features and modes offered by your soundbar to customize the audio output according to your preferences. Additionally, make sure your Roku Stick remote is properly programmed to control the volume of your soundbar. By taking these steps and optimizing the audio settings, you can create a superior home theater setup.
In conclusion, connecting a soundbar to your Roku Stick is a simple process that can greatly enhance your audio experience. Whether you prefer a direct connection through HDMI, a digital audio connection using an optical cable, or a wireless setup with Bluetooth, each method has its own advantages. By following the step-by-step instructions and adjusting the audio settings to your liking, you can enjoy immersive and high-quality sound while streaming your favorite content on your Roku Stick. Upgrade your home entertainment system today and elevate your viewing experience with a soundbar connected to your Roku Stick.


