Introduction
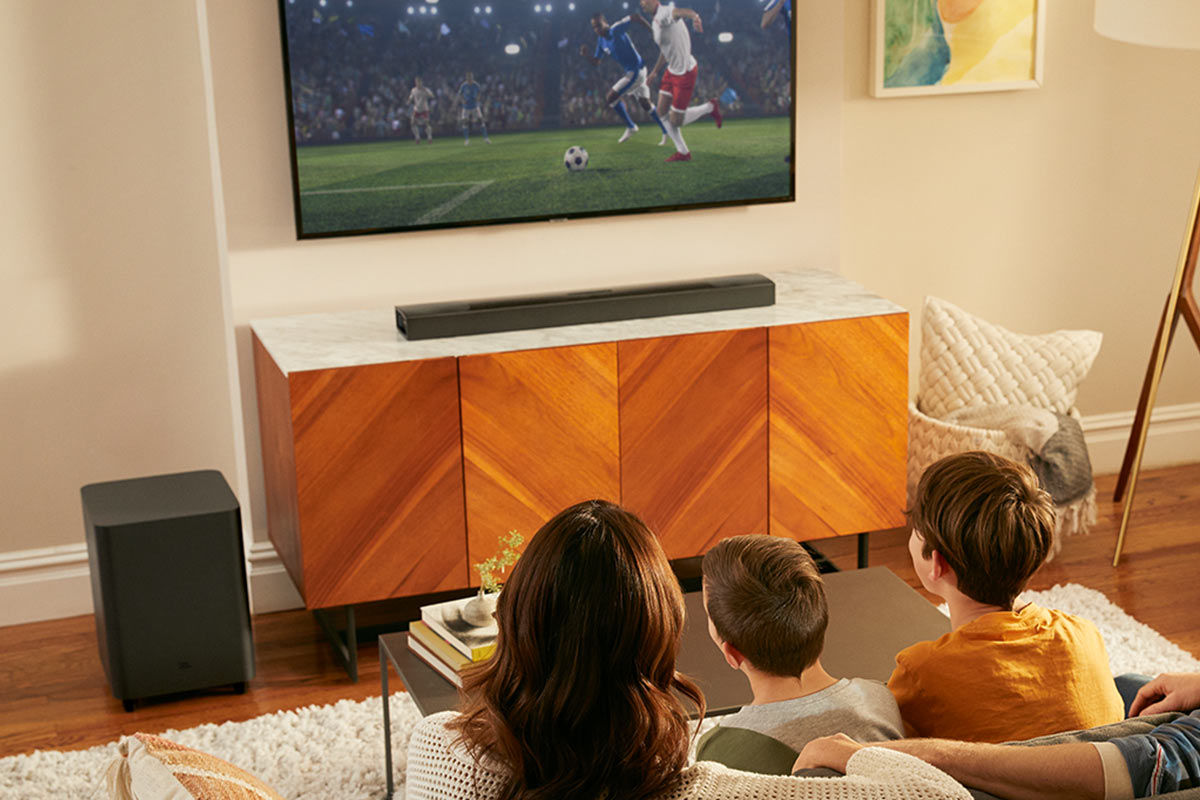
So, you've just purchased an Auna surround sound system, and you're eager to bring the cinematic experience into your living room. Congratulations! With its powerful speakers and immersive sound, your Auna system has the potential to transform your home entertainment setup. But before you can enjoy the full audiovisual feast, you'll need to properly set up the system.
In this guide, we'll walk you through the process of hooking up your Auna surround sound system step by step. Whether you're a tech-savvy enthusiast or a complete beginner, we've got you covered. By the end of this tutorial, you'll be well-equipped to unleash the full potential of your Auna system and immerse yourself in a world of captivating sound.
Before we dive into the nitty-gritty of setting up your Auna surround sound system, it's essential to understand the components you'll be working with. The Auna system typically includes a receiver, multiple speakers, and a subwoofer. The receiver serves as the control center, receiving audio signals from your TV or other input devices and distributing them to the speakers. The speakers, strategically positioned around your viewing area, deliver rich, multidimensional sound, while the subwoofer adds depth and intensity to the low-frequency audio. Understanding the role of each component will be instrumental in the setup process.
Now, let's embark on this audio adventure and bring the magic of immersive sound into your home. Unbox your Auna surround sound system, and let's get started!
Unboxing the Auna Surround Sound System
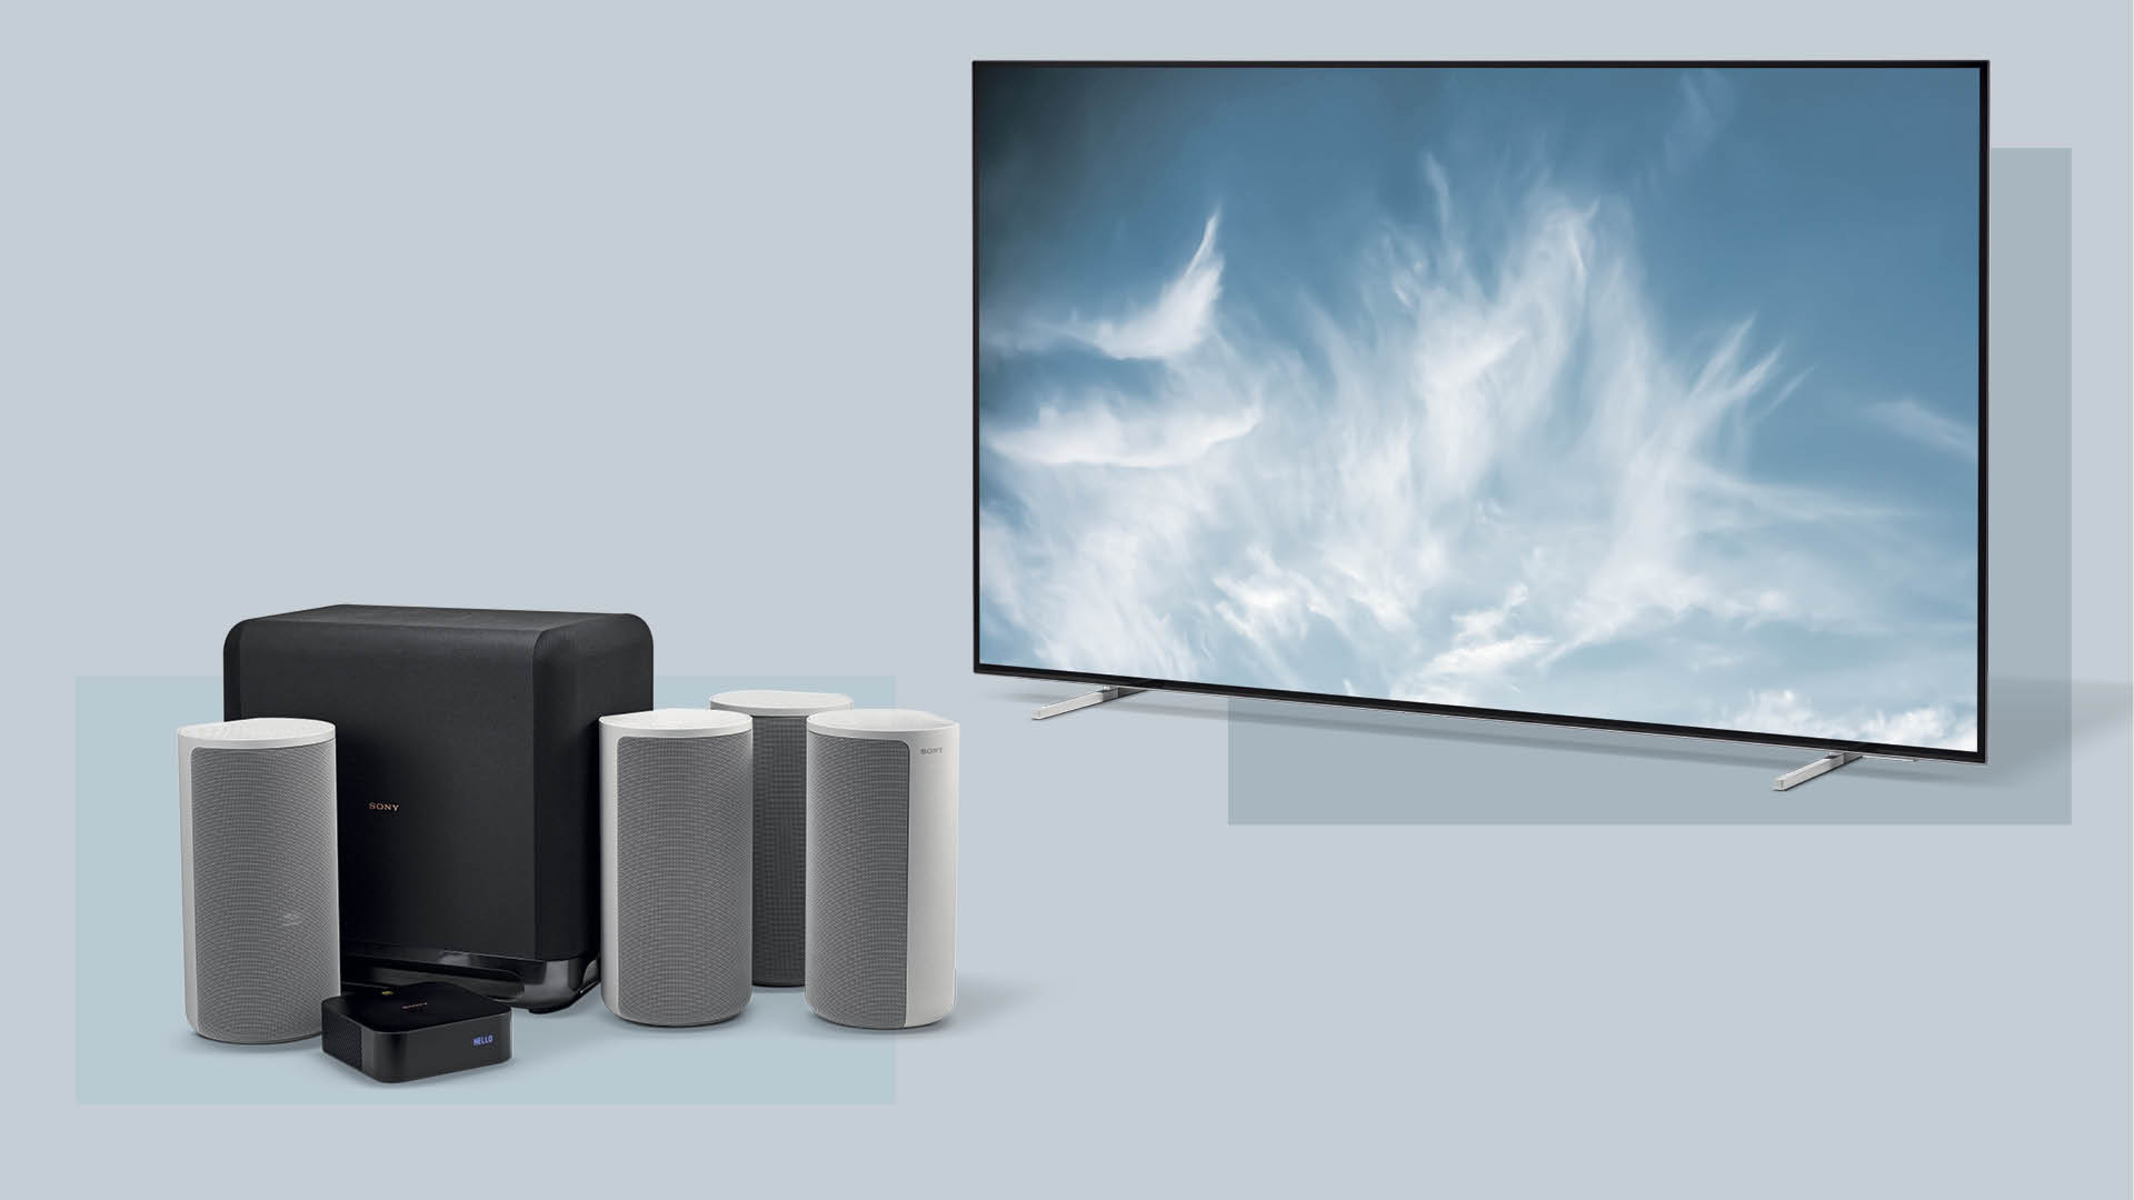
Unboxing a new Auna surround sound system is an exciting first step toward creating an immersive home theater experience. As you open the packaging, you’ll encounter a carefully curated ensemble of components designed to elevate your audiovisual enjoyment. Here’s what you can expect to find inside:
- Receiver: The heart of your Auna system, the receiver acts as the central hub for audio processing and distribution. It’s equipped with various input and output ports to connect to your TV, media players, and other devices.
- Speakers: Depending on the specific model you’ve chosen, your Auna system may include a combination of front, rear, and center speakers, each contributing to the enveloping soundstage.
- Subwoofer: This powerhouse of low-frequency audio reproduction adds depth and impact to the overall sound, making explosions rumble and basslines thump with visceral intensity.
- Cables and Accessories: Your Auna package will likely include a set of cables for connecting the speakers to the receiver, as well as power cords and any necessary mounting hardware.
- Documentation: Don’t overlook the user manual and setup guide. While unboxing may seem straightforward, consulting the documentation can provide valuable insights into the setup process and ensure optimal performance.
As you unbox each component, take a moment to inspect them for any signs of damage that may have occurred during shipping. Carefully remove any protective packaging and set aside the components in an organized manner, ready to be seamlessly integrated into your entertainment setup.
With the contents of the box laid out before you, the stage is set for the next phase: connecting the speakers to the receiver. This pivotal step will lay the groundwork for the captivating audio experience that awaits. Let’s move on to the exciting process of bringing your Auna surround sound system to life!
Connecting the Speakers to the Receiver
Now that you’ve unboxed your Auna surround sound system, it’s time to connect the speakers to the receiver. This crucial step forms the backbone of your home theater setup, enabling the seamless transmission of audio signals from the receiver to the individual speakers. Here’s a systematic guide to help you through the process:
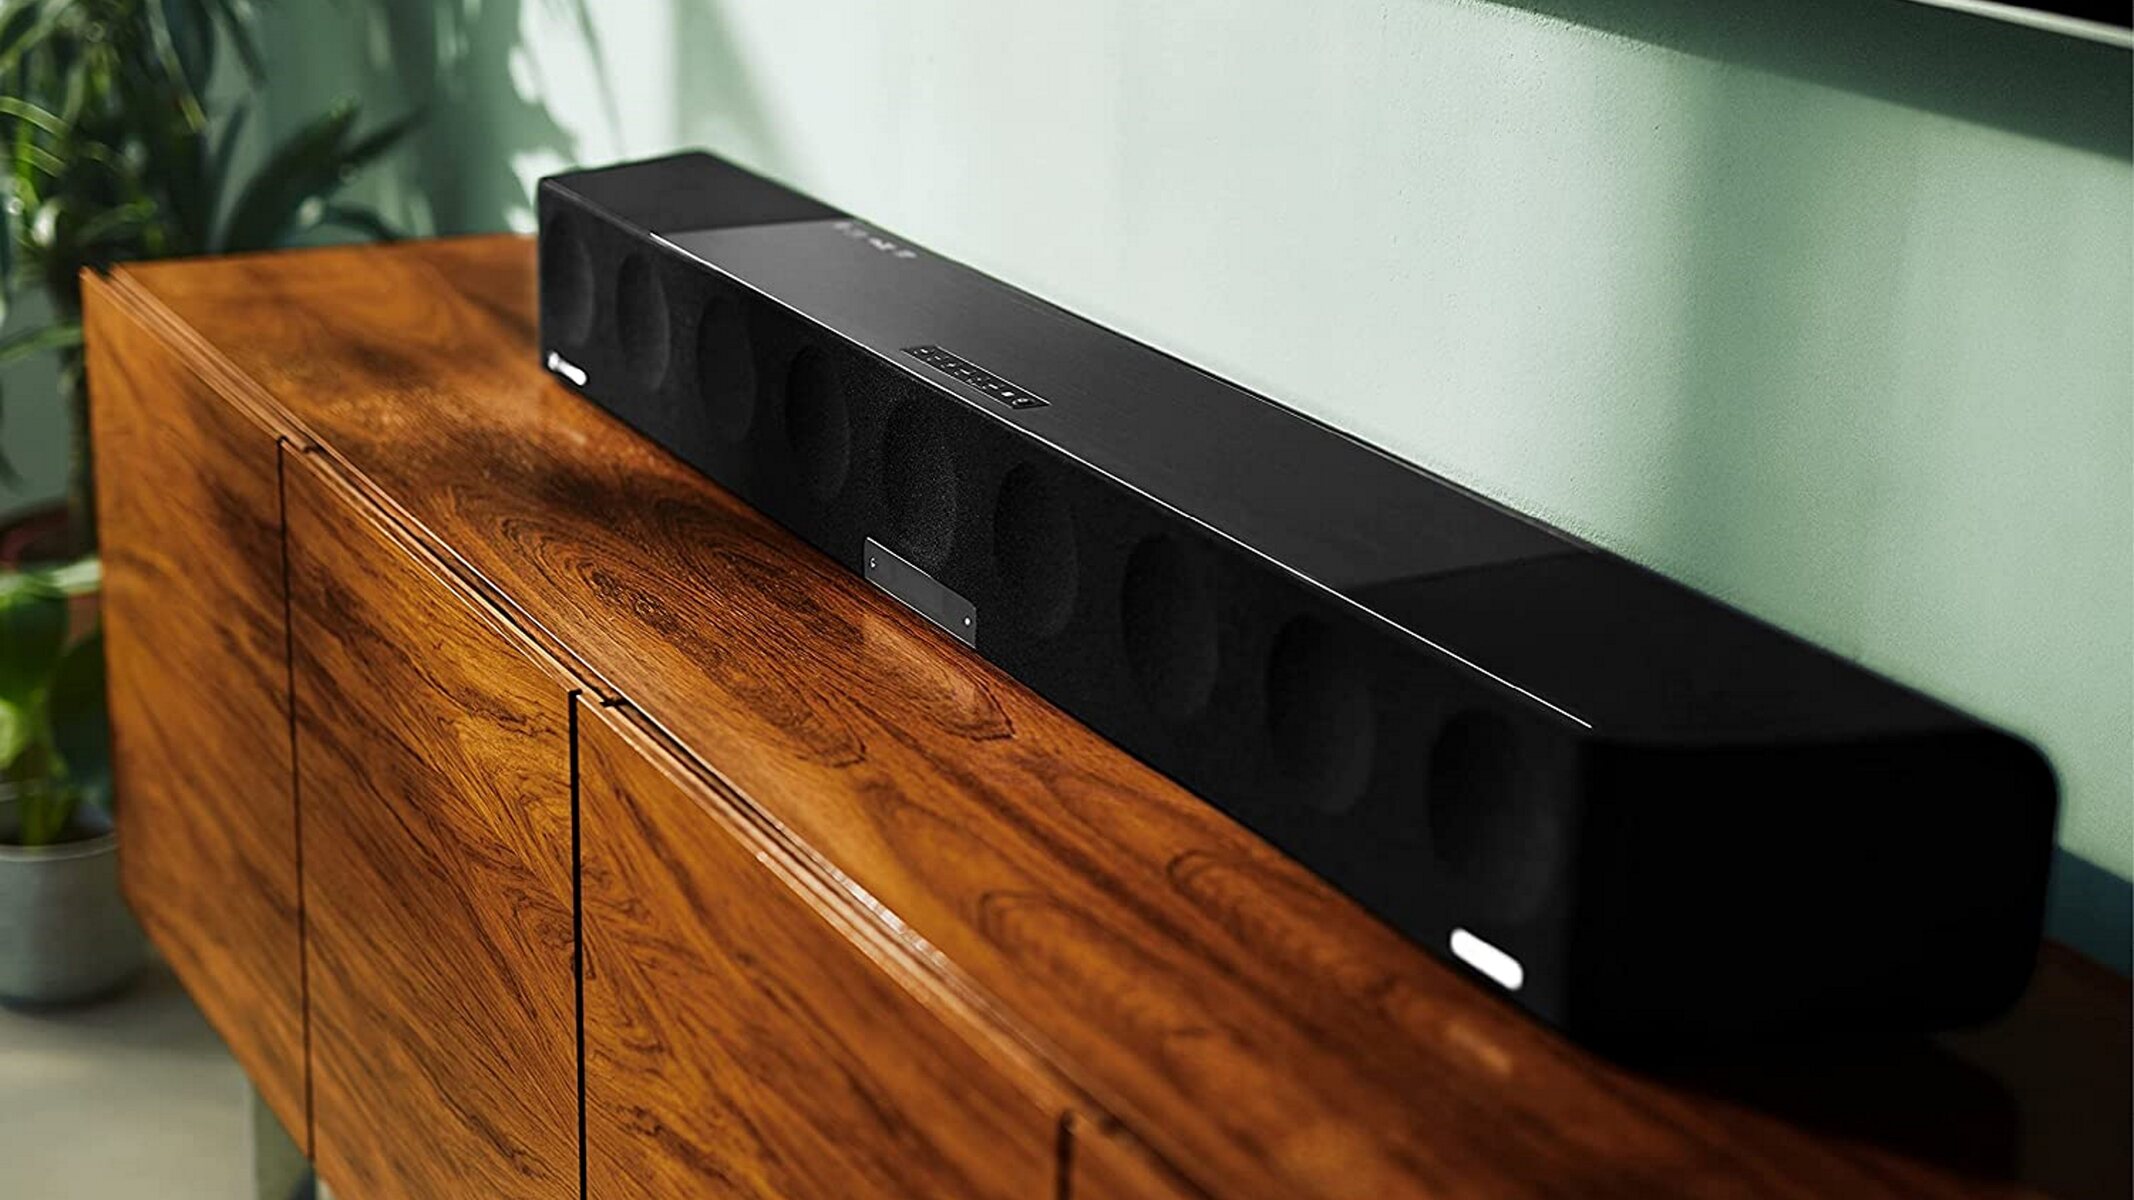
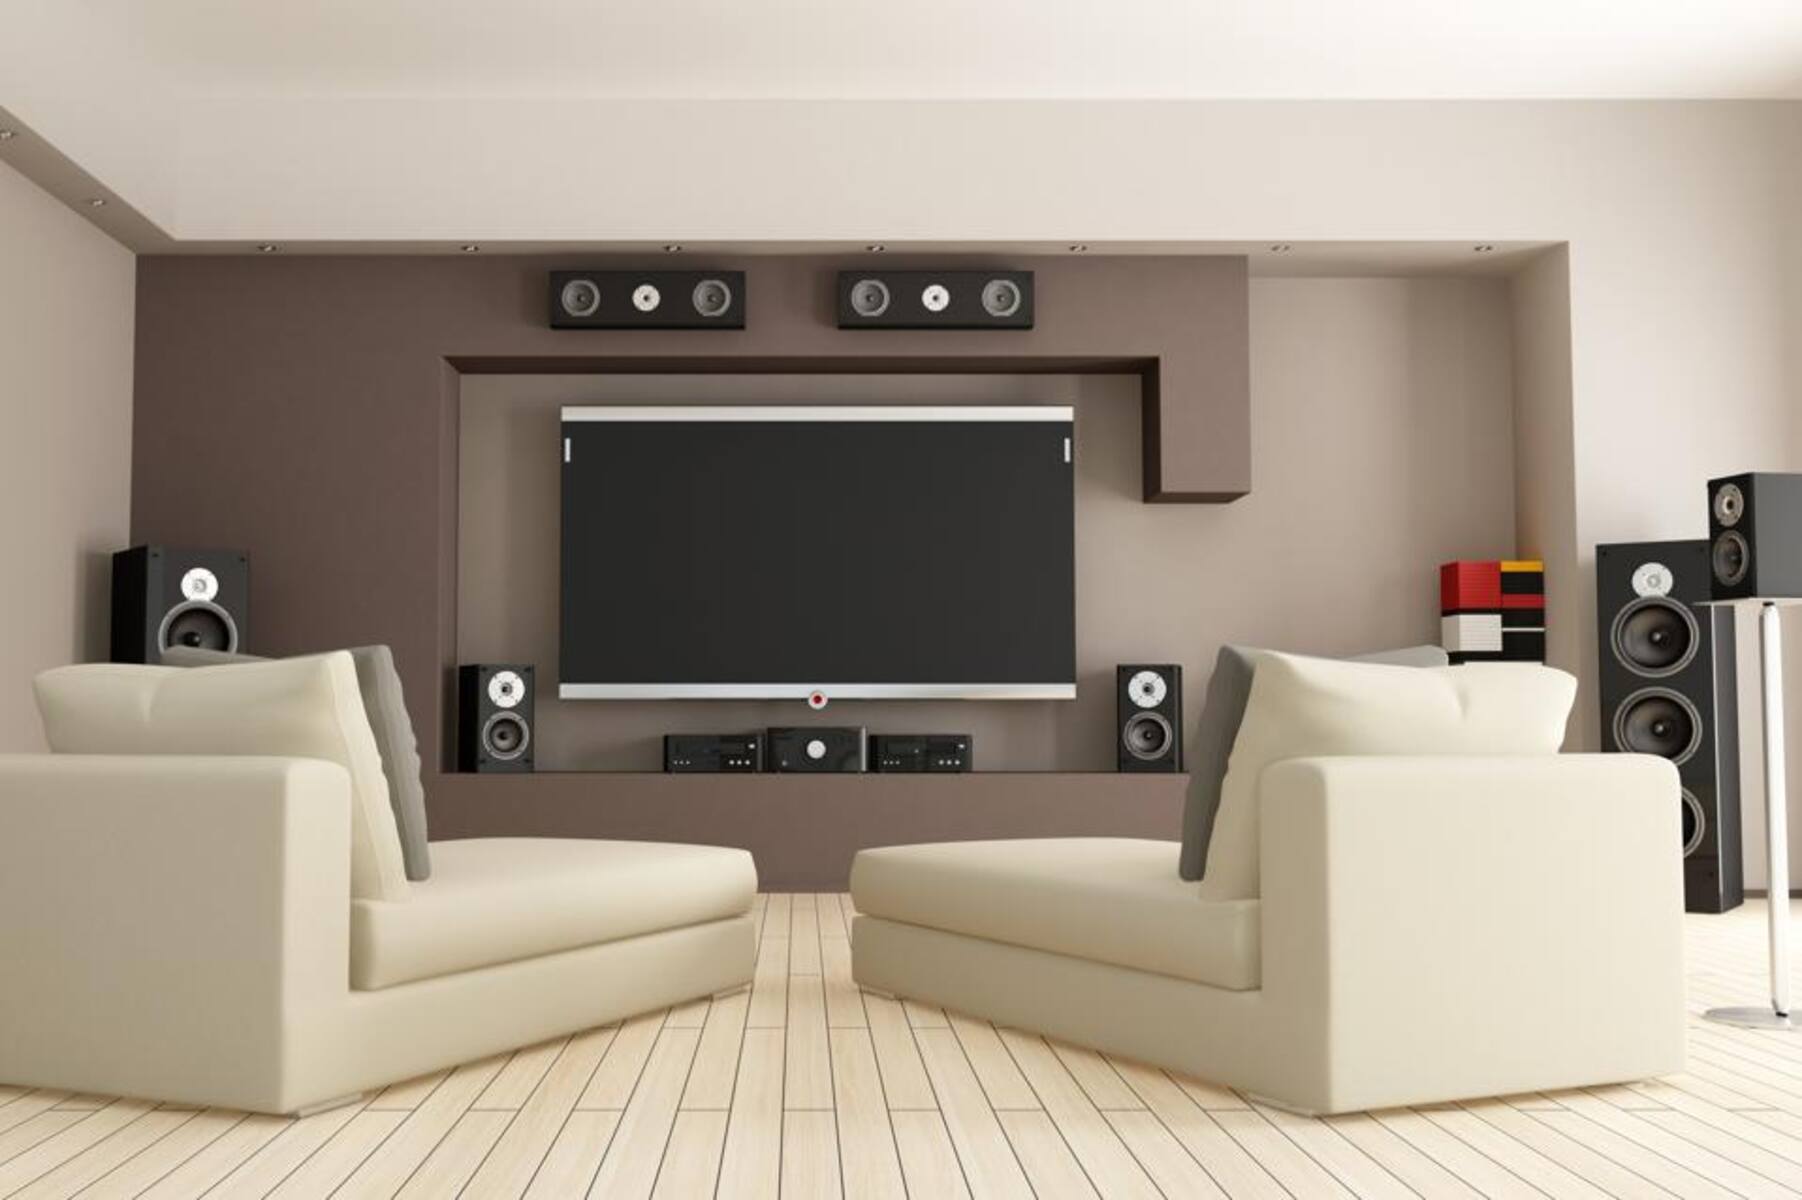
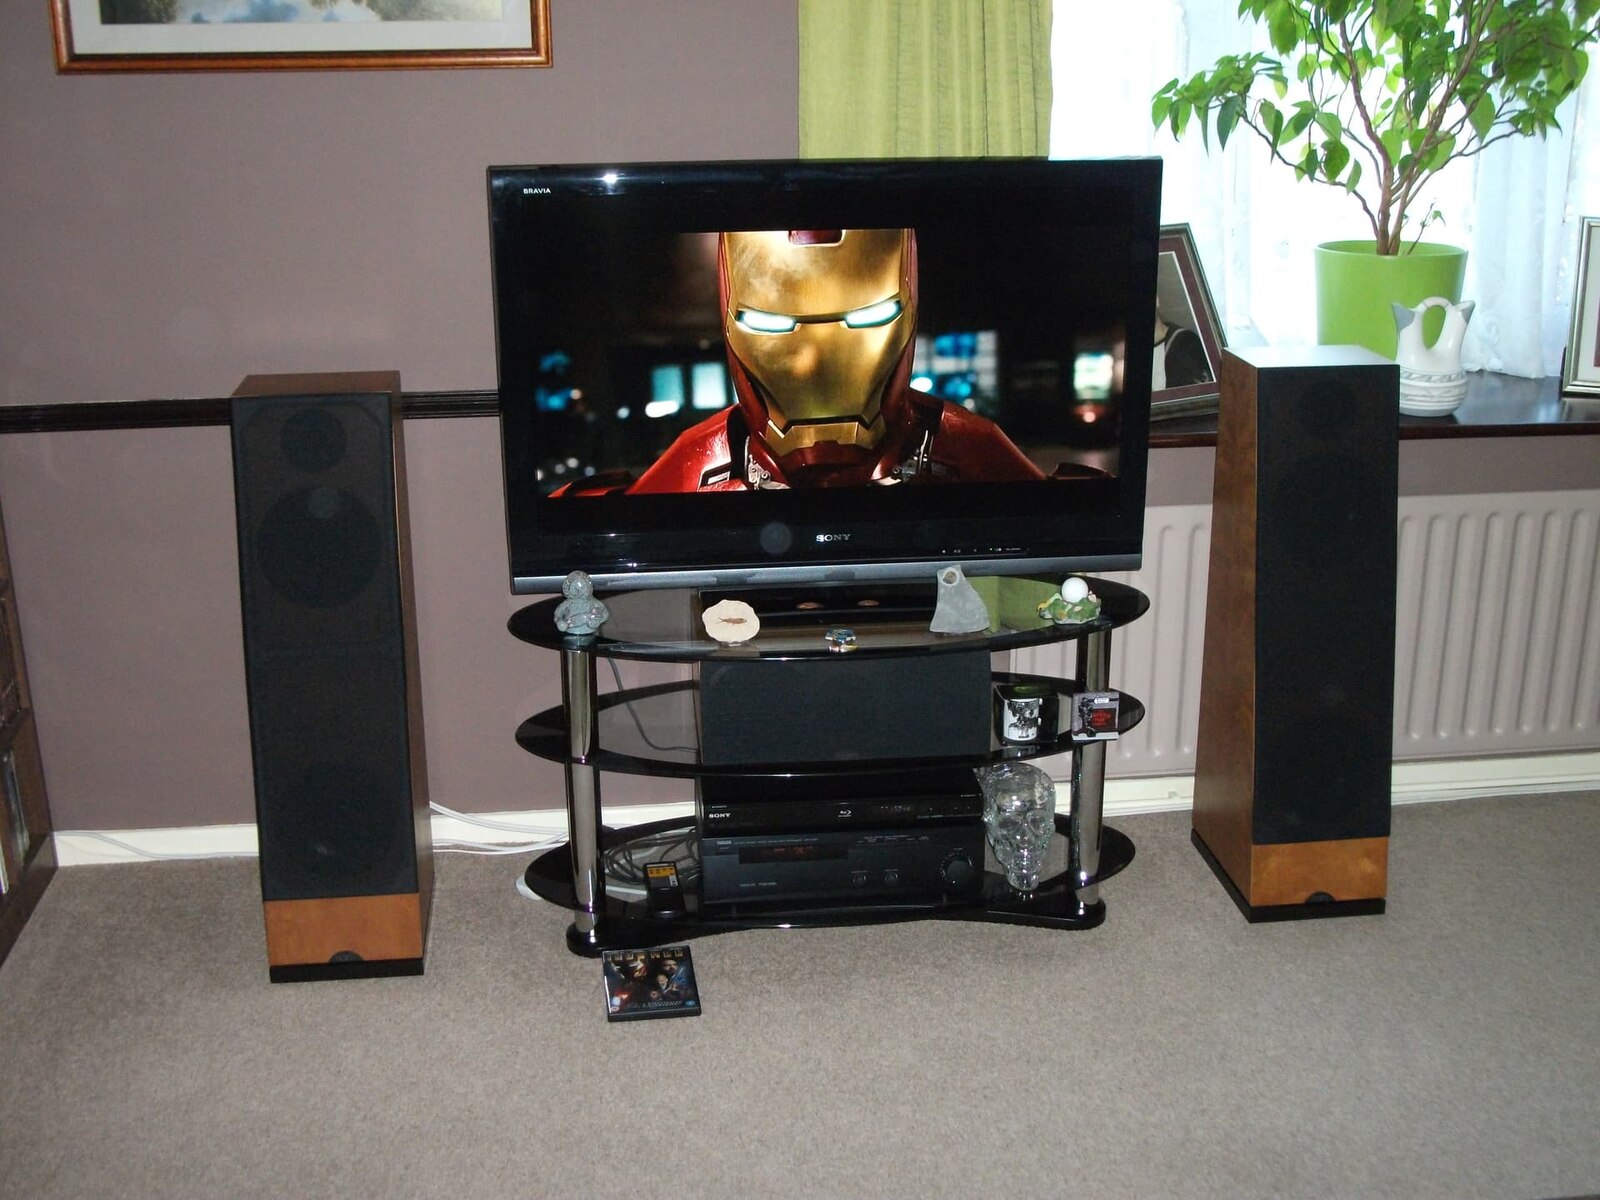
- Identify Speaker Placement: Before making any physical connections, determine the optimal placement for each speaker. The front speakers should typically flank the TV, while the rear speakers are positioned behind the viewing area. The center speaker, responsible for anchoring dialogue, is ideally placed above or below the TV.
- Speaker Wire Preparation: Cut the supplied speaker wire into appropriate lengths for each speaker, allowing some slack for flexibility. It’s advisable to label the wires to correspond with the designated speakers to avoid confusion during the setup.
- Strip and Prepare Wires: Strip a small section of insulation from the ends of the speaker wires to expose the bare conductors. Twist the strands to prevent fraying, ensuring a clean and secure connection.
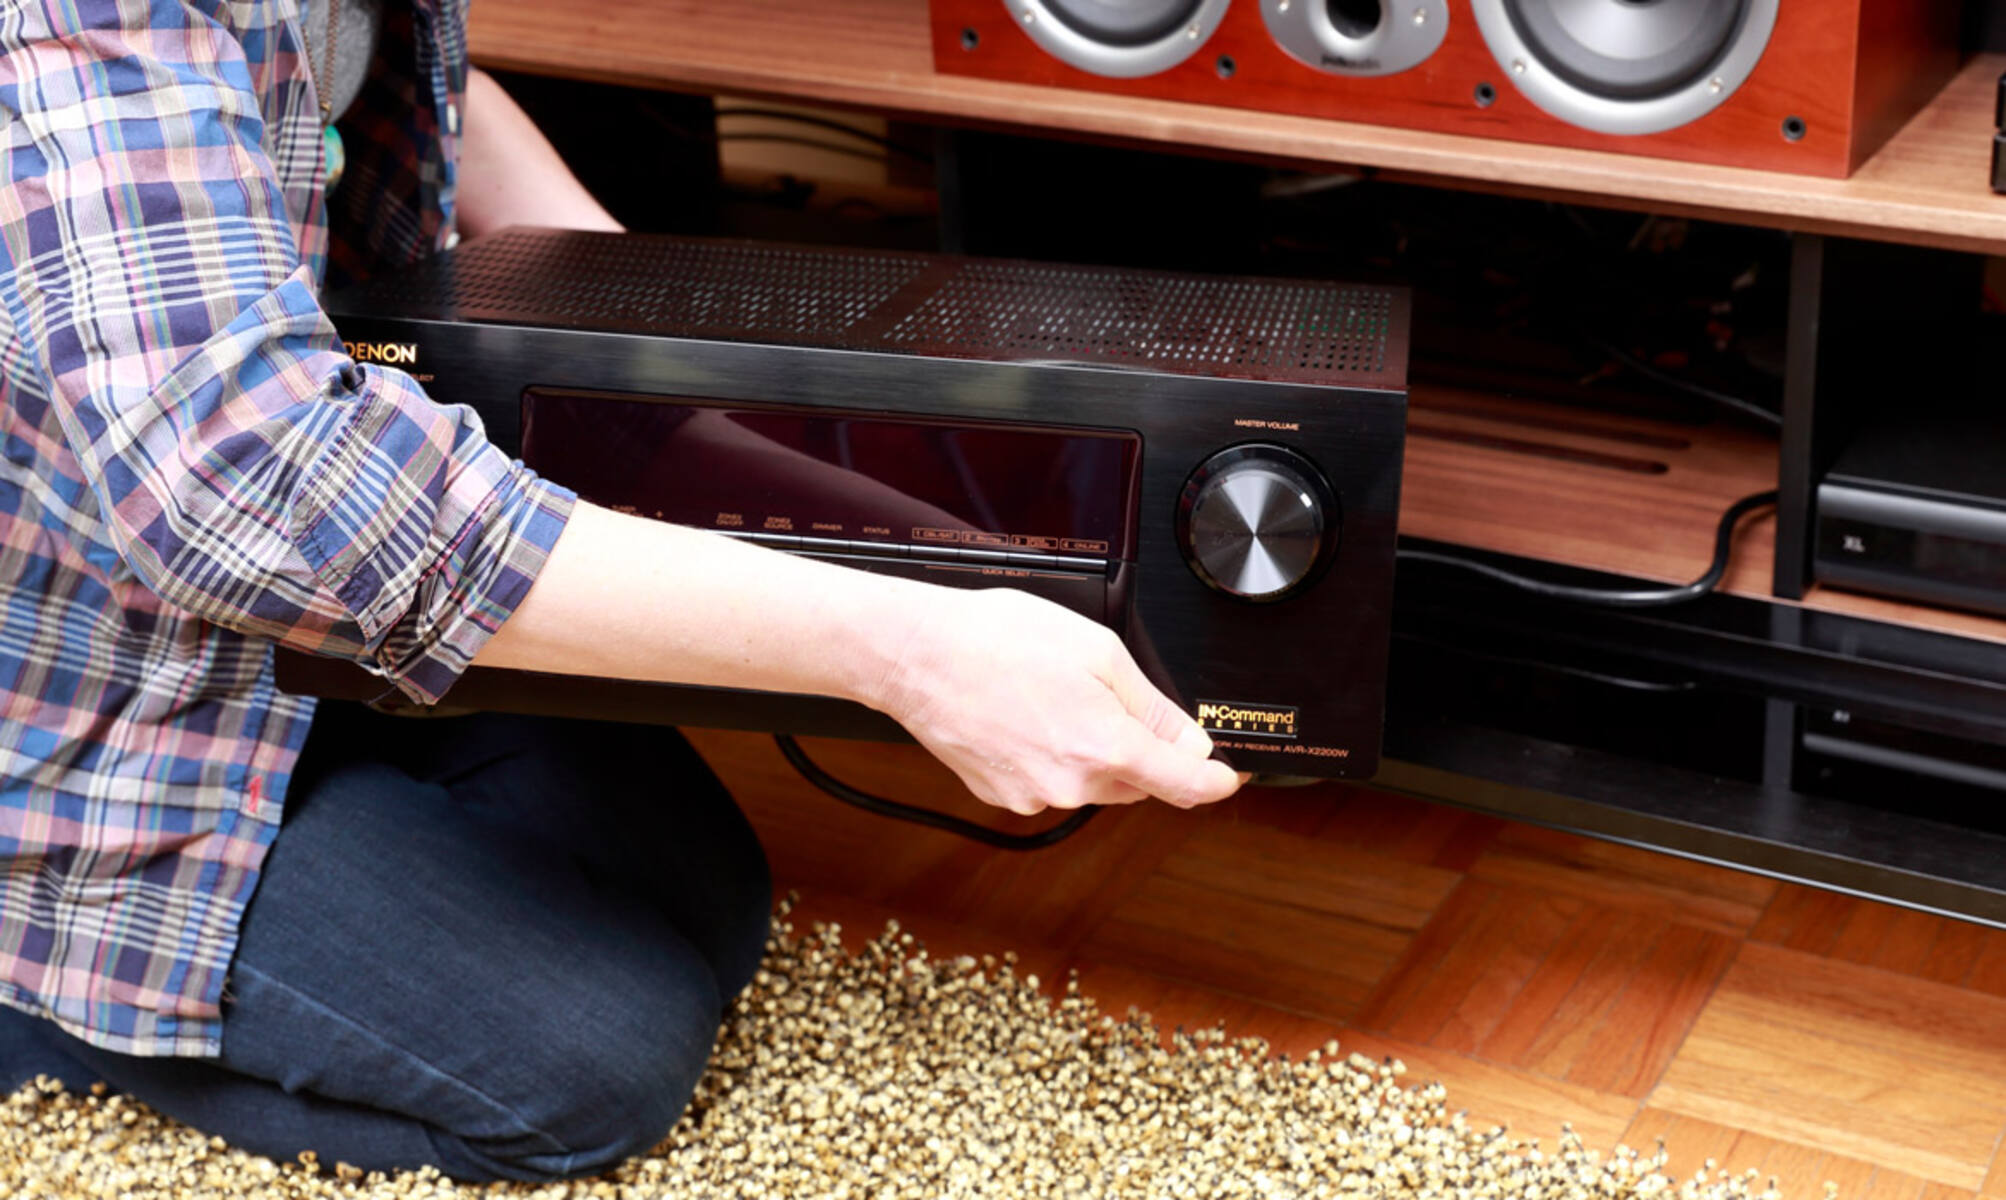
- Connect the Wires to the Receiver: Locate the speaker terminals on the back of the receiver. Match the polarity of the wires (positive and negative) with the corresponding terminals, usually color-coded or labeled for easy identification. Securely fasten the wires by tightening the terminals, ensuring a snug connection.
- Connect the Wires to the Speakers: Similarly, identify the speaker terminals on each speaker. Connect the prepared wires, observing proper polarity, and fasten them securely. Take care to avoid tangling or crimping the wires, maintaining a tidy and organized setup.
- Secure Excess Wires: Once all the connections are in place, neatly bundle any excess wire length and secure it with cable ties or clips. This not only enhances the aesthetics of your setup but also minimizes the risk of tripping hazards.
With the speakers successfully connected to the receiver, you’ve laid the groundwork for a captivating audio experience. The next step involves linking the receiver to your TV, seamlessly integrating the Auna surround sound system into your entertainment ecosystem. Let’s move on to the pivotal stage of connecting the receiver to the TV, bringing you one step closer to immersive cinematic sound right in your living room.
Connecting the Receiver to the TV
With the speakers successfully connected to the receiver, the next pivotal step in setting up your Auna surround sound system is linking the receiver to your TV. This crucial connection allows the audio and video signals from your TV to be processed and distributed through the Auna system, delivering a fully immersive audiovisual experience. Here’s a detailed guide to help you seamlessly integrate the receiver with your TV:
- Identify Audio and Video Inputs: Examine the back of your TV and the receiver to locate the audio and video input and output ports. Common audio connections include HDMI, optical, or RCA, while video connections may involve HDMI or component video cables.
- Choose the Connection Method: Depending on the available ports on both the TV and the receiver, select the appropriate cables for the connection. HDMI is often the preferred choice for transmitting both audio and video signals, offering high-quality digital transmission in a single cable.
- Connect the Cable to the TV: Plug one end of the selected cable into the corresponding audio and video output ports on your TV. Ensure a secure connection to prevent signal loss or interference.
- Connect the Cable to the Receiver: On the receiver, locate the matching audio and video input ports. Connect the other end of the cable to these ports, ensuring a snug fit to maintain signal integrity.
- Configure TV Audio Settings: Access your TV’s audio settings menu to designate the connected audio output to the external speakers (in this case, the Auna system). This step ensures that the TV’s audio is routed through the receiver and the Auna speakers for an immersive sound experience.
- Test the Connection: Power on the TV and the receiver, and play a sample audio or video source to verify that the audio is being transmitted to the Auna system. Confirm that the sound is emanating from the speakers as expected, indicating a successful connection.
With the receiver seamlessly integrated with your TV, the stage is set for the next phase: setting up the subwoofer. This powerhouse of low-frequency audio reproduction adds depth and intensity to the overall sound, elevating your home theater experience to new heights. Let’s proceed to the exciting process of setting up the subwoofer and fine-tuning the audio to perfection.
Setting Up the Subwoofer
As you continue to build your immersive audio setup, the next critical component to address is the subwoofer. This powerhouse of low-frequency audio reproduction is essential for adding depth and intensity to the overall sound, delivering impactful bass that enriches your audiovisual experience. Let’s dive into the process of setting up your Auna subwoofer to optimize its performance:
- Placement Considerations: Select an ideal location for the subwoofer within your viewing area. While placement options may vary, positioning the subwoofer near the front or center of the room can often yield balanced and impactful bass distribution.
- Connect the Subwoofer to the Receiver: Using a subwoofer cable, connect the subwoofer’s audio input to the dedicated subwoofer output on the receiver. This specialized cable is designed to transmit low-frequency audio signals with optimal fidelity.
- Power On and Configure: Power on the subwoofer and access its control panel or settings interface. Adjust the volume, crossover frequency, and phase settings to achieve a balanced and seamless integration with the rest of the speaker system.
- Test the Subwoofer: Play audio content that includes deep bass elements to evaluate the subwoofer’s performance. Listen for a rich and impactful low-frequency response that complements the overall sound without overpowering it.
- Fine-Tune Settings: If your subwoofer features advanced settings such as equalization or room calibration, consider utilizing these features to optimize its performance based on your room’s acoustics and your personal listening preferences.
With the subwoofer now seamlessly integrated into your Auna surround sound system, you’re one step closer to experiencing the full spectrum of cinematic audio in your living space. The final phase involves testing and adjusting the sound to ensure that every component works harmoniously to deliver an immersive and captivating audio experience. Let’s move on to the exciting process of testing and fine-tuning the sound, bringing you closer to the ultimate home theater experience.
Testing and Adjusting the Sound
With all the components of your Auna surround sound system seamlessly interconnected, it’s time to embark on the exciting phase of testing and fine-tuning the audio to ensure a captivating and immersive experience. This critical step allows you to optimize the sound output, balance the speaker levels, and tailor the audio to your personal preferences. Here’s a comprehensive guide to testing and adjusting the sound of your Auna system:
- Speaker Configuration: Access the receiver’s speaker setup menu to verify that each speaker is correctly identified and positioned. Confirm that the system recognizes the front, rear, center, and subwoofer channels to ensure comprehensive audio coverage.
- Balance and Level Adjustment: Utilize the receiver’s audio settings to fine-tune the volume levels of each speaker, ensuring a harmonious balance across the entire soundstage. Adjust the individual speaker levels to achieve a cohesive and immersive audio experience.
- Audio Calibration: If your receiver features automated audio calibration capabilities, such as room correction technology, consider running the calibration process. This advanced feature can optimize the audio output based on your room’s acoustics, resulting in a refined and tailored sound experience.
- Content Testing: Play a variety of audio and video content, including music, movies, and games, to evaluate the system’s performance across different media types. Listen for clarity, spatial imaging, and dynamic range to ensure that the Auna system delivers a compelling audio experience across diverse content genres.
- Subwoofer Integration: Pay particular attention to the subwoofer’s performance during content playback. Verify that the low-frequency effects are seamlessly integrated, enhancing the overall audio without overwhelming the other frequencies.
- User Preferences: Consider your personal audio preferences and make adjustments to the system’s EQ settings, tone controls, and surround sound modes to tailor the audio to your liking. Experiment with different settings to find the optimal configuration that aligns with your individual listening preferences.
By meticulously testing and fine-tuning the sound of your Auna surround sound system, you’re actively shaping the audio landscape of your home entertainment environment. This iterative process allows you to unlock the full potential of your Auna system, ensuring that it delivers a captivating and immersive audio experience across a wide range of content. With the sound finely tuned to perfection, you’re now ready to immerse yourself in the breathtaking audiovisual journey that your Auna system offers.
Conclusion
Congratulations! You’ve successfully navigated the setup process and unleashed the full potential of your Auna surround sound system. By following the systematic steps outlined in this guide, you’ve transformed your living space into a captivating audio sanctuary, ready to deliver immersive cinematic experiences at the touch of a button.
From the initial unboxing of the Auna system to the meticulous connection of speakers, receiver, and subwoofer, each step has contributed to the creation of a harmonious audio environment. The careful calibration and fine-tuning of the sound have ensured that every component works in concert, delivering a captivating audio experience that transcends traditional home entertainment.
As you embark on your audiovisual journey with the Auna system, remember to explore a diverse range of content, from blockbuster movies to music concerts and gaming adventures. Each experience will showcase the prowess of your Auna surround sound system, enveloping you in rich, multidimensional soundscapes that breathe life into your entertainment moments.
Furthermore, don’t hesitate to revisit the system’s settings and configurations to tailor the audio to your evolving preferences. The flexibility and versatility of the Auna system allow you to customize the sound to align with your unique listening preferences, ensuring that every audio experience is personalized and engaging.
With the setup process complete and the sound meticulously adjusted, you’re now poised to embark on a captivating audiovisual odyssey within the comfort of your own home. Whether you’re delving into the depths of a thrilling movie, grooving to your favorite tunes, or immersing yourself in the virtual realms of gaming, your Auna surround sound system stands ready to elevate every moment with its enveloping and dynamic audio presence.
Embrace the power of immersive sound, and let your Auna surround sound system transport you to new realms of audio excellence, enriching your entertainment experiences and creating lasting memories along the way.