Introduction
Welcome to our guide on how to set up Zelle on Chase! Zelle is a convenient and secure digital payment platform that allows you to send and receive money with just a few taps on your smartphone. With Zelle, you can quickly and easily split the check with friends, pay your share of the rent, or send a birthday gift to a loved one, all without the hassle of cash or checks.
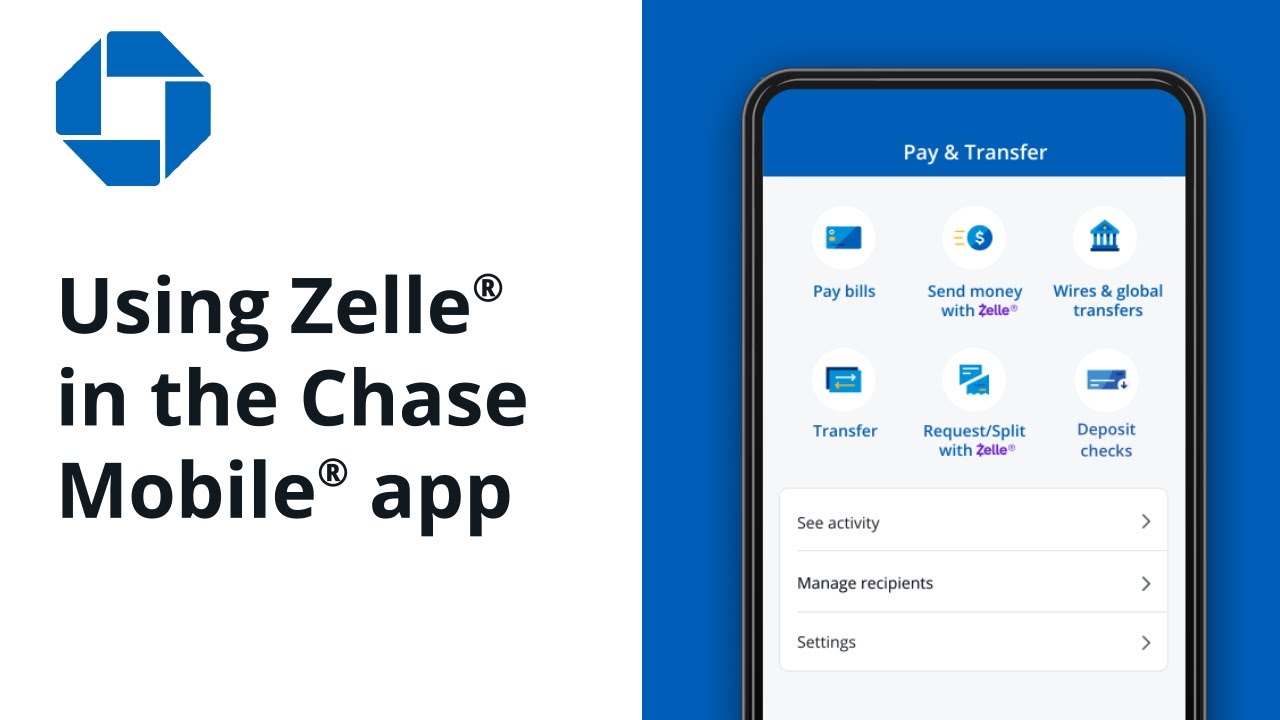
Chase, one of the largest banks in the United States, offers its customers the ability to link their accounts with Zelle and enjoy seamless money transfers. In this step-by-step tutorial, we will walk you through the process of setting up Zelle on your Chase account so that you can start sending and receiving payments in no time.
Whether you’re new to Zelle or already have a Chase account, this guide will provide you with clear instructions and helpful tips to ensure a smooth setup process. So, let’s dive in and get started with downloading the Zelle app on your device!
Step 1: Download the Zelle App
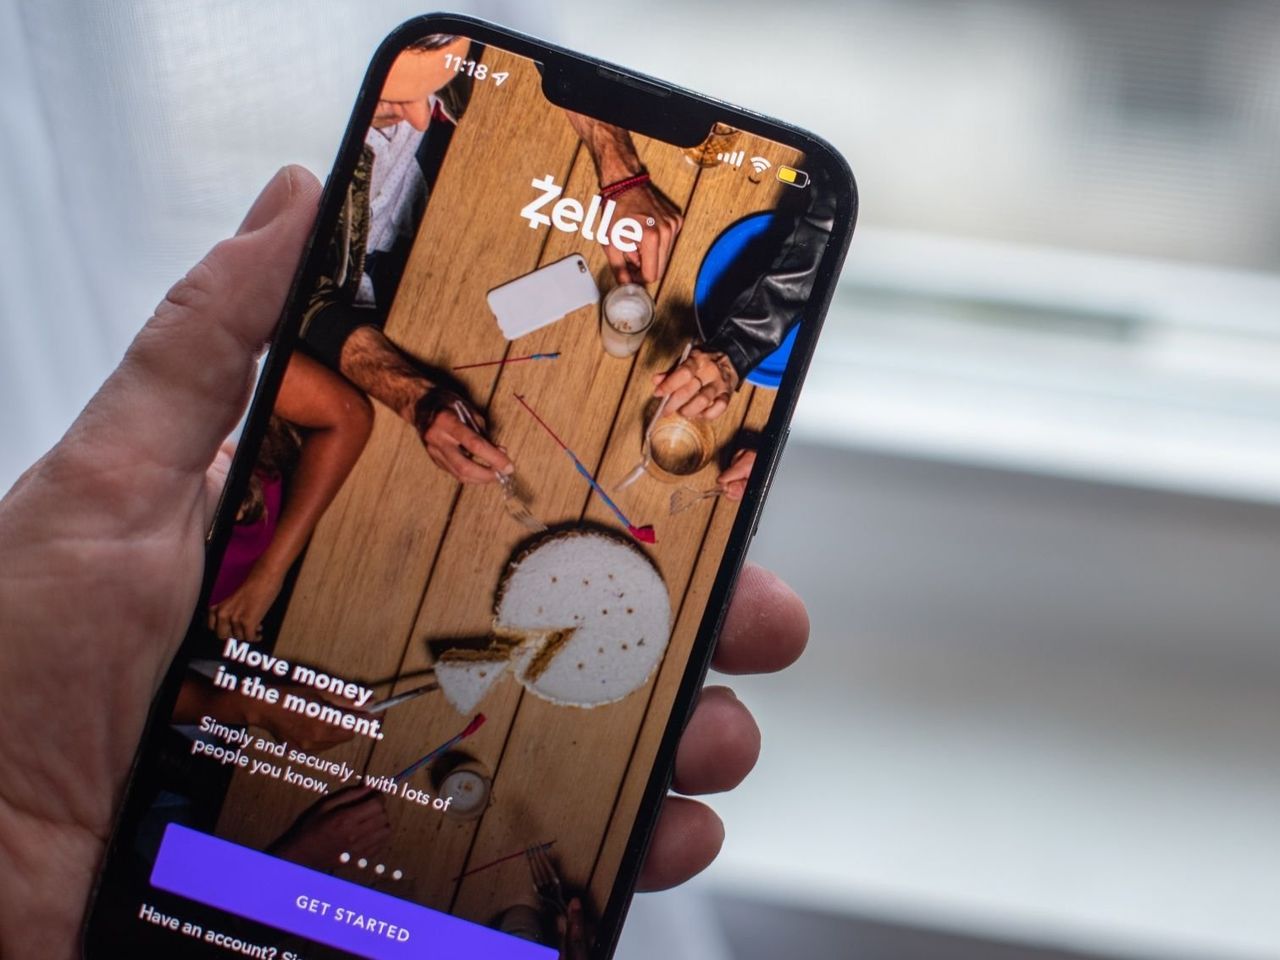
The first step in setting up Zelle on your Chase account is to download the Zelle app onto your smartphone. The Zelle app is available for both iOS and Android devices and can be found in your respective app store.
To download the Zelle app, open the App Store or Google Play Store on your smartphone and search for “Zelle.” Once you find the app, tap the “Install” button to begin the download process. The app will automatically install on your device.
After the installation is complete, open the Zelle app by tapping on its icon on your home screen. You will be prompted to create an account or sign in if you already have one. If you’re a new user, select the “Sign Up” option to proceed.
Next, you will need to provide your email address and create a password for your Zelle account. Make sure to choose a strong and unique password to protect your account. Once you have entered your email and password, tap on the “Continue” button to move on to the next step.
At this point, a verification email will be sent to the email address you provided. Check your inbox and click on the verification link within the email to confirm your email address. If you don’t see the email in your inbox, make sure to check your spam or junk folder.
Once your email is verified, you can return to the Zelle app and sign in using your email and password. Congratulations! You have successfully downloaded the Zelle app and created your account. Now, let’s move on to the next step and link your Chase account.
Step 2: Sign Up for Zelle
Now that you have downloaded the Zelle app and created your account, it’s time to sign up for Zelle and link it to your Chase account. Follow these simple steps to complete the sign-up process:
1. Open the Zelle app on your smartphone and sign in using the email address and password you provided during the registration process.
2. Once you’re signed in, you will be asked to verify your phone number. Enter your mobile number and tap on the “Verify” button. You will receive a verification code via SMS. Enter the code in the app to confirm your phone number.
3. After verifying your phone number, you will be asked to choose how you want to receive notifications from Zelle. You can choose to receive notifications via email, SMS, or push notifications. Select your preferred option and tap on the “Continue” button.
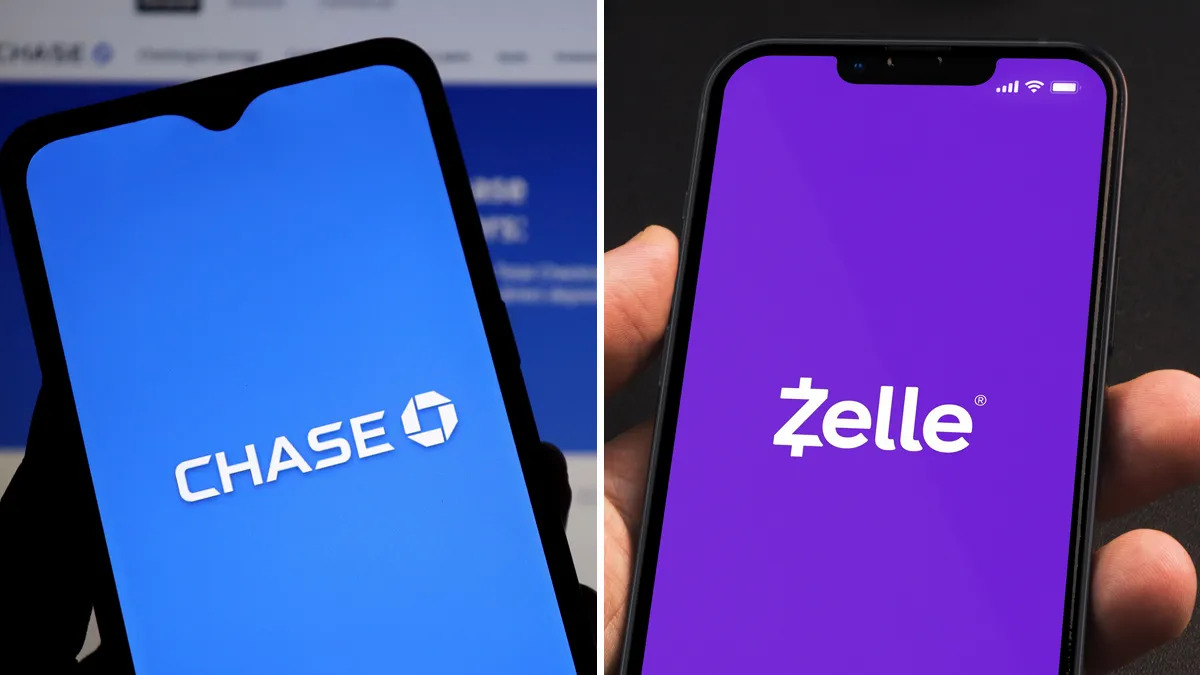
4. In the next step, you will be prompted to link your bank account to Zelle. Since we’re setting up Zelle on Chase, select the “Chase” option from the list of banks provided.
5. Zelle will ask for your Chase online banking credentials to securely link your account. Enter your Chase username and password, and then tap on the “Sign In” button.
6. Once your Chase account is successfully linked, Zelle will display a confirmation message on the screen. Review the information and tap on the “Continue” button to complete the sign-up process.
And that’s it! You have now signed up for Zelle and successfully linked your Chase account. You’re ready to start sending and receiving money using Zelle. In the next step, we’ll guide you through the process of verifying your Chase account.
Step 3: Link Your Chase Account
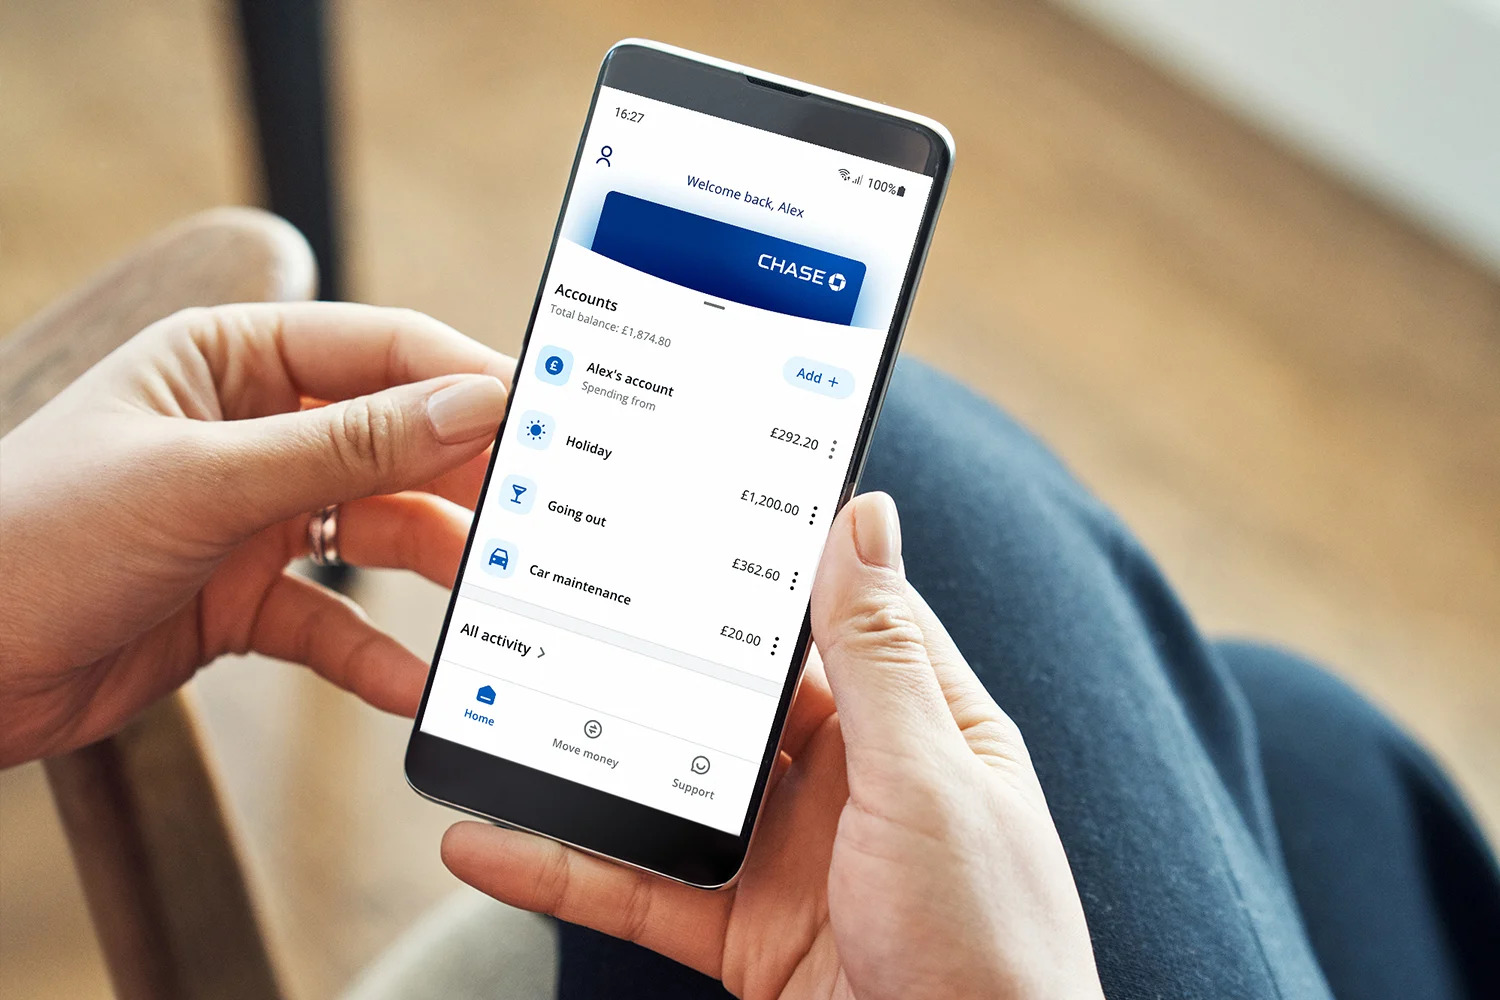
With Zelle signed up and your account created, the next step is to link your Chase account to Zelle. By linking your Chase account, you’ll be able to easily transfer funds between your Chase account and other Zelle users.
Here’s how you can link your Chase account to Zelle:
1. Open the Zelle app on your smartphone and sign in using your email address and password.
2. Once you’re signed in, tap on the menu icon (usually three horizontal lines) in the top-left corner of the screen. This will open the app’s navigation menu.
3. From the navigation menu, select “Settings” or “Account Settings.”
4. In the settings menu, look for an option like “Linked Accounts” or “Bank Accounts.” Tap on it to proceed.
5. You’ll be presented with a list of banks that are compatible with Zelle. Look for “Chase” in the list and select it.
6. Zelle will ask you to sign in to your Chase online banking account using your username and password. Enter your credentials and tap on the “Sign In” button.
7. Once you’ve successfully signed in, Zelle will link your Chase account to your Zelle profile. You’ll receive a notification or confirmation message indicating that your Chase account is now linked.
Congratulations! You’ve successfully linked your Chase account to Zelle. Now you can easily send and receive money with other Zelle users directly from your Chase account. In the next step, we’ll guide you through the process of verifying your Chase account to ensure smooth transactions.
Step 4: Verify Your Chase Account
Verifying your Chase account is an important step to ensure the security and authenticity of your transactions when using Zelle. By verifying your Chase account, you can have peace of mind knowing that your funds are being sent and received securely.
Follow these steps to verify your Chase account:
1. Open the Zelle app on your smartphone and log in using your email address and password.
2. Once you’re logged in, navigate to the menu or settings of the Zelle app. Look for an option that says “Verification” or “Verify Account.”
3. Tap on the verification option, and you may be prompted to enter additional information such as your Chase account number and routing number. This information can be found on your Chase bank statement or by logging into your Chase online banking account.
4. Once you’ve entered the required information, Zelle will verify the provided details to confirm your ownership of the Chase account. This process may take a few moments, so please be patient.
5. After the verification process is complete, you will receive a notification or confirmation message stating that your Chase account has been successfully verified. This indicates that you can now securely send and receive money using Zelle through your Chase account.
It’s important to note that the verification process may vary depending on your specific Chase account. In some cases, Chase may require additional verification steps or may provide alternative methods for account verification. Follow any prompts or instructions provided by Zelle or Chase to complete the verification process successfully.
Once your Chase account is verified, you can confidently use Zelle to make efficient and secure money transfers with peace of mind. Now that your account is verified, let’s move on to the next step, where we’ll guide you through setting up your Zelle profile.
Step 5: Set Up Your Zelle Profile
Now that your Chase account is linked and verified, it’s time to set up your Zelle profile. Your Zelle profile allows you to personalize your account and make it easier for others to identify and send you money.
Follow these steps to set up your Zelle profile:
1. Open the Zelle app on your smartphone and log in using your email address and password.
2. Once you’re logged in, navigate to the menu or settings of the Zelle app. Look for an option that says “Profile” or “Edit Profile.”
3. Tap on the profile option to access your profile settings.
4. In your profile settings, you’ll be able to edit and customize various details. This may include your name, profile picture, and other personal information.
5. Update your name: Tap on the name field and enter your preferred display name. This is the name that will be visible to other Zelle users when they send you money.
6. Add a profile picture: Tap on the profile picture field and choose an image from your device’s gallery or take a new photo. Adding a profile picture can help others easily recognize your account and build trust when sending or receiving money.
7. Review and update additional details: Depending on the Zelle app version, you may have the option to provide other information, such as your phone number, email address, or even a customized memo that will be displayed when someone sends you money. Fill in the details that you are comfortable sharing.
8. Once you’ve finished updating your profile, tap on the “Save” or “Update” button to apply the changes.
Congratulations! You have successfully set up your Zelle profile. Personalizing your profile not only makes it easier for others to identify and send you money, but it also adds a personal touch to your account. Now that your profile is all set, let’s move on to the final step and start sending and receiving money using Zelle!
Step 6: Start Sending and Receiving Money
Now that everything is set up, it’s time to start sending and receiving money using Zelle and your linked Chase account. With Zelle, you can easily and securely transfer funds to friends, family, or anyone else who has a Zelle account.
Follow these steps to start sending and receiving money:
1. Open the Zelle app on your smartphone and log in using your email address and password.
2. From the main screen of the app, tap on the “Send” or “Send Money” button. This will initiate the process of sending money to someone.
3. Enter the recipient’s email address or mobile number. Make sure you have the correct contact information to ensure the money is sent to the right person.
4. Next, enter the amount you want to send. You may also have the option to include a note or memo for the recipient (optional).
5. Review the details of the transaction, including the recipient’s information and the amount. Ensure everything is accurate before proceeding.
6. Once you’re satisfied, tap on the “Send” or “Confirm” button to initiate the money transfer. The recipient will receive the funds in their Zelle account, usually within minutes.
To receive money using Zelle:
1. If someone wants to send you money using Zelle, they will need your email address or mobile number associated with your Zelle account.
2. Inform the sender of your Zelle account details and let them know they can send you money easily and securely using Zelle.
3. Once the sender initiates the transfer, you will receive a notification or email prompting you to claim the money. Follow the instructions provided in the notification to accept the funds.
That’s it! You are now ready to send and receive money using Zelle and your linked Chase account. Whether it’s splitting expenses among friends, paying for services, or receiving payments, Zelle provides a fast and convenient way to handle your financial transactions.
Remember, Zelle is not responsible for any disputes or transactions made between users. It’s always important to maintain communication and verify the details with the person you are transacting with to avoid any confusion or potential issues.
Enjoy the convenience of Zelle and the seamless integration with your Chase account to make your money transfers hassle-free.
Conclusion
Congratulations! You have successfully set up Zelle on your Chase account, allowing you to easily send and receive money using this convenient digital payment platform. By following the step-by-step instructions in this guide, you have downloaded the Zelle app, signed up for Zelle, linked your Chase account, verified your account, set up your Zelle profile, and learned how to send and receive money.
With Zelle, you can quickly split bills, transfer funds to friends and family, make payments, and more, all from the comfort of your smartphone. The integration of Zelle with your Chase account ensures seamless and secure transactions, providing you with peace of mind when handling your financial transactions.
Remember to keep your Zelle account and Chase account information secure. Choose a strong and unique password for your Zelle account, and avoid sharing your login details with anyone. Additionally, be cautious when sending money to unfamiliar recipients and ensure you have the correct contact information to avoid any potential mistakes.
Should you encounter any issues or have questions related to Zelle or your Chase account, contact the customer support teams of Zelle and Chase for assistance. They are available to help you navigate any challenges that may arise.
We hope this guide has been helpful in setting up Zelle on your Chase account. Enjoy the convenience and simplicity of Zelle as you manage your finances and make seamless transactions. With Zelle and Chase, you have a powerful combination that simplifies and enhances your digital banking experience.
Thank you for choosing Zelle and Chase for your financial needs. Happy banking!