Introduction
Welcome to our step-by-step guide on how to register Zelle with Chase. Zelle is a popular peer-to-peer payment service that allows users to send and receive money quickly and securely. With Zelle, you can easily transfer funds to friends, family, or even pay for services without the hassle of cash or checks.
Registering Zelle with Chase is effortless and can be done in just a few simple steps. In this guide, we will walk you through the process, ensuring you are set up and ready to start using Zelle in no time.
Before we begin, it’s important to note that to use Zelle with Chase, you must have a Chase checking or savings account. Additionally, make sure you have access to a smartphone or mobile device as you will need to download the Zelle app from your device’s app store.
Now, let’s dive into the step-by-step instructions to register Zelle with Chase and start enjoying the convenience of quick and secure money transfers.
Step 1: Download the Zelle App
The first step to registering Zelle with Chase is to download the Zelle app on your mobile device. The Zelle app is available for both iOS and Android devices and can be found in the respective app stores.
To download the Zelle app, open the App Store if you have an iPhone or the Google Play Store if you have an Android device. Search for “Zelle” in the search bar and look for the official Zelle app with the logo that resembles an orange and white wave.
Once you have located the Zelle app, tap the “Install” or “Get” button to start the download. Make sure you have a stable internet connection to ensure a smooth and uninterrupted download process.
After the Zelle app has finished downloading, locate the Zelle icon on your device’s home screen and tap on it to open the app. If you can’t find the icon on your home screen, try swiping left or right to access your app library or search for “Zelle” using the search function on your device.
Now that you have successfully downloaded the Zelle app, you are ready to move on to the next step of the registration process.
Step 2: Open the Zelle App
Once you have downloaded the Zelle app on your mobile device, it’s time to open it and get started with the registration process. Locate the Zelle app on your device’s home screen or in your app library and tap on it to launch the app.
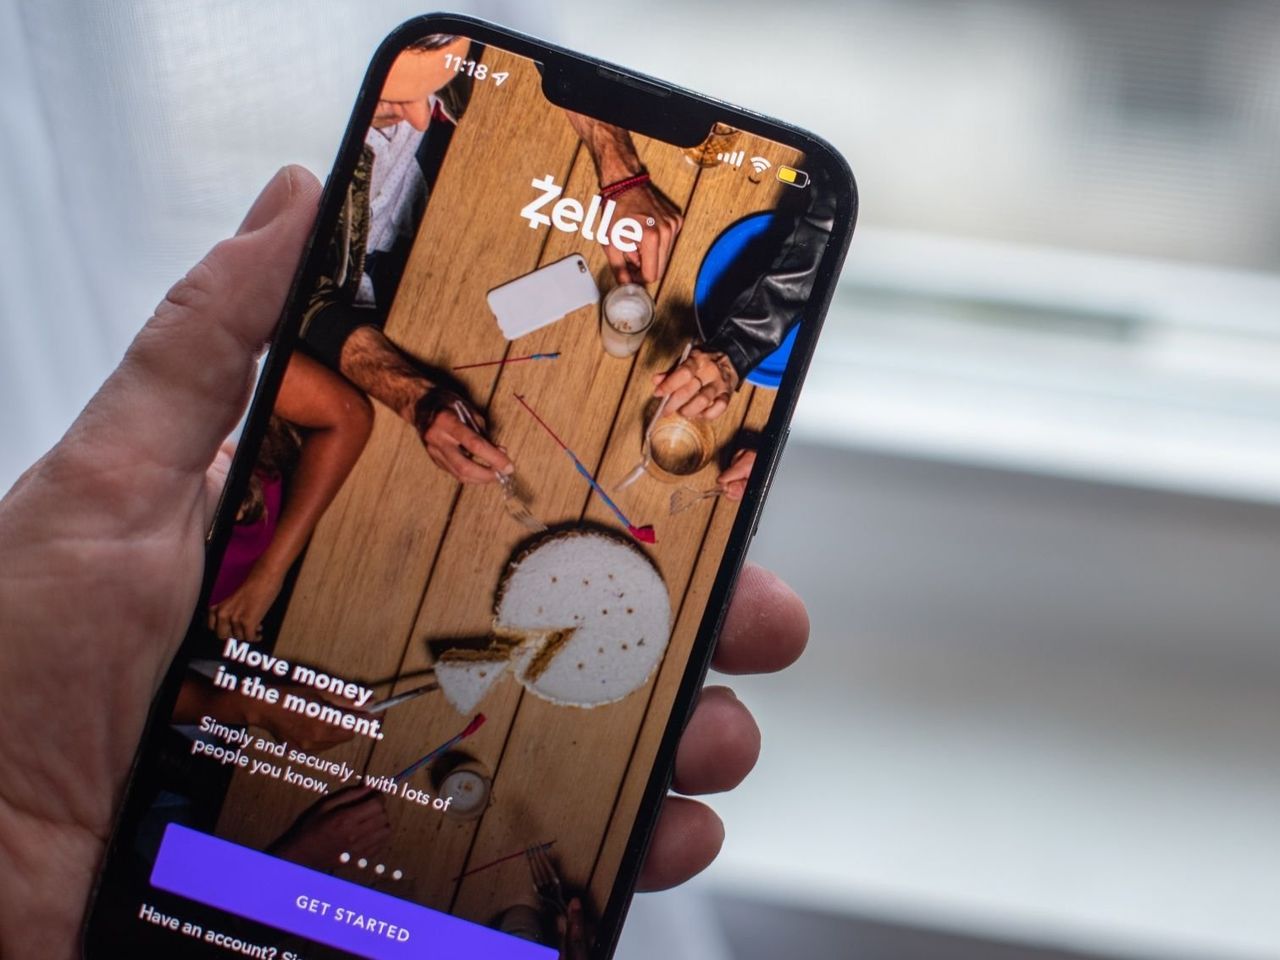
Upon opening the Zelle app, you will be greeted with a welcome screen, providing you with an overview of the features and benefits of using Zelle for money transfers. Read through the information to familiarize yourself with the app’s functionality and tap the “Get Started” or “Sign Up” button to proceed.
Next, you may be prompted to grant the Zelle app permissions related to device location, contacts, or notifications. These permissions are necessary for the app to function effectively and provide you with a seamless experience. Follow the on-screen instructions to grant the required permissions.
After granting the necessary permissions, you will be directed to the main registration screen of the Zelle app. Here, you will need to enter your phone number or email address, which will serve as your Zelle account identifier.
Choose the option that best suits you – whether you prefer to use your phone number or email address for registration. It’s important to use a phone number or email address that is associated with your Chase account to ensure a smooth linking process in the following steps.
Once you have entered your phone number or email address, double-check for any errors and tap the “Verify” or “Next” button to proceed. The Zelle app will then move on to the verification step to confirm your ownership of the provided contact information.
Now that you have successfully opened the Zelle app and entered your contact information, it’s time to move on to the next step – verifying your phone number or email address.
Step 3: Click on “Get Started”
After opening the Zelle app and entering your contact information, the next step is to click on the “Get Started” button to continue the registration process. This button is usually located at the bottom of the screen or prominently displayed on the registration page.
By clicking on “Get Started,” you are confirming that the contact information you provided is accurate and that you are ready to proceed with creating your Zelle account. This step takes you closer to linking your Chase account and being able to send and receive money using Zelle.
Before clicking on “Get Started,” double-check the accuracy of the contact information you entered. Ensuring that your phone number or email address is correct is vital for the successful registration and verification of your Zelle account.
Once you have confirmed the accuracy of your contact information, tap on the “Get Started” button. The Zelle app will then process your request and move on to verify the provided contact information.
This verification step is an important security measure to protect your account and ensure that only the rightful owner can access it. Zelle will send a verification code to the phone number or email address you provided.
Check your phone’s messages or your email inbox for the verification code. Enter the code into the Zelle app when prompted, and click “Verify” to confirm your ownership of the contact information.
Now that you have completed this step, your phone number or email address has been verified, and you are ready to proceed with linking your Chase account to Zelle. Continue reading to find out how to successfully complete this step.
Step 4: Enter Your Phone Number or Email Address
After clicking on “Get Started,” the next step in registering Zelle with Chase is to enter your phone number or email address. This step is crucial as it serves as the primary identifier for your Zelle account.
In the Zelle app, you will be prompted to enter your phone number or email address on the designated input field. Choose the option that you prefer and that is associated with your Chase account.
If you choose to enter your phone number, ensure that you include the correct country code and area code. For email addresses, double-check for any typos or spelling errors to prevent issues in the registration process.
It’s important to use the phone number or email address that is linked to your Chase account. This ensures a seamless linking of your Chase account with Zelle and allows for hassle-free money transfers.
Take a moment to review the entered phone number or email address before proceeding to the next step. Verifying the accuracy of your contact information minimizes any potential complications during the registration process.
Once you have entered your phone number or email address, click “Next” or a similar button to move on to the next step. The Zelle app will then process the information you provided and perform a verification process to confirm your ownership of the contact information.
Stay tuned for the following steps as we guide you through the verification and linking process to ensure your Zelle account is successfully connected to your Chase account.
Step 5: Verify Your Phone Number or Email Address
Once you have entered your phone number or email address in the Zelle app, the next step is to verify the accuracy of the provided contact information. This verification process ensures the security and authenticity of your Zelle account.
If you provided a phone number, Zelle will send a verification code through SMS to the phone number you entered. Check your messages for the verification code and enter it into the Zelle app when prompted.
Alternatively, if you chose to use your email address, Zelle will send a verification link to the email you provided. Access your email inbox, find the email from Zelle, and click on the verification link to confirm your ownership of the email address.
It’s crucial to complete the verification process promptly to avoid any delays in using Zelle with your Chase account. Check your phone or email frequently to ensure you don’t miss the verification code or link.
If you don’t receive the verification code or link, double-check your contact information to ensure its accuracy. If everything is correct, consider checking your spam or junk folders in case the verification email was mistakenly filtered.
Once you have successfully entered the verification code or clicked on the verification link, Zelle will confirm the validity of your phone number or email address. This step solidifies your ownership of the provided contact information and allows you to proceed with the next stages of the registration process.
Congratulations! Your phone number or email address has been verified, and you are one step closer to linking your Chase account with Zelle. The next step will guide you through the process of linking your Chase account, so keep reading to ensure a seamless experience with Zelle.
Step 6: Link Your Chase Account
After successfully verifying your phone number or email address, it’s time to link your Chase account to Zelle. This step is crucial as it enables you to send and receive money directly from your Chase account using the Zelle service.
In the Zelle app, you will be prompted to link your bank account. Look for the option that allows you to connect with Chase bank. Selecting this option will initiate the linking process.
Next, you may be asked to provide additional information to authenticate your Chase account. This information may include your Chase account number, your Social Security number, or other personal details to verify your identity.
Ensure you have your Chase banking information readily available to streamline the linking process. Double-check the accuracy of the information you enter to avoid any linking errors.
Once you have entered the necessary information, click on the “Link Account” or similar button to proceed with the linking process. The Zelle app will securely connect with Chase to validate your account information.
During this process, it is essential to provide accurate and up-to-date information to ensure a successful link between Zelle and your Chase account. Any errors or discrepancies may result in issues with money transfers and transactions.
It’s important to note that the linking process may require some additional steps, depending on the specific requirements of your bank. Follow the on-screen instructions provided by the Zelle app to complete the linking process accurately.
Once your Chase account has been successfully linked with Zelle, you will have the ability to send and receive money conveniently and securely. The next step will guide you through the verification process of your Chase account to ensure a seamless experience with Zelle.
Step 7: Verify Your Chase Account
After linking your Chase account with Zelle, the next step is to verify your account. This verification process ensures the security and integrity of your financial transactions through Zelle.
In most cases, Zelle will send a verification code or a small test deposit to your linked Chase account. The verification code will be sent via SMS or email, depending on the contact information associated with your Chase account.
If you receive a verification code, enter it into the designated field in the Zelle app to confirm the ownership of your Chase account. Make sure to input the code accurately to avoid any verification errors.
If you receive a test deposit, you will need to access your Chase account statement to locate the deposit amount. Once you have found the deposit, return to the Zelle app and enter the exact amount to verify your account.
It’s important to note that the verification process may take some time depending on your bank’s processing timeline. Be patient and regularly check your messages or bank statements for the verification code or test deposit.
Keep in mind that verifying your Chase account is a crucial step to ensure the security and validity of your financial transactions through Zelle. It helps to prevent unauthorized access and protects your funds from fraudulent activities.
If you encounter any difficulties during the verification process, consider reaching out to Chase customer support for assistance. They will be able to guide you through the steps and resolve any issues that may arise.
Once your Chase account is successfully verified, you will have peace of mind knowing that your Zelle transactions are protected and secure. The next step will guide you through setting up your Zelle profile to personalize your account.
Step 8: Set Up Your Zelle Profile
After verifying your Chase account, it’s time to set up your Zelle profile. Your Zelle profile allows you to personalize your account and provides additional security features to protect your transactions.
In the Zelle app, navigate to the profile settings, usually accessed through a menu or profile icon. Look for the option to edit or set up your profile and tap on it to begin.
Start by providing your name and other required personal information. It’s important to use your real name to ensure accurate identification when sending or receiving money through Zelle.
Consider uploading a profile picture to make your Zelle transactions more personal and recognizable to your recipient. This optional step adds a personal touch and enhances the user experience.
In addition to your name and profile picture, you may have the option to create a unique username or screen name for your Zelle account. This feature allows you to share your username with contacts instead of sharing your phone number or email address.
Choose a username that is easy to remember and unique to you. Keep in mind that once you set your username, it cannot be changed, so choose wisely.
Take some time to review the information you provided in your Zelle profile to ensure its accuracy. Double-check your name, profile picture, and username for any errors before saving the changes.
Setting up your Zelle profile is not only about personalizing your experience but also about adding an extra layer of security to your transactions. By including accurate information and a recognizable profile picture, you can help prevent accidental transfers or fraud attempts.
Congratulations! You have successfully set up your Zelle profile. You are now ready to start sending and receiving money with Zelle using your personalized account. The next step will guide you on how to initiate money transfers through Zelle.
Step 9: Start Sending and Receiving Money with Zelle
Now that you have completed the registration and setup process, it’s time to start using Zelle to send and receive money conveniently and securely.
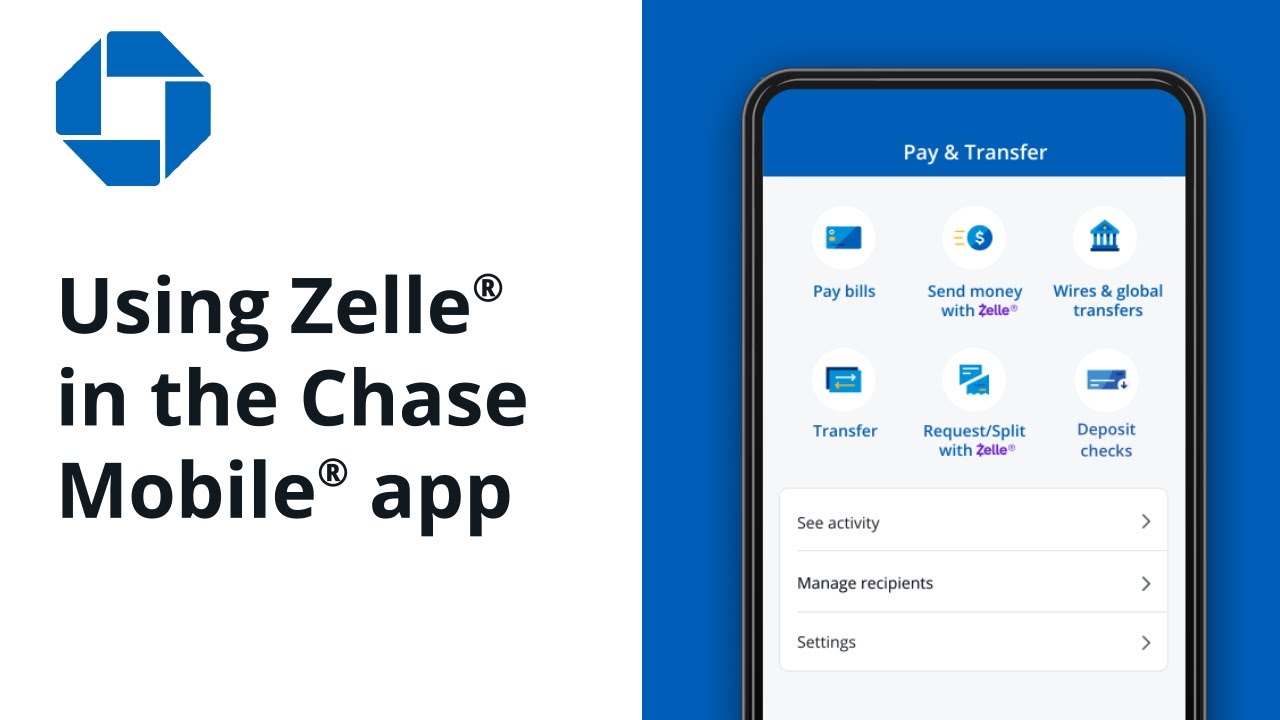
To send money using Zelle, open the Zelle app on your mobile device and navigate to the “Send Money” or similar option. Enter the recipient’s phone number or email address, specify the amount you wish to send, and add any necessary notes or descriptions.
Double-check the recipient’s contact information and the amount you entered to ensure accuracy. Once everything looks correct, click on the “Send” button to initiate the transfer.
If you want to receive money through Zelle, simply provide your Zelle account details, such as your phone number or email address, to the sender. They can then use their own Zelle app to send the funds directly to your Zelle account.
It’s important to note that the transfer times may vary depending on the recipient’s bank and their Zelle account setup. In most cases, transfers happen instantly, but it’s advisable to allow a reasonable amount of time for processing.
Zelle offers a convenient and secure way to transfer money between individuals, allowing you to split bills with friends, pay for services, or send money to family members in just a few simple steps.
Remember to exercise caution and only send money to individuals you trust. While Zelle offers security measures, it’s always advisable to be mindful of fraudulent activities and protect your personal information.
Now that you are familiar with how to send and receive money with Zelle, you can enjoy the ease and convenience of peer-to-peer payments right from your Chase account. Just remember to keep your Zelle app updated and stay vigilant against potential scams or suspicious activities.
Conclusion
Registering Zelle with Chase is a straightforward process that allows you to take advantage of the convenient and secure peer-to-peer payment service. By following the step-by-step guide outlined in this article, you can quickly set up your Zelle account and start sending and receiving money from your Chase account.
Remember to download the Zelle app to your mobile device, open the app, and click on “Get Started” to begin the registration process. Enter and verify your phone number or email address, then proceed to link your Chase account. After verifying your Chase account and setting up your Zelle profile, you’ll be ready to initiate money transfers using Zelle.
Keep in mind that while Zelle offers fast and convenient transactions, it’s important to exercise caution when sending money to individuals you may not know personally. Be sure to only send funds to trusted individuals and follow best practices for online security.
With Zelle, you can easily split bills, pay for services, and transfer money to friends and family members without the need for physical cash or checks. The direct integration with your Chase account streamlines the process and provides you with confidence in the security of your transactions.
Make sure to stay up to date with any app updates and remain vigilant against potential scams or suspicious activities. If you encounter any difficulties during the registration or linking process, don’t hesitate to reach out to Chase customer support for assistance.
Now that you have successfully registered Zelle with Chase, enjoy the convenience and ease of sending and receiving money with just a few taps on your mobile device. Embrace the power of digital payments and simplify your financial transactions with Zelle and Chase.