Introduction
Are you a Chase account holder who no longer wants to use Zelle for sending and receiving money? Zelle is a popular payment service that allows you to transfer funds quickly and easily, but if you don’t find it useful or you prefer an alternative method, you may want to remove Zelle from your Chase account.
In this guide, we will walk you through the steps to remove Zelle from your Chase account. Whether you want to switch to a different payment service or simply don’t have a need for Zelle anymore, we’ve got you covered.
Please note that removing Zelle from your Chase account will permanently disable the service and you won’t be able to use it for future transactions. If you change your mind later, you might need to contact Chase customer support to reinstate the service. So, it’s important to consider your decision carefully before proceeding.
Now, let’s get started with the step-by-step process to remove Zelle from your Chase account.
Step 1: Access your Chase account
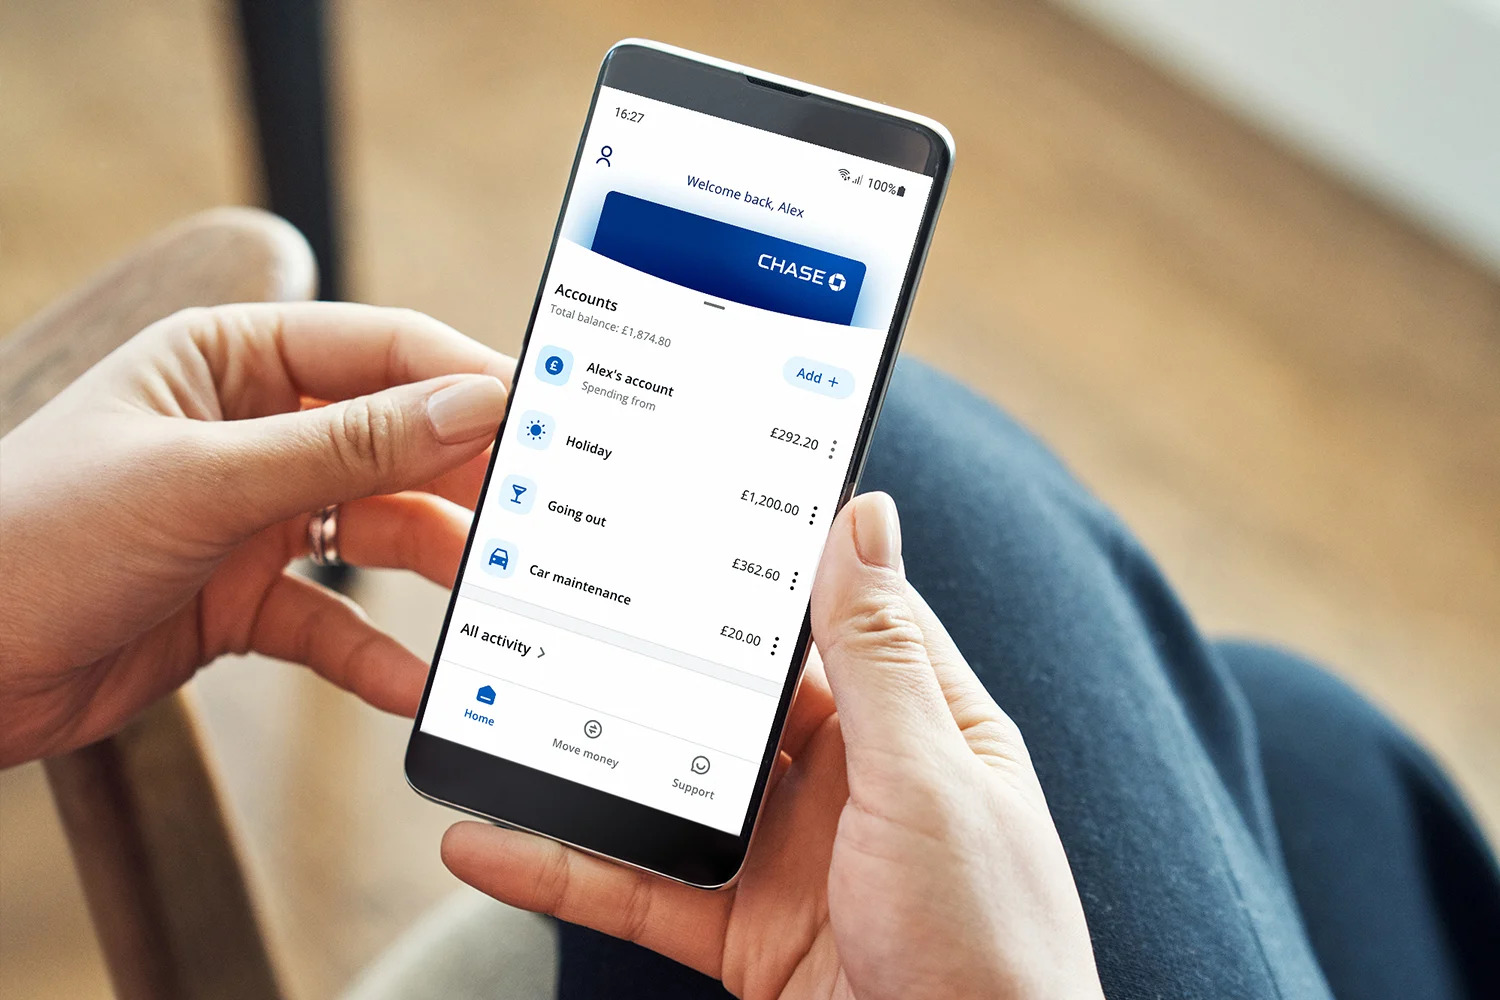
The first step to remove Zelle from your Chase account is to access your online banking account. You can do this by visiting the official Chase website and logging in with your username and password. Alternatively, you can use the Chase mobile banking app if you prefer to perform the task on your smartphone or tablet.
If you haven’t enrolled in online banking yet, you will need to do so before you can proceed with removing Zelle. Simply follow the instructions provided on the Chase website to create an online account. Make sure to have your account number and other required information handy to complete the enrollment process smoothly.
Once you are logged in to your Chase account, you will have access to various features and settings. This is where you will find the option to remove Zelle from your account.
It’s important to note that the steps may vary slightly depending on whether you are using the website or the mobile app. However, the general process remains the same, and we will provide instructions that are applicable to both platforms.
Now that you have successfully accessed your Chase account, let’s move on to the next step to remove Zelle.
Step 2: Navigate to the “Send Money with Zelle” section
Once you are logged in to your Chase account, the next step is to navigate to the “Send Money with Zelle” section. This is where you will find the settings and options related to Zelle.
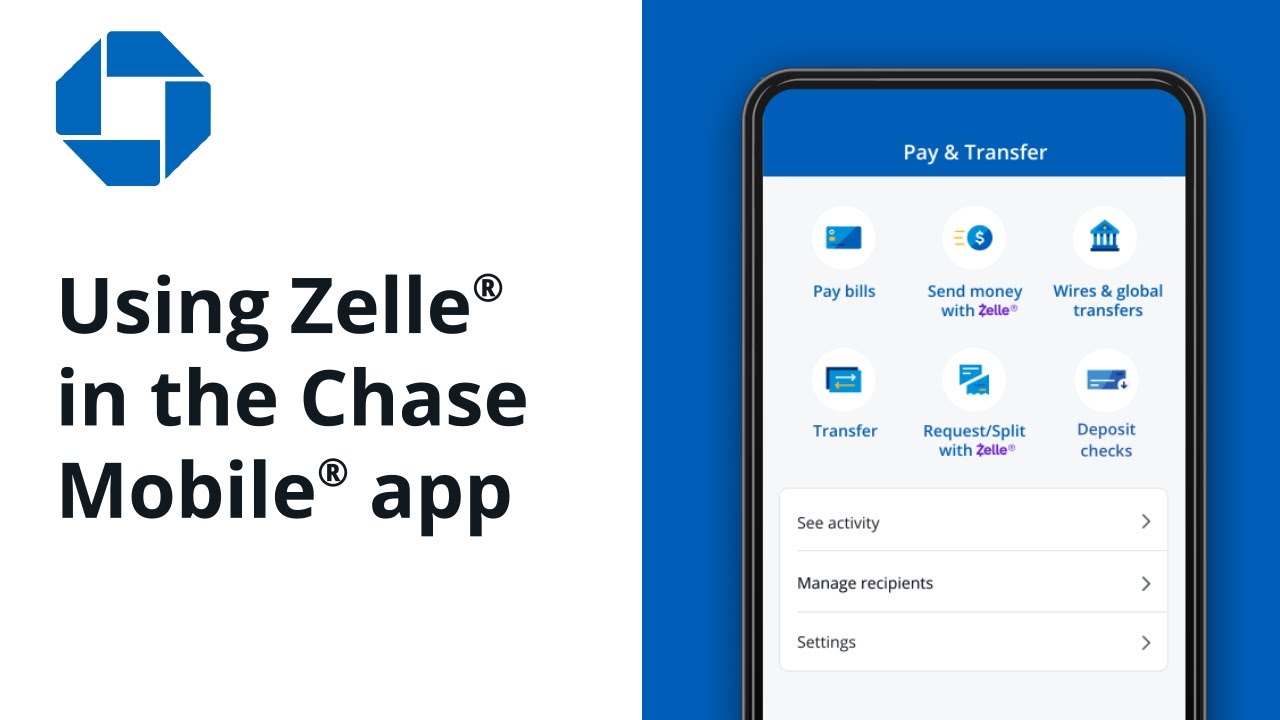
To do this, look for the “Payments & Transfers” tab or a similar option on the Chase website or mobile app. Click on it to expand the menu and then select “Send Money with Zelle” from the available options. This will take you to the Zelle section of your account.
If you are using the Chase mobile app, you may find the “Send Money with Zelle” option directly on the home screen or in the menu. Simply tap on it to proceed to the Zelle section.
Once you have accessed the “Send Money with Zelle” section, you will see various settings and options related to Zelle transactions. This is where you can manage your Zelle profile and perform actions such as adding recipients, viewing transaction history, and, of course, removing Zelle from your account.
Now that you have successfully reached the Zelle section, let’s move on to the next step to deactivate Zelle.
Step 3: Deactivate Zelle
Now that you are in the Zelle section of your Chase account, it’s time to deactivate Zelle. Follow these steps to proceed:
- Look for the “Manage Zelle” option or a similar label within the Zelle section. This is where you can make changes to your Zelle settings.
- Upon selecting the “Manage Zelle” option, you will likely be asked to confirm your identity or enter your Chase account credentials again for security purposes.
- After successfully authenticating, you will be presented with a list of options related to your Zelle account.
- Look for the option to “Deactivate Zelle” or “Remove Zelle” and click on it.
- A confirmation dialogue or page will appear, asking you to verify your decision to remove Zelle from your account.
- Read through the confirmation message carefully to ensure that you understand the consequences of deactivating Zelle.
- If you are certain about removing Zelle, click the “Confirm” or similar button to proceed.
Once you have completed these steps, Zelle will be deactivated and no longer accessible through your Chase account.
It’s important to note that removing Zelle will not affect your Chase account or any other banking services. Only the Zelle feature will be disabled.
Now that you have successfully deactivated Zelle, let’s move on to the next step to confirm the removal.
Step 4: Confirm the removal
After deactivating Zelle in the previous step, it’s important to confirm the removal to ensure that the changes have been successfully applied to your Chase account. To confirm the removal of Zelle, follow these instructions:
- Once you have clicked on the “Confirm” button to deactivate Zelle, you should see a confirmation message or page indicating that Zelle has been successfully removed from your account.
- Take a moment to carefully read through the confirmation message to verify that Zelle has indeed been deactivated.
- Make sure to double-check any details or instructions provided in the confirmation message. This will help ensure that there are no further steps or actions required to complete the Zelle removal process.
- It’s a good practice to take a screenshot or note down any confirmation numbers or reference details mentioned in the confirmation message. This can be helpful if you ever need to contact Chase customer support in the future regarding the removal of Zelle from your account.
By confirming the removal, you can have peace of mind knowing that Zelle has been successfully disabled and is no longer accessible through your Chase account.
Now that you have confirmed the removal, let’s move on to the next step to verify that Zelle has been fully removed from your account.
Step 5: Verify Zelle removal
After removing Zelle from your Chase account, it’s important to verify that the service has been fully removed and is no longer accessible. Follow these steps to confirm the removal:
- Log out of your Chase account and close the browser or the mobile app.
- Wait for a few minutes to ensure that any changes made to your account settings are properly updated.
- Open a new browser window or relaunch the Chase mobile app.
- Log in to your Chase account again using your username and password.
- Navigate to the “Send Money with Zelle” section, as we did in Step 2.
- Check if the option to send or receive money with Zelle is still available. If Zelle has been successfully removed, you should no longer see any mention of Zelle or its associated features.
If you no longer see any references to Zelle and its functionalities in your Chase account, congratulations! You have verified that Zelle has been removed successfully.
However, in rare cases, it’s possible to experience some delays or discrepancies in the update of account settings. If you still see any remnants of Zelle or encounter any issues, it’s advisable to contact Chase customer support for further assistance.
By verifying the removal of Zelle, you can be confident that the service is no longer active and your account settings have been updated accordingly.
With Zelle successfully removed, you can now explore other payment options or continue using other features within your Chase account that suit your needs.
Conclusion
Removing Zelle from your Chase account is a simple process that can be done in a few steps. By following the instructions outlined in this guide, you can deactivate Zelle and ensure that it is no longer accessible through your Chase account.
We started by accessing your Chase account, either through the website or mobile app. Then, we navigated to the “Send Money with Zelle” section to find the settings and options related to Zelle.
In the next step, we deactivated Zelle by selecting the “Manage Zelle” option, confirming our decision, and completing the necessary verification steps.
Afterwards, we confirmed the removal of Zelle by reviewing the confirmation message and noting any relevant details or reference numbers.
Finally, we verified that Zelle has been completely removed from our Chase account by logging out, logging back in, and checking for any remaining traces of the service.
By going through these steps, you can take full control of your Chase account and decide which payment options best suit your needs.
If you ever decide to use Zelle again in the future, you can reach out to Chase customer support for assistance in reinstating the service.
Now that you have successfully removed Zelle from your Chase account, you can explore other payment options or enjoy the other features and services that Chase has to offer.
Remember, it’s always a good practice to stay informed about the latest updates and options available to you through your Chase account. Regularly review your account settings and settings related to any other services to ensure they align with your preferences and needs.
Thank you for following this guide, and we hope it has been helpful in removing Zelle from your Chase account.