Introduction
Welcome to the article on how to change your Zelle name in Chase! Zelle is a popular digital payment platform that allows users to send and receive money with just a few taps on their mobile devices. If you are a Chase bank customer and have recently updated your personal information, you may want to ensure that your Zelle account reflects these changes. Whether it’s a change in your legal name, nickname, or any other personal details, updating your Zelle name is a simple process that can be done through the Chase mobile app.
In this article, we will guide you through the step-by-step process of changing your Zelle name in Chase. You don’t need to worry if you’ve never done it before; we’ll explain each step in detail to ensure a smooth and hassle-free experience. By the end of this article, you’ll have the knowledge you need to update your Zelle account name and have it reflect your most up-to-date personal information.
So, if you’re ready to learn how to change your Zelle name in Chase, let’s dive right into the process and get started!
Step 1: Accessing the Chase Mobile App
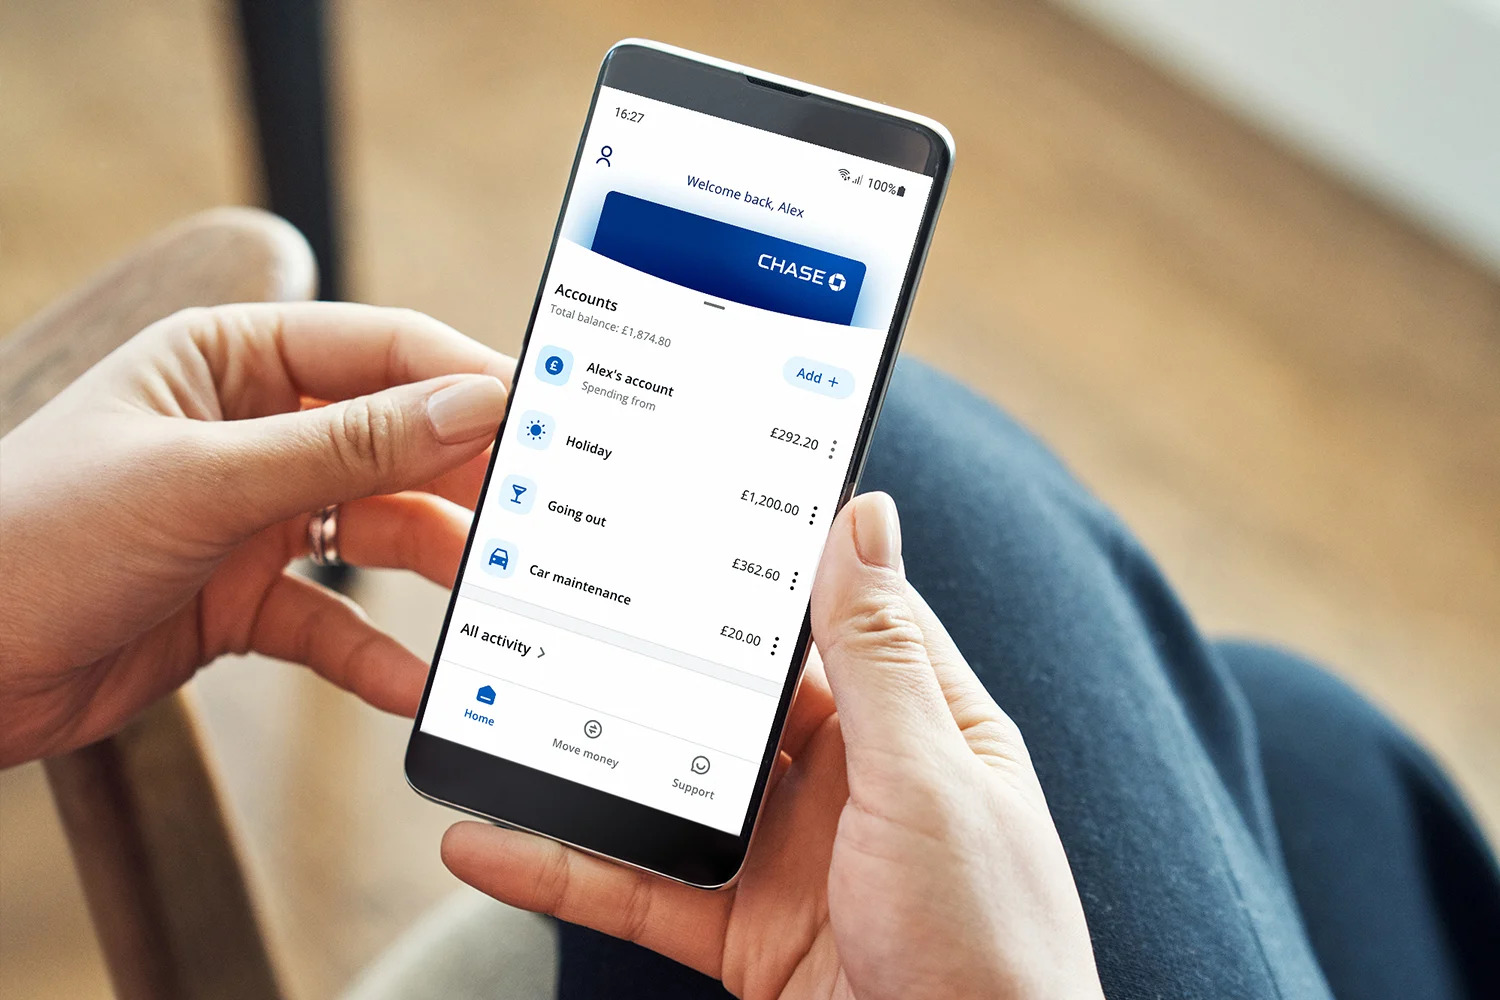
The first step in changing your Zelle name in Chase is to access the Chase mobile app. Ensure that you have the app installed on your mobile device and that you are logged in to your Chase account. Once you have logged in, follow the steps below:
- Open the Chase mobile app on your device. The app icon usually looks like a blue square with a white dot in the center.
- Enter your login credentials, such as your username and password, to access your Chase account.
- Once you have successfully logged in, you will be on the home screen of the Chase mobile app. From here, you can navigate to the “Settings” menu, where you can make changes to your Zelle account.
By following these steps, you will be in the right place to update your Zelle name in Chase. Let’s move on to the next step.
Step 2: Navigating to the “Settings” Menu
Once you have logged into the Chase mobile app, the next step is to navigate to the “Settings” menu. Follow these instructions:
- From the home screen of the Chase mobile app, look for the menu icon. It is usually represented by three horizontal lines or dots, located in the top-left or bottom-right corner of the screen.
- Tap on the menu icon to open the navigation menu.
- Scroll through the menu options and look for the “Settings” or “Account Settings” option. It may be located at the bottom of the menu or within a designated section.
- Once you have found the “Settings” option, tap on it to access the settings menu of the Chase app.
Following these steps will take you to the settings menu, where you can find various options to manage and customize your Chase account. Now, let’s move on to the next step to update your Zelle name.
Step 3: Selecting the Zelle Profile
After accessing the settings menu, the next step is to select the Zelle profile option. Here’s how you can do it:
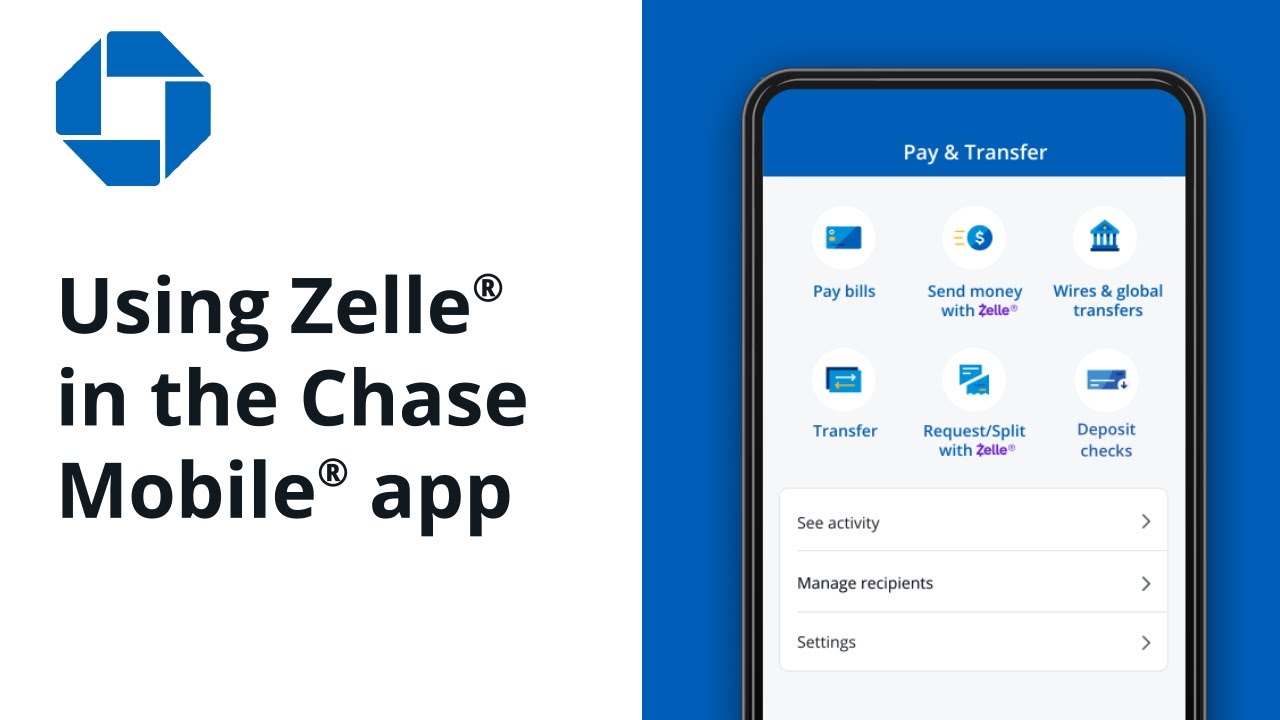
- Within the settings menu, look for the option that says “Payment & Transfers” or something similar. Tap on it to proceed.
- In the following screen, you will see a list of payment and transfer options. Look for the option that mentions “Zelle” or “Zelle Profile”. It may be labeled as “Manage Zelle” or “Zelle Settings”. Tap on this option to access your Zelle profile.
By following these steps, you will be able to navigate to the Zelle profile section within the Chase mobile app. Once you have selected the Zelle profile, you will be ready to update your personal information, including your Zelle account name. Let’s move on to the next step to learn how to do that.
Step 4: Editing Personal Information
Now that you have accessed your Zelle profile in the Chase mobile app, it’s time to edit your personal information. Follow these steps:
- Within the Zelle profile, look for the section that displays your personal information. It may include your name, email address, phone number, and other details associated with your Zelle account.
- Tap on the option to edit your personal information. This option is usually represented by an “Edit” button or an icon with a pencil.
- In the following screen, you will be able to make changes to your information. Locate the field that corresponds to your account name.
- Tap on the account name field to edit it. You can enter your new desired name or make any necessary changes. Take care to ensure that the name you enter is accurate and reflects your desired Zelle account name.
By following these steps, you will be able to edit your personal information within your Zelle profile in the Chase mobile app. Once you have made the necessary changes to your account name, it’s important to confirm your updates. Let’s move on to the next step to learn how to do that.
Step 5: Updating the Zelle Account Name
After editing your personal information, the next step is to update your Zelle account name. Here’s how you can do it:
- Once you have entered your desired account name or made the necessary changes, review the information to ensure accuracy.
- If you are satisfied with the changes, look for the option to save or update your information. This option is typically labeled as “Save”, “Update”, or “Confirm”. Tap on this option to proceed.
- After confirming your changes, the app may prompt you to verify your action. This could be in the form of a notification or a confirmation pop-up. Follow the prompts and complete any additional steps if required.
It’s important to note that some changes, such as updating your legal name, may require further verification or documentation. Be prepared to provide any necessary supporting documents if prompted.
By following these steps, you will be able to update your Zelle account name in the Chase mobile app successfully. Once you have completed this step, it’s essential to ensure that the changes have been applied correctly, so let’s move on to the next step to confirm the updates.
Step 6: Confirming the Changes
After updating your Zelle account name, it is crucial to confirm that the changes have been successfully applied. Follow these steps to ensure the changes are reflected:
- After saving or updating your information, navigate back to the Zelle profile section within the Chase mobile app.
- Review your personal information, specifically focusing on the account name field. Ensure that the new name you entered is displayed correctly.
- Take a moment to double-check all other details associated with your Zelle account. Verify that your email address, phone number, and any other relevant information are accurate.
- It is recommended to conduct a small test transaction to confirm that the changes have been updated successfully. Send a small amount of money to a trusted contact and ask them to confirm the receipt with the updated account name.
If you have followed the steps correctly and the changes are reflecting accurately, congratulations! Your Zelle account name in Chase has been successfully updated. You can now enjoy using the platform with your new account name.
In case you encounter any issues or the changes don’t seem to be applied correctly, it may be helpful to contact the Chase customer support team for further assistance. They will be able to guide you through any troubleshooting steps or provide additional support.
With the confirmation of the changes, you have completed the process of updating your Zelle account name in Chase. Now you can enjoy using the platform with your newly updated information. Happy banking!
Conclusion
Changing your Zelle account name in Chase is a simple and straightforward process that can be done through the Chase mobile app. By following the steps outlined in this article, you can easily update your Zelle name to reflect any changes in your personal information.
We started by accessing the Chase mobile app and navigating to the “Settings” menu. From there, we selected the Zelle profile and proceeded to edit our personal information. After updating the account name, we confirmed the changes and ensured that they were accurately reflected in our Zelle profile.
Remember, it’s essential to review the changes and conduct a small test transaction to make sure everything is updated correctly. If you encounter any issues or have any questions, don’t hesitate to reach out to the Chase customer support team for assistance.
Now that you know how to change your Zelle name in Chase, you can keep your personal information up to date and continue to enjoy the convenience of using the Zelle platform for your digital payments.
We hope this article has been helpful in guiding you through the process. Now go ahead and update your Zelle account name with confidence!