Introduction
As the world of 3D printing continues to expand, enthusiasts and professionals alike are constantly seeking ways to improve the quality and success rate of their prints. One often overlooked but highly effective method is using hairspray as a surface preparation technique for the build plate.
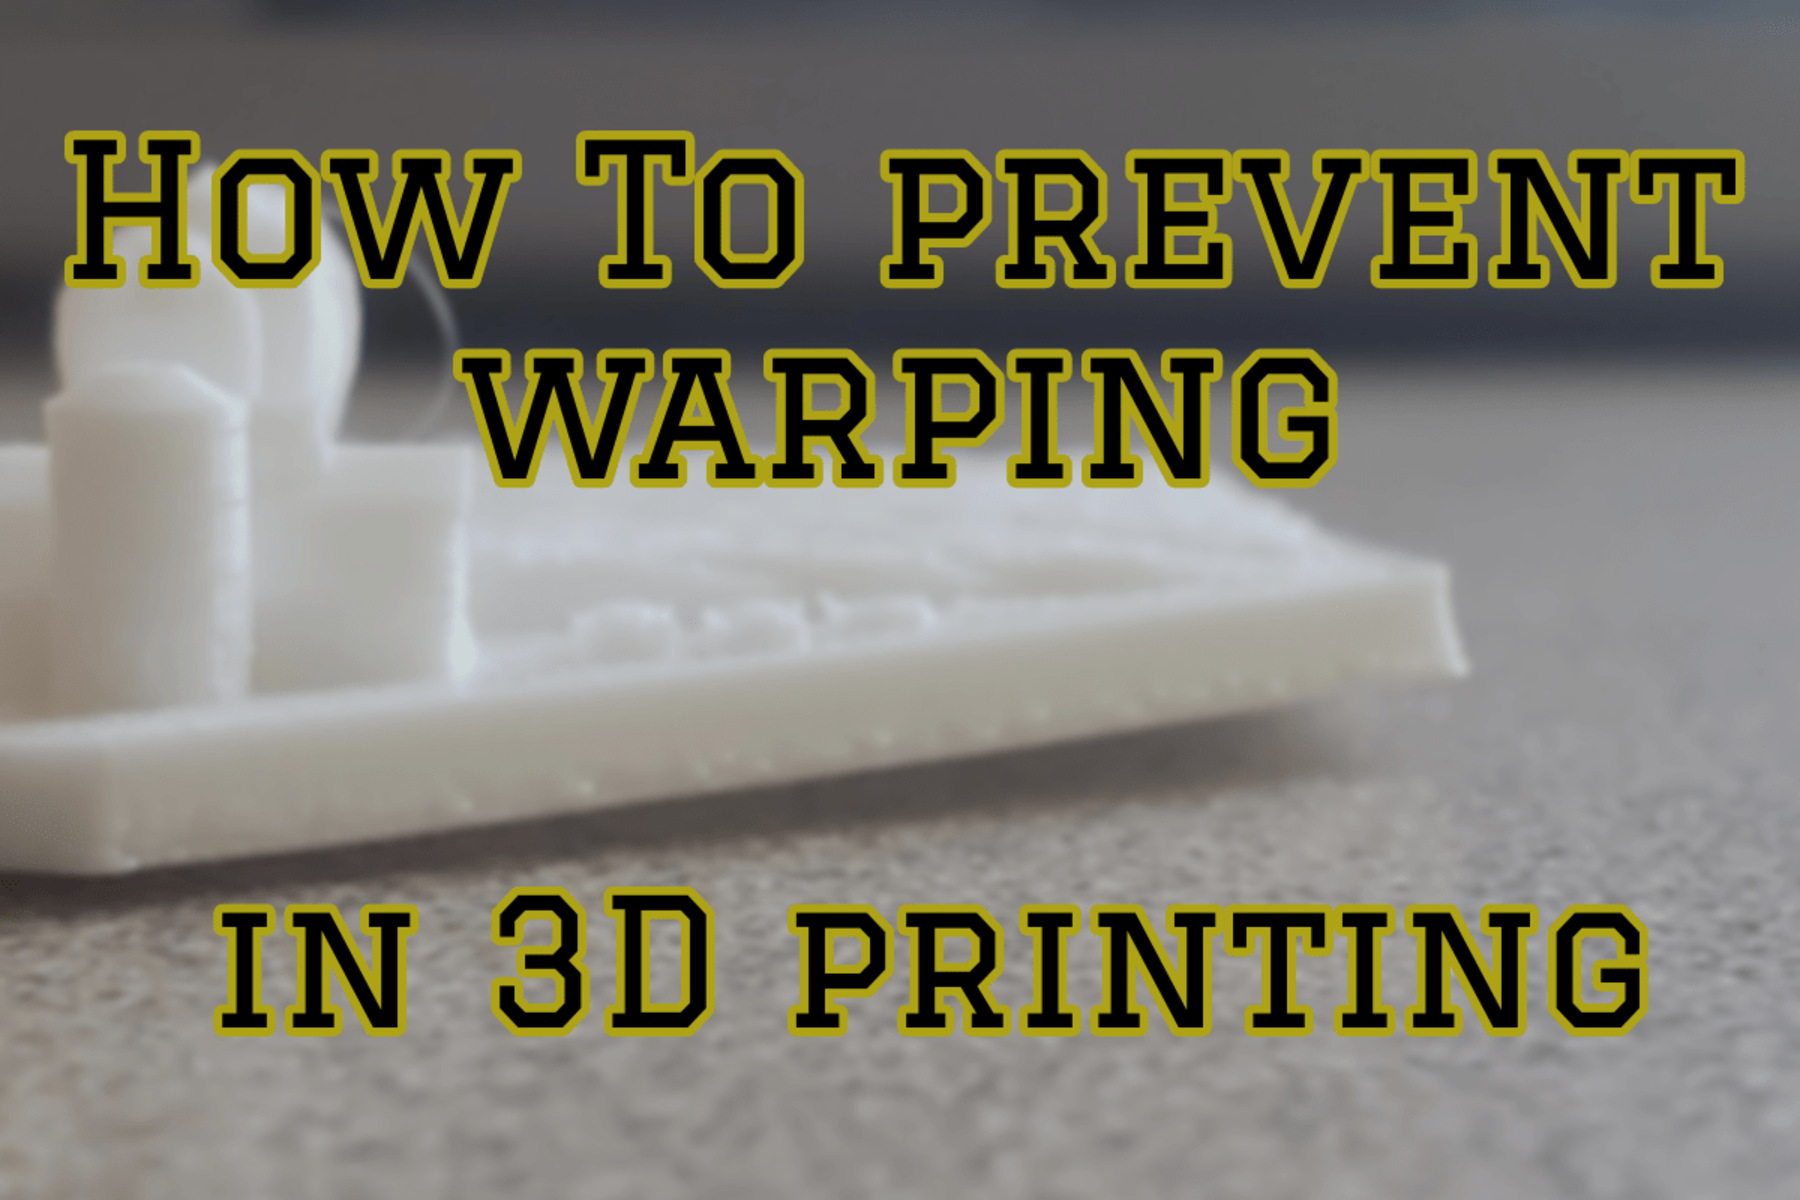
Hairspray is not just for keeping hairstyles in place; it can also be a handy tool in the world of 3D printing. When applied correctly, hairspray creates a thin adhesive layer on the build plate, allowing the printed object to adhere securely during the printing process. This results in better print quality and reduces the chances of print failures caused by warping or detachment.
In this article, we will delve into the world of hairspray for 3D printing and explore its benefits, the process of applying it, choosing the right hairspray, tips for effective use, and the importance of proper cleaning after printing.
By the end of this article, you will have a solid understanding of how hairspray can improve your 3D printing experience and help you achieve excellent results.
What is hairspray for 3D printing?
Hairspray is a common household product that is primarily used for styling hair. However, in the world of 3D printing, hairspray serves a different purpose. It is used as a surface preparation technique for the build plate. When applied to the build plate before starting the printing process, hairspray creates a thin, tacky layer that helps the printed object adhere securely throughout the printing process.
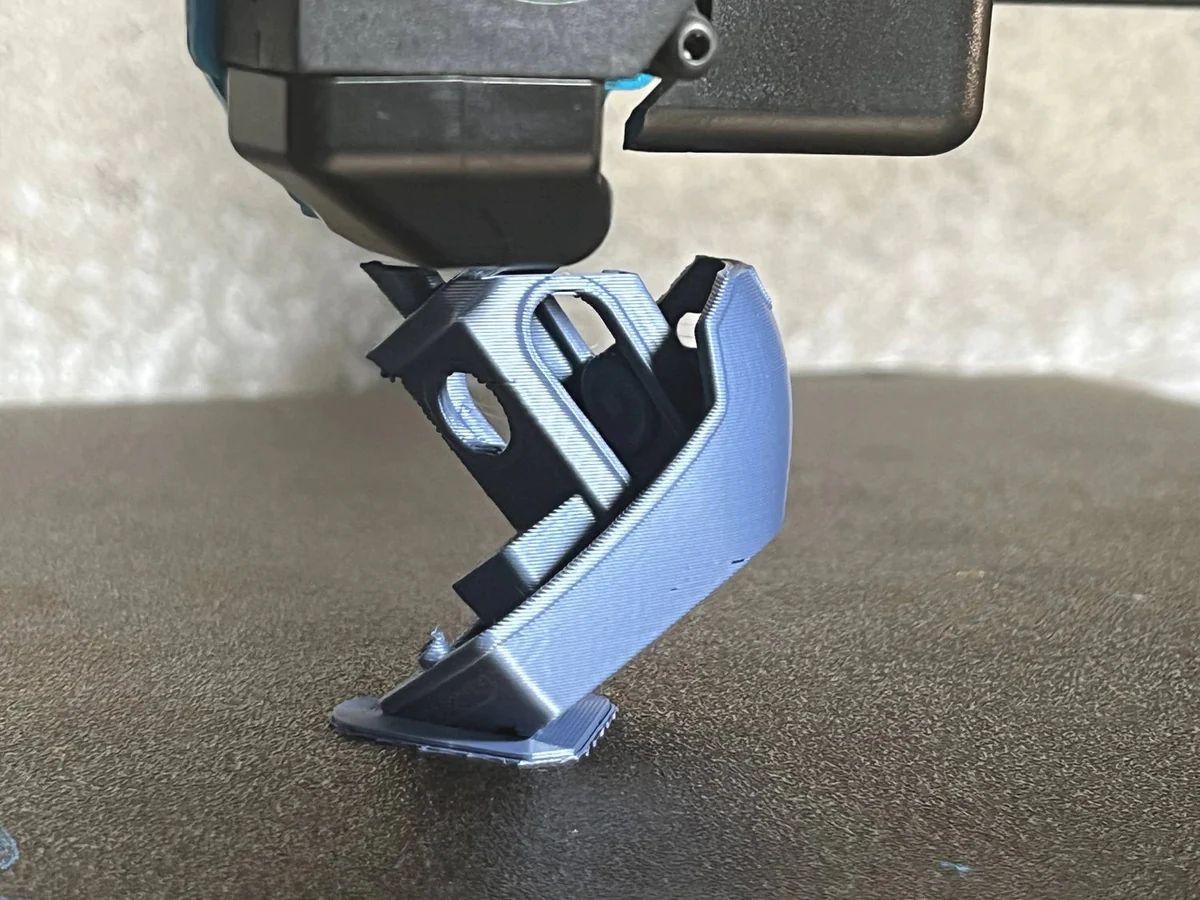
Hairspray acts as a temporary adhesive, providing a strong bond between the build plate and the first layer of the print. This is especially useful when working with materials that have a tendency to warp or detach during printing, such as ABS or nylon. The hairspray helps combat these issues by preventing warping and improving overall print quality.
The adhesive properties of hairspray are ideal for ensuring successful prints. The thin layer of hairspray creates a smooth and even surface, allowing the extruded filament to adhere uniformly and maintain its shape. This results in a more precise and accurate print, with fewer distortions or imperfections.
Furthermore, hairspray is a cost-effective alternative to other surface preparation techniques, such as adhesive sheets or specialized 3D printing bed coatings. It is readily available in most households and can be easily applied to the build plate without the need for any additional tools or equipment.
Overall, hairspray for 3D printing is a simple yet effective method for improving print adhesion and quality. Its ability to create a temporary adhesive layer on the build plate makes it a valuable tool in the arsenal of 3D printing enthusiasts and professionals alike.
Benefits of using hairspray for 3D printing
Using hairspray as a surface preparation technique for 3D printing offers several benefits that contribute to better print quality and a higher success rate. Let’s explore some of the advantages of incorporating hairspray into your 3D printing workflow:
1. Improved adhesion:
Hairspray creates a thin adhesive layer on the build plate, ensuring better adhesion between the first layer of the print and the build surface. This helps to prevent warping, lifting, and detached prints, ultimately improving the overall success rate of your 3D prints.
2. Enhanced print quality:
The even layer of hairspray creates a smooth and uniform surface for the filament to adhere to, resulting in cleaner, more accurate prints. This helps to eliminate imperfections and distortions that may occur when the filament does not adhere properly to the build plate.
3. Cost-effective solution:
Hairspray is a cost-effective alternative to specialized 3D printing bed coatings or adhesive sheets. It is readily available in most households and can be used multiple times before needing to be replenished. This makes it a budget-friendly option for improving print adhesion and quality.
4. Versatility:
Hairspray can be used with a wide range of filament materials, including ABS, PLA, PETG, and more. Whether you are printing with a standard material or a specialty filament, hairspray can help improve adhesion and minimize printing issues caused by poor bed adhesion.
5. Easy application and removal:
Applying hairspray to the build plate is a straightforward process that requires minimal effort. It can be easily sprayed or applied using a cloth or paper towel. Furthermore, hairspray residues can be easily cleaned off the build plate with water and a mild detergent, making it hassle-free to maintain and prepare for subsequent prints.
Incorporating hairspray into your 3D printing workflow can have a significant impact on the success and quality of your prints. Its affordability, versatility, and ease of use make it a popular choice among 3D printing enthusiasts and professionals alike.
How to apply hairspray to the build plate
Applying hairspray to the build plate is a relatively straightforward process that can be done in a few simple steps. Here’s a step-by-step guide on how to apply hairspray effectively for 3D printing:
1. Ensure a clean build plate:
Before applying hairspray, it’s essential to start with a clean and dry build plate. Any residue or dirt on the surface can hinder adhesion and affect print quality. Use a mild detergent or isopropyl alcohol to clean the build plate thoroughly, removing any grease, dust, or previous adhesive residues.
2. Shake the hairspray can:
Shake the can of hairspray vigorously to ensure that the contents are well-mixed. This will help dispense an even layer of hairspray onto the build plate.
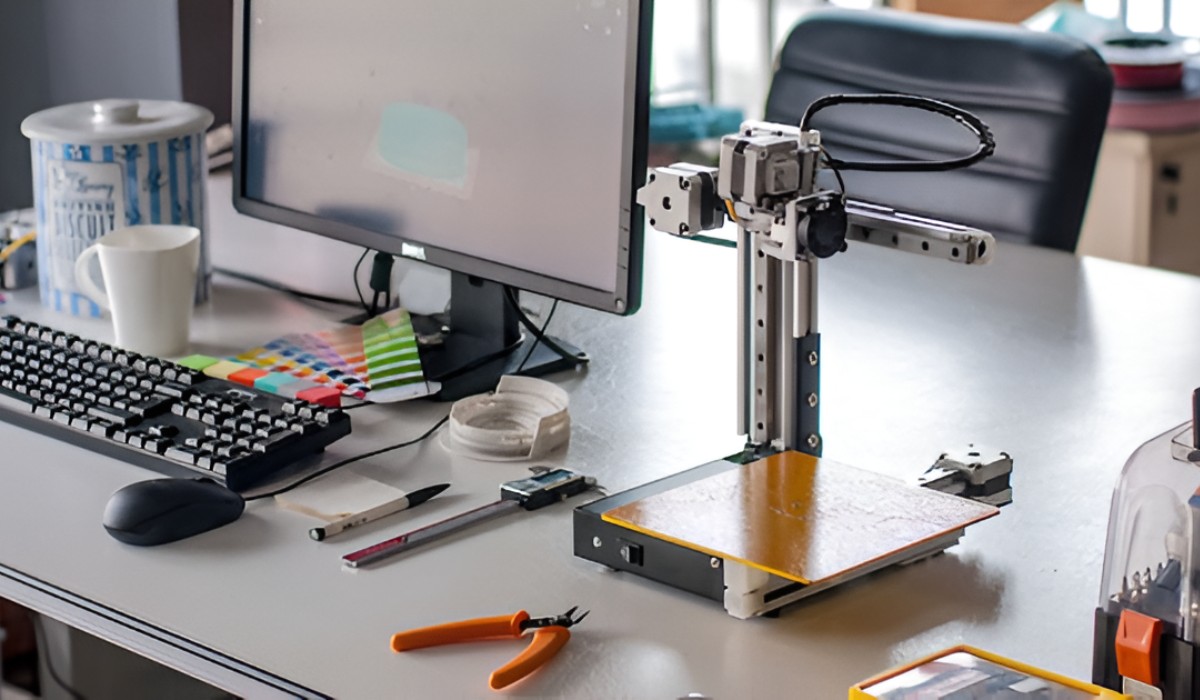
3. Set up the build plate:
Place the build plate on a stable surface or inside the 3D printer if it is removable. Ensure that it is level and securely in place to prevent any movement during the printing process.
4. Apply a thin and even layer of hairspray:
Hold the can of hairspray about 8-10 inches away from the build plate. Start by spraying a fine mist of hairspray evenly across the surface. Avoid applying too much hairspray, as this can lead to excessive buildup and affect the levelness of the first print layer.
5. Allow the hairspray to dry:
After applying the hairspray, allow it to dry completely before starting the 3D printing process. This usually takes a few minutes, but it’s best to consult the specific instructions provided with the hairspray product you are using.
6. Repeat the process if necessary:
If you are printing large or complex objects or if you are experiencing issues with adhesion, you may need to apply multiple layers of hairspray. Allow each layer to dry before applying the next, ensuring that the layers are thin and even.
7. Clean the build plate after printing:
Once you have completed your 3D print, it’s important to clean the build plate to remove any residual hairspray. Use a mild detergent and water to gently clean the surface, ensuring that all hairspray residues are removed. This will prepare the build plate for future prints.
By following these steps, you’ll be able to apply hairspray to your build plate effectively, ensuring optimal adhesion and better print quality in your 3D prints.
Choosing the right hairspray for 3D printing
When it comes to choosing the right hairspray for 3D printing, not all products are created equal. Various factors should be considered to ensure optimal adhesion and print quality. Here are some important considerations to keep in mind when selecting a hairspray for 3D printing:
1. Avoid hairsprays with added conditioners:
Hairsprays that contain added conditioners, such as oils or moisturizing agents, may leave a residue on the build plate that can interfere with adhesion. Look for hairsprays that are specifically labeled as “unscented” or “no-added conditioners” to ensure a clean and effective application.
2. Opt for strong-hold or extra-hold formulations:
Hairsprays that offer a strong or extra-hold formula are typically more effective for 3D printing. These formulations often contain stronger adhesives that promote better adhesion between the build plate and the printed object. Look for hairsprays that are designed to hold even in high humidity or windy conditions.
3. Water-soluble hairsprays:
Choosing a water-soluble hairspray can make the cleaning process easier after printing. Water-soluble hairsprays can be easily removed from the build plate with water and a mild detergent, minimizing the effort required for post-print cleaning.
4. Test before committing:
It’s always a good idea to test a small area of the build plate with the chosen hairspray before using it for your full prints. This test will help you assess the adherence and print quality achieved with that particular hairspray. If the results are not satisfactory, you can try another brand or formulation.
5. Follow user recommendations:
Take advantage of the 3D printing community and online forums to seek recommendations from experienced users. They can provide valuable insights on their preferred hairspray brands and offer additional tips for optimizing your printing process.
Remember, every 3D printer setup can be unique, so it may require some experimentation to find the hairspray that works best for your specific printer and filament combination. By considering these factors and conducting thorough research, you can choose the right hairspray that enhances adhesion and improves print quality in your 3D printing projects.
Tips for using hairspray effectively in 3D printing
Using hairspray for 3D printing can yield excellent results when applied correctly. Here are some tips to help you use hairspray effectively and optimize your 3D printing experience:
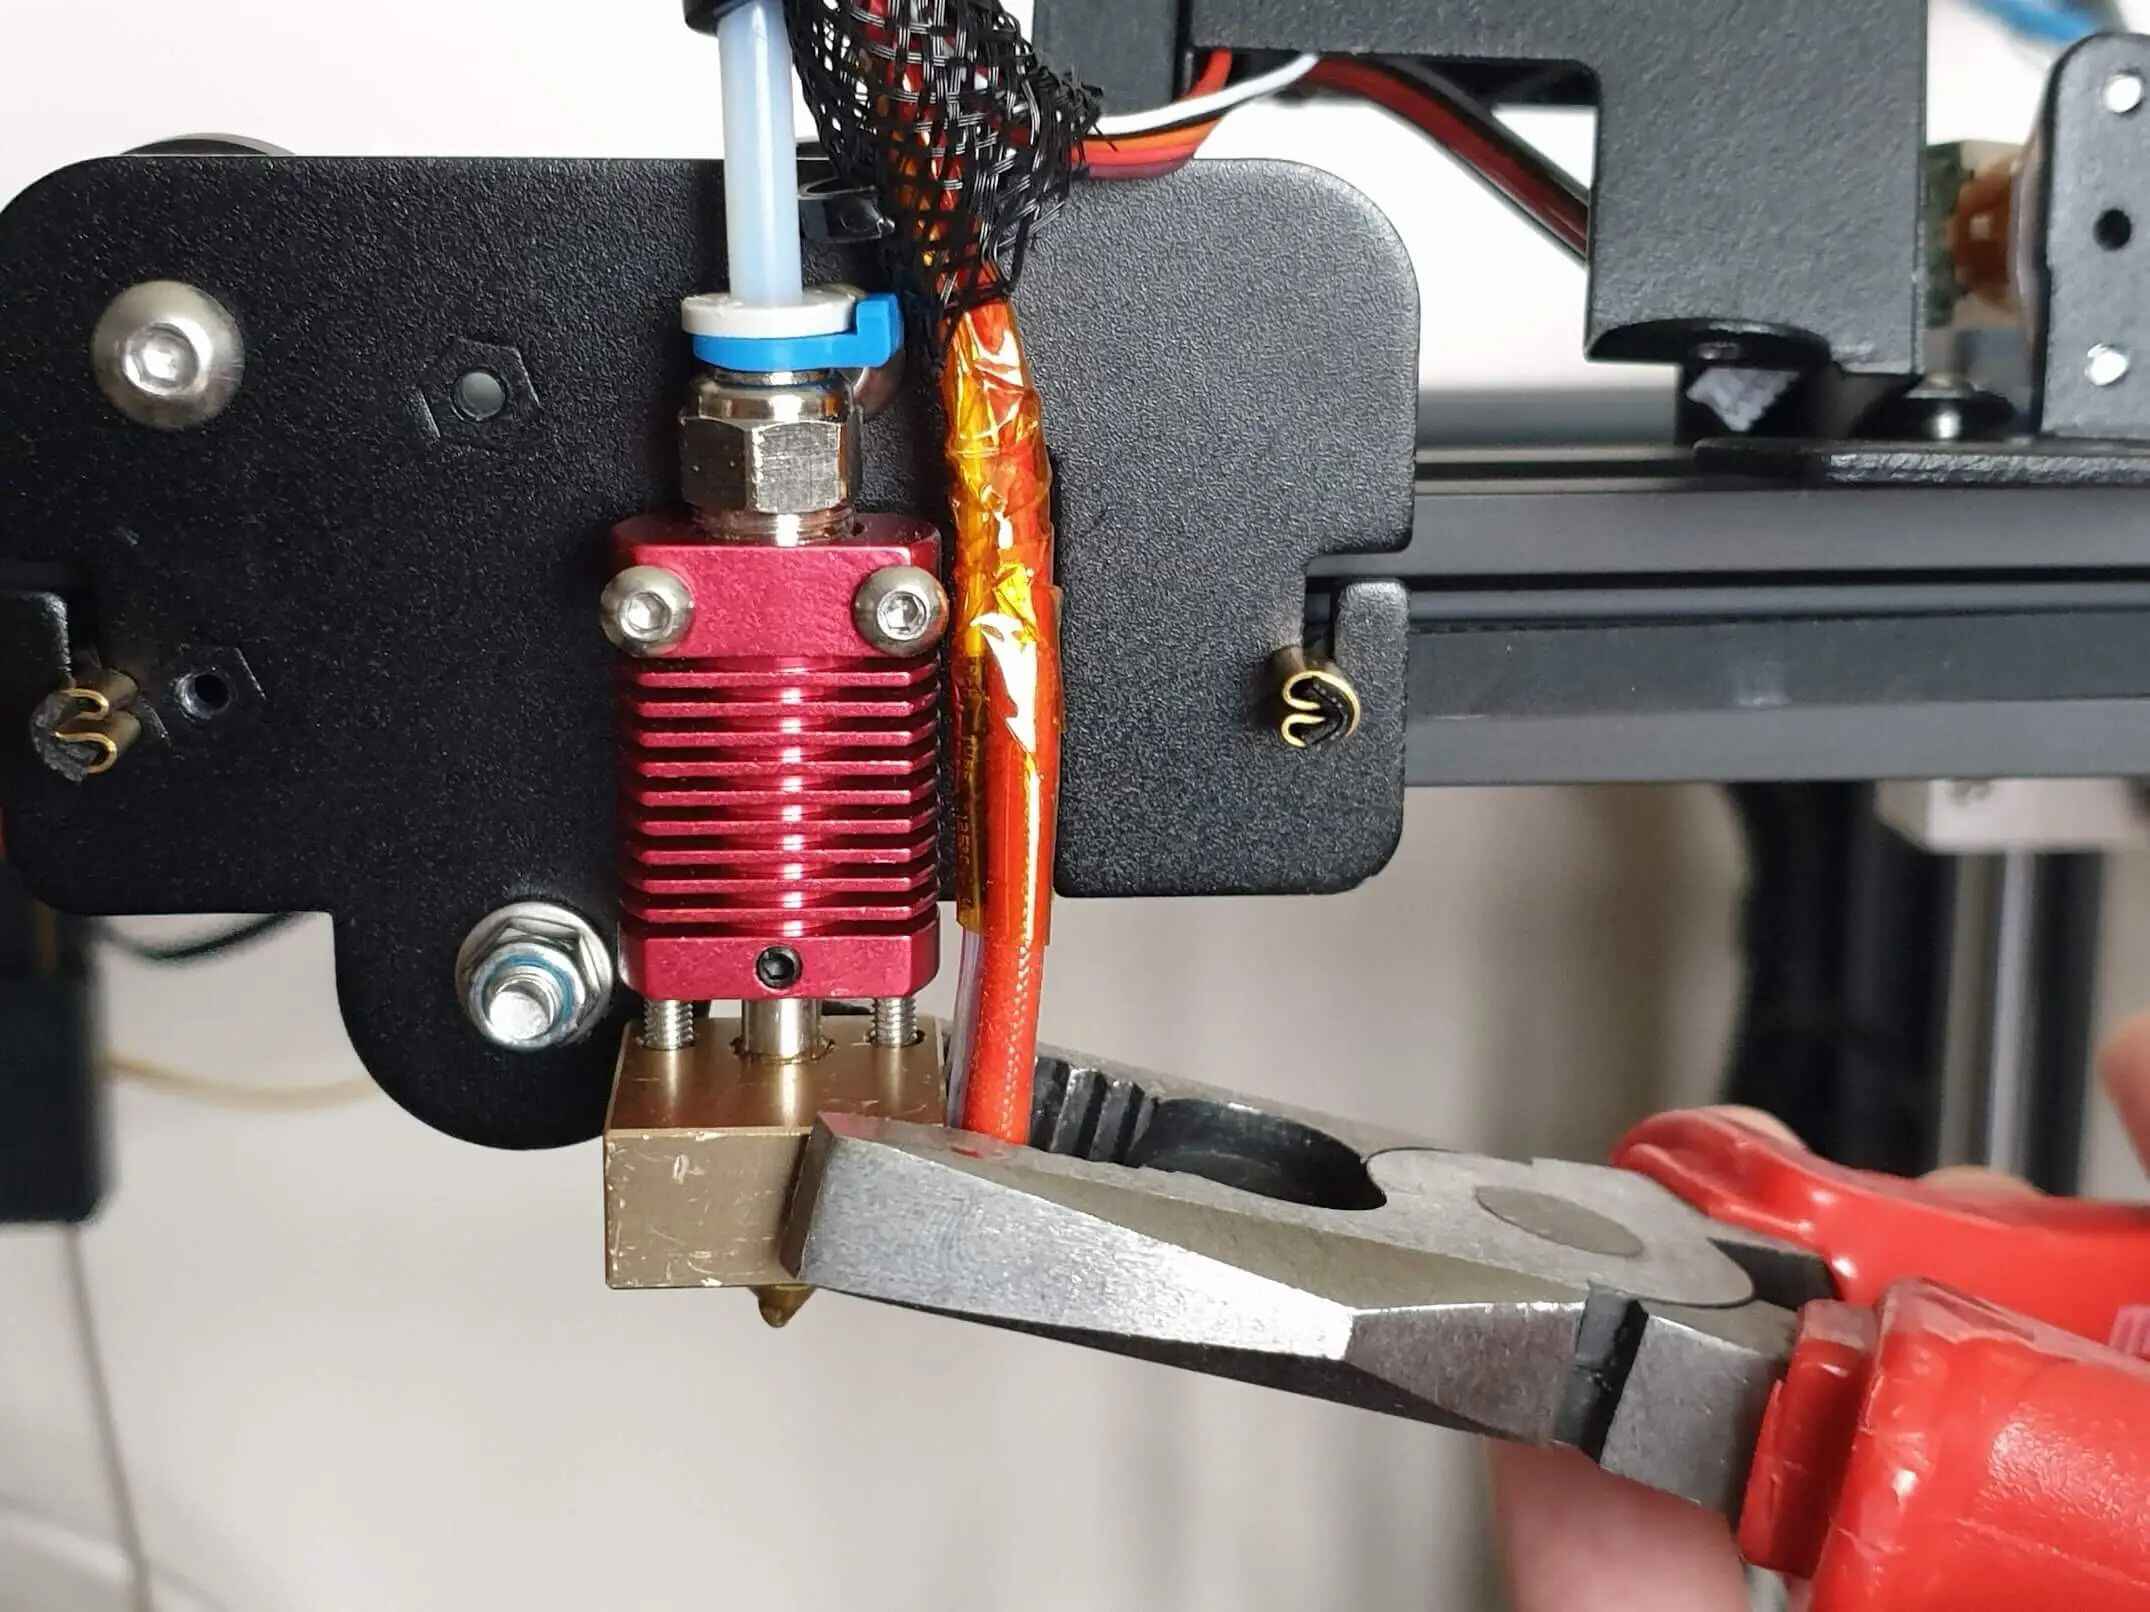
1. Find the right nozzle height:
Ensure that the nozzle height is properly calibrated to the build plate. The nozzle should be close enough to the build plate to allow the hairspray to adhere effectively but not too close to risk damaging the build plate or obstructing the flow of filament.
2. Apply multiple thin layers:
Instead of applying a single thick layer of hairspray, it is recommended to apply multiple thin layers. This helps to ensure an even distribution of the adhesive and avoids excessive build-up that could affect print accuracy.
3. Experiment with different layer thicknesses:
Experiment with varying layer thicknesses of hairspray to find the optimal amount for your specific printing needs. Different materials and prints may require more or less hairspray to achieve the desired adhesion.
4. Allow hairspray to dry before printing:
After applying the hairspray, allow sufficient time for it to dry completely. This ensures that the adhesive properties of the hairspray are activated before starting the printing process, resulting in better adhesion between the printed object and the build plate.
5. Clean the build plate between prints:
After each print, it is important to clean the build plate and remove any leftover hairspray residues. This ensures a clean surface for the next print and helps maintain optimal adhesion.
6. Monitor prints closely:
While using hairspray can greatly improve adhesion, it’s important to monitor your prints closely, especially during the first few layers. This allows you to catch any issues, such as warping or detachment, early on and make adjustments if needed.
7. Use a heated build plate:
If your 3D printer has a heated build plate, consider using it in conjunction with hairspray. The combination of heat and adhesive properties can further enhance adhesion and reduce the chances of warping or lifting during the printing process.
By following these tips, you can maximize the effectiveness of hairspray in 3D printing and achieve reliable adhesion, leading to better print quality and successful outcomes.
Cleaning the build plate after 3D printing with hairspray
After 3D printing with hairspray, it’s important to clean the build plate to remove any residual hairspray and ensure a clean surface for future prints. Here are some steps to effectively clean the build plate:
1. Let the build plate cool down:
Allow the build plate to cool down completely before attempting to clean it. This helps to prevent any potential damage to the build plate or injuries from handling hot surfaces.
2. Remove the print:
Carefully remove the printed object from the build plate using a spatula or other suitable tools. Take care not to damage the build plate or the print itself during this process.
3. Scrape off excess residue:
Use a plastic scraper or a soft cloth to gently scrape off any excess hairspray residue on the build plate. Be cautious not to scratch the build plate surface or use abrasive materials that could cause damage.
4. Wash with mild detergent and water:
Prepare a solution of mild detergent and water. Dip a clean cloth or sponge into the solution and gently wipe the build plate’s surface to remove any lingering hairspray residue. Rinse the build plate with clean water to ensure all detergent is removed.
5. Dry the build plate:
Pat the build plate dry with a clean cloth or paper towel. Make sure the build plate is completely dry before reinstalling it in the 3D printer or starting a new print to avoid water droplets causing poor adhesion during printing.
6. Check for any remaining residue:
Inspect the build plate after cleaning to ensure all hairspray residue has been removed. If any residue remains, repeat the cleaning process until the build plate is free of any leftover traces of hairspray.
7. Store the build plate properly:
Once the build plate is clean and dry, store it in a clean and dust-free environment to prevent any contaminants from settling on the surface.
Regular cleaning of the build plate after 3D printing with hairspray is crucial to maintain optimal adhesion and ensure the success of future prints. By following these steps, you can keep your build plate in excellent condition and ready for your next 3D printing project.
Conclusion
Hairspray is a versatile and cost-effective solution for improving adhesion and print quality in 3D printing. By applying a thin layer of hairspray to the build plate, you can enhance the success rate of your prints and achieve cleaner, more accurate results. With its adhesive properties, hairspray helps combat common issues such as warping, detachment, and poor bed adhesion.
In this article, we discussed the benefits of using hairspray in 3D printing, including improved adhesion, enhanced print quality, cost-effectiveness, versatility, and ease of application. We also explained the importance of choosing the right hairspray formulation and provided tips for effectively using hairspray in your 3D printing workflow.
Remember to clean the build plate thoroughly after each print to remove any residual hairspray and maintain an optimal printing surface. By following the proper cleaning process, you can ensure a clean build plate for future prints and prevent any residues from affecting adhesion or print quality.
Whether you are a 3D printing enthusiast or a professional, incorporating hairspray into your printing process can be a game-changer for achieving successful prints and improving overall efficiency. Experiment with different formulations, adjust application techniques, and monitor your prints closely to optimize the results.
Now that you’re armed with the knowledge and tips on using hairspray effectively in 3D printing, go ahead and give it a try. Unlock the potential of hairspray to enhance your 3D printing experience and bring your creations to life with greater precision and success.