Introduction
When it comes to diagnosing issues with your computer, one component that often gets overlooked is the power supply unit (PSU). A faulty PSU can cause a wide range of problems, from sudden shutdowns to system instability. So, it’s important to identify any potential issues with your PSU as early as possible.
Fortunately, there is a powerful tool that can help you with this task – Speedfan. Speedfan is a popular software program that allows you to monitor various aspects of your computer’s hardware, including the PSU. By using Speedfan, you can keep an eye on important parameters such as temperatures, voltages, and fan speeds, which can indicate whether your PSU is functioning properly or not.
In this article, we will walk you through the process of using Speedfan to diagnose your PSU. We will cover everything from downloading and installing Speedfan to interpreting the results it provides. By the end of this guide, you will have a clear understanding of how to effectively use Speedfan to ensure the health and reliability of your PSU.
What is Speedfan?
Speedfan is a software utility that allows users to monitor and control various aspects of their computer’s hardware. Developed by Alfredo Milani Comparetti, Speedfan has become a reliable and widely-used tool for diagnosing and managing computer system components, including the power supply unit (PSU).
At its core, Speedfan is designed to provide real-time information about the temperatures, voltages, and fan speeds of your computer’s internal components. It gathers data from the hardware sensors present on your motherboard and displays it in a user-friendly interface, allowing you to monitor and analyze the performance of your system.
While Speedfan offers a range of monitoring and control features for other hardware components, such as CPU and GPU, its use for PSU diagnostics is particularly valuable. By monitoring the temperatures, voltages, and fan speeds associated with your PSU, Speedfan helps you identify potential issues and take timely action to prevent any damage or system failures.
In addition to monitoring, Speedfan also provides the option to control fan speeds, allowing you to optimize cooling and noise levels based on your preferences. You can manually adjust fan speeds or set automatic fan control profiles to maintain a balance between cooling efficiency and noise reduction.
What sets Speedfan apart from other similar software utilities is its compatibility with a wide range of hardware and its ability to access and interpret sensor data that is often not natively supported by other monitoring tools. This makes Speedfan an invaluable tool for both everyday users and advanced computer enthusiasts, as it provides detailed insights into the performance of critical hardware components.
Now that we have covered the basics of Speedfan, let’s dive into the importance of diagnosing your PSU and how Speedfan can help you in this process.
Why Diagnose Your PSU?
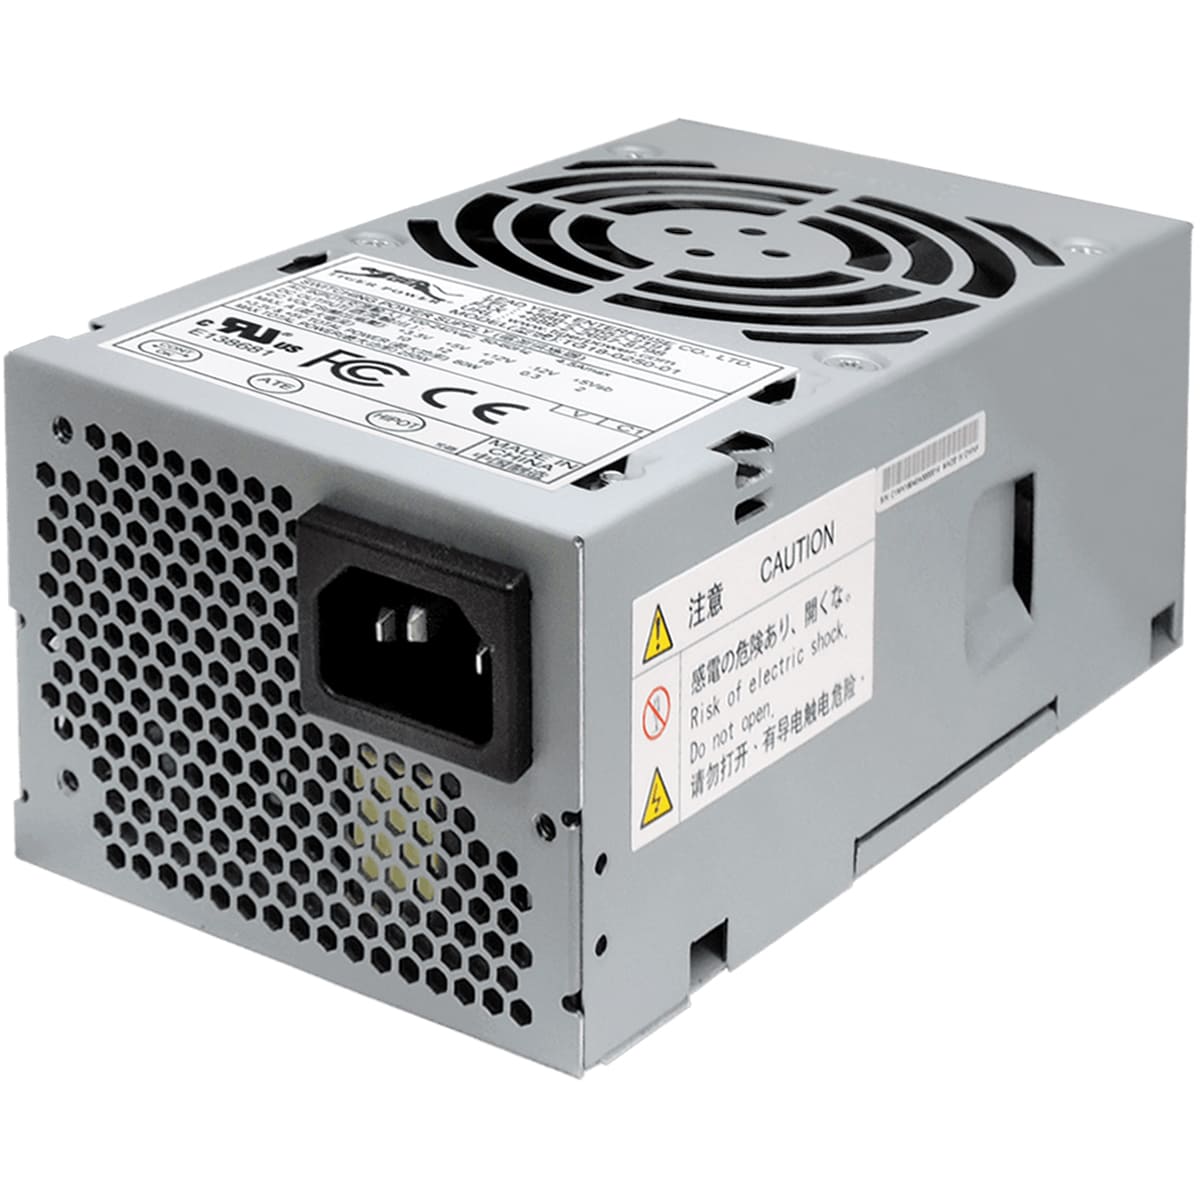
The power supply unit (PSU) is a crucial component of your computer system, responsible for supplying power to all other hardware components. A faulty PSU can lead to a myriad of problems that can significantly impact the performance and reliability of your computer.
One of the primary reasons to diagnose your PSU is to identify any potential issues before they escalate into more significant problems. A failing PSU can cause sudden shutdowns, system instability, and even permanent damage to other components. By regularly monitoring and diagnosing your PSU, you can catch any warning signs early on and take appropriate action to prevent further damage.
Another reason to diagnose your PSU is to ensure optimal performance and stability. A failing PSU may result in inconsistent power delivery, which can lead to system crashes, data loss, and overall poor performance. By monitoring the PSU’s parameters such as voltages and temperatures, you can identify any deviations from the normal range, allowing you to address the issue and maintain peak performance.
Furthermore, diagnosing your PSU can help you understand its overall health and estimate its lifespan. Like any other hardware component, the PSU has a limited lifespan, and continuous monitoring can give you insights into its general condition. This knowledge can be valuable when planning for system upgrades or replacements, ensuring that your computer remains reliable and functional.
Diagnosing your PSU with the help of tools like Speedfan also allows you to optimize its cooling performance. Overheating is a common issue among power supplies, leading to reduced efficiency and potential failure. By monitoring and analyzing the PSU’s temperature readings, you can take necessary steps such as adjusting fan speeds or improving airflow to enhance cooling and prevent overheating-related issues.
In summary, diagnosing your PSU is essential for several reasons, including early detection of issues, maintaining optimal performance, estimating lifespan, and improving cooling efficiency. By utilizing tools like Speedfan, you can effectively monitor and diagnose your PSU, ensuring the longevity and reliability of your computer system.
Step 1: Download and Install Speedfan
To begin diagnosing your PSU using Speedfan, the first step is to download and install the software on your computer. Follow these simple steps to get started:
- Open the web browser of your choice and navigate to the official Speedfan website.
- Locate the “Downloads” section on the website and click on the appropriate link to download the latest version of Speedfan.
- Once the download is complete, locate the downloaded setup file on your computer and double-click on it to begin the installation process.
- Follow the on-screen instructions and agree to the terms and conditions to proceed with the installation.
- Choose the desired installation location or leave it as the default and select any additional preferences, if prompted.
- Click on the “Install” button to start the installation process.
- Wait for the installation to complete. This may take a few moments depending on your system’s specifications.
- Once the installation is finished, you will be prompted to launch Speedfan.
Congratulations! You have successfully downloaded and installed Speedfan on your computer. Now it’s time to start using the software to diagnose your PSU and monitor its performance.
Step 2: Launch Speedfan
After successfully installing Speedfan on your computer, it’s time to launch the software and familiarize yourself with its user interface. Follow these steps to get started:
- Locate the Speedfan desktop shortcut or find it in the Start menu of your computer.
- Double-click on the Speedfan icon to open the program.
- Once Speedfan is launched, you will be greeted with its main interface, which displays various parameters and readings related to your computer’s hardware, including the PSU.
- Take a moment to explore the different sections of the Speedfan interface. You will find tabs or sections dedicated to CPU temperatures, fan speeds, voltages, and more.
- Pay particular attention to the sections related to PSU monitoring, which may vary slightly depending on the version of Speedfan you have installed.
- Make sure that Speedfan is displaying accurate and up-to-date information. If you notice any inconsistencies or incorrect readings, refer to the Speedfan documentation or user forums for troubleshooting tips.
- At this stage, you have successfully launched Speedfan and are ready to move on to the next step.
Launching Speedfan is the crucial first step in utilizing its powerful features for diagnosing your PSU. The software’s intuitive interface will provide you with real-time readings and insights into your PSU’s performance, enabling you to identify any potential issues and take necessary actions to maintain a stable and reliable computer system.
Step 3: Identify Your PSU
To effectively diagnose your PSU using Speedfan, it’s important to accurately identify your power supply unit within the software. This step ensures that you are monitoring the correct parameters and receiving accurate readings. Follow these steps to identify your PSU in Speedfan:
- Within the Speedfan interface, navigate to the section or tab specifically dedicated to PSU monitoring. This section is typically labeled as “Power” or “PSU”.
- Look for the listing or description that corresponds to your PSU. Speedfan may display the manufacturer name, model number, or other identifying information.
- If you are unsure which listing corresponds to your PSU, you can refer to the physical documentation that came with your computer or check the manufacturer’s website for more information.
- Take note of the identifier for your PSU within Speedfan. This will be useful for future reference when monitoring and interpreting the readings.
- In some cases, Speedfan may not be able to accurately identify your PSU. If this happens, you may need to consult the Speedfan documentation or user forums for troubleshooting steps or consult your computer manufacturer for further assistance.
- Once you have successfully identified your PSU within Speedfan, you are ready to move on to the next steps of monitoring its temperature, voltage, and fan speed.
Accurately identifying your PSU within Speedfan ensures that you are monitoring the correct hardware parameters and receiving reliable readings. This crucial step allows you to effectively diagnose any potential issues with your PSU and take appropriate actions to maintain the stability and health of your computer system.
Step 4: Monitor PSU Temperatures
Monitoring the temperature of your power supply unit (PSU) is an essential step in diagnosing its health and performance. By monitoring PSU temperatures, you can identify potential overheating issues and take necessary measures to prevent damage to your PSU and other components. Follow these steps to monitor PSU temperatures using Speedfan:
- Navigate to the PSU monitoring section or tab within the Speedfan interface.
- Look for the temperature readings associated with your PSU. These readings may be labeled as “PSU Temp”, “Temp1”, or something similar.
- Observe the readings and note any significant changes or high temperatures. The normal temperature range for a PSU can vary depending on the manufacturer and model. Generally, temperatures below 50°C (122°F) are considered normal, while temperatures above 65°C (149°F) may indicate a potential issue.
- Monitor the temperature readings over a period of time while your computer is under different loads. This can help you determine if there are any temperature spikes or consistent high temperatures during heavy usage.
- If you notice abnormally high temperatures, consider taking measures to improve PSU cooling. Ensure proper airflow within your computer case by arranging cables, cleaning dust filters, and adding additional cooling fans if necessary.
- Regularly monitor PSU temperatures and compare them to previous readings to spot any trends or sudden changes. This can help you identify any developing issues and address them promptly.
By monitoring the temperature of your PSU using Speedfan, you can keep your computer system running optimally and avoid potential overheating-related failures. Timely detection and management of high temperatures can significantly extend the lifespan of your PSU and prevent damage to other hardware components.
Step 5: Monitor PSU Voltages
Monitoring the voltages of your power supply unit (PSU) is crucial for diagnosing its health and ensuring proper power delivery to your computer components. By monitoring PSU voltages, you can identify any potential fluctuations or irregularities that may lead to system instability or damage. Here’s how to monitor PSU voltages using Speedfan:
- Go to the PSU monitoring section or tab within the Speedfan interface.
- Locate the voltage readings associated with your PSU. These readings may be labeled as “+12V”, “+5V”, or “-12V”, depending on the voltages supported by your PSU.
- Check the voltage readings and compare them to the acceptable voltage ranges specified by your PSU manufacturer. Typically, a deviation of ±5% from the specified voltage is considered normal.
- Pay attention to any significant deviations from the normal voltage range. High or low voltage readings may indicate potential issues with your PSU or other components.
- Monitor the voltage readings over time, especially during periods of heavy system usage or while running demanding applications. This can help you identify any fluctuations or inconsistencies in voltage delivery.
- If you notice consistent high or low voltage readings outside the acceptable range, it is recommended to consult the PSU manufacturer’s documentation or contact their customer support for further guidance. They can provide specific instructions on troubleshooting or advise on whether a PSU replacement is necessary.
Regular monitoring of PSU voltages using Speedfan allows you to ensure stable and reliable power delivery to your computer components. By detecting and addressing any voltage irregularities promptly, you can prevent system instability, component damage, and potential data loss.
Step 6: Analyze Fan Speeds
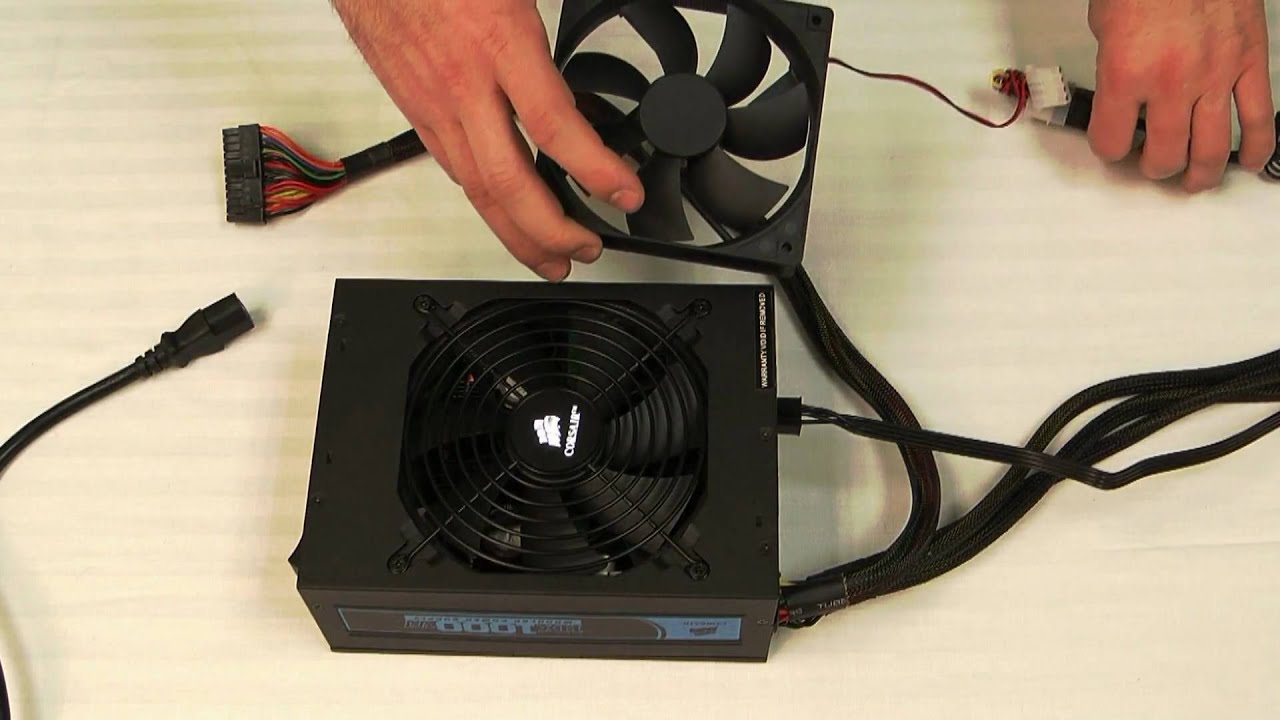
Monitoring the fan speeds of your power supply unit (PSU) is crucial for maintaining optimal cooling performance and preventing overheating. By analyzing PSU fan speeds using Speedfan, you can ensure that your PSU is effectively cooling itself and other components. Follow these steps to analyze fan speeds with Speedfan:
- Proceed to the PSU monitoring section or tab within the Speedfan interface.
- Look for the fan speed readings associated with your PSU. These readings may be labeled as “Fan1”, “Fan2”, or similar.
- Observe the fan speed readings and note any significant changes or irregularities. Fan speeds are typically measured in RPM (rotations per minute).
- Compare the fan speed readings to the normal operating range specified by your PSU manufacturer. This information can usually be found in the PSU documentation or on the manufacturer’s website.
- Ensure that the fan speeds are within the expected range. Higher fan speeds may indicate increased cooling demand, while lower fan speeds may indicate a potential issue with the fan or insufficient cooling capability.
- Monitor the fan speeds over time and take note of any sudden or consistent changes. This can help you identify possible fan malfunctions or cooling issues.
- Consider adjusting fan speeds if your PSU supports fan speed control. Speedfan may provide options to modify fan speeds manually or set up automatic fan control profiles based on temperature thresholds.
- If you suspect a fan malfunction or inadequate cooling, it is recommended to consult the PSU manufacturer’s documentation or contact their customer support for further assistance. They can provide guidance on troubleshooting steps or advise on the need for fan replacement or PSU maintenance.
By analyzing fan speeds with Speedfan, you can ensure that your PSU is effectively cooling itself and other components, preventing overheating-related problems and ensuring system stability. Regular monitoring and adjustment of fan speeds, if necessary, can help maintain adequate cooling performance for your computer system.
Step 7: Interpret the Results
After monitoring and analyzing various parameters of your power supply unit (PSU) using Speedfan, the final step is to interpret the results and make informed decisions based on the data obtained. Here’s how to interpret the results from Speedfan:
- Review the readings for temperatures, voltages, and fan speeds collected during the monitoring process. Compare them to the acceptable ranges provided by your PSU manufacturer.
- Look for any significant deviations or irregularities in the readings. These deviations may indicate potential issues with your PSU or other components.
- If you notice any high temperatures, it is advisable to improve PSU cooling by enhancing airflow, cleaning dust filters, or adding additional cooling fans.
- Pay attention to voltage readings outside the acceptable ranges. Consistently high or low voltages may indicate a problem with your PSU or other hardware components.
- Examine fan speed readings to ensure that they are within the expected range. Abnormally low or high fan speeds may signify cooling inefficiencies or fan malfunctions.
- Consider the overall trends and patterns in the results over time. Monitor the readings regularly to identify any gradual changes or increasing inconsistencies.
- When interpreting the results, it is critical to remember that each PSU and computer system is unique. Consult the documentation provided by your PSU manufacturer to understand the specifics of your PSU model and its recommended parameters.
- If you are unsure about the potential issues indicated by the results, it is advised to consult with a computer technician or the PSU manufacturer’s customer support for further guidance and troubleshooting steps.
Interpreting the results obtained from Speedfan empowers you to make informed decisions about the health and performance of your PSU. By addressing any identified issues promptly, you can maintain the stability, efficiency, and longevity of your computer system.
Conclusion
Diagnosing your power supply unit (PSU) is a crucial step in ensuring the stability and reliability of your computer system. By using the powerful features of Speedfan, you can monitor and analyze various parameters, including temperatures, voltages, and fan speeds, to identify any potential issues with your PSU.
In this guide, we discussed the importance of diagnosing your PSU and walked you through the process of using Speedfan to effectively monitor and interpret the results. By following the steps outlined, you can stay proactive in identifying and addressing any potential problems with your PSU before they escalate into larger issues.
Remember to regularly monitor PSU temperatures to prevent overheating, check voltages for stability, and analyze fan speeds to ensure proper cooling. By interpreting the results obtained from Speedfan, you can make informed decisions and take appropriate actions to maintain the optimal performance and lifespan of your PSU and other computer components.
It’s important to note that while Speedfan is a powerful tool, it is not a substitute for professional expertise. If you encounter any technical difficulties or are unsure about the results obtained, it is always recommended to consult with a computer technician or reach out to the PSU manufacturer’s customer support for further assistance.
By regularly diagnosing your PSU using Speedfan, you can proactively maintain a stable and reliable computer system, ensuring a smooth and efficient user experience for years to come.


