Introduction
Welcome to the world of sewing patterns! Whether you are a seasoned seamstress or just starting out with your sewing journey, you know the importance of accurate and well-defined patterns. They are the key to creating beautiful and perfectly-fitted garments. Traditionally, tracing patterns onto fabric or paper can be a time-consuming and tedious process. However, with the advancement in technology, using a projector for sewing patterns has become a game-changer.
Using a projector brings a whole new level of convenience and precision to your sewing projects. This innovative method allows you to project sewing patterns directly onto your fabric, eliminating the need for tracing or cutting out paper patterns. It not only saves time, but also reduces the chances of errors and misalignments that often occur during the tracing process.
Picture this: You have a beautifully printed sewing pattern, and instead of squinting at tiny lines and struggling to see the details, you can simply project it onto a larger surface. It’s like having your own personal sewing assistant, guiding you every step of the way.
But why stop at patterns? You can also use a projector to project helpful instructional videos or tutorials onto your workspace, making it easier to follow along. This opens up a whole new world of creative possibilities and learning opportunities.
In this article, we will explore the benefits of using a projector for sewing patterns, how to set up your projector, adjust the projection for optimal visibility, and share some valuable tips for using a projector in your sewing projects. We will also compare the projector method to traditional tracing methods and troubleshoot common issues that you might encounter along the way.
So, if you’re ready to revolutionize your sewing experience and take your projects to the next level, let’s dive into the world of projectors for sewing patterns!
Benefits of Using a Projector for Sewing Patterns
Using a projector for sewing patterns offers numerous advantages that can greatly enhance your sewing experience. Let’s explore some of the key benefits:
- Improved Accuracy: When tracing patterns, it’s easy to make mistakes or lose precision. Projecting patterns directly onto fabric ensures accurate placement without any distortion or unintended alterations. This leads to better fitting garments and a more professional finish.
- Time-Saving: Traditional tracing methods involve transferring patterns onto paper or fabric, which can be time-consuming, especially for complex or intricate designs. Using a projector eliminates the need for tracing, allowing you to quickly project and start sewing. You’ll finish projects faster and have more time for creativity.
- Enhanced Visibility: Projectors provide a clear and amplified view of sewing patterns, even for those with visual impairments. The ability to enlarge patterns onto a larger surface eliminates eye strain and makes it easier to see intricate details, markings, and notches in the pattern.
- Customization Flexibility: With a projector, you can easily adjust the size and scale of patterns to fit your specific needs. Whether you’re working on a child-sized garment or a plus-sized project, resizing patterns becomes a breeze. You can also easily combine different pattern pieces without the hassle of cutting and pasting.
- Versatility: Projectors are not limited to just sewing patterns. You can also project embroidery designs, appliques, quilting stencils, and even custom designs onto your fabric. This opens up a world of possibilities for personalization and creativity in your sewing projects.
These benefits clearly highlight why using a projector for sewing patterns is a game-changer. It saves time, improves accuracy, and enhances your overall sewing experience. Now, let’s move on to the next section and learn how to set up your projector for optimal usage.
Setting up Your Projector
Setting up your projector correctly is crucial to ensure effective projection of sewing patterns onto your fabric. Follow these steps to get started:
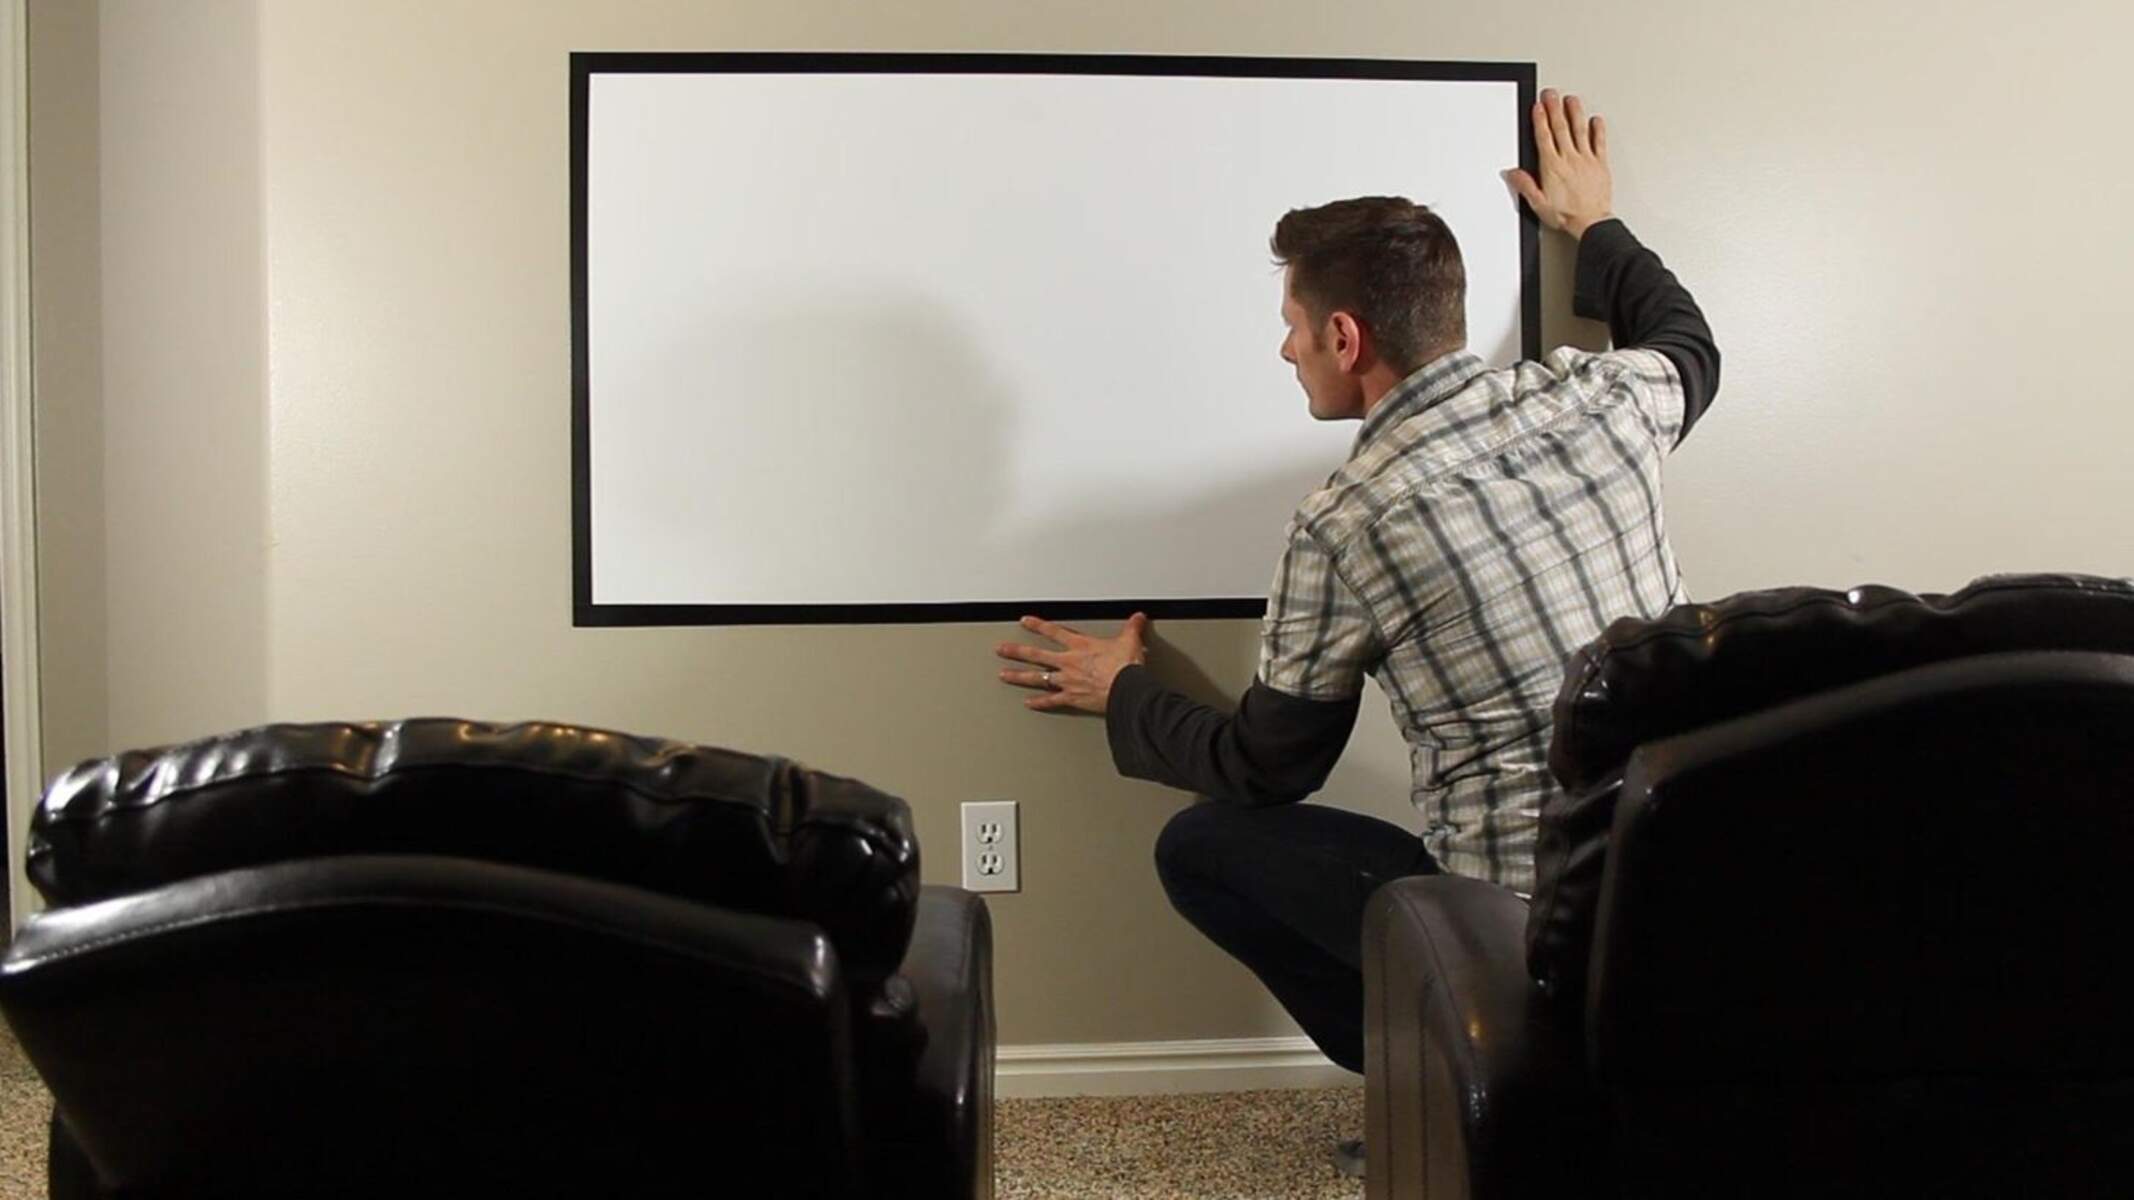
- Choose the Right Location: Find a well-lit area with enough space to accommodate your sewing machine, fabric, and the projector. Ideally, the projection area should be flat and close to your sewing workstation for easy access.
- Position the Projector: Set up your projector on a stable surface, such as a table or tripod, ensuring that it is level and secure. Adjust the tilt and height of the projector to ensure a clear projection onto your working area.
- Connect the Projector: Connect your projector to a power source and any necessary devices, such as a laptop or smartphone, that contain your sewing patterns. Some projectors may also support USB or SD card connections for direct pattern playback.
- Focus and Keystone Correction: Use the focus and keystone correction controls on your projector to adjust the clarity and alignment of the projected image. This ensures that patterns are sharp and properly proportioned when projected onto your fabric.
- Choose a Projection Surface: Consider using a portable projection screen or a plain, light-colored wall as your projection surface. Avoid busy patterns or highly textured surfaces that may affect the visibility and accuracy of the projected pattern.
- Positioning the Fabric: Lay your fabric flat and secure it to your working surface to prevent any movement or wrinkles while projecting the pattern. Use tape or fabric weights to hold the fabric in place, making sure it doesn’t interfere with the projected image.
- Test the Projection: Before you start sewing, test the projection to ensure the pattern is correctly aligned and visible on your fabric. Make any necessary adjustments to the projector or fabric position if needed until you achieve the desired result.
By following these steps and taking the time to properly set up your projector, you’ll be ready to project sewing patterns with ease and accuracy. With the projector in place, let’s move on to the next section and learn how to adjust the projection for optimal visibility.
Adjusting the Projection
Once your projector is set up, it’s important to adjust the projection for optimal visibility of your sewing patterns. Follow these tips to ensure a clear and accurate projection:
- Brightness and Contrast: Adjust the brightness and contrast settings on your projector to achieve a clear and well-defined image. This is especially important if you’re working in a brightly lit room or if your fabric has a dark color.
- Zoom and Focus: Use the zoom and focus controls on your projector to enlarge or reduce the size of the projected pattern. Ensure that the pattern is sharp and in focus, making it easier to see the details and markings.
- Angle and Position: Experiment with the angle and position of the projector to eliminate any distortion or skewing of the pattern. Adjust the height and tilt to achieve a straight and undistorted projection onto your fabric.
- Screen Calibration: If you’re using a projection screen, ensure that it is properly aligned and taut. Adjust the tension or position of the screen to avoid any wrinkles or distortions that may affect the accuracy of the projection.
- Avoid Shadows: Position your projector in a way that avoids casting shadows on the projected pattern. This ensures that the entire pattern remains clear and visible during the sewing process.
- Use Gridlines or Markings: If your projector has the option, enable gridlines or markings on the projected pattern. These can help with aligning pattern pieces and maintaining symmetry, especially for complex or multi-piece garments.
- Experiment and Adjust: Take the time to experiment with different settings and adjustments to find the optimal projection for your sewing projects. What works for one fabric or pattern may not work for another, so be open to making changes as needed.
By following these tips and adjusting the projection according to your specific needs, you will ensure that your sewing patterns are projected accurately, allowing you to sew with confidence and precision.
Now that we have covered adjusting the projection, let’s move on to the next section and explore some valuable tips for using a projector for sewing patterns.
Tips for Using a Projector for Sewing Patterns
Using a projector for sewing patterns can significantly improve your sewing workflow and provide accurate results. Here are some valuable tips to enhance your experience:
- Choose High-Quality Patterns: Opt for high-quality digital patterns or scan and digitize your existing paper patterns for optimal projection. Clear and well-defined patterns will result in better projection and sewing outcomes.
- Adjust Projector Settings for Different Fabrics: Depending on the fabric you’re working with, you may need to adjust the brightness, contrast, or zoom settings on your projector. Darker fabrics may require higher brightness, while lighter fabrics might need lower contrast for better visibility.
- Keep Your Workspace Tidy: Ensure that your working area is clutter-free and well-organized to avoid any distractions or obstructions that can hinder the projection process. A clean and tidy workspace will allow you to focus on your sewing without any unnecessary interruptions.
- Use Projector-Specific Accessories: Some projectors have compatible accessories, such as gridded rulers or guides, to aid in aligning pattern pieces accurately. Consider investing in these accessories to further enhance the precision of your projected patterns.
- Create a Pattern Library: Organize your digital patterns in a well-structured digital library or folder on your computer or smartphone. This will make it easier to locate and access patterns when using a projector for your sewing projects.
- Consider Using a Remote Control: If your projector supports it, use a remote control to pause, play, or navigate through your digital patterns without having to leave your sewing station. This can save time and prevent interruptions during the sewing process.
- Take Breaks and Rest Your Eyes: Sewing for extended periods while looking at a projected pattern can strain your eyes. Remember to take regular breaks, look away from the screen, and focus on distant objects to prevent eye fatigue and maintain visual comfort.
- Practice and Familiarize Yourself: Like any new tool or technique, using a projector for sewing patterns may require some practice and adjustment. Take the time to familiarize yourself with the projector’s features and experiment with different settings before diving into important projects.
By following these tips, you can maximize the benefits of using a projector for sewing patterns and achieve accurate and professional results in your sewing projects. Now, let’s compare the projector method to traditional tracing methods in the next section.
Projector vs. Traditional Tracing Methods
When it comes to transferring sewing patterns, there are various methods to choose from. Let’s compare the projector method to traditional tracing methods to see how they stack up against each other:
- Accuracy: The projector method offers superior accuracy compared to traditional tracing methods. With the projector, you can directly project patterns onto your fabric, eliminating the chances of errors or misalignment that may occur during the tracing process.
- Time-Saving: Traditional tracing methods can be time-consuming, involving tracing patterns onto paper or fabric and cutting them out. The projector method eliminates the need for tracing, allowing you to start sewing immediately. This saves you valuable time, especially for complex or intricate patterns.
- Visibility: Tracing patterns can strain your eyes, especially when dealing with small or intricate details. Using a projector provides clear and magnified visibility, making it easier to see and work with fine lines, notches, and other pattern markings.
- Flexibility: The projector method offers more flexibility when it comes to resizing and customizing patterns. With just a few adjustments on the projector, you can easily scale patterns up or down to fit any size or modify them for a personalized fit.
- Creativity: Projectors open up a realm of creativity in sewing projects. You can project not only patterns but also embroidery designs, appliques, or custom designs onto your fabric. This allows for more versatility and experimentation in your sewing projects.
While traditional tracing methods have their merits, using a projector for sewing patterns provides a wealth of benefits that can significantly improve your sewing experience. The accuracy, time-saving aspect, enhanced visibility, flexibility, and creative possibilities make the projector method a preferred choice for many sewists.
Now, let’s move on to the next section and address some common issues and their troubleshooting solutions when using a projector for sewing patterns.
Troubleshooting Common Issues
While using a projector for sewing patterns provides many advantages, you may encounter some common issues along the way. Let’s discuss these issues and provide troubleshooting solutions:
- Blurry Projection: If you notice a blurry projection, try adjusting the focus on your projector. Ensure that the projector is positioned correctly and that it is not too far away or too close to the projection surface. Also, check for any smudges or dirt on the projector lens and clean it if necessary.
- Distorted Projection: If the projected pattern appears distorted or skewed, check the keystone correction settings on your projector. Adjust the tilt and angle of the projector until the projection appears straight and undistorted.
- Uneven Lighting: Uneven lighting can affect the visibility of the projected pattern. Make sure there are no shadows cast on the projection surface. If necessary, consider using additional lighting sources or adjusting the ambient lighting in your sewing area.
- Incompatible File Formats: If your projector is unable to read or display certain file formats for patterns, convert the files into a compatible format. There are various free or online file converters available that can help you convert patterns into formats that your projector supports.
- Interference from Ambient Light: Bright ambient light can wash out the projected pattern and make it difficult to see. Consider using curtains or blinds to block out excess light from windows, or work in a room with controlled lighting conditions to minimize interference.
- Pattern Size Mismatch: If the projected pattern is not the desired size, double-check the zoom settings on the projector. Adjust the zoom level until the pattern matches the desired measurements. Alternatively, you can resize the pattern digitally or adjust the projector-to-fabric distance to achieve the correct size.
- Technical Malfunctions: In case of technical issues with your projector, such as connectivity problems or abnormal behavior, refer to the user manual or contact the manufacturer’s customer support for assistance. They can provide specific troubleshooting steps or guide you on necessary repairs.
Troubleshooting these common issues will help ensure that your projector operates smoothly and provides optimal results in projecting sewing patterns onto your fabric. Now, let’s conclude our discussion.
Conclusion
Using a projector for sewing patterns offers numerous benefits that can greatly enhance your sewing projects. The accuracy, time-saving aspect, improved visibility, customization flexibility, and versatility make it a valuable tool in any sewist’s arsenal. By projecting patterns directly onto fabric, you eliminate the need for traditional tracing methods, saving time and reducing the chances of errors or misalignments.
In this article, we explored the process of setting up a projector for sewing patterns, adjusting the projection for optimal visibility, and provided valuable tips for using a projector effectively. We also compared the projector method to traditional tracing methods, highlighting the advantages of using a projector.
Despite the many advantages, it is important to note that using a projector for sewing patterns might come with its own challenges. However, by troubleshooting common issues related to projection quality, lighting, file compatibility, and pattern size adjustments, you can overcome these obstacles and make the most of this innovative tool.
So, whether you’re a seasoned seamstress or a beginner in the world of sewing, consider incorporating a projector into your workflow. It will not only streamline your sewing process but also elevate your projects to a new level of accuracy and creativity.
Now that you have the knowledge and understanding of using a projector for sewing patterns, it’s time to unleash your creativity and enjoy the seamless and precise experience it offers in bringing your sewing projects to life!