Introduction
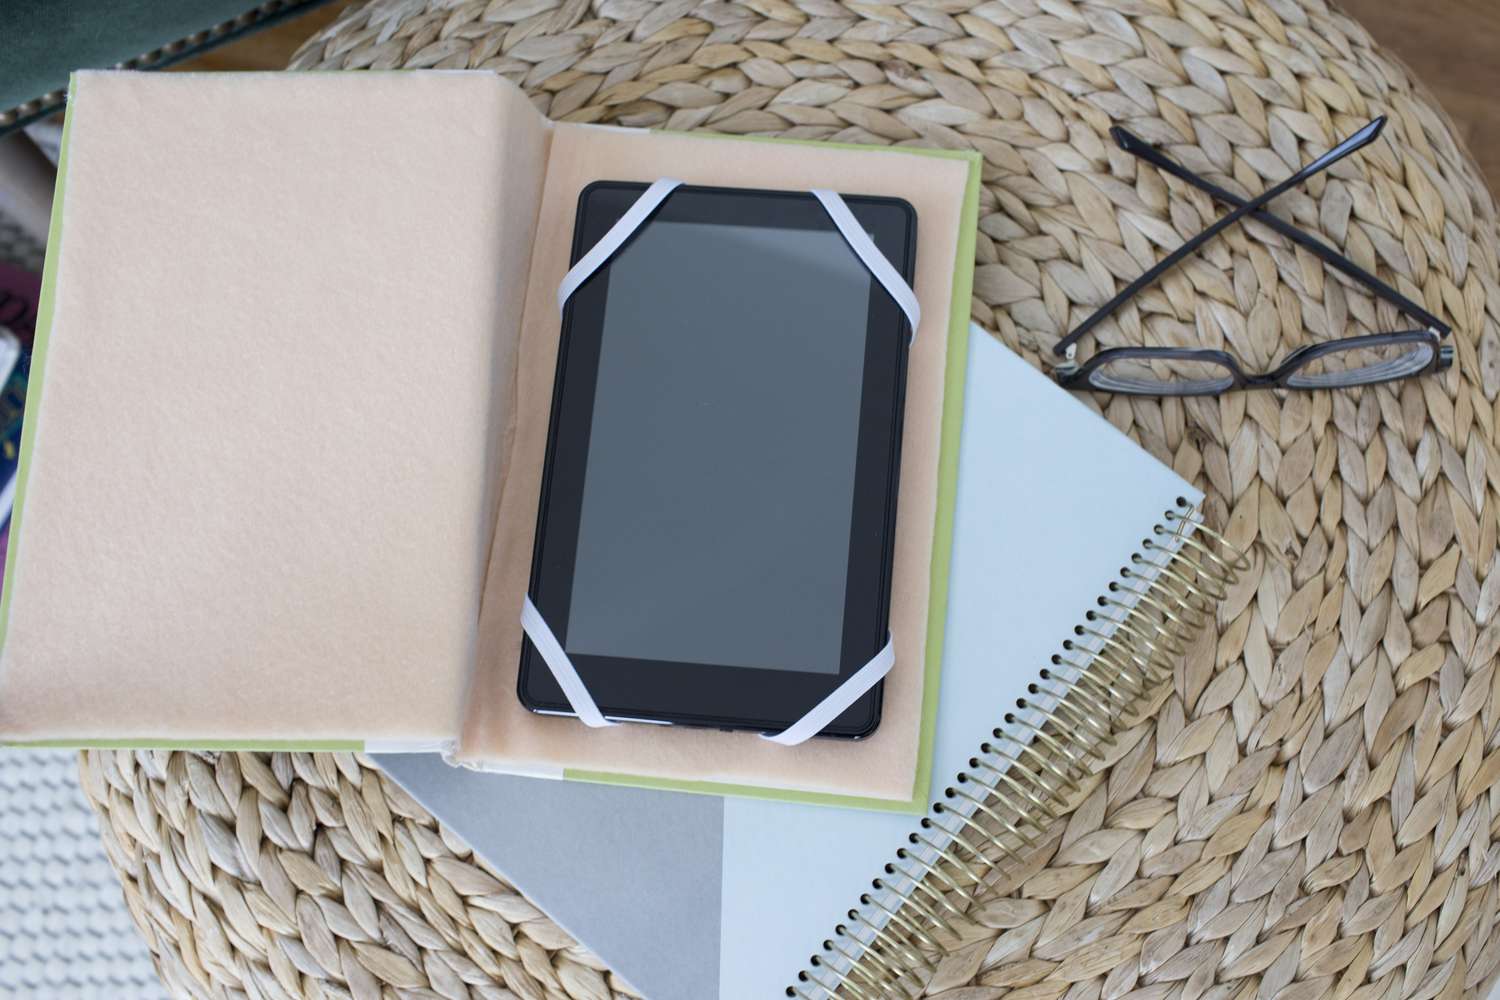
Are you tired of carrying your tablet around without proper protection? A durable and stylish tablet case can solve that problem. Not only will it keep your tablet safe from scratches and bumps, but it will also give you a chance to showcase your personal style. Rather than spending money on a store-bought tablet case, why not make one yourself? In this guide, we will show you how to make a tablet case out of fabric.
This DIY project is not only fun, but it also allows you to customize the case to suit your preferences. You can choose the fabric pattern, color, and texture that matches your style and personality. Plus, making your own tablet case is a great way to repurpose fabric scraps or old clothes.
In this step-by-step tutorial, we will walk you through the process of making a tablet case that provides a snug fit, adequate protection, and functional features. Whether you’re a beginner or an experienced crafter, this project is achievable and will give you a sense of accomplishment when you see the finished product.
Before we get started, let’s gather all the materials we’ll need for this project.
Materials Needed
Before diving into the creative process of making a tablet case out of fabric, gather the following materials:
- Fabric: Choose a fabric that suits your style and provides adequate durability. Depending on the size of your tablet, you will need approximately 1/2 to 1 yard of fabric.
- Lining Fabric: This will add an extra layer of protection to your tablet case. Select a coordinating or contrasting fabric that complements the outer fabric.
- Interfacing: This will add structure and stiffness to the case. Choose a medium to heavy-weight interfacing that matches the thickness of your fabric.
- Scissors: Ensure you have a sharp pair of fabric scissors for cutting the fabric and interfacing.
- Pins or Clips: These will be used to hold the fabric pieces together during the sewing process.
- Sewing Machine: Having a sewing machine makes this project easier and faster. However, you can alternatively hand-sew the case if you don’t have access to a sewing machine.
- Thread: Select a thread color that matches or complements the fabric.
- Needles: If hand-sewing, make sure to have a pack of sewing needles on hand.
- Measuring Tape or Ruler: Accurate measurements are crucial for a properly fitting tablet case.
- Marking Pen or Chalk: This will be used to mark the fabric for cutting and sewing.
- Closure: Choose a closure option, such as a button, snap, Velcro, or a zipper, depending on your preference.
- Decorative Embellishments (optional): Ribbons, buttons, appliques, or embroidery can add a personal touch to your tablet case.
With these materials at hand, you are now ready to choose the fabric that will make your tablet case uniquely yours. Let’s move on to the next step: selecting the right fabric.
Choosing the Right Fabric
When it comes to making a tablet case, choosing the right fabric is essential. You’ll want a fabric that not only looks great but also provides durability and protection for your tablet. Here are some factors to consider when selecting fabric:
1. Durability: Look for fabrics that are sturdy and can withstand regular use. For extra durability, consider using a thick fabric or one with a coating that adds water resistance or extra protection against scratches.
2. Thickness: The fabric should be thick enough to provide adequate padding but not too thick that it becomes difficult to work with. Medium-weight fabrics like cotton, canvas, or denim are good options.
3. Compatibility: Ensure that the fabric is compatible with your tablet model and size. Measure your tablet dimensions and choose a fabric that will provide a snug fit.
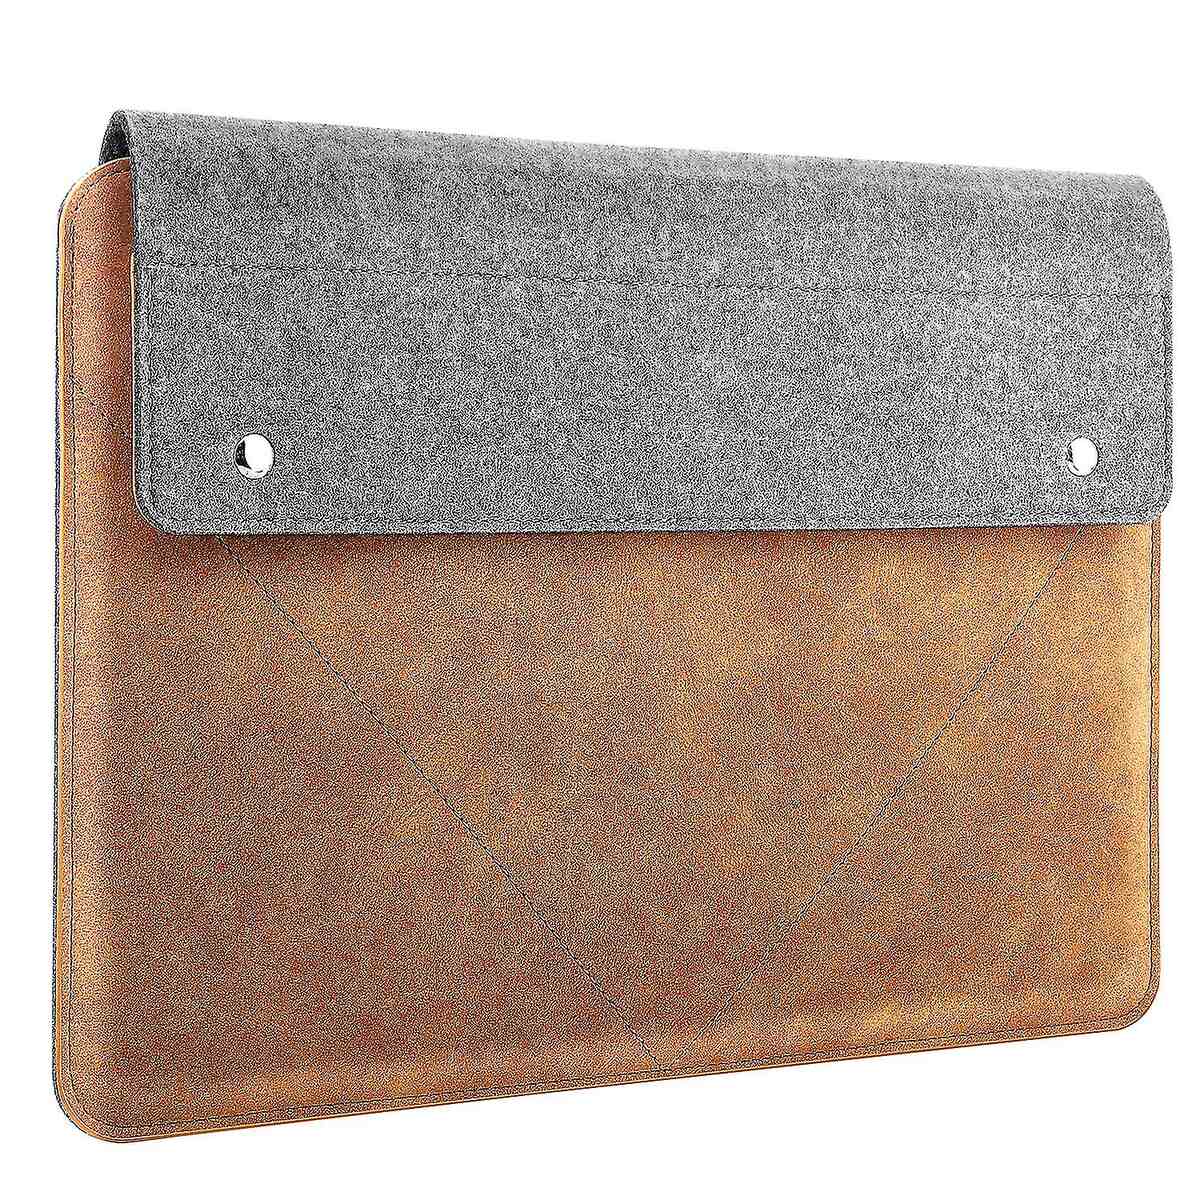
4. Style and Aesthetics: Consider your personal style and the overall aesthetic you want to achieve. Think about colors, patterns, and textures that resonate with you. You can go for bold and vibrant prints, classic solid colors, or even experiment with textures like faux leather or felt.
5. Washability: If you anticipate the need for frequent cleaning, opt for a fabric that is easy to care for and can withstand machine washing or spot cleaning.
6. Lining Fabric: Don’t forget to consider the lining fabric as well. It should complement the outer fabric and provide an added layer of protection for your tablet.
Once you have considered these factors, head to your local fabric store or explore online fabric shops to find the perfect fabric for your tablet case. Don’t be afraid to mix and match fabrics or add unique touches like contrasting patterns or textures.
Now that you have chosen your fabric, it’s time to move on to the next step: measuring and cutting the fabric for your tablet case.
Measuring and Cutting the Fabric
Now that you have selected the perfect fabric for your tablet case, it’s time to measure and cut the fabric to ensure a precise fit. Follow these steps to get started:
1. Measure your tablet: Take accurate measurements of your tablet’s height, width, and depth. Add about an inch to each measurement to allow for seam allowances and ease of insertion.
2. Create a template: Using these measurements, create a template by drawing a rectangle on a piece of paper. Label each side with the corresponding measurement.
3. Cut the main body fabric: Place the fabric on a flat surface, with the right side facing down. Place your template on top of the fabric and securely pin it in place. Carefully cut around the template to create the main body of the tablet case.
4. Cut the lining fabric: Repeat the same process with the lining fabric. Ensure that the dimensions match those of the main body fabric.
5. Cut the interfacing: Using the same template, cut a piece of interfacing that matches the dimensions of the main body fabric. This will provide structure and stiffness to your tablet case.
6. Cut additional pieces: If you want to add pockets or compartments to your tablet case, measure and cut additional pieces of fabric accordingly. These will be sewn onto the main body fabric later in the process.
Remember to double-check your measurements before cutting the fabric to avoid any mistakes. It’s always better to err on the side of caution and trim the fabric if needed.
Now that you have cut the fabric to the appropriate size, it’s time to move on to the next step: sewing the main body of the tablet case.
Sewing the Main Body of the Case
Now that you have the fabric pieces cut to the right size, it’s time to sew the main body of the tablet case. Follow these step-by-step instructions to sew the main body:
1. Position the lining fabric: Place the lining fabric on a flat surface, right side up. Position the main body fabric on top, aligning the edges. Pin the layers together to keep them in place.
2. Sew along the edges: Using a sewing machine or needle and thread, sew along the edges of the fabric layers, leaving the top edge open for inserting the tablet later. Use a 1/2-inch seam allowance, ensuring your stitches are secure.
3. Trim the excess fabric: After sewing, trim the excess fabric along the seam, making sure to leave a small seam allowance for durability.
4. Turn the fabric right side out: Carefully turn the fabric right side out, pushing out the corners gently with a blunt object, like the tip of a pencil or a chopstick. Press the fabric flat with an iron, ensuring the edges are neatly aligned.
5. Attach the interfacing: Place the interfacing piece inside the main body of the case, aligning it with the backside of the fabric. Use small hand stitches or follow the instructions on the interfacing packaging to attach it securely to the fabric.
6. Topstitching (optional): For added durability and a polished look, you can choose to topstitch along the edges of the tablet case. This is done by sewing a second row of stitches parallel to the seamline, about 1/8 inch from the edge of the fabric.
Congratulations! You have successfully sewn the main body of your tablet case. In the next step, we will show you how to add pockets and compartments to keep your tablet accessories organized.
Adding Pockets and Compartments
To make your tablet case more functional, you can add pockets and compartments to keep your tablet accessories organized. This step will allow you to store items like your charging cable, earphones, or stylus securely. Follow these steps to add pockets and compartments:
1. Measure and cut the pocket fabric: Determine the size and number of pockets you want to add to your tablet case. Cut pieces of fabric accordingly, ensuring they are slightly wider and longer than the items you plan to store in them.
2. Position the pockets: Place the pocket fabric on top of the lining fabric, aligning the edges. Pin the pockets in place, ensuring they are evenly spaced and centered on the lining fabric.
3. Sew the pockets: Using a sewing machine or needle and thread, sew around the sides and bottom of each pocket, leaving the top open. Reinforce the stitching at the beginning and end to prevent unraveling.
4. Divide the compartments: If you want to create individual compartments within the pockets, sew vertical lines from the bottom to the top of the pocket fabric, spacing them according to your needs. These lines will create partitions for better organization.
5. Optional: Add closures or fasteners: If you want to secure your accessories inside the pockets, consider adding closures like buttons, Velcro, or snaps. Position them accordingly and sew them securely onto the fabric.
Adding pockets and compartments to your tablet case allows you to keep your essentials organized and easily accessible. It’s now time to move on to the next step: creating a closure for your case.
Creating a Closure
To keep your tablet case securely closed, you’ll need to create a closure. There are several options to choose from based on your preference and style. Follow these steps to create a closure for your tablet case:
1. Button and Loop Closure:
- Decide on the placement of the button on the front of the tablet case.
- Measure and cut a small strip of fabric or ribbon for the loop. The length should be about 1 inch, or slightly longer than the diameter of the button.
- Fold the strip of fabric or ribbon in half and sew the ends together to create a loop.
- Attach one end of the loop to the backside of the tablet case, positioning it to align with the button placement.
- Sew the other end of the loop to the front of the tablet case, ensuring it is secure.
- Sew the button in the designated spot on the front of the tablet case, opposite the loop.
2. Velcro Closure:
- Cut two small rectangular pieces of Velcro fastener, one for the front and one for the back of the tablet case.
- Position and sew one piece of Velcro on the front of the tablet case, near the opening.
- Align the other piece of Velcro on the backside of the tablet case, opposite the first piece.
- Sew the second piece of Velcro onto the backside of the tablet case, ensuring it aligns with the first piece.
3. Snap Closure:
- Decide on the placement of the two snap components – one on the front and one on the back of the tablet case.
- Attach the socket component of the snap on the front of the tablet case at the designated spot.
- Position and attach the stud component of the snap on the backside of the tablet case, opposite the socket.
Choose the closure option that best suits your needs and personal style. Once you have created the closure, your tablet case will be complete and ready to use!
With the closure in place, we can now move on to adding some decorative elements to beautify your tablet case.
Adding Decorative Elements
To add a personal touch and enhance the visual appeal of your tablet case, you can incorporate decorative elements. Here are some ideas to consider:
1. Appliques: Sew on fabric or embroidered appliques that complement your tablet case’s design. These can be in the form of shapes, symbols, or even monograms.
2. Embroidery: Use embroidery thread to create intricate designs or patterns on the fabric of your tablet case. This can be done by hand or with a sewing machine equipped with embroidery capabilities.
3. Ribbons and Trims: Attach decorative ribbons or trims to the edges or seams of your tablet case. These can add texture, color, and a touch of elegance to the overall design.
4. Buttons: Sew on decorative buttons in coordinating colors or interesting shapes. Grouping buttons together in a pattern can create a unique focal point.
5. Fabric Paint or Fabric Markers: Add your unique artwork or designs to the fabric using fabric paint or markers. This allows you to unleash your creativity and personalize your tablet case.
6. Patchwork: Use small fabric scraps or remnants to create a patchwork design on your tablet case. This technique can result in a charming and eclectic look.
7. Quilting: Incorporate quilting techniques to add texture and dimension to your tablet case. Quilting stitches can be done either by hand or with a sewing machine.
Remember to consider the overall aesthetic and purpose of your tablet case when selecting and adding decorative elements. Be mindful of balance and avoid overcrowding the design. Experiment with different ideas and techniques to create a truly unique and personalized tablet case.
Now that you have added the decorative elements, it’s time for the final step: adding some finishing touches and care instructions.
Finishing Touches and Care Instructions
As you near the completion of your DIY tablet case, it’s essential to add the finishing touches to ensure durability and provide care instructions for its longevity. Follow these steps to add the final touches and inform users of proper care:
1. Trim any loose threads: Carefully trim any loose threads or excess fabric from the seams or decorative elements of your tablet case. This will give it a clean and polished look.
2. Press the case: Gently press the tablet case with an iron on low heat to remove any wrinkles and ensure the fabric lies flat and smooth. Take care not to iron over any decorative elements that may be heat-sensitive.
3. Add additional protective layers: If desired, you can insert a layer of foam or padding inside the tablet case for extra protection. Simply cut the foam or padding to fit the dimensions of the case and carefully insert it between the main body fabric and lining.
4. Attach any additional embellishments: If you have chosen to add additional decorative elements like charms, beads, or embroidery, make sure they are securely attached before finalizing the case.
5. Care instructions: Create a small card or tag with care instructions for the tablet case. This can include guidelines for washing, spot cleaning, or handling specific fabric types. Attach the care instructions to the case so that the user can refer to them whenever needed.
By adding these finishing touches and providing care instructions, your tablet case will be ready to protect your device while reflecting your personal style. Remember to regularly check for any wear and tear and make necessary repairs to ensure its longevity.
With the completion of these final steps, you have successfully crafted your own tablet case. Enjoy using your handmade creation and showcase your creative talents!
Conclusion
Congratulations! You have now learned how to make a tablet case out of fabric. By following the step-by-step instructions in this guide, you have successfully created a stylish and customized case to protect your tablet. Making your own tablet case not only allows you to showcase your creativity but also provides a practical solution for keeping your device safe.
Throughout the process, you have explored the importance of choosing the right fabric, measuring and cutting accurately, sewing the main body, adding pockets and compartments for organization, creating a closure, incorporating decorative elements, and adding finishing touches.
A handmade tablet case not only adds a personal touch but also reflects your unique style and personality. It allows you to repurpose fabric and unleash your creativity, resulting in a one-of-a-kind accessory tailored specifically to your preferences.
Remember to follow any care instructions you have included to ensure the durability and longevity of your tablet case. Regularly inspect it for any signs of wear and make any necessary repairs to maintain its protective qualities.
Now that you have completed this DIY project, you can proudly carry your tablet around in a case that not only protects it but also showcases your craftsmanship. So go ahead and enjoy the fruits of your labor!


