Introduction
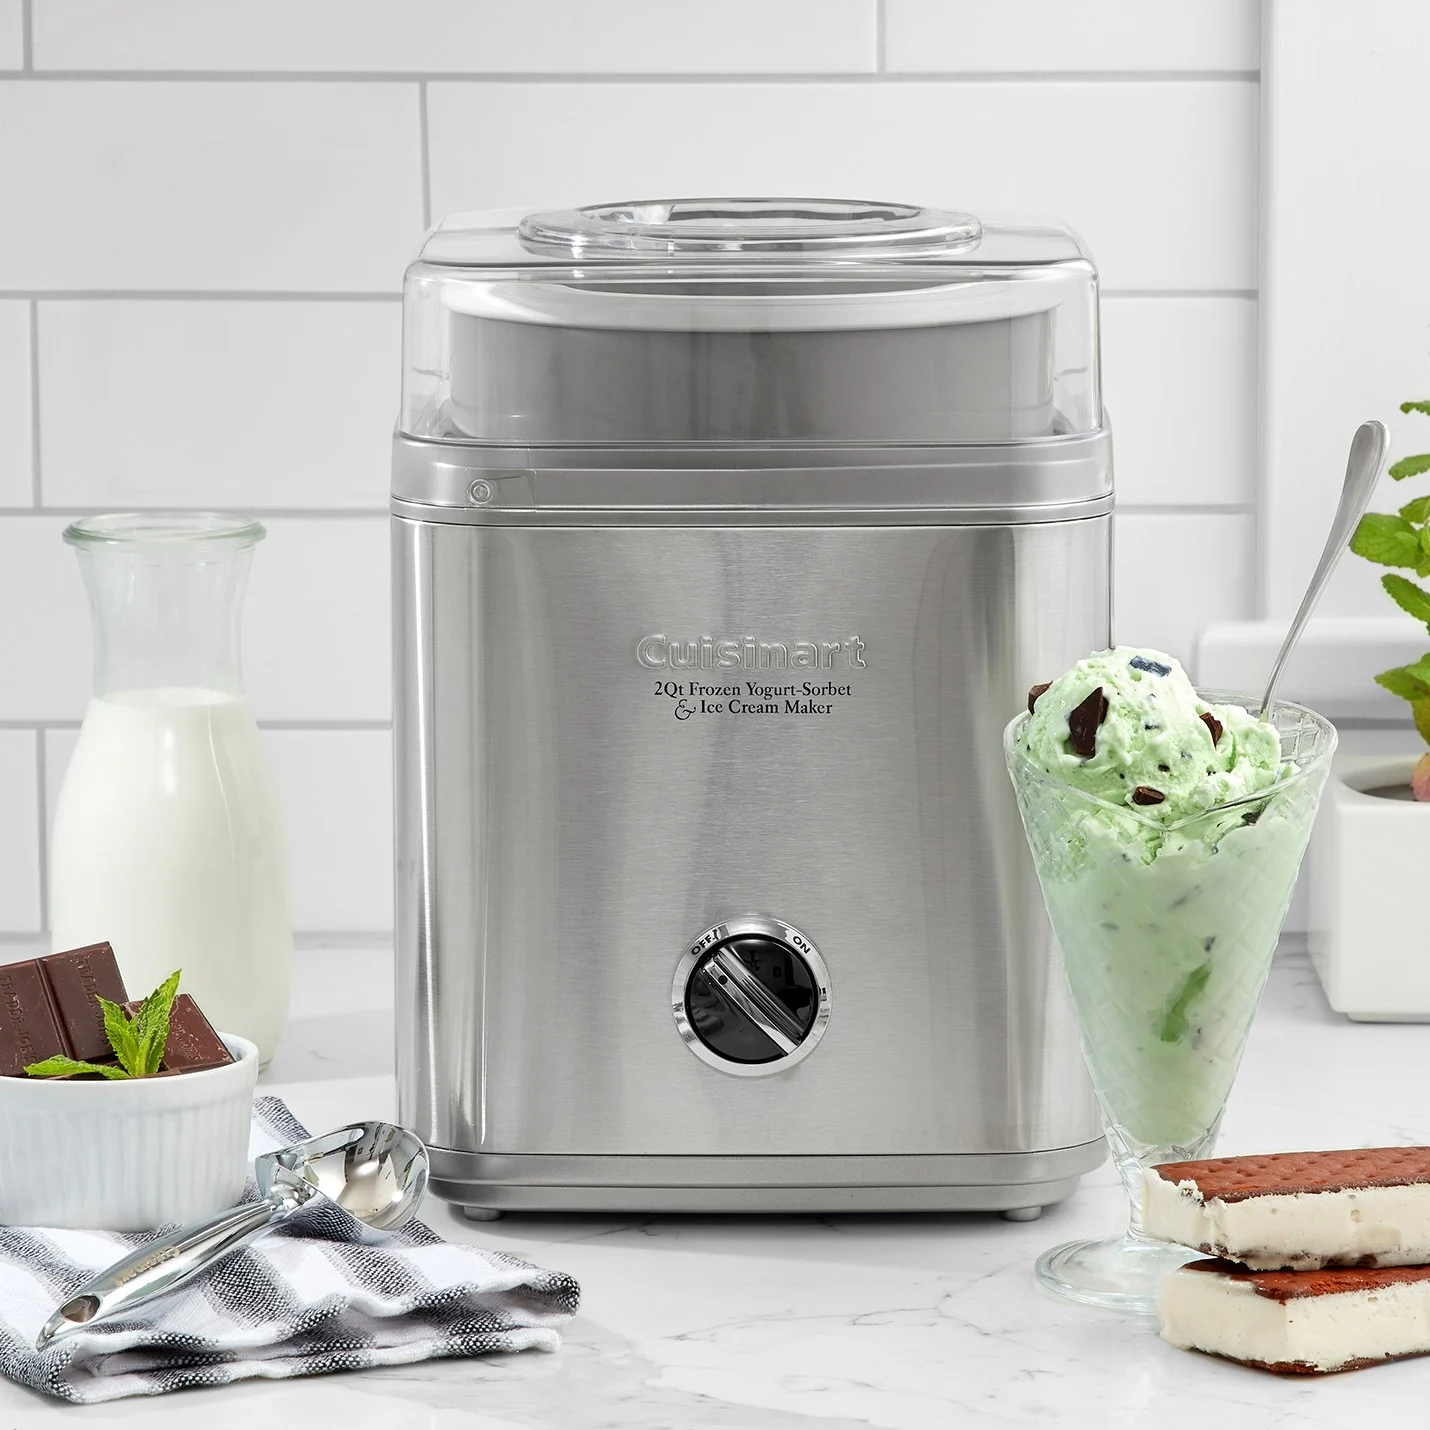
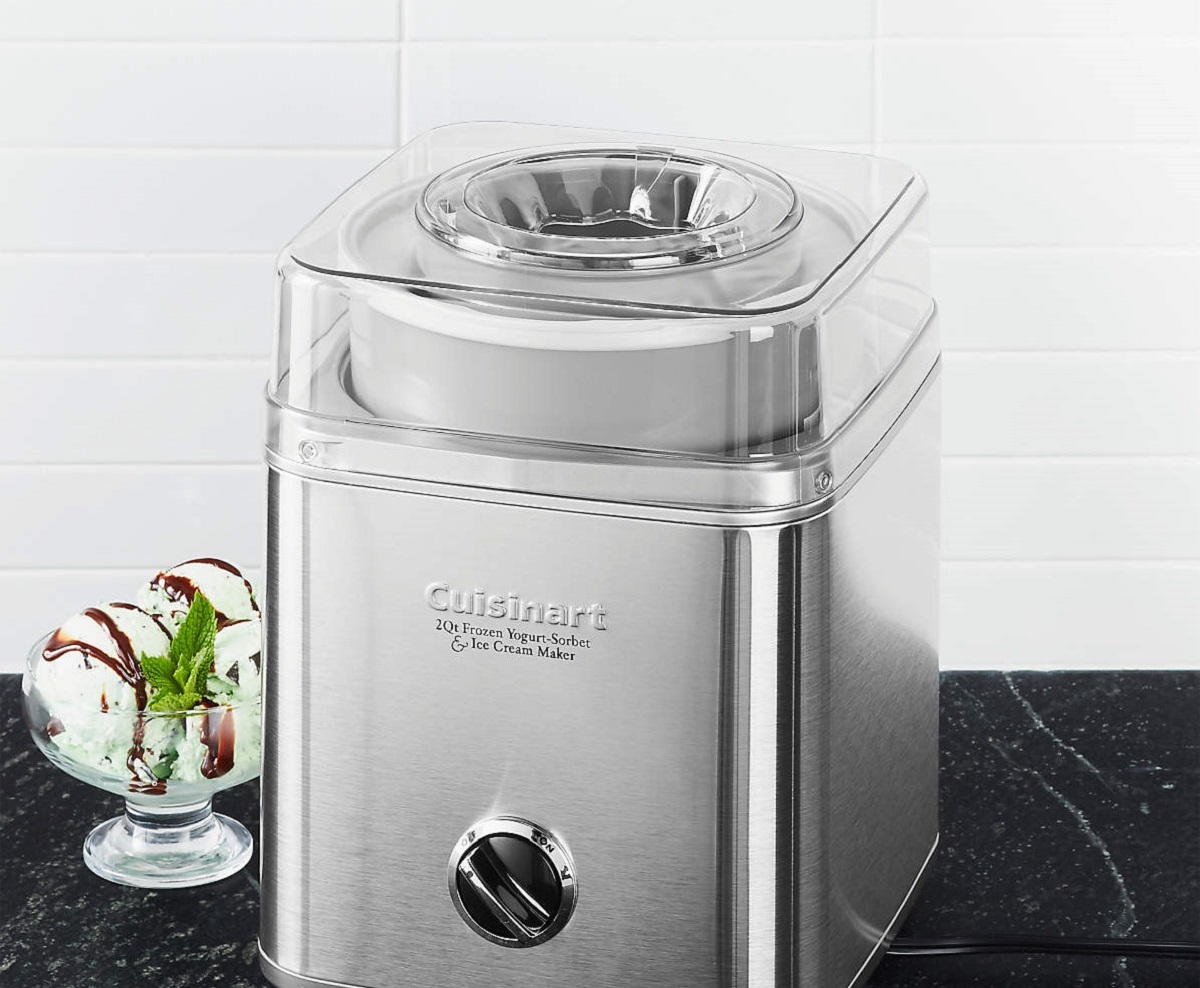
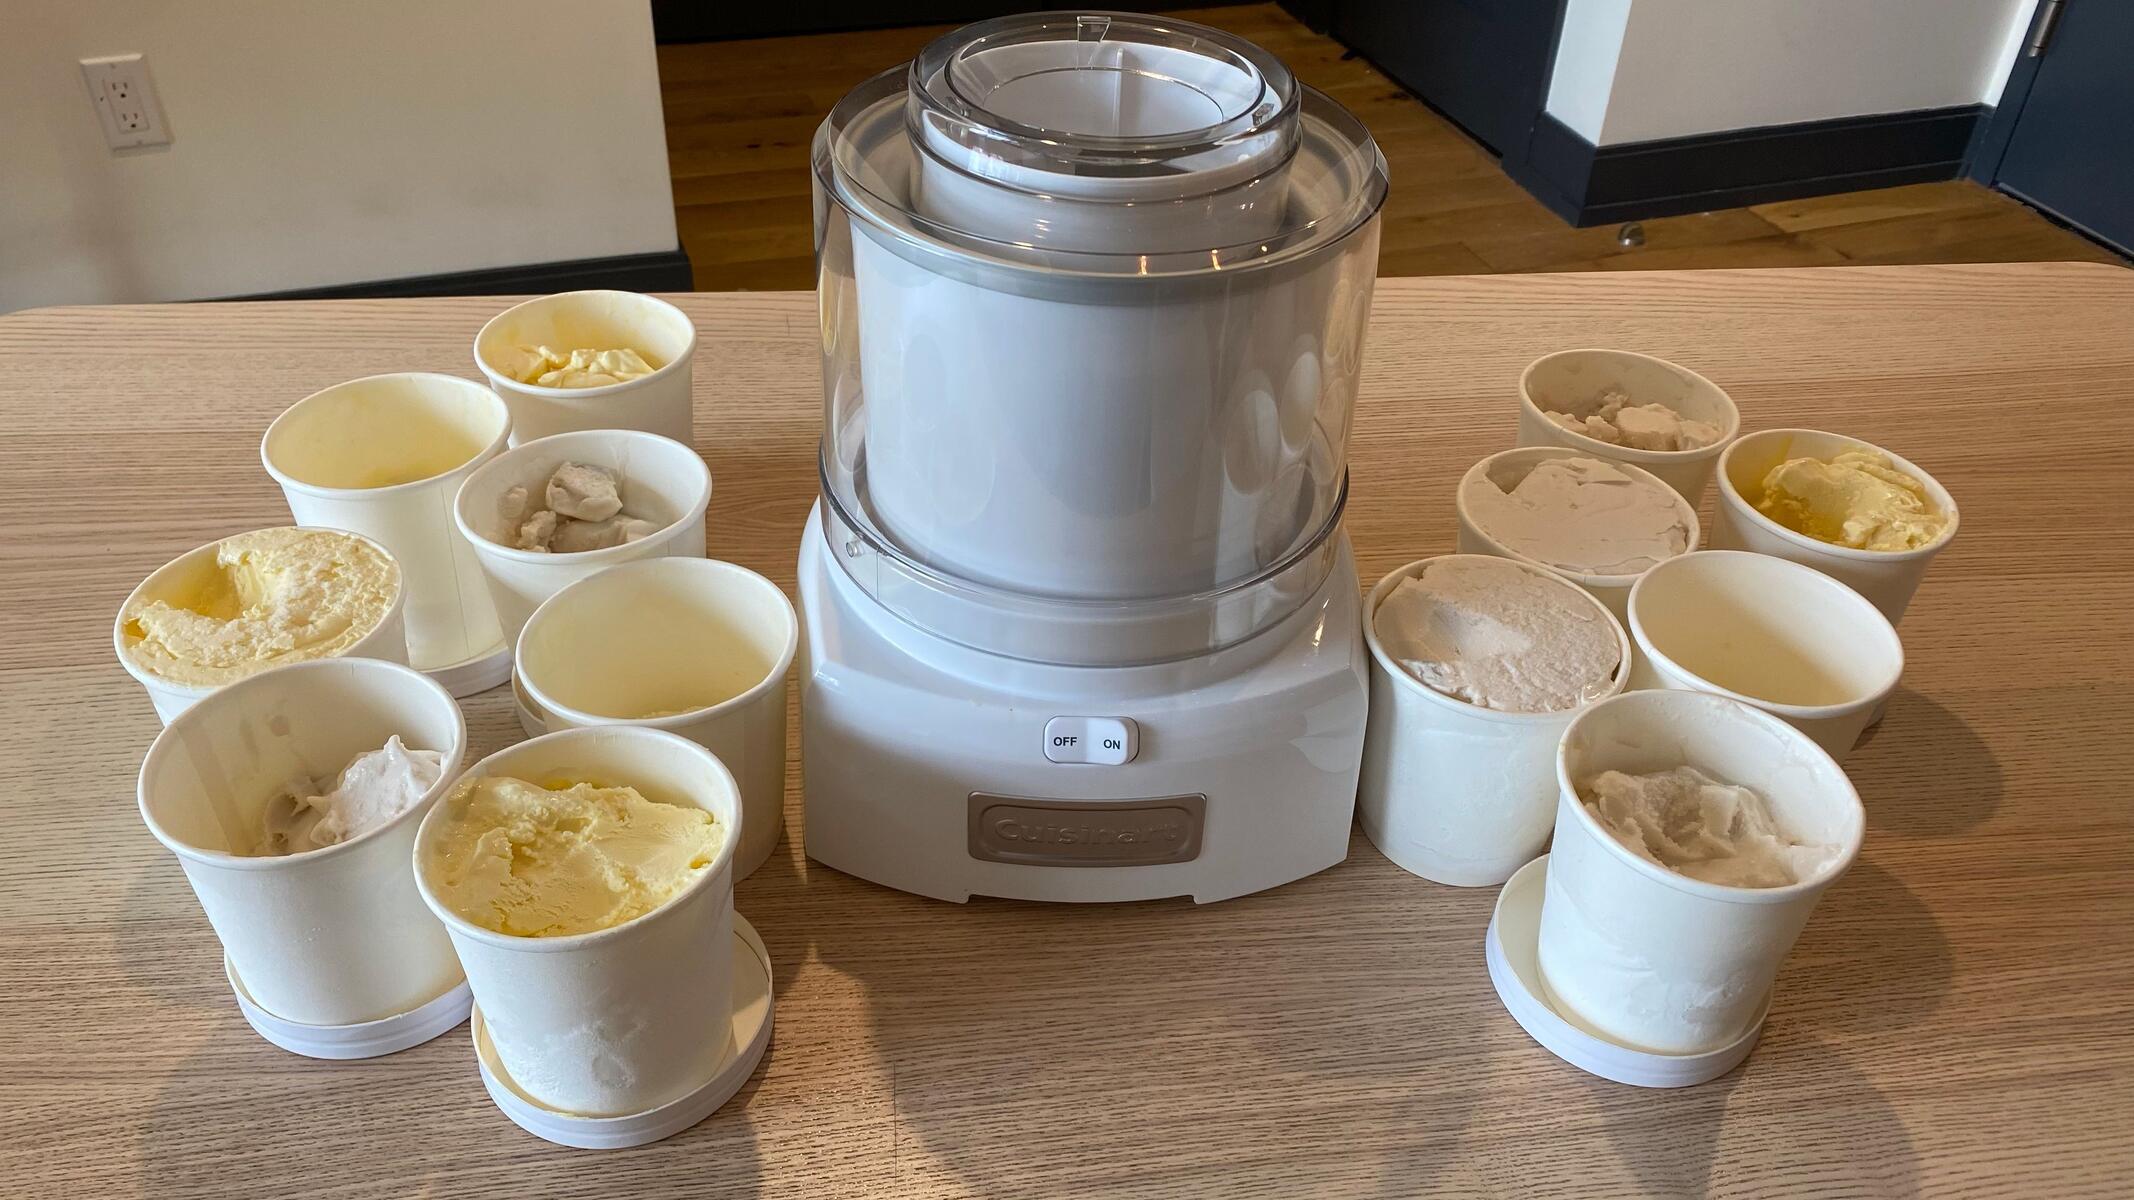
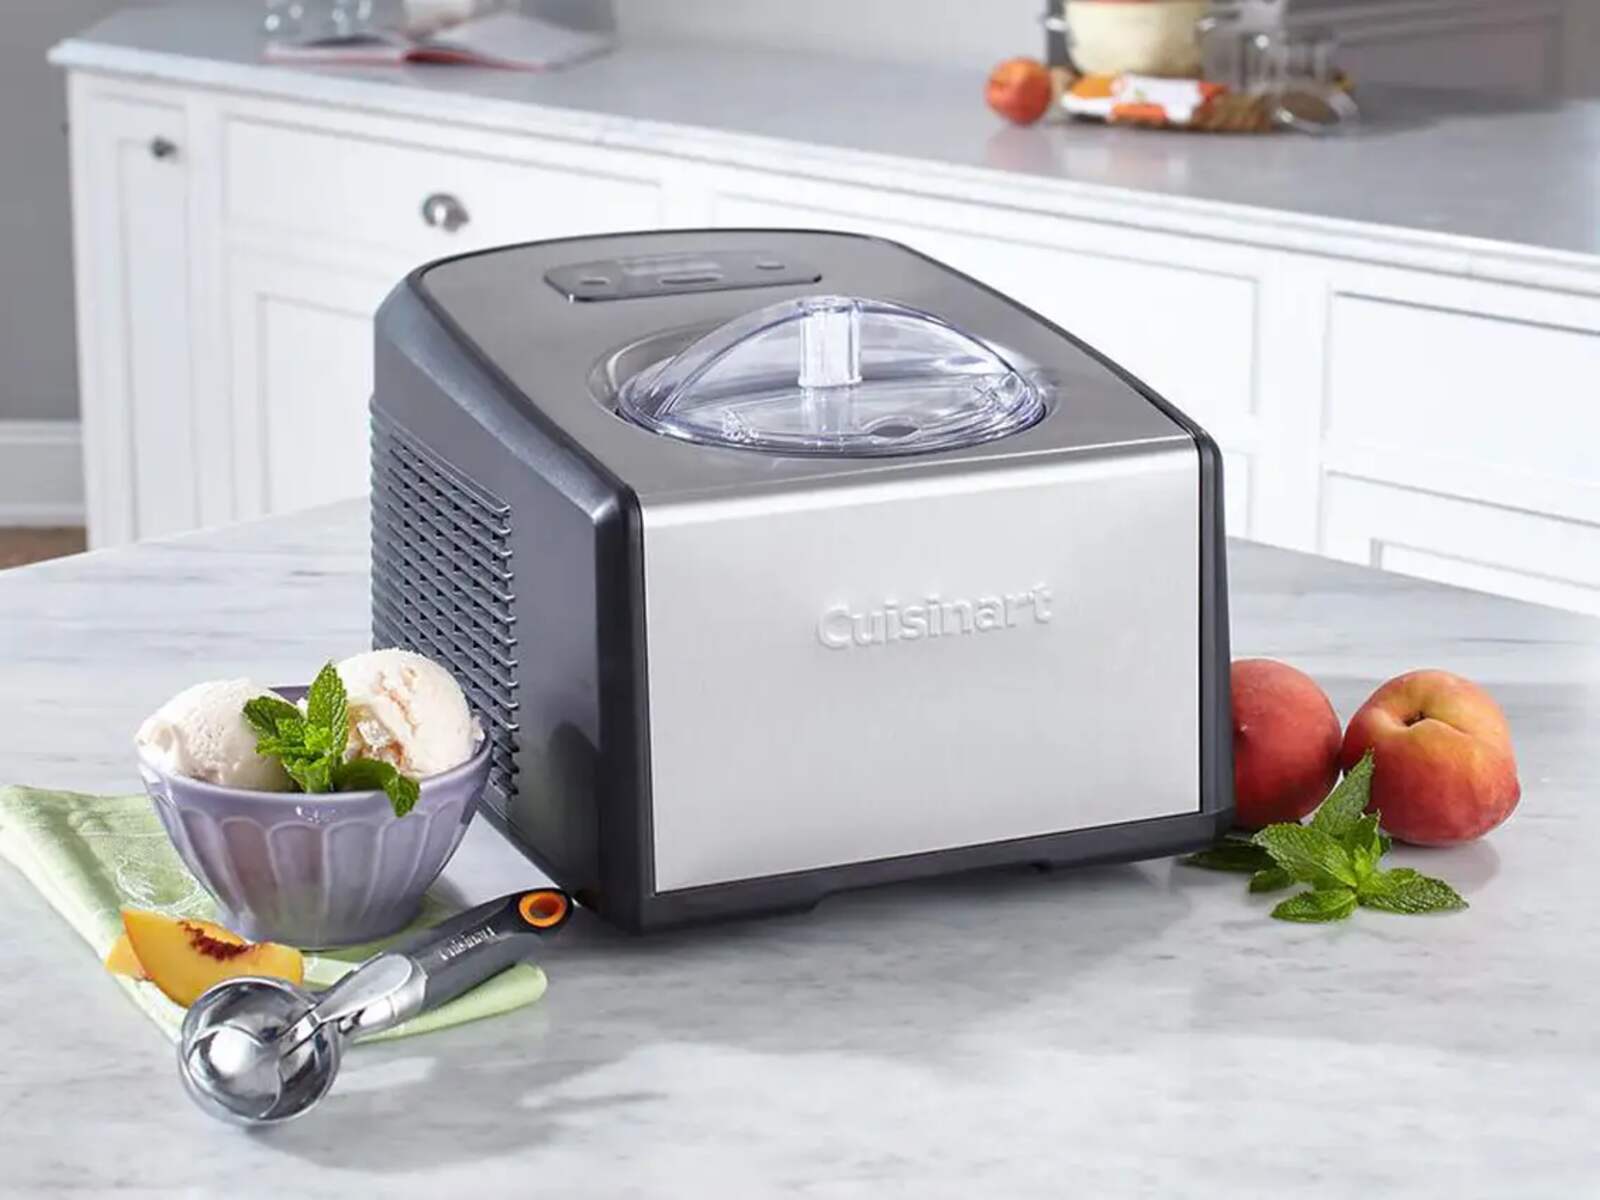
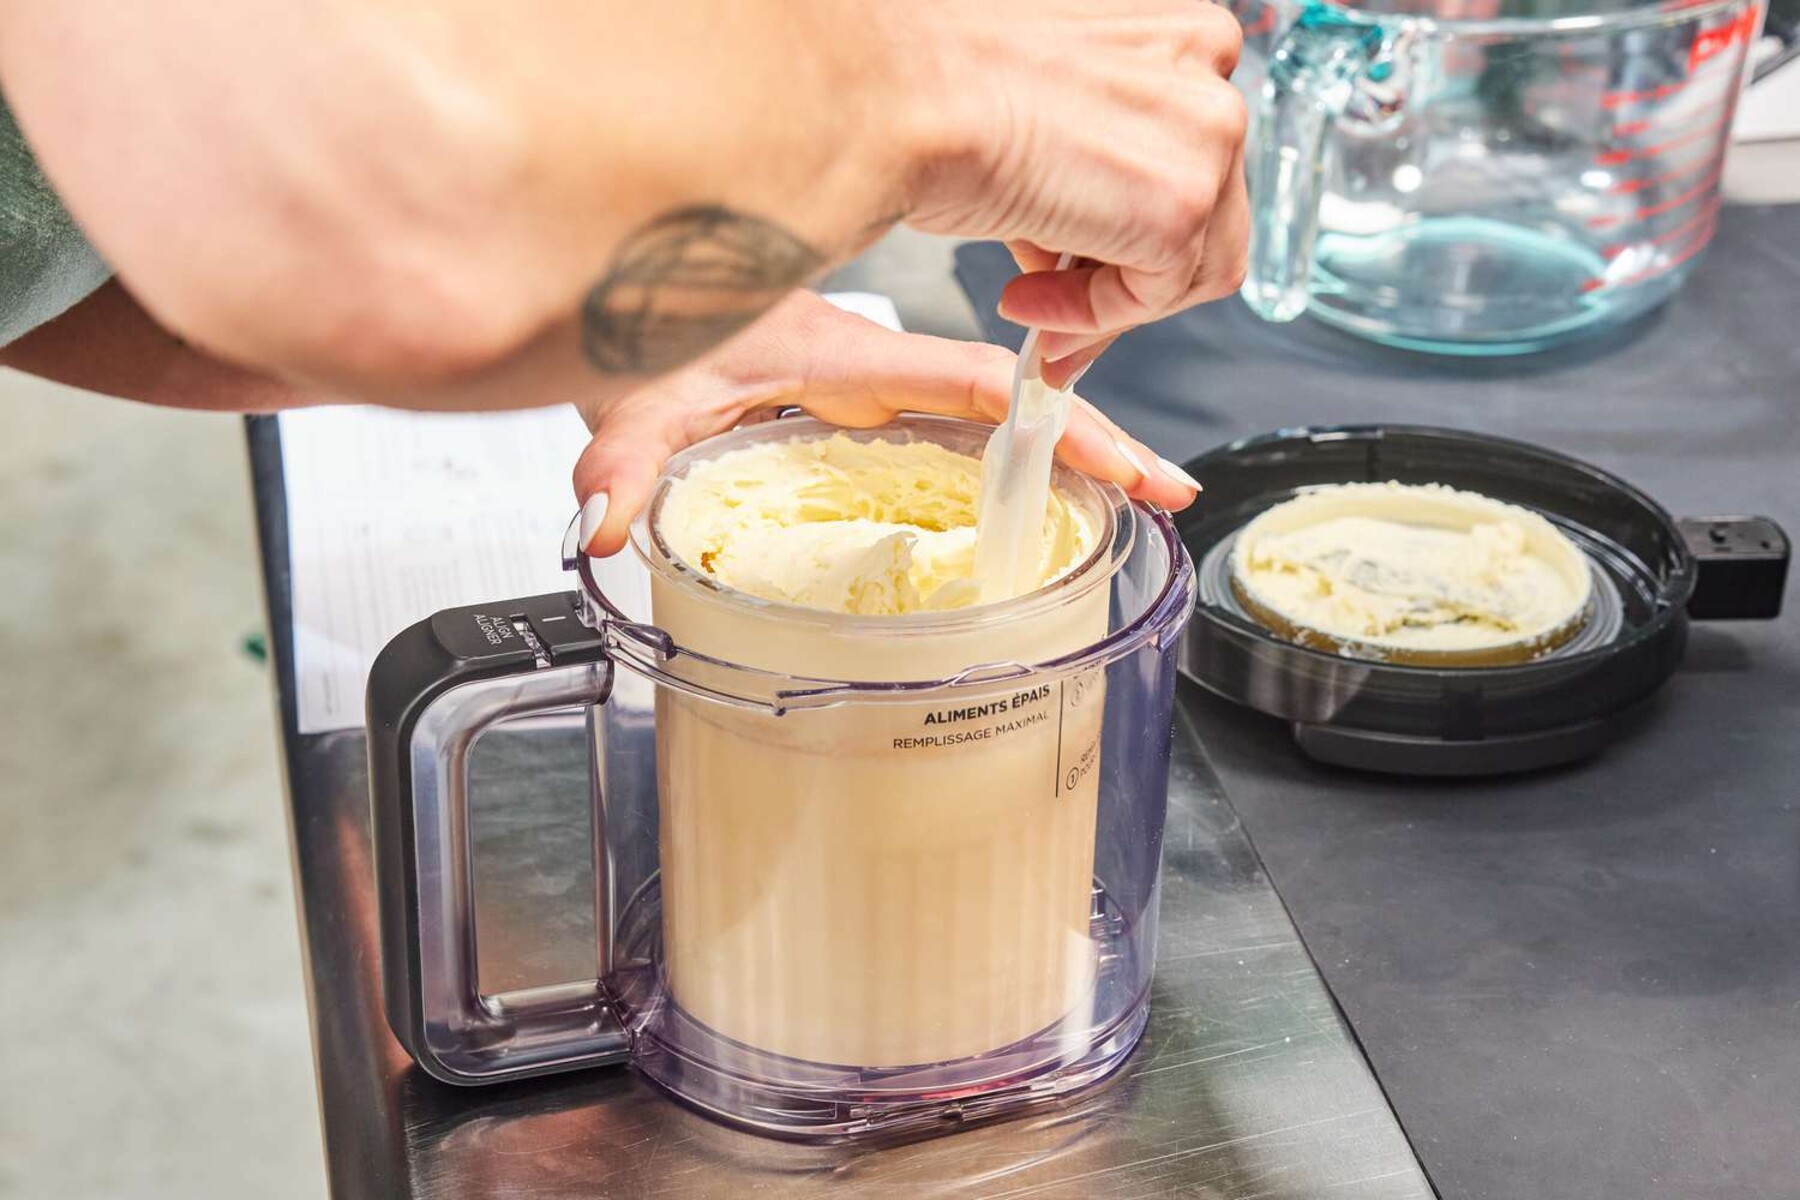
Welcome to the guide on how to use the Cuisinart 2Qt Ice Cream Maker! If you’re an ice cream lover and want to indulge in the creamy goodness of homemade ice cream, you’ve come to the right place. The Cuisinart 2Qt Ice Cream Maker is a popular choice for ice cream enthusiasts, as it allows you to make delicious ice cream right in the comfort of your own kitchen.
This easy-to-use machine takes the hassle out of traditional ice cream making methods, eliminating the need for manual churning and constant monitoring. With its powerful motor and efficient freezing technology, you can whip up your favorite ice cream flavors in no time. Whether you prefer classic flavors like vanilla and chocolate or want to experiment with unique combinations, this ice cream maker has got you covered.
Not only is homemade ice cream a delight for your taste buds, but it also allows you to control the quality and quantity of the ingredients used. You can choose to use fresh, real ingredients and customize the flavors according to your preferences. No more worrying about artificial additives or preservatives found in store-bought ice cream – with the Cuisinart 2Qt Ice Cream Maker, you have complete control over the ingredients.
In this comprehensive guide, we will walk you through the process of using the Cuisinart 2Qt Ice Cream Maker, from preparing the ingredients to cleaning and maintenance. We will also share some tips and tricks to help you achieve the perfect consistency and flavor. So, grab your apron and let’s dive into the wonderful world of homemade ice cream using the Cuisinart 2Qt Ice Cream Maker!
Getting Started
Before you start making delicious ice cream with your Cuisinart 2Qt Ice Cream Maker, it’s important to familiarize yourself with the machine and gather all the necessary ingredients. Follow these steps to get started:
- Read the User Manual: It’s always a good idea to read the user manual that comes with your ice cream maker. This will give you a clear understanding of the machine’s functions, safety guidelines, and any special instructions specific to your model.
- Freeze the Freezer Bowl: The Cuisinart 2Qt Ice Cream Maker comes with a freezer bowl that needs to be frozen before use. Place the bowl in the freezer at least 24 hours in advance to ensure it is thoroughly frozen.
- Gather Your Ingredients: Take a look at the recipe you’ll be using and gather all the ingredients needed. This usually includes milk, cream, sugar, and any additional flavors or mix-ins you desire. Make sure your ingredients are fresh and of high quality for the best results.
- Chill Your Ingredients: To speed up the freezing process, it’s recommended to chill your base ingredients in the refrigerator before using them. This will help the ice cream mixture freeze faster in the machine.
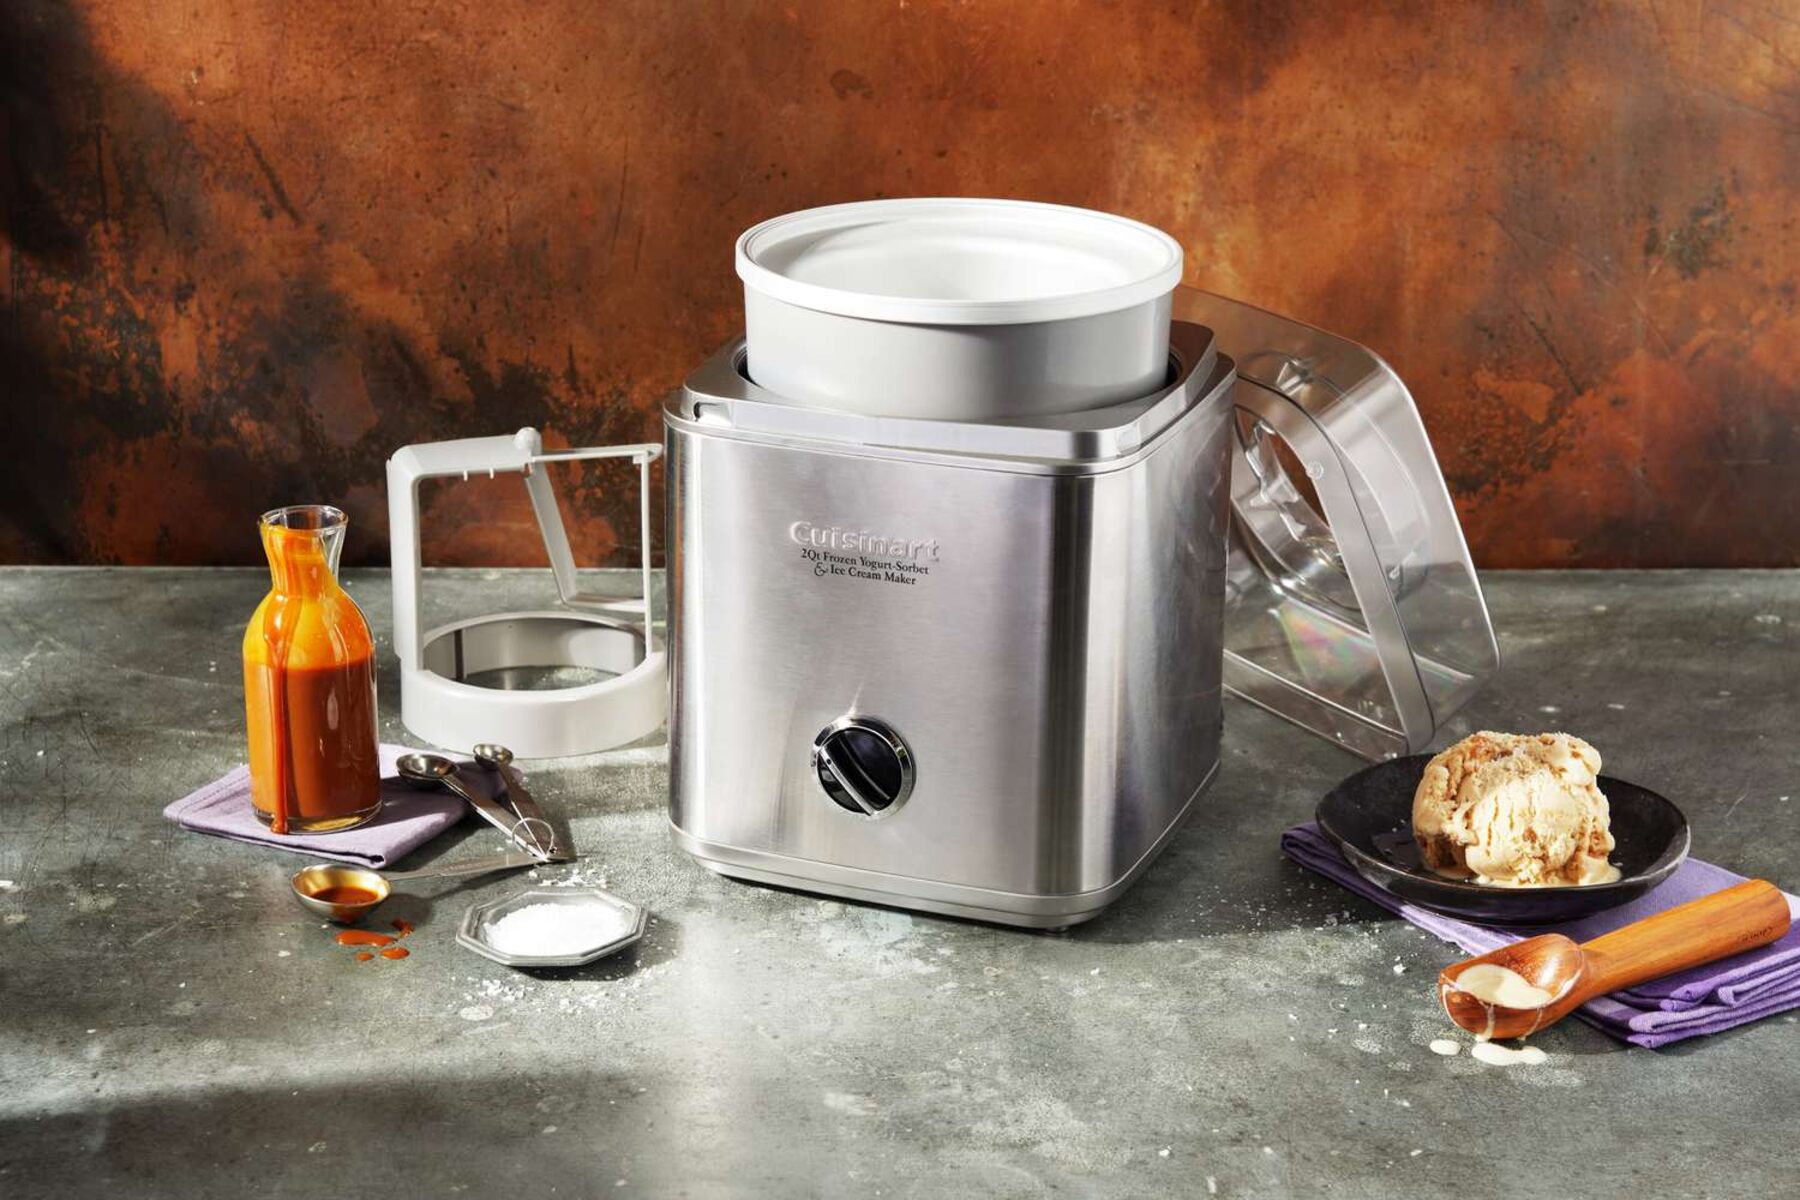
- Set Up the Machine: Place the frozen freezer bowl onto the base of the Cuisinart 2Qt Ice Cream Maker. Make sure the bowl is securely locked in place.
- Attach the Paddle: Insert the mixing paddle into the bowl, ensuring that it is properly aligned with the motor shaft.
- Plug In and Power On: Plug in the ice cream maker and turn it on. The machine will begin rotating the paddle automatically.
Now that you are all set up and prepared, it’s time to move on to the next step of preparing the ingredients for your homemade ice cream. Follow along in the next section to learn how to create the perfect ice cream base for your favorite flavors!
Preparing the Ingredients
Creating a delicious ice cream base is the key to crafting flavorful and creamy homemade ice cream. Follow these steps to prepare the ingredients before pouring them into the Cuisinart 2Qt Ice Cream Maker:
- Choose Your Recipe: Select your desired ice cream recipe and gather all the ingredients listed. Whether you want to make classic vanilla, rich chocolate, or get creative with unique flavors, having a recipe will guide you in determining the right quantities.
- Measure Your Ingredients: Accurate measurements are crucial for achieving the perfect texture and balance of flavors. Use measuring cups and spoons to portion out the milk, cream, sugar, and any other ingredients specified in your recipe.
- Mix the Base Ingredients: In a mixing bowl, combine the milk, cream, sugar, and any additional flavorings or extracts. Use a whisk or electric mixer to thoroughly blend the ingredients together until the sugar is completely dissolved. This will ensure a smooth and well-incorporated ice cream base.
- Add Mix-Ins: If you plan to include any mix-ins, such as chocolate chips, nuts, or fruit, chop or prepare them in advance. Once the base is mixed, gently fold in the mix-ins to evenly distribute them throughout the ice cream base.
Keep in mind that the exact measurements and ingredients may vary depending on the recipe you choose. Feel free to experiment and add your own personal touch to create unique and custom flavors.
Once you have prepared your ice cream base and any mix-ins, it’s time to move on to the exciting part – using the Cuisinart 2Qt Ice Cream Maker to transform these ingredients into a creamy frozen treat. Continue reading to learn how to use the ice cream maker and achieve the perfect texture and consistency.
Using the Ice Cream Maker
Now that you have prepared your ice cream base and any mix-ins, it’s time to put the Cuisinart 2Qt Ice Cream Maker to work. Follow these steps to use the ice cream maker and create delicious homemade ice cream:
- Make sure the freezer bowl is frozen: Before starting the machine, ensure that the freezer bowl is properly frozen. It should be frozen solid to ensure efficient freezing and proper texture of the ice cream.
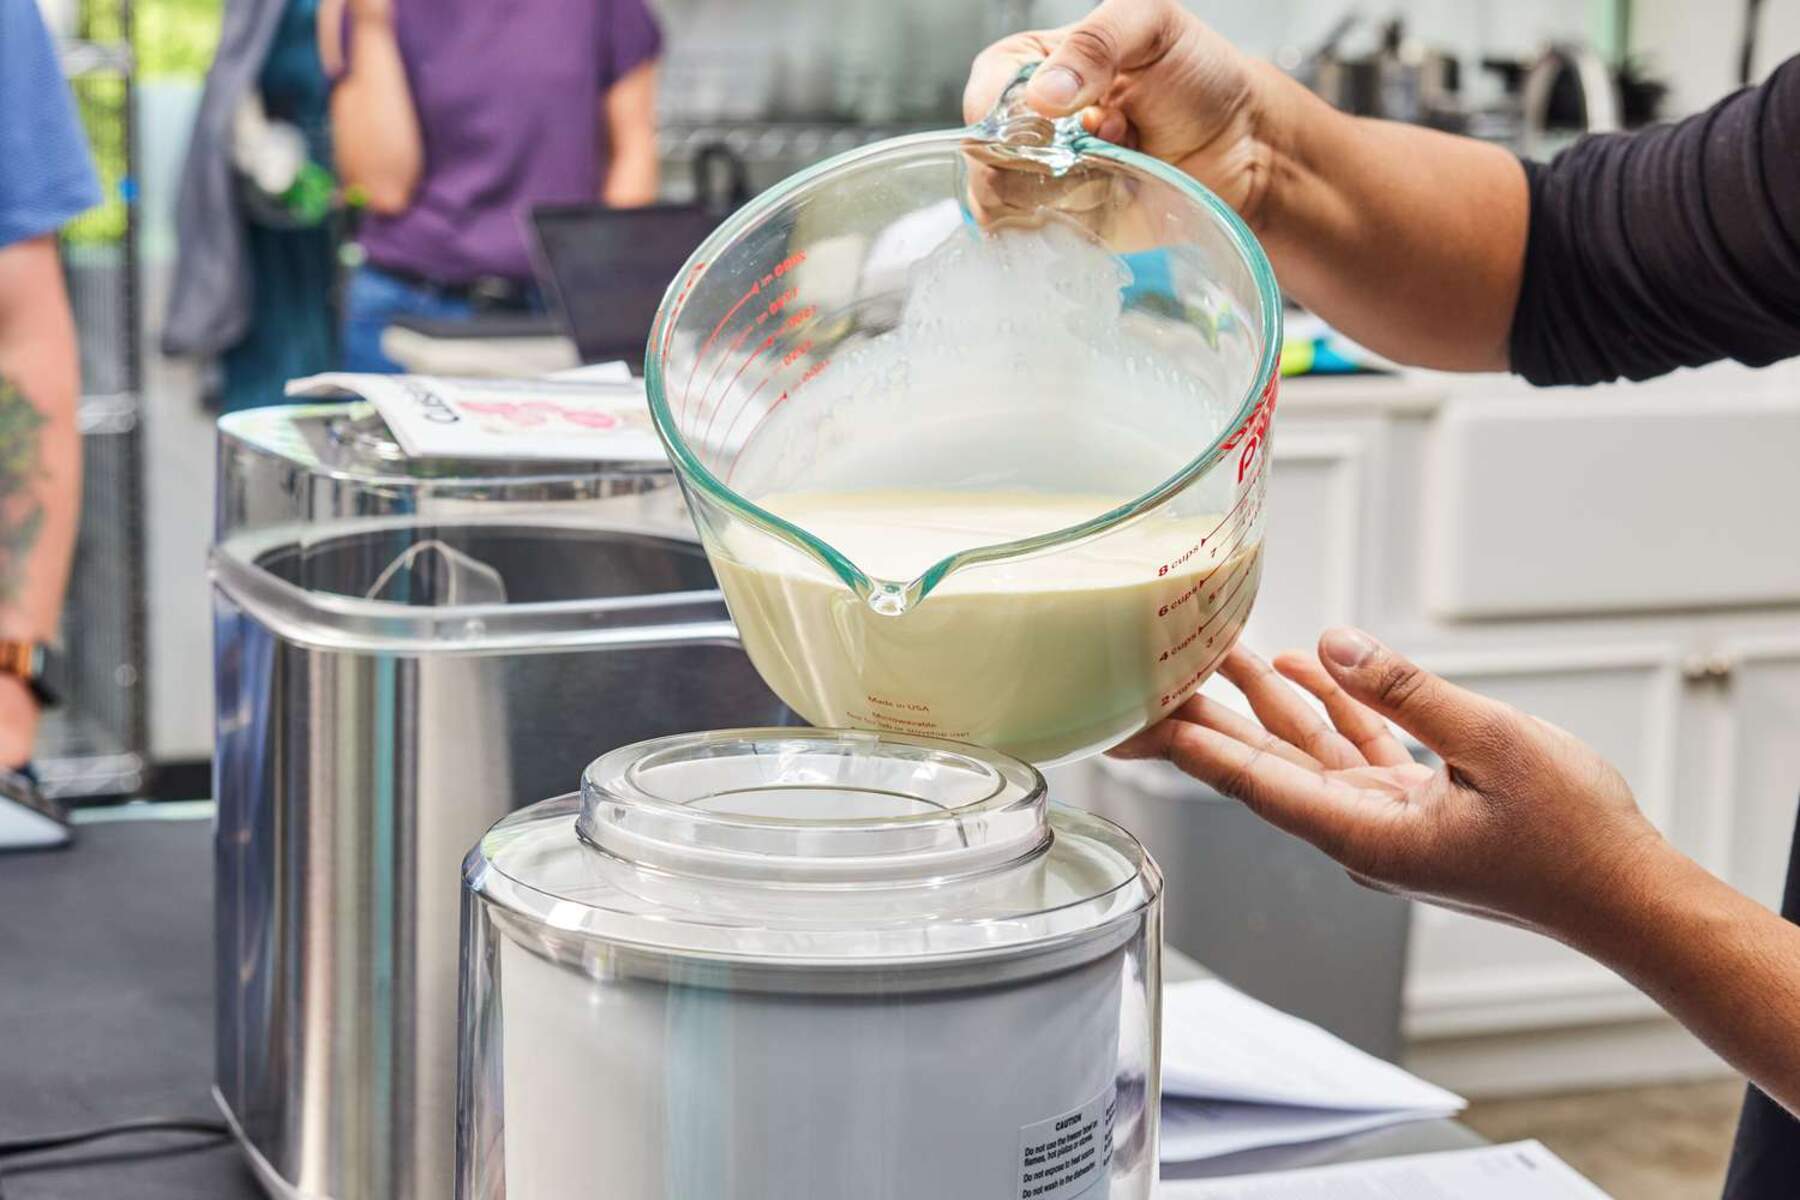
- Attach the mixing paddle and pour in the ice cream base: Insert the mixing paddle into the freezer bowl and secure it tightly. Pour the prepared ice cream base into the bowl. Leave some space as the mixture will expand during the freezing process.
- Turn on the machine: Plug in the ice cream maker and turn it on. The paddle will begin rotating immediately, mixing and churning the ice cream base.
- Let it freeze: Allow the ice cream maker to operate for the recommended amount of time, usually around 20-30 minutes. The freezing time may vary depending on the recipe and desired consistency.
- Monitor the mixture: As the ice cream maker churns, keep an eye on the consistency of the ice cream. It will gradually thicken and freeze. You want it to reach a soft-serve consistency.
- Add mix-ins: If you want to include any additional mix-ins, such as chocolate chips or cookie dough, add them into the ice cream during the last few minutes of freezing. This allows the mix-ins to be evenly distributed throughout the ice cream.
- Check the readiness: Once the ice cream has reached a soft-serve consistency and the desired mix-ins are added, it is ready to be enjoyed. To check the readiness, lift the lid of the ice cream maker and take a small spoonful of the ice cream. It should be smooth, creamy, and hold its shape.
- Serve or transfer to a container: Depending on your preference, you can either serve the ice cream immediately or transfer it to an airtight container for further freezing. If you choose to transfer it, allow the ice cream to firm up in the freezer for a few hours before serving.
Using the Cuisinart 2Qt Ice Cream Maker is a simple and straightforward process, allowing you to create delicious homemade ice cream with ease. In the next section, we will explore how to make different flavors and experiment with various combinations to tantalize your taste buds.
Making Different Flavors
One of the joys of homemade ice cream is the ability to get creative with flavors and experiment with unique combinations. With the Cuisinart 2Qt Ice Cream Maker, you have the freedom to make a variety of delicious ice cream flavors. Here’s how you can explore different flavors using this versatile machine:
- Extracts and Flavorings: Start by adding various extracts, such as vanilla, almond, or mint, to your ice cream base. These simple additions can transform a basic flavor into something unique and delightful.
- Infusions and Tea: Infusing flavors into your ice cream base can create a whole new taste experience. For example, steeping tea leaves, coffee grounds, or spices in warm milk before making the ice cream base can impart a rich and aromatic flavor.
- Fruit Purees: Incorporating fruit purees or sauces into your ice cream base adds a burst of natural sweetness and vibrant flavors. Process fresh fruits, such as strawberries, peaches, or mangoes, into a smooth puree and add it to the base before freezing.
- Chocolate Variations: If you’re a chocolate lover, there are endless possibilities for creating chocolate-flavored ice cream. From rich cocoa powder to melted chocolate, you can experiment with different intensities and types of chocolate to achieve your desired flavor.
- Mix-ins and Swirls: Adding mix-ins, such as crushed cookies, nuts, caramel swirls, or fudge, brings texture and extra layers of flavor to your ice cream. Fold these ingredients into the base during the freezing process for a delightful surprise in every scoop.
- Savory and Unusual Flavors: Don’t be afraid to think outside the box and try unconventional ice cream flavors. From savory options like avocado or basil to adventurous combinations like bacon or matcha green tea, the possibilities are endless.
Experimenting with different flavors is part of the fun of making homemade ice cream. Don’t be afraid to get creative and let your taste buds guide you. Keep in mind that the intensity of flavors may vary, so start with smaller quantities and adjust as needed.
Now that you have some ideas for different flavor variations, it’s time to learn some tips and tricks that will elevate your homemade ice cream even further. Continue reading to discover some handy tips for achieving the perfect texture, consistency, and flavor in your ice cream.
Tips and Tricks
Creating the perfect homemade ice cream with the Cuisinart 2Qt Ice Cream Maker requires more than just following a recipe. These tips and tricks will help you achieve a creamy, smooth, and flavorful ice cream every time:
- Chill the Base: Before pouring the mixture into the ice cream maker, make sure it is well-chilled. This will help the ice cream freeze faster and result in a smoother texture.
- Pre-Freeze Mix-ins: If you’re adding mix-ins like chocolate chips or nuts, it’s a good idea to pre-freeze them for a few hours. This prevents them from sinking to the bottom and ensures an even distribution throughout the ice cream.
- Layer Mix-ins: For layered mix-ins, such as caramel or fudge swirls, freeze some of the base first, then alternate layers of ice cream and swirls. Use a spoon or spatula to gently swirl the layers together for a beautiful marbled effect.
- Avoid Overfilling: Ensure that you don’t overfill the freezer bowl. Leaving some space allows the ice cream to expand as it churns and freezes, preventing spills and messes.
- Freeze Thoroughly: After the ice cream has reached a soft-serve consistency, transfer it to an airtight container and freeze it for a few hours. This additional freezing time helps the ice cream set and develop a smoother texture.
- Let It Soften: If your ice cream becomes too hard after being in the freezer for a while, let it soften at room temperature for a few minutes before serving. This will make it easier to scoop and enjoy.
- Experiment with Ratios: Adjust the ratios of milk, cream, and sugar in the base to achieve your preferred level of sweetness and creaminess. Just keep in mind that altering these ratios may affect the final texture of the ice cream.
- Add Liquids Sparingly: If adding liquid flavorings, such as extracts or alcohol, be cautious and add them sparingly. Too much liquid can affect the freezing process and result in a softer ice cream.
- Use High-Quality Ingredients: Using high-quality ingredients, such as fresh dairy products and real fruits, will lead to a better-tasting ice cream. Quality ingredients can make a significant difference in the final outcome.
Don’t be afraid to experiment and make adjustments to your recipes and techniques to suit your taste. With practice, you will develop your own signature homemade ice cream flavors that will wow your friends and family.
Now that you have mastered the art of using the Cuisinart 2Qt Ice Cream Maker and have some handy tips and tricks up your sleeve, it’s time to learn how to keep the machine clean and well-maintained for long-lasting use.
Cleaning and Maintenance
Keeping your Cuisinart 2Qt Ice Cream Maker clean and well-maintained is essential for its longevity and optimal performance. Follow these guidelines to ensure proper cleaning and maintenance of your ice cream maker:
- Unplug the Machine: Before cleaning your ice cream maker, always make sure to unplug it from the power source. This is important for safety reasons.
- Remove the Freezer Bowl: Carefully remove the freezer bowl from the machine. Take caution as it may still be cold from freezing the ice cream. Allow the bowl to thaw slightly before cleaning it.
- Hand Wash Only: The freezer bowl, mixing paddle, and lid should be washed by hand using warm soapy water. Avoid using harsh abrasives or abrasive cleaning tools that can damage the surfaces.
- Dry Thoroughly: After washing, make sure to dry all the parts completely before reassembling or storing them. Moisture left on the surfaces can lead to mold or mildew growth.
- Wipe the Base: Use a damp cloth or sponge to wipe the base of the ice cream maker. Be careful not to let any liquid enter the motor housing, as this can cause damage.
- Store Properly: When not in use, store the ice cream maker in a cool and dry place. Make sure all the parts are completely dry before storing to prevent any unpleasant odors or damage.
- Regular Maintenance: Occasionally, check the condition of the motor and other components for any signs of wear or damage. If you notice any issues, consult the user manual or contact the manufacturer for assistance.
By following these simple cleaning and maintenance practices, you can ensure that your Cuisinart 2Qt Ice Cream Maker remains in good condition and continues to churn out delicious ice cream for years to come.
Now that you have learned how to use, clean, and maintain your ice cream maker, let’s address some common questions that may arise during your ice cream-making journey.
Frequently Asked Questions
Here are some frequently asked questions about using the Cuisinart 2Qt Ice Cream Maker:
- Can I use alternative sweeteners or dairy-free substitutes?
Yes, you can experiment with alternative sweeteners like honey or maple syrup. Additionally, you can use dairy-free substitutes like coconut milk or almond milk to make non-dairy ice cream. - How long does it take to make ice cream with the Cuisinart 2Qt Ice Cream Maker?
The freezing time can vary depending on the recipe and desired consistency. On average, it takes about 20-30 minutes to achieve a soft-serve consistency. - Why is my ice cream mixture not freezing?
There could be a few reasons for this. Make sure that the freezer bowl is thoroughly frozen. Additionally, the room temperature and the temperature of the ingredients can affect the freezing process. Chilling the ingredients beforehand may help. - Can I make sorbet or frozen yogurt with this ice cream maker?
Yes, the Cuisinart 2Qt Ice Cream Maker is versatile and can be used to make sorbet, frozen yogurt, and even gelato. Just make sure to adjust the ingredients and follow a suitable recipe. - How do I prevent ice crystals from forming in my ice cream?
Ice crystals can form if the ice cream is not churned properly or if it is exposed to warm temperatures while freezing. Make sure to follow the recommended freezing time and transfer the ice cream to a well-sealed container after it reaches the desired consistency. - Can I make multiple batches in a row with the same freezer bowl?
It is recommended to refreeze the freezer bowl for at least 12 hours before making another batch. This ensures that the bowl is properly frozen and can freeze the ice cream effectively.
These are just a few common questions that users have when using the Cuisinart 2Qt Ice Cream Maker. If you have any further inquiries or encounter any issues, consult the user manual or reach out to the manufacturer for assistance.
Now that you have all the knowledge to become a pro at using the Cuisinart 2Qt Ice Cream Maker, it’s time to unleash your creativity and indulge in the delicious world of homemade ice cream!
Conclusion
Congratulations on learning how to use the Cuisinart 2Qt Ice Cream Maker to create delectable homemade ice cream! This versatile machine has opened up a world of possibilities for indulging in your favorite frozen treat right in the comfort of your own kitchen.
We started our journey by introducing the Cuisinart 2Qt Ice Cream Maker and exploring its features and benefits. Then, we delved into the process of getting started, preparing the ingredients, and using the ice cream maker to churn out creamy and delicious ice cream.
We also learned about making different flavors by using various extracts, infusions, fruit purees, and mix-ins. The tips and tricks provided ensure that you achieve the perfect texture and taste in your homemade ice cream.
It’s important to remember to clean and maintain your ice cream maker after each use to keep it in optimal condition for future batches. Following the proper cleaning and maintenance guidelines will ensure its longevity.
We addressed common questions and concerns that users may have, ensuring that you have all the information needed to embark on your ice cream-making adventures with confidence.
Now, armed with the knowledge and techniques shared in this guide, it’s time to unleash your creativity and experiment with different flavors and combinations. Whether you prefer classic flavors or want to explore unique and unconventional options, the Cuisinart 2Qt Ice Cream Maker allows you to create frozen delights that will impress your friends and family.
So, put on your apron, gather your ingredients, and let the Cuisinart 2Qt Ice Cream Maker unleash your inner ice cream connoisseur. Enjoy the sweet rewards of your homemade creations, and savor the joy of indulging in ice cream made with love.


