Introduction
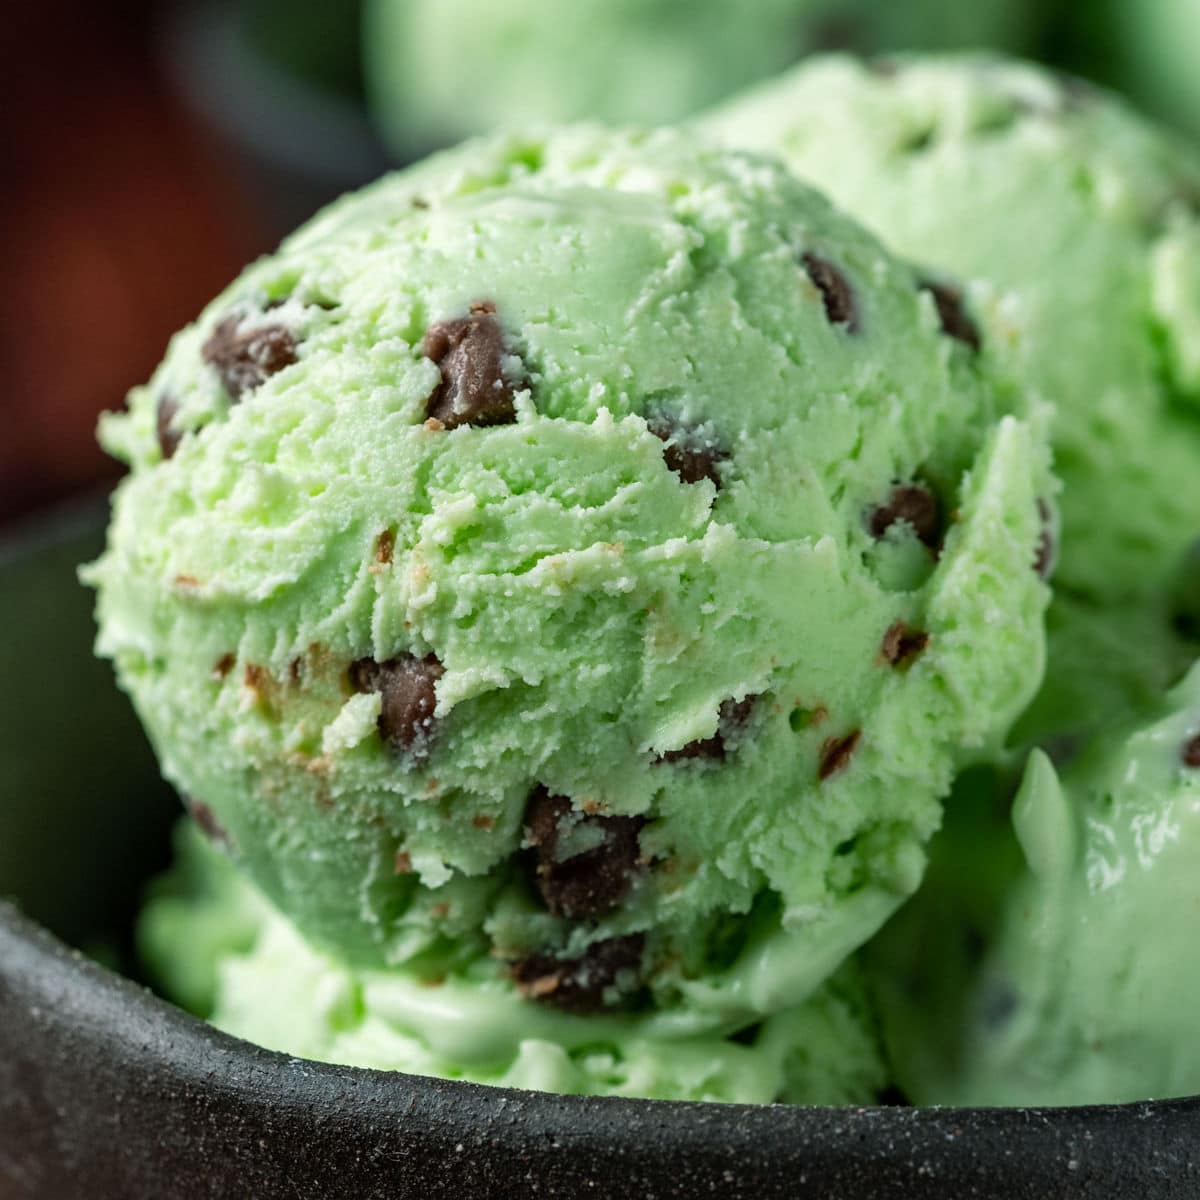
Welcome to the world of homemade ice cream! There’s nothing quite like the creamy, refreshing taste of mint chocolate chip ice cream on a hot summer day. And the best part? You don’t even need an ice cream maker to make it at home. That’s right – with just a few simple ingredients and some basic kitchen equipment, you can create your own delicious batch of mint chocolate chip ice cream.
Homemade ice cream allows you to have full control over the ingredients, ensuring that you’re using only the freshest and highest quality ones. You can adjust the mint and chocolate flavors to your liking, whether you prefer a subtle hint of mint or a more intense burst of flavor. Plus, making your own ice cream is not only cost-effective but also a fun activity for the whole family to enjoy.
In this guide, we’ll walk you through how to make your own mint chocolate chip ice cream without an ice cream maker. We’ll break down the process into easy-to-follow steps, so even if you’re a beginner, you’ll be able to churn out a delicious batch of homemade ice cream in no time.
So, let’s grab our aprons and get ready to indulge in the delightful combination of refreshing mint and rich chocolate chunks in every spoonful. Get ready to impress your friends and family with your homemade masterpiece – let’s dive into the delightful world of DIY mint chocolate chip ice cream!
Ingredients
Making your own mint chocolate chip ice cream without an ice cream maker requires just a handful of simple and readily available ingredients. Here’s what you’ll need:
- 2 cups heavy cream
- 1 cup whole milk
- 3/4 cup granulated sugar
- 1/4 teaspoon salt
- 1 teaspoon pure peppermint extract
- A few drops of green food coloring (optional)
- 3/4 cup chocolate chips or chopped chocolate
These ingredients are all you need to create a smooth and creamy mint base with bursts of chocolate throughout. The heavy cream adds richness, while the whole milk provides a creamy texture. The granulated sugar adds sweetness, and the salt enhances the flavors. The pure peppermint extract gives the ice cream that refreshing minty taste, and the green food coloring adds an appealing green hue to mimic the classic mint chocolate chip look.
As for the chocolate, you can choose to use chocolate chips or chop up a chocolate bar into small chunks. Opt for high-quality chocolate that melts easily and has a rich flavor. Dark chocolate or semi-sweet chocolate work perfectly for this recipe, adding a delightful contrast to the creamy mint base.
Remember, having high-quality ingredients will greatly impact the flavor and overall quality of your homemade ice cream. So, choose the freshest dairy products, top-notch chocolate, and pure extracts for the best results.
Equipment Needed
To make your own mint chocolate chip ice cream without an ice cream maker, you’ll need a few essential kitchen tools. Don’t worry, you won’t need any fancy or specialized equipment – just the basics will do. Here’s what you’ll need:
- Large mixing bowl
- Whisk or electric mixer
- Rubber spatula
- Measuring cups and spoons
- Freezer-safe container with a lid
- Plastic wrap or parchment paper
A large mixing bowl is needed to combine all the ingredients for the mint base and create a smooth and creamy mixture. You can use a whisk or an electric mixer to fully incorporate the ingredients and ensure that the sugar is dissolved. A rubber spatula will come in handy for scraping the sides of the bowl and effectively mixing the ingredients.
Measuring cups and spoons are essential for accurately measuring the ingredients, ensuring that you have the right balance of flavors. Investing in a set of reliable measuring tools will greatly contribute to the success of your homemade ice cream.
You’ll also need a freezer-safe container with a lid to store your ice cream while it freezes. Make sure the container is large enough to hold the mixture and has enough room to allow the ice cream to expand as it freezes. Covering the container with plastic wrap or parchment paper before sealing it with the lid will help prevent ice crystals from forming on the surface of your ice cream.
That’s it! With these basic kitchen tools, you’re all set to embark on your homemade ice cream adventure. So, gather your equipment, and let’s move on to the step-by-step instructions to make your own delectable mint chocolate chip ice cream.
Step-by-Step Instructions
Now that you have all your ingredients and equipment ready, it’s time to dive into the step-by-step process of making your own mint chocolate chip ice cream without an ice cream maker. Follow along with these instructions to create a creamy and flavorful frozen treat:
- Making the Mint Base:
- Preparing the Chocolate Chips:
- Combining the Mint Base and Chocolate Chips:
- Freezing the Mixture:
- Mixing and Breaking Up Ice Crystals:
- Repeat Step 5 until Desired Consistency:
- Serving and Enjoying:
In a large mixing bowl, combine the heavy cream, whole milk, granulated sugar, salt, peppermint extract, and a few drops of green food coloring (if desired). Whisk or use an electric mixer to thoroughly blend the ingredients until the sugar is completely dissolved. This will create a smooth mint-flavored base for your ice cream.
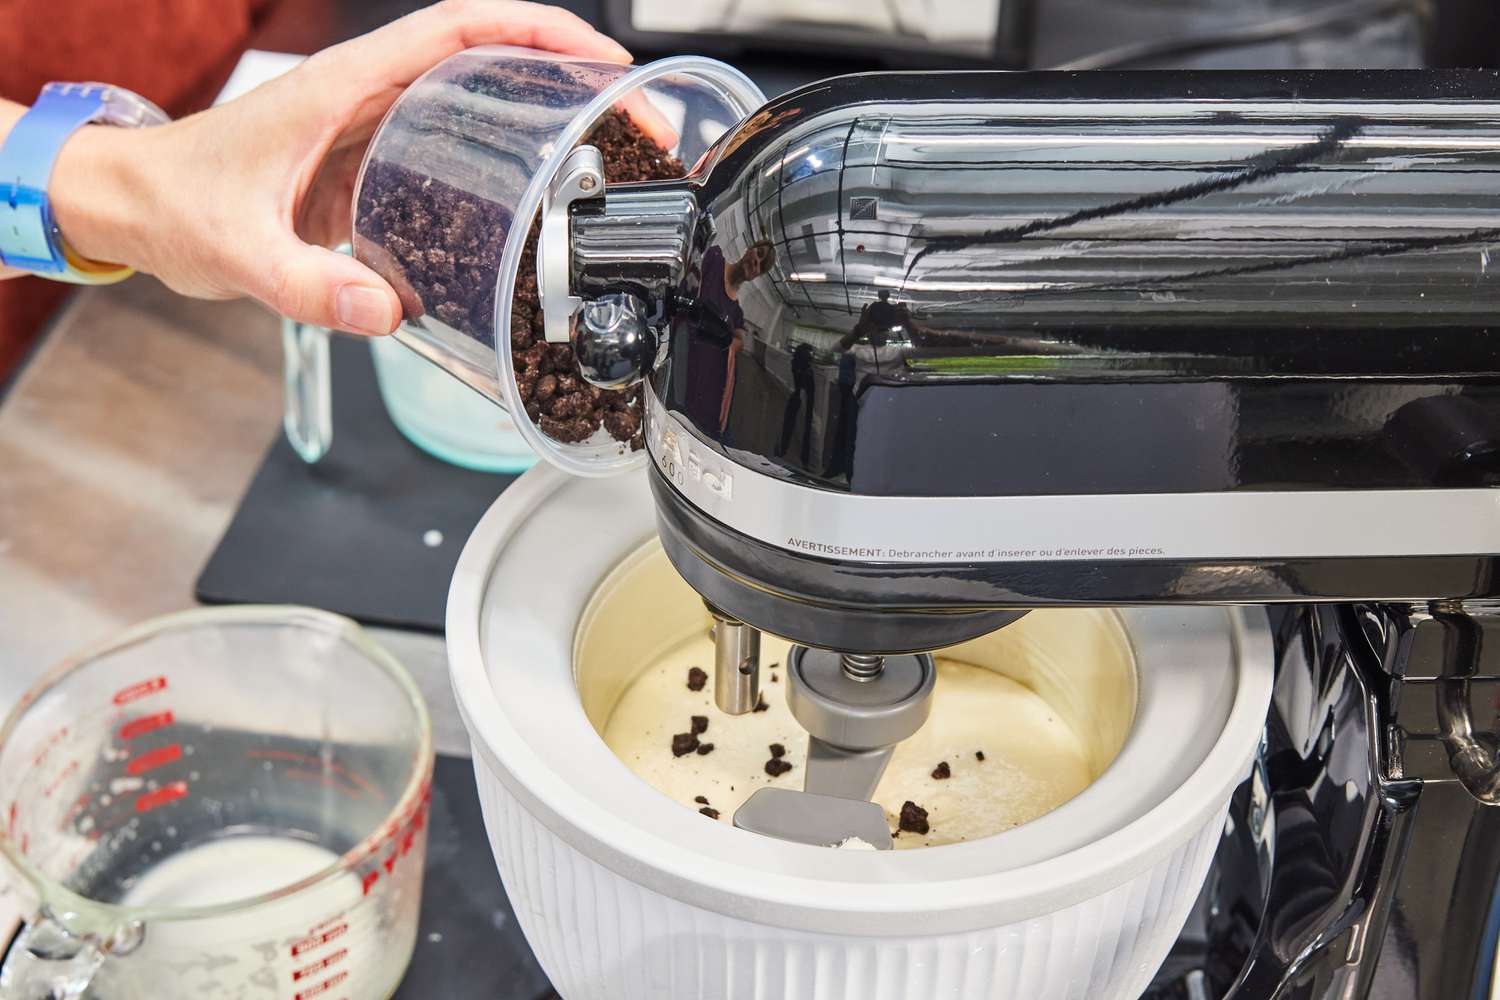
Take your chocolate chips or chopped chocolate and set aside a small portion to be used later for mixing into the ice cream. Place the rest of the chocolate in a microwave-safe bowl and heat in short bursts, stirring in between, until the chocolate is fully melted and smooth. Allow the melted chocolate to cool slightly before moving on to the next step.
Pour the melted chocolate into the mint base mixture and use a rubber spatula to gently fold it in. Be careful not to overmix; you want to create a swirl effect of chocolate throughout the ice cream. Add the reserved portion of chocolate chips or chopped chocolate to the mixture and stir to evenly distribute them.
Transfer the ice cream mixture into a freezer-safe container. Smooth the top with the back of a spoon or spatula. Cover the surface of the ice cream with plastic wrap or parchment paper to create a barrier between the ice cream and the air, which will help prevent ice crystals from forming. Seal the container with the lid and place it in the freezer.
After approximately 1-2 hours, remove the ice cream from the freezer. Using a fork, vigorously stir the mixture to break up any ice crystals that may have formed. Make sure to mix thoroughly to achieve a creamy consistency.
Return the container back to the freezer and repeat the stirring process every 30-45 minutes for the next 2-3 hours. Breaking up the ice crystals at regular intervals will help create a smoother texture and prevent the ice cream from becoming too icy. Repeat the process until the ice cream reaches your desired consistency.
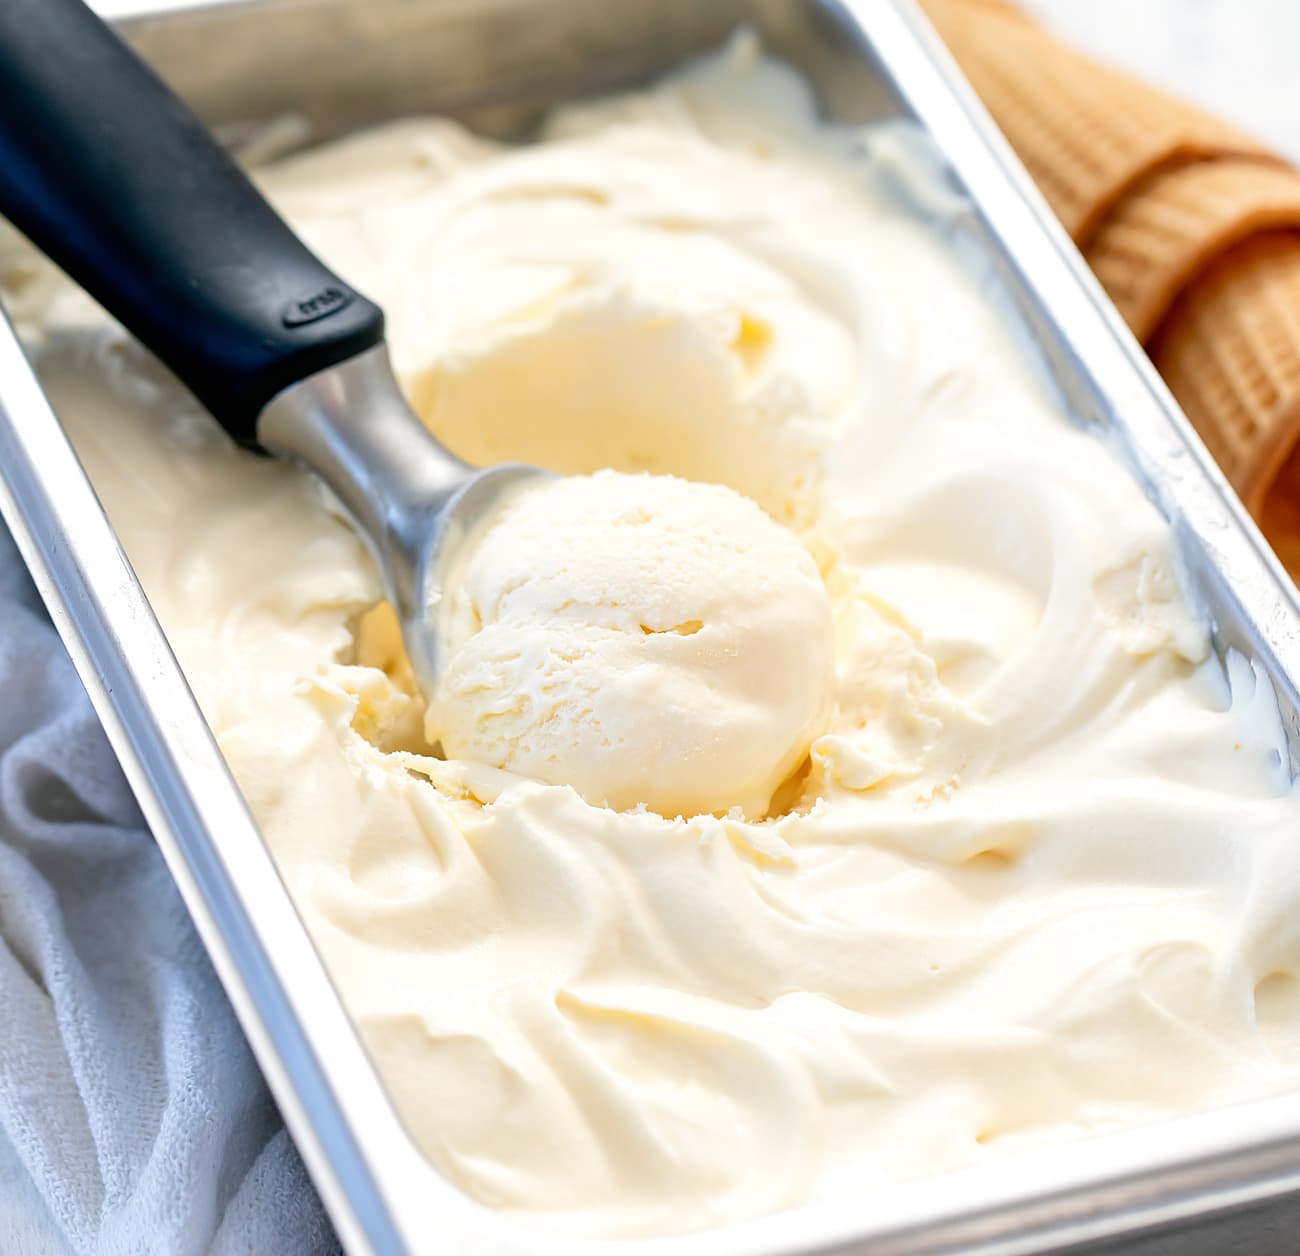
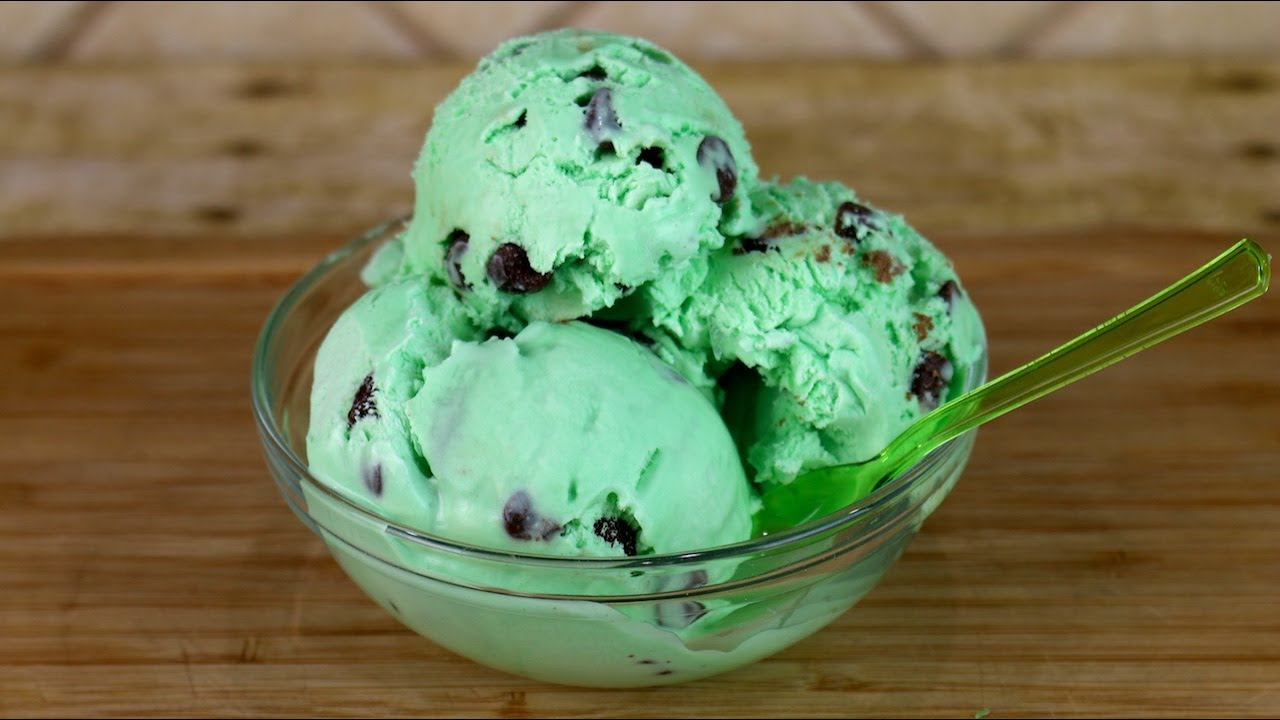
Once the ice cream has reached the desired consistency, it’s ready to be enjoyed! Scoop it into bowls or cones and savor the delightful combination of refreshing mint and rich chocolate chips. You can also garnish with additional chocolate chips or a sprig of fresh mint for an extra touch of decadence.
Now that you know the step-by-step process, it’s time to put your skills to the test and indulge in your homemade mint chocolate chip ice cream. Get ready to impress your taste buds and wow your friends and family with your delightful creation!
Making the Mint Base
The first step in creating your own mint chocolate chip ice cream without an ice cream maker is to make the mint base. This is where you’ll infuse the creamy mixture with the refreshing flavor of mint. Follow these simple instructions to create the perfect base:
- In a large mixing bowl, combine 2 cups of heavy cream, 1 cup of whole milk, 3/4 cup of granulated sugar, 1/4 teaspoon of salt, 1 teaspoon of pure peppermint extract, and a few drops of green food coloring (optional).
- Whisk or use an electric mixer on low speed to blend all the ingredients together. Make sure the sugar is completely dissolved and the mixture is smooth. This will ensure a consistent flavor throughout the ice cream.
- If you prefer a more intense mint flavor, you can add a little extra peppermint extract, but be cautious not to overpower the other flavors. Remember, you can always adjust the mintiness to your liking by tasting and adding more extract if desired.
- If you want your ice cream to have a vibrant green color, add a few drops of green food coloring. This step is completely optional, as the ice cream will taste just as delicious without it. Mix until the desired color is achieved.
- Once all the ingredients are well combined, your mint base is ready. It should have a smooth and creamy consistency with a delightful hint of mint. Give it a quick taste to ensure it meets your preference, adding more peppermint extract or food coloring if needed.
- Set aside the mint base as you move on to the next step in the ice cream-making process.
By following these instructions, you’ve successfully created a refreshing mint base for your homemade ice cream. Now it’s time to prepare the chocolate chips that will be swirling within this creamy treat.
Preparing the Chocolate Chips
One of the highlights of mint chocolate chip ice cream is the rich and chocolatey bursts of flavor throughout. In this step, we’ll guide you through the process of preparing the chocolate chips or chunks to be incorporated into your homemade ice cream:
- Start by setting aside a small portion of your chocolate chips or chopped chocolate. You’ll be using these later for mixing into the ice cream.
- Take the remaining chocolate chips or chopped chocolate and place them in a microwave-safe bowl.
- Heat the chocolate in short bursts, stirring well in between, until it is fully melted and smooth. Be cautious not to overheat it, as chocolate can easily burn.
- Once the chocolate is melted, let it cool slightly before using it in the ice cream mixture. This will ensure that the chocolate sets within the ice cream and creates those delightful chunks of chocolate throughout.
- If you don’t have a microwave or prefer not to use it, you can melt the chocolate using a double boiler method. Simply place a heatproof bowl over a pot of simmering water, making sure the bottom of the bowl doesn’t touch the water. Stir the chocolate continuously until it’s melted and smooth.
- After the melted chocolate has cooled slightly, it’s time to move on to the next step and combine it with the mint base to create the irresistible mint chocolate chip ice cream.
By following these instructions, you’ve successfully prepared the chocolate chips or chunks that will be swirled within your homemade ice cream. These rich bursts of chocolate will complement the refreshing mint flavor perfectly. Now, let’s move on to the next step and combine these elements to create a delightful frozen treat.
Combining the Mint Base and Chocolate Chips
Now that you have your mint base and melted chocolate prepared, it’s time to bring them together to create the perfect marriage of flavors in your mint chocolate chip ice cream:
- Pour the melted chocolate into the mint base mixture. Use a rubber spatula to gently fold the chocolate into the mint base.
- Be careful not to overmix; you want to create a swirl effect of chocolate throughout the ice cream. This will give each scoop a delightful surprise of rich chocolate chunks.
- Next, add the reserved portion of chocolate chips or chopped chocolate into the mixture. Stir well to evenly distribute the chocolate throughout the ice cream base.
- This step is where you have the opportunity to adjust the amount of chocolate to your preference. If you prefer more chocolate, feel free to add extra chocolate chips or chunks.
- By incorporating the melted chocolate and additional chocolate chips, you’ll ensure that every spoonful of your homemade ice cream is packed with delicious bursts of chocolate.
- Once you’ve combined the mint base and chocolate chips, the mixture is now ready to be frozen and transformed into the delightful mint chocolate chip ice cream you’ve been craving.
Now that you’ve successfully combined the mint base with the chocolate chips, the flavors are perfectly mingled. The chocolate will create a beautiful swirl throughout the ice cream, adding a burst of richness to every bite. With the base fully prepared, it’s time to move on to the next steps of freezing and churning the mixture to achieve the perfect texture in your homemade mint chocolate chip ice cream.
Freezing the Mixture
Once you’ve combined the mint base and chocolate chips, it’s time to freeze the mixture to transform it into a luscious mint chocolate chip ice cream. Follow these steps to ensure the perfect freezing process:
- Transfer the ice cream mixture into a freezer-safe container. Choose a container that is large enough to hold the mixture and has enough room to allow the ice cream to expand as it freezes.
- Smooth the top of the ice cream mixture using the back of a spoon or a rubber spatula. This will create an even surface and promote uniform freezing.
- Place a sheet of plastic wrap or parchment paper directly on the surface of the ice cream mixture. This will create a barrier between the ice cream and the air, helping to prevent the formation of ice crystals on the surface.
- Seal the container with its lid to ensure a tight and secure fit. This will prevent any air from entering the container and affecting the texture and taste of the ice cream.
- Now, carefully place the container in the freezer. Make sure it is positioned on a flat surface to prevent any tilting or shifting that could disrupt the freezing process.
- Allow the ice cream to freeze undisturbed for a few hours, or preferably overnight, until it reaches a firm consistency. The exact time will vary depending on your freezer’s temperature, so check the ice cream periodically to avoid over-freezing.
By following these steps, you’ve successfully prepared the ice cream mixture for freezing. In the next steps, we’ll guide you on how to mix and break up the ice crystals to achieve a creamy texture and delightful consistency in your homemade mint chocolate chip ice cream.
Mixing and Breaking Up Ice Crystals
After the ice cream mixture has been frozen for a few hours or overnight, it’s time to give it some special attention to ensure a creamy and smooth texture. Follow these steps to mix and break up any ice crystals that may have formed:
- Remove the container of ice cream from the freezer and let it sit at room temperature for a few minutes to slightly soften the mixture.
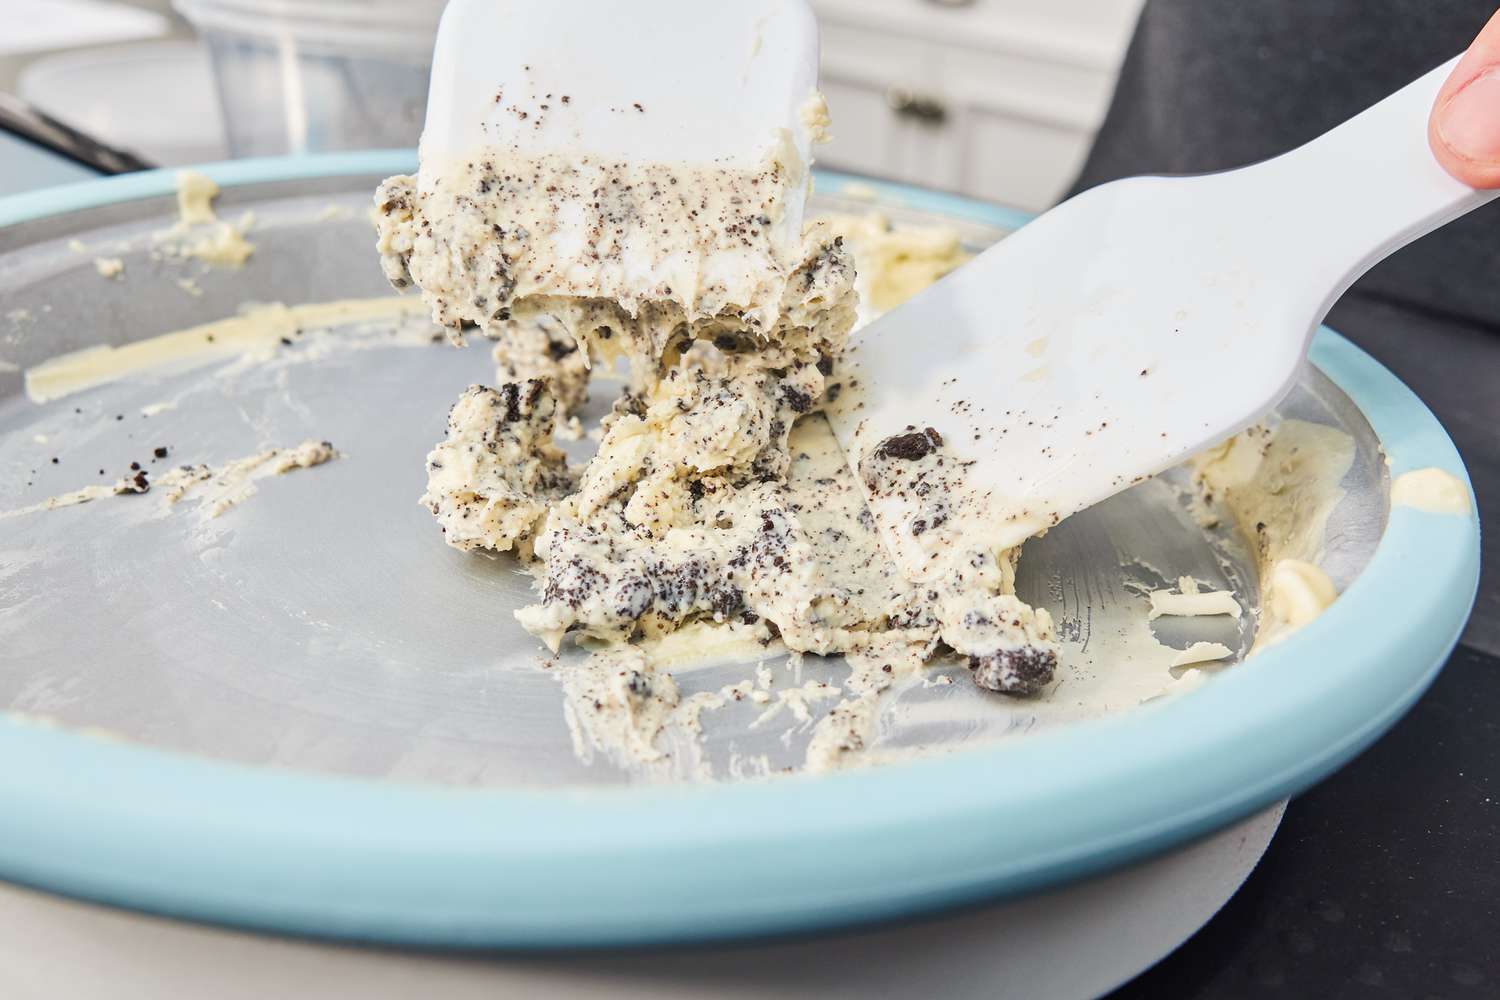
- Using a fork, vigorously stir the ice cream mixture. This will help break up any large ice crystals that may have formed during the freezing process.
- Continue stirring until the ice cream becomes smooth and creamy. Be sure to scrape the sides of the container and thoroughly mix any frozen edges into the rest of the mixture.
- This step helps to distribute the colder parts of the ice cream and ensure a consistent texture throughout.
- Return the container to the freezer and let the ice cream firm up for another 30-45 minutes.
- Repeat the mixing process every 30-45 minutes for the next 2-3 hours. This will help break up any remaining ice crystals and create a smoother texture. The more you mix, the creamier the final result will be.
By periodically mixing and breaking up the ice crystals, you are preventing the formation of large ice chunks and ensuring a velvety texture in your mint chocolate chip ice cream.
Now that you know how to mix and break up the ice crystals, it’s time to move on to the final step of achieving the desired consistency in your homemade ice cream.
Repeat Step 5 until Desired Consistency
Achieving the perfect consistency in your homemade mint chocolate chip ice cream requires patience and a bit of effort. By repeating the process of mixing and breaking up ice crystals, you can ensure a smooth and creamy texture throughout the entire batch of ice cream. Here’s how to do it:
- After letting the ice cream firm up in the freezer for 30-45 minutes, remove the container and give it a good stir with a fork to break up any ice crystals that may have formed.
- Continue mixing until the ice cream becomes smoother and more velvety. Be sure to scrape the sides of the container and incorporate any frozen edges into the rest of the mixture.
- Return the container to the freezer and let the ice cream firm up for another 30-45 minutes.
- Repeat this process of mixing and breaking up ice crystals every 30-45 minutes for the next 2-3 hours.
- The more times you repeat this step, the smoother and creamier the ice cream will become.
- Each time you mix the ice cream, you are breaking up any large ice crystals that might have formed and ensuring a uniform texture throughout.
- Keep an eye on the consistency of the ice cream and stop the mixing process once you achieve your desired texture. It should be creamy, yet firm enough to hold its shape when scooped.
Remember, the amount of mixing required may vary depending on factors such as the temperature of your freezer and the initial texture of the ice cream mixture. Trust your senses and stop mixing when you are satisfied with the overall consistency.
Now that you’ve repeated the process of mixing and breaking up ice crystals, it’s time to move on to the final step – serving and enjoying your delectable homemade mint chocolate chip ice cream!
Serving and Enjoying
After all the hard work and patience, it’s finally time to savor the fruits of your labor and indulge in a bowl (or a cone) of homemade mint chocolate chip ice cream. Here’s how to serve and enjoy your delightful creation:
- Retrieve the container of mint chocolate chip ice cream from the freezer.
- Using an ice cream scoop or a spoon, carefully portion out your desired amount into serving bowls or cones.
- Take a moment to appreciate the beautiful green color and the enticing scent of mint that wafts from the ice cream.
- If you prefer, you can garnish each serving with additional chocolate chips or a sprig of fresh mint to add an extra touch of decadence and presentation.
- As the ice cream begins to melt, the flavors will become even more pronounced and enjoyable.
- Dive into each spoonful and relish the creamy texture combined with the refreshing burst of mint and the delightful crunch of chocolate chips.
- Take your time and savor the experience, enjoying every delectable bite.
- Share the joy with family and friends, or simply bask in the satisfaction of creating a homemade treat that rivals any store-bought ice cream.
- Don’t forget to store any leftovers in the freezer, keeping them well-covered to maintain the ice cream’s texture and prevent freezer burn.
Now that you’ve served and enjoyed your homemade mint chocolate chip ice cream, you can proudly claim the title of ice cream master! Repeat this process whenever you crave this classic flavor combination or experiment with new variations using different flavors and mix-ins.
Remember, making your own ice cream is a fun and rewarding experience, and the possibilities are endless. So, get creative, have fun, and indulge in the sweet satisfaction of homemade ice cream!