Introduction
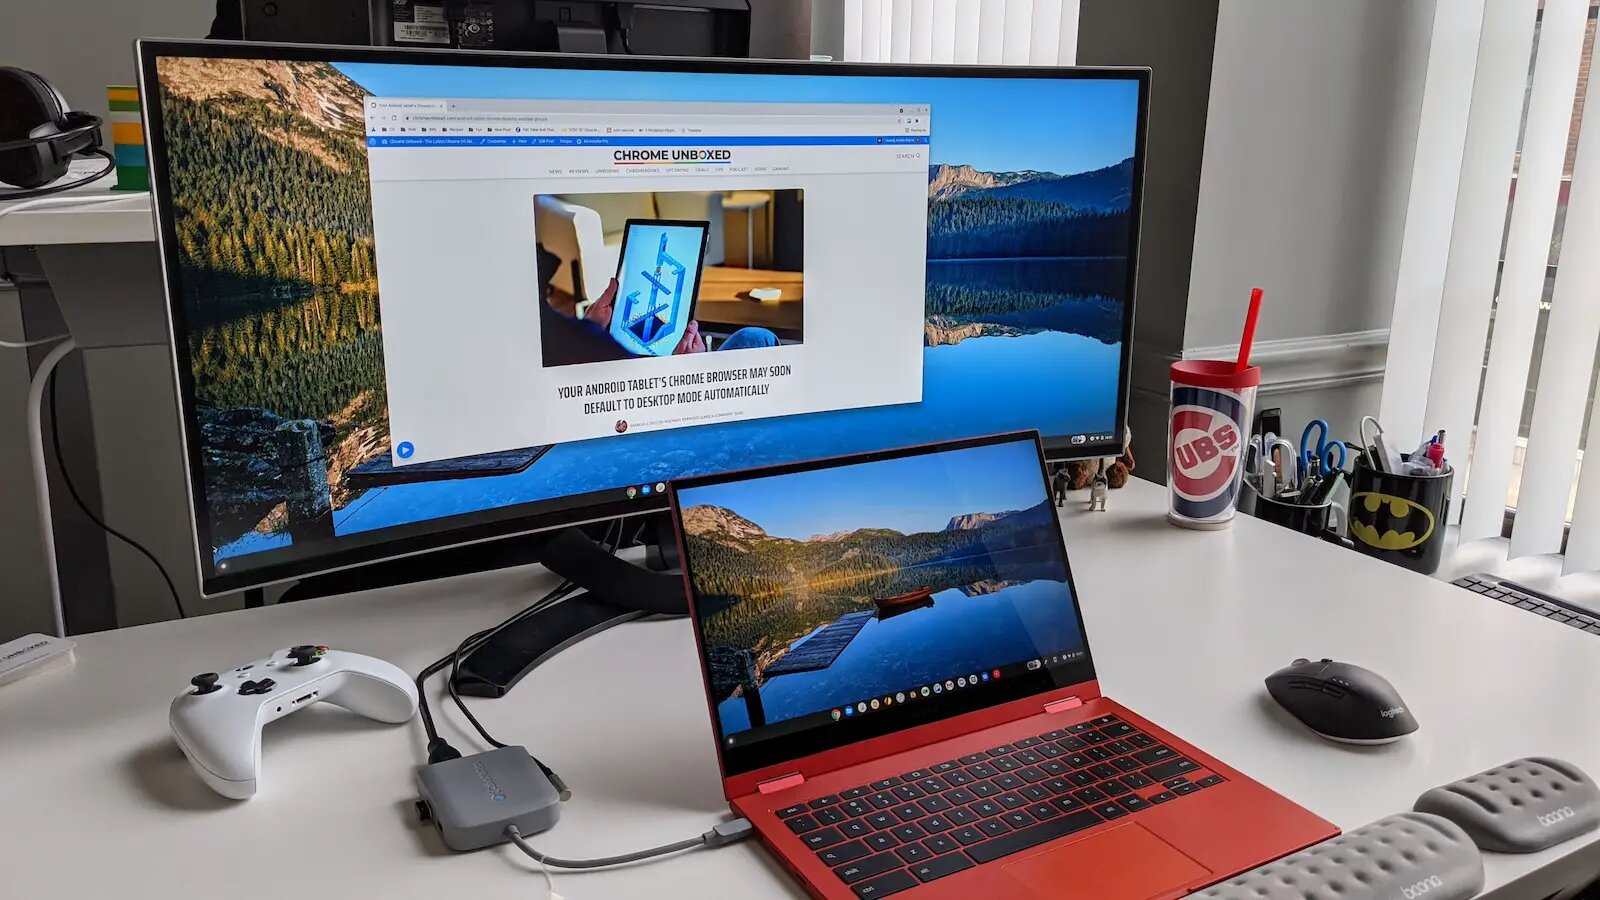
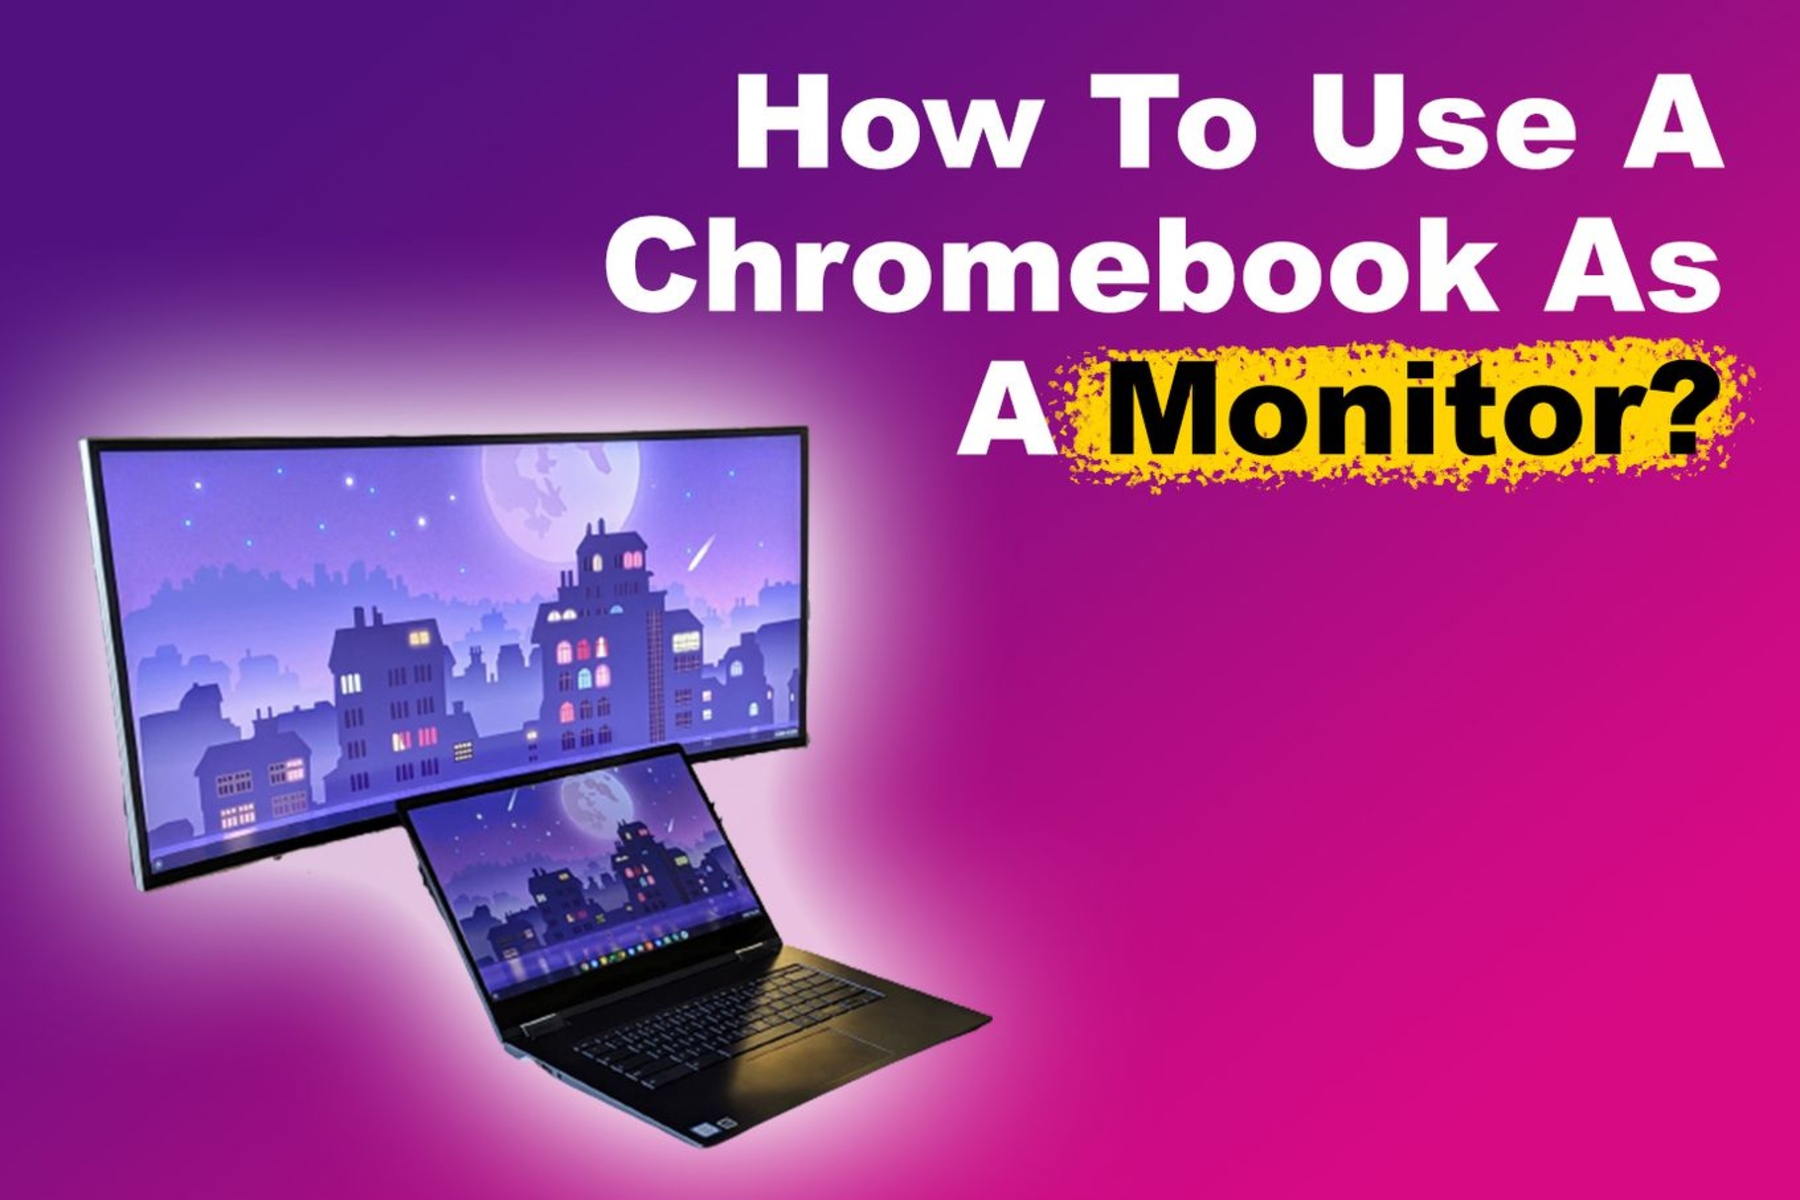
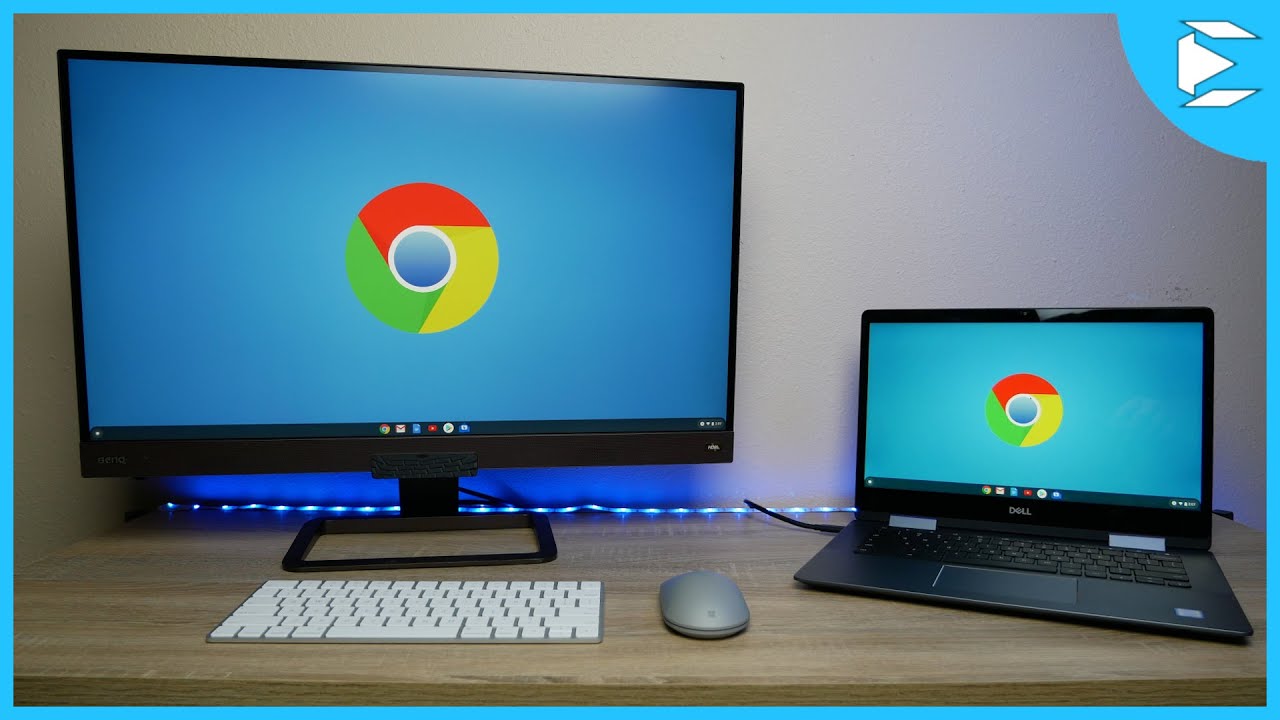
In today’s connected world, versatility is key. This holds true for our technology as well. Chromebooks have gained popularity due to their lightweight design and seamless integration with Google services. However, did you know that you can also use your Chromebook as a monitor for other devices? Whether you want to extend your display or mirror it, utilizing your Chromebook as a monitor can greatly enhance productivity and provide a larger viewing area.
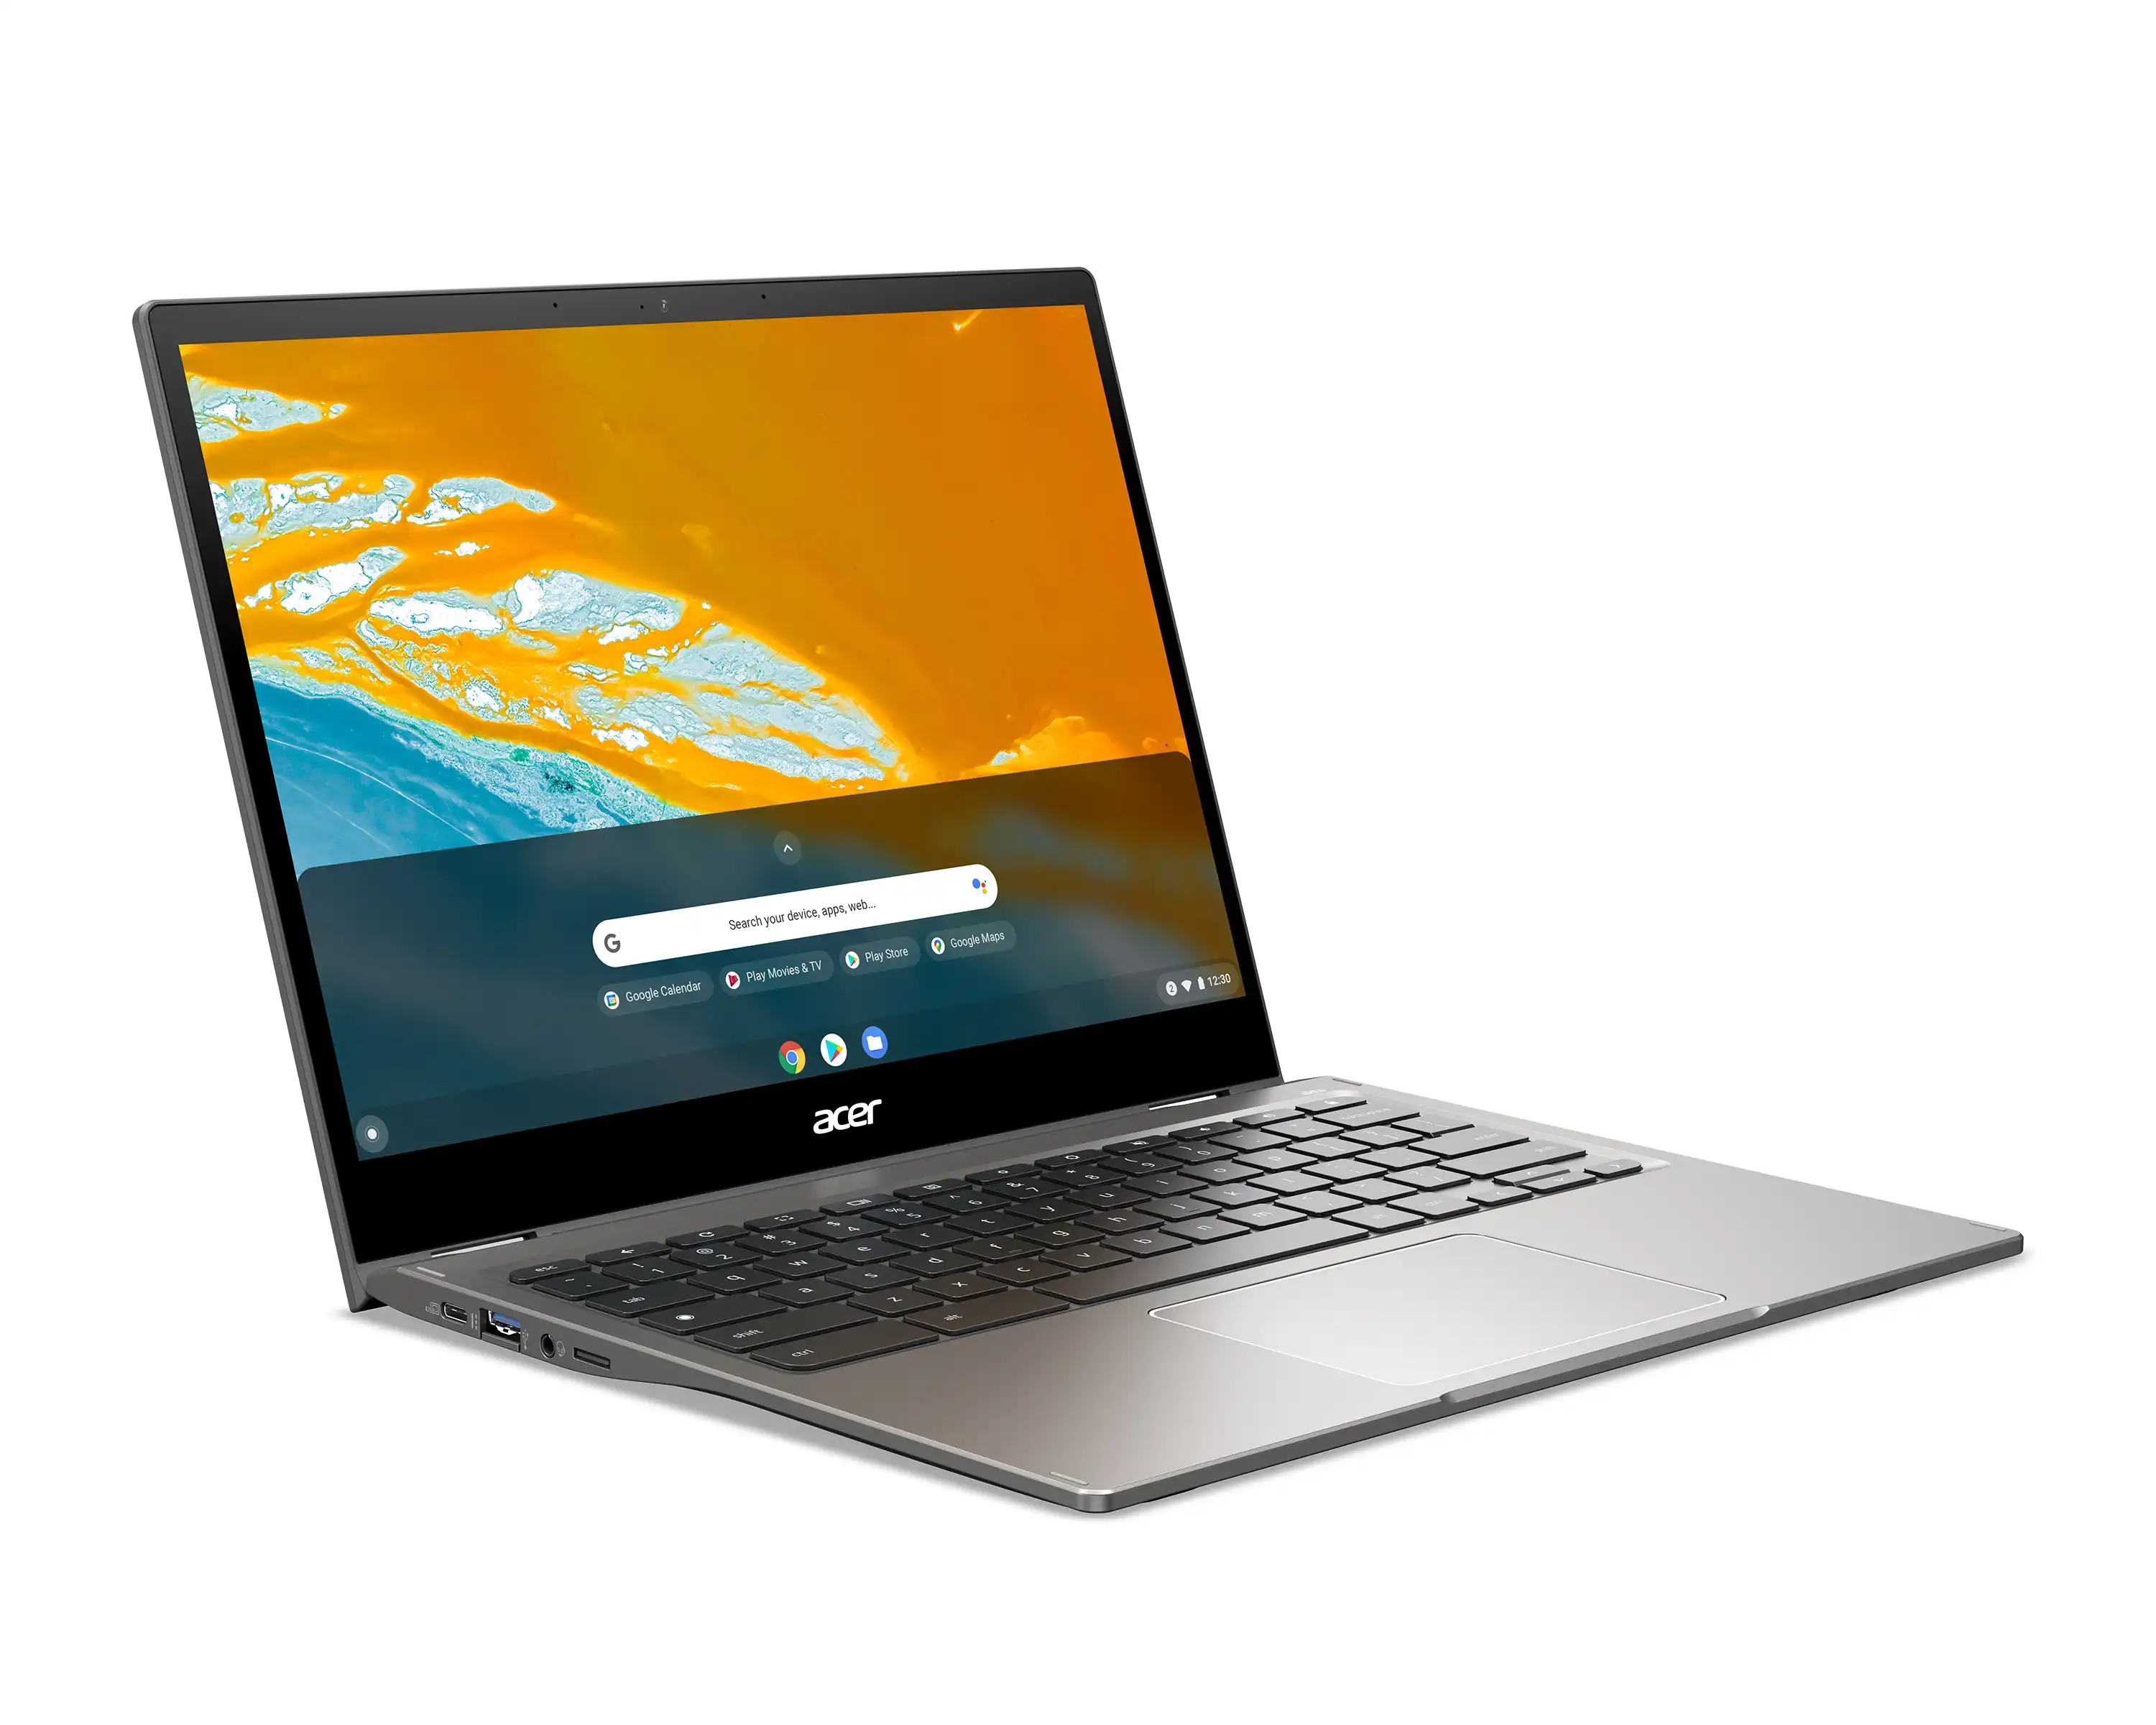
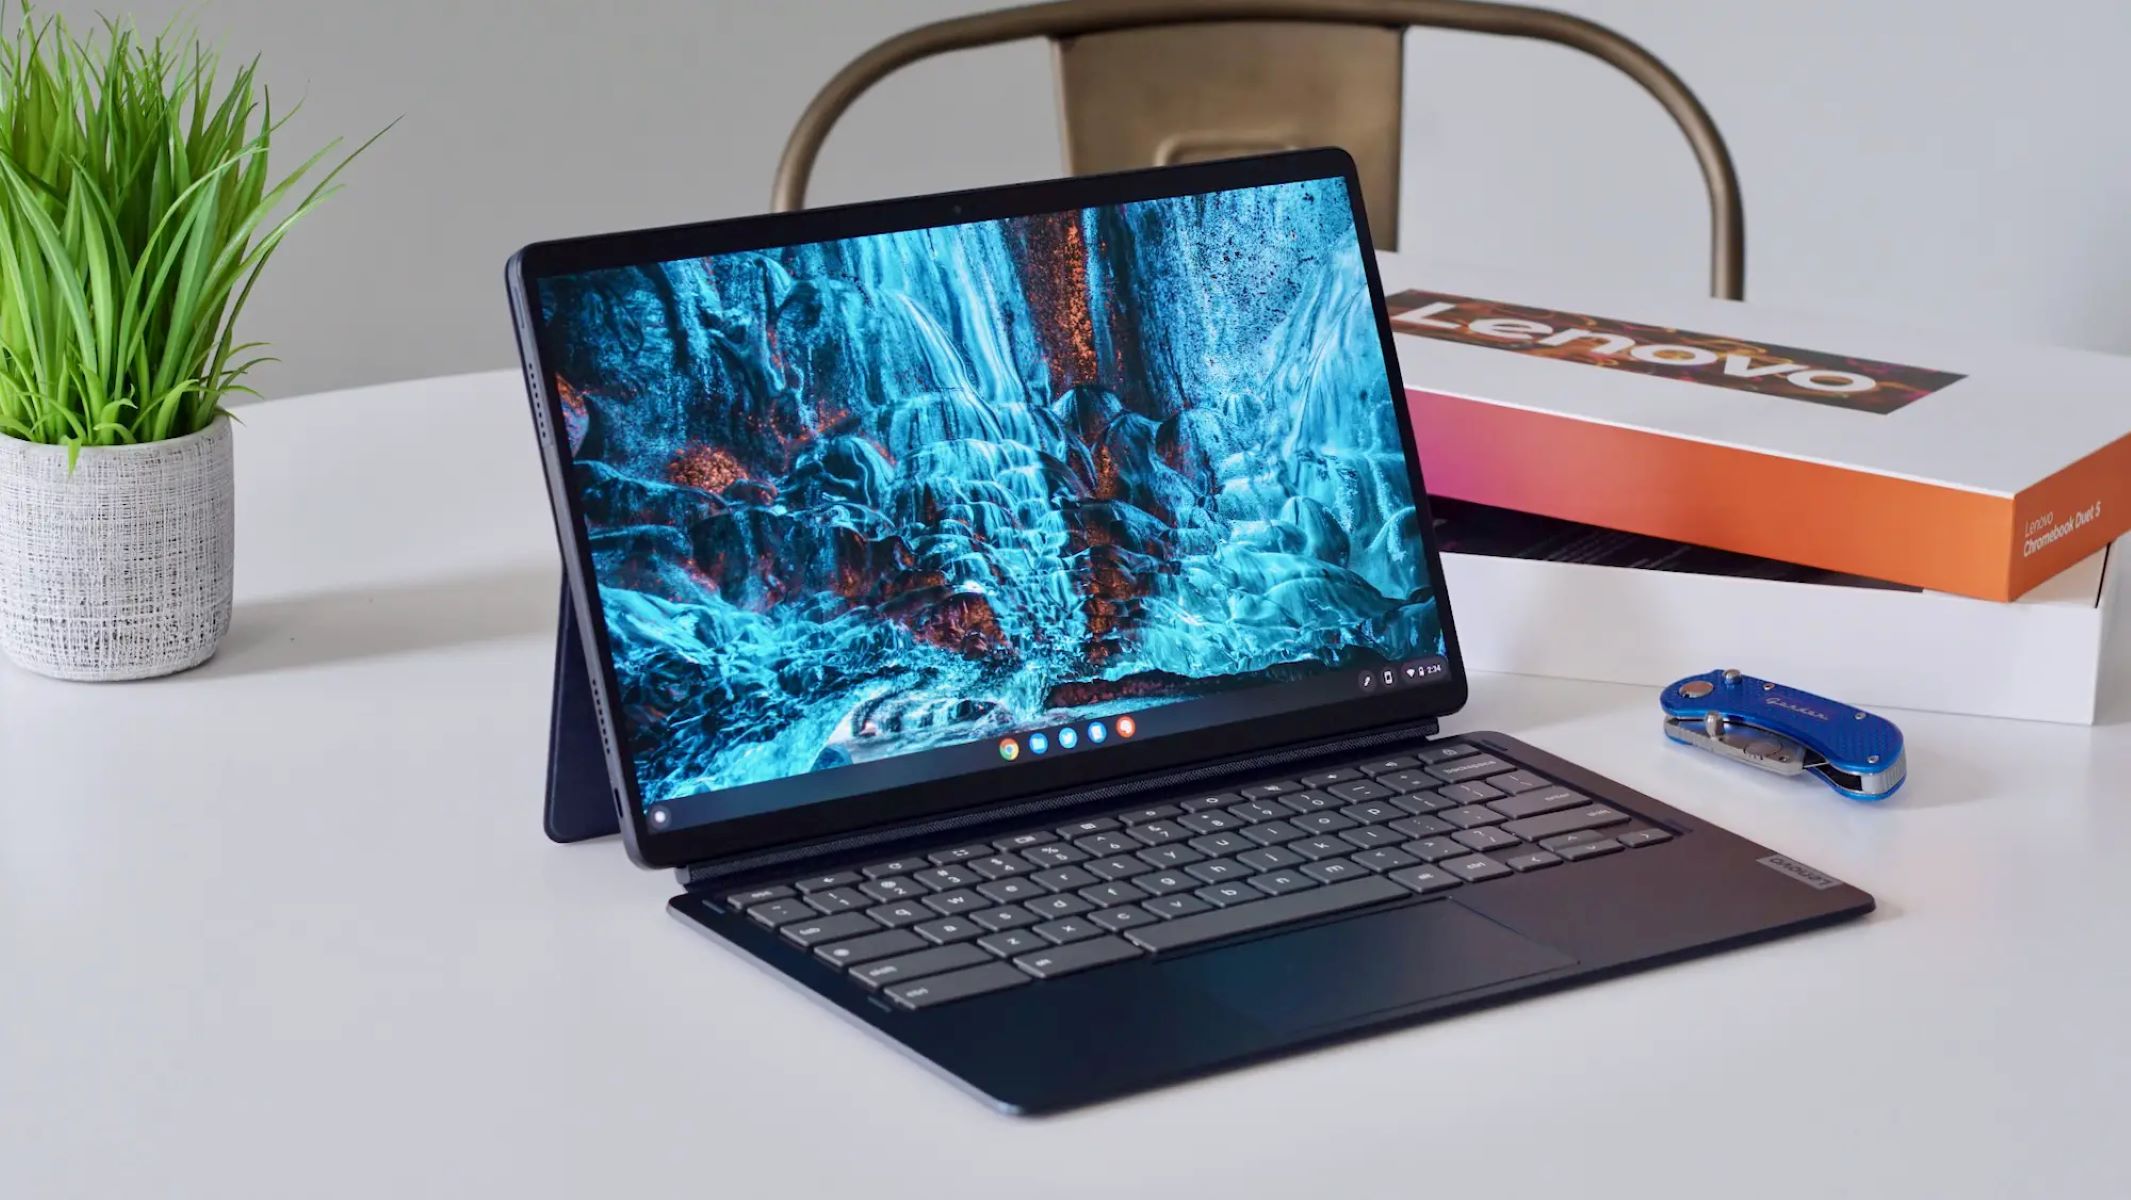
Before diving into the process, it’s important to note that not all Chromebooks support this feature. Make sure to check if your model is compatible with using the Chromebook as a monitor. Some older models or lower-end Chromebooks may not have this capability.
In this article, we will walk you through the steps to use your Chromebook as a monitor. From checking compatibility to adjusting the display settings, we’ve got you covered. So, grab your Chromebook and get ready to unlock its full potential as a versatile display device!
Determine Compatibility with Chromebook
Before attempting to use your Chromebook as a monitor, it’s crucial to ensure that your device supports this feature. Follow these steps to check the compatibility:
- Check the manufacturer’s specifications: Review the documentation or visit the manufacturer’s website to determine if your Chromebook model has the capability to function as a monitor. Look for any specific information or requirements related to this feature.
- Search for user forums or community discussions: Explore online forums or communities where Chromebook users share their experiences and knowledge. Look for discussions related to using a Chromebook as a monitor to see if users with a similar model have been successful in doing so.
- Consult the Chromebook support center: Visit the official Chromebook support website or contact their customer support for assistance. They will be able to provide you with accurate information regarding the compatibility of your specific Chromebook model.
- Consider the age and specifications of your Chromebook: Older Chromebook models may lack the necessary hardware or software capabilities to function as a monitor. Take into account the specifications of your device, such as the processor, graphics card, and available ports, as these factors can influence its compatibility.
By following these steps, you can ensure that your Chromebook is compatible with using it as a monitor. If it is, you can proceed to the next steps to set up and enjoy the benefits of a larger display area. However, if your Chromebook does not support this feature, don’t despair. There are alternative methods for extending your display or mirroring it using external devices.
Ensure Proper Connectivity
Once you have confirmed that your Chromebook supports using it as a monitor, the next step is to ensure proper connectivity between your Chromebook and the device you want to connect. Follow these steps for a smooth and seamless connection:
- Identify the ports on your Chromebook: Most Chromebooks come equipped with at least one USB Type-C port and one HDMI port. Identify which ports are available on your Chromebook as they will determine the type of connection you can establish.
- Determine the ports on the external device: Identify the ports available on the device you want to connect to your Chromebook. Ensure that it has a compatible port that matches one of the ports on your Chromebook.
- Choose the appropriate cable: Based on the ports available on your Chromebook and the external device, select the appropriate cable to establish a connection. For example, if your Chromebook and external device both have HDMI ports, you will need an HDMI cable. If your Chromebook has a USB Type-C port and the external device has an HDMI port, you will need a USB Type-C to HDMI adapter or cable.
- Ensure the cable is in good condition: Inspect the cable for any physical damage, such as frayed wires or bent connectors. A faulty cable can result in a poor or non-existent connection. If you notice any damage, replace the cable with a new one.
- Connect the cable to both devices: Once you have the appropriate cable and have inspected it, connect one end to the corresponding port on your Chromebook and the other end to the port on the external device. Ensure that the connection is secure.
By following these steps, you will establish a proper physical connection between your Chromebook and the external device. This is a crucial step in using your Chromebook as a monitor, as it ensures that the display signal can be transmitted accurately. Now that the connectivity is established, it’s time to move on to activating the Chromebook’s display sharing feature.
Activate the Chromebook’s Display Sharing Feature
In order to use your Chromebook as a monitor, you need to activate the display sharing feature. This feature allows your Chromebook to receive and display the output from another device. Here’s how to activate it:
- Access the Chromebook settings: Click on the system tray in the bottom-right corner of the screen. Then, click on the gear-shaped icon to access the Chromebook settings.
- Navigate to the “Display” settings: In the settings menu, click on the “Display” option. This will open the display settings where you can customize the screen resolution, orientation, and other display-related options.
- Scroll down to find the projection options: Scroll down the display settings page until you find the “Projection” section. This is where you can activate the display sharing feature of your Chromebook.
- Enable display sharing: In the projection section, you will find an option to enable display sharing. Toggle the switch to the “On” position to activate this feature.
By following these steps, you will activate the display sharing feature on your Chromebook, allowing it to receive and display the output from external devices. With the feature enabled, you can now connect the device you want to use with your Chromebook as a monitor.
It is worth noting that the steps to activate the display sharing feature may vary slightly depending on the Chromebook model and the version of Chrome OS you are using. However, the general process remains the same, and you should be able to locate and enable the display sharing option by navigating through the settings.
Connect External Device to Chromebook
Now that you have activated the display sharing feature on your Chromebook, it’s time to connect the external device to your Chromebook. Follow these steps to establish the connection:
- Ensure that both your Chromebook and the external device are turned on: Make sure both devices are powered on and ready for connection.
- Locate the video output port on the external device: Identify the video output port on the device you want to connect to your Chromebook. This could be an HDMI, VGA, or DVI port, depending on the device.
- Insert the appropriate cable into the video output port: Take the cable you selected in the previous step (HDMI, VGA, or DVI) and connect it to the appropriate video output port on the external device.
- Connect the other end of the cable to your Chromebook: Connect the other end of the cable to the corresponding port on your Chromebook. Ensure that the connection is secure.
- Switch the input source on the external device: On the external device, switch the input source to the connected port. This may involve pressing a button or selecting an option through the device’s menu.
Once you have followed these steps and established the physical connection between your Chromebook and the external device, the display output from the external device should appear on your Chromebook’s screen. Your Chromebook is now functioning as a monitor for the connected device.
It’s important to note that the steps for connecting an external device to your Chromebook may vary depending on the type of port and cable you are using. Ensure that you are using the appropriate cable and follow any specific instructions provided by the manufacturer of the external device.
Adjust Display Settings on the Chromebook
Once you have successfully connected the external device to your Chromebook and the display output is visible on your Chromebook’s screen, you may need to make some adjustments to the display settings to optimize the viewing experience. Follow these steps to adjust the display settings on your Chromebook:
- Access the Chromebook settings: Click on the system tray in the bottom-right corner of the screen and then click on the gear-shaped icon to access the Chromebook settings.
- Navigate to the “Display” settings: In the settings menu, click on the “Display” option. This will open the display settings where you can customize the screen resolution, orientation, and other display-related options.
- Adjust the screen resolution: Depending on your preference and the capabilities of the connected device, you may want to adjust the screen resolution. This determines the clarity and sharpness of the display. Select a resolution that suits your needs by clicking on the drop-down menu under the “Screen resolution” section.
- Modify the display orientation: If you prefer a different orientation for the external display, such as landscape or portrait mode, you can change it in the display settings. Select the desired orientation from the available options in the “Display orientation” section.
- Customize other display settings: Take the time to explore the other display settings options. You may find options for adjusting the brightness, contrast, or color balance. Experiment with these settings to achieve the optimal display quality for your needs.
By following these steps and adjusting the display settings to your liking, you can optimize the viewing experience while using your Chromebook as a monitor. Play around with the settings until you find the configuration that best suits your preferences and requirements.
Keep in mind that the available display settings and options may vary depending on the Chromebook model and the version of Chrome OS you are using. However, the general process should remain similar across different devices.
Disconnect External Device from Chromebook
When you’re done using your Chromebook as a monitor and want to disconnect the external device, follow these steps to ensure a proper disconnection:
- Save and close any open files or applications on the external device: Before disconnecting the external device, make sure to save any work and close all open files or applications. This will prevent any potential data loss or issues.
- Disconnect the cable from the external device: Gently remove the cable from the video output port on the external device. Be careful not to damage the port or the cable during this process.
- Disconnect the cable from your Chromebook: Unplug the other end of the cable from the corresponding port on your Chromebook. Make sure to perform this step with care to avoid any damage.
- Store the cable properly: If you’re not planning to use the cable immediately, it’s a good practice to store it properly. Coil it neatly and secure it with a cable tie or twist tie to prevent tangling or damage.
By following these steps, you can safely disconnect the external device from your Chromebook without encountering any issues. It’s important to properly disconnect the cable to avoid any potential damage to the ports or the cable itself.
Remember that you can always connect your Chromebook as a monitor again whenever you need it. Simply follow the previous sections to establish the connection and enjoy the benefits of a larger viewing area.
Troubleshooting Tips
While using your Chromebook as a monitor can be a convenient feature, you may encounter some issues along the way. Here are some troubleshooting tips to help you address common problems:
- Check cable connections: Ensure that all cables are securely connected to both your Chromebook and the external device. Loose connections can result in a poor or non-existent display.
- Restart your Chromebook: Sometimes a simple restart can resolve connectivity or display-related issues. Try restarting your Chromebook and see if the problem persists.
- Update Chrome OS and device drivers: Keeping your Chromebook and external device up to date with the latest software and drivers can help resolve compatibility and performance issues. Check for any available updates and install them accordingly.
- Try a different cable: If the display is not working despite proper connections, try using a different cable. The cable you are using may be faulty or incompatible with your devices.
- Check power sources: Make sure both your Chromebook and the external device have sufficient power. Connect them to a power source if necessary, as insufficient power can cause display issues.
- Adjust display settings on the external device: If the connected device has its own display settings, ensure that they are properly configured to output to an external monitor. Refer to the device’s manual or settings menu for guidance.
- Consult the Chromebook support center: If you have exhausted all troubleshooting methods and are still experiencing issues, reach out to the Chromebook support center for further assistance. They may be able to provide specific troubleshooting steps or solutions based on your unique situation.
These troubleshooting tips should help you address common issues that may arise while using your Chromebook as a monitor. Remember to be patient and methodical when troubleshooting, as it can often lead to finding the solution to the problem.
Using your Chromebook as a monitor can greatly expand your productivity and enhance your viewing experience. With these troubleshooting tips, you can overcome any challenges that may arise and fully enjoy the benefits of using your Chromebook as a versatile display device.
Conclusion
Using your Chromebook as a monitor for other devices can be a game-changer in terms of productivity and flexibility. With a few simple steps, you can extend your display or mirror it, providing a larger viewing area and enabling multitasking capabilities. However, it is important to ensure that your Chromebook is compatible and that proper connectivity is established.
By determining the compatibility of your Chromebook, checking the available ports, selecting the appropriate cable, and activating the display sharing feature, you can seamlessly connect your Chromebook to an external device. Adjusting the display settings on your Chromebook further enhances the viewing experience, allowing you to customize the resolution, orientation, and other display-related options based on your preferences.
When you’re done using your Chromebook as a monitor, follow the proper steps to disconnect the external device and store the cables safely. If you encounter any issues along the way, refer to the troubleshooting tips to address common problems such as connectivity issues or display abnormalities.
Overall, utilizing your Chromebook as a monitor offers convenience, versatility, and an expanded workspace. Whether you’re a student, professional, or casual user, this feature can significantly enhance your computing experience. So, unleash the full potential of your Chromebook and enjoy the benefits of a larger display area for improved productivity and immersive multimedia experiences.


