Introduction
Are you a gaming enthusiast looking to maximize your gaming experience on the Wii U? Did you know that you can use your laptop as a gaming monitor? This opens up a whole new realm of possibilities, allowing you to enjoy your favorite Wii U games on a larger screen with better resolution.
In this guide, we will walk you through the process of using your laptop as a gaming monitor for your Wii U. We will cover the requirements, connection methods, display settings, audio configuration, gameplay optimization, and troubleshooting tips. So grab your Wii U and laptop, and let’s get started!
To use your laptop as a gaming monitor for Wii U, you will need a few essential requirements. Firstly, make sure your laptop has an HDMI input port. This is crucial, as it allows you to connect your Wii U console to your laptop.
Additionally, ensure that your laptop meets the minimum system requirements to handle the output from the Wii U. The specifications may vary depending on the game you plan to play, but having a decent processor, sufficient RAM, and a dedicated graphics card will significantly enhance your gaming experience.
Furthermore, you will need an HDMI cable to establish a connection between your laptop and the Wii U. This cable transmits both audio and video signals, delivering a seamless gaming experience on your laptop screen.
Lastly, make sure to have your Wii U console, games, and controllers ready. With all these requirements in place, you’re now ready to start using your laptop as a gaming monitor!
Requirements
Before diving into the process of using your laptop as a gaming monitor for Wii U, it’s important to ensure that you have all the necessary requirements in place. Here’s what you’ll need:
1. Laptop with HDMI Input: Your laptop should have an HDMI input port. This is crucial for establishing a connection between your Wii U and the laptop. Most modern laptops come equipped with an HDMI input, but before you proceed, double-check to ensure that your laptop has this port.
2. Minimum System Requirements: Make sure that your laptop meets the minimum system requirements to handle the output from the Wii U. While specific requirements may vary depending on the game you plan to play, having a decent processor, sufficient RAM, and a dedicated graphics card will significantly enhance your gaming experience. Be sure to consult the system requirements for the games you intend to play to ensure optimal performance.
3. HDMI Cable: To connect your Wii U console to your laptop, you’ll need an HDMI cable. This cable transmits both audio and video signals, allowing you to enjoy your Wii U games on the laptop screen. Make sure to have a high-quality HDMI cable that is long enough to reach from your Wii U console to your laptop.
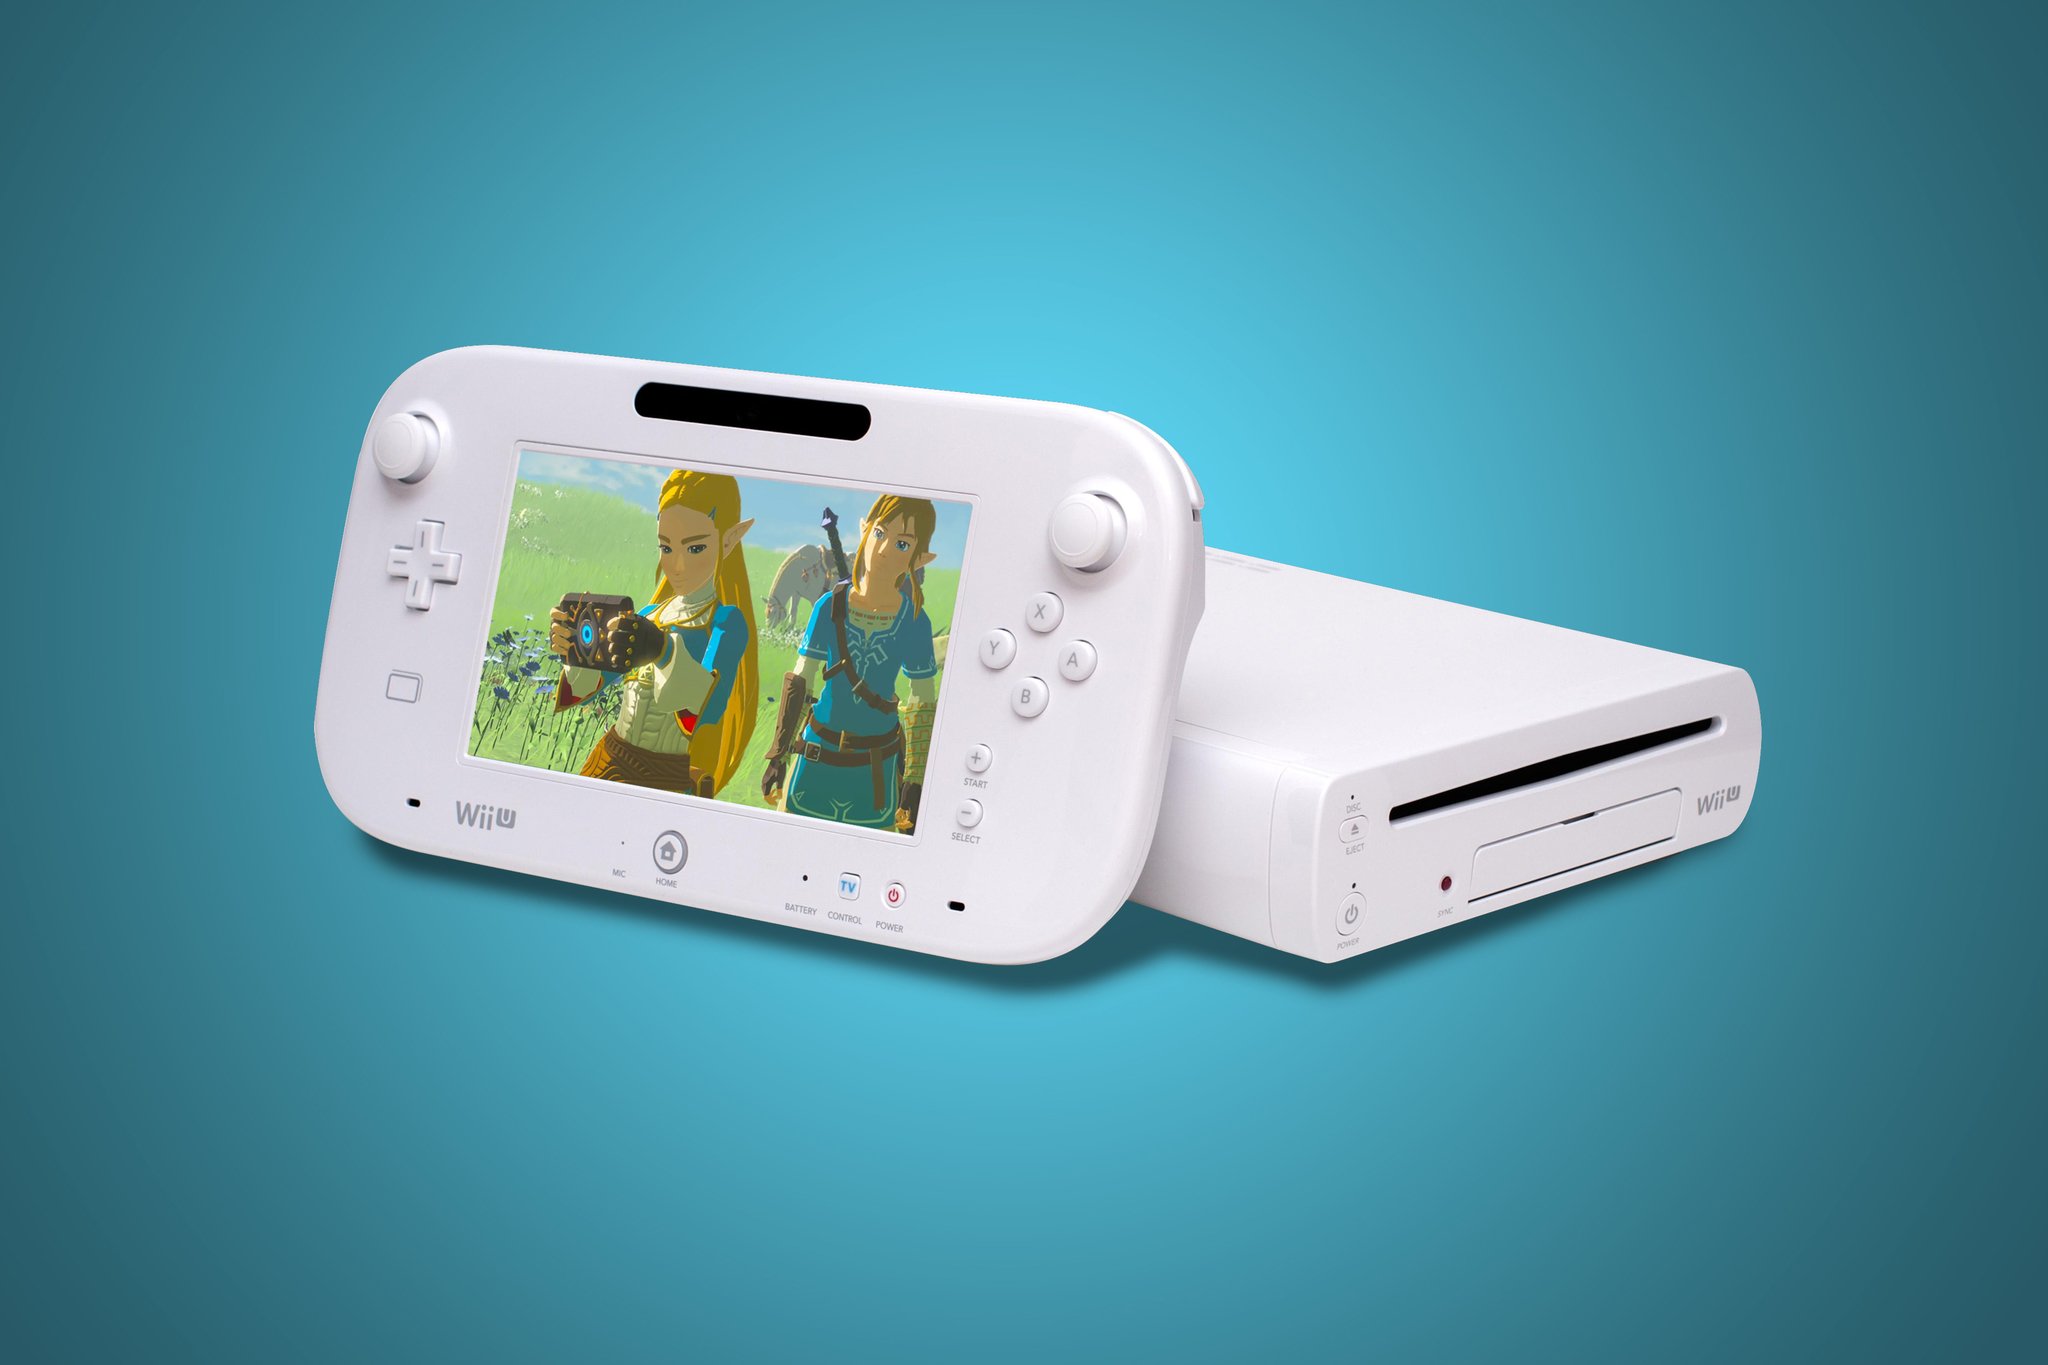
4. Wii U Console, Games, and Controllers: Of course, to play Wii U games on your laptop, you’ll need the Wii U console itself, along with your favorite games and controllers. Make sure your console is in good working condition and that you have all the necessary cables and accessories.
By ensuring that you have all these requirements in place, you’ll be fully prepared to proceed with the process of using your laptop as a gaming monitor for Wii U. With the right equipment, you can unlock a whole new level of gaming excitement and enjoy your favorite Wii U games in a whole new way.
Connecting the Laptop and Wii U
Now that you have all the necessary requirements at hand, it’s time to connect your laptop and Wii U console. Follow these steps to establish a connection:
1. Power off both your laptop and Wii U console before making any connections. This ensures a safe and secure process.
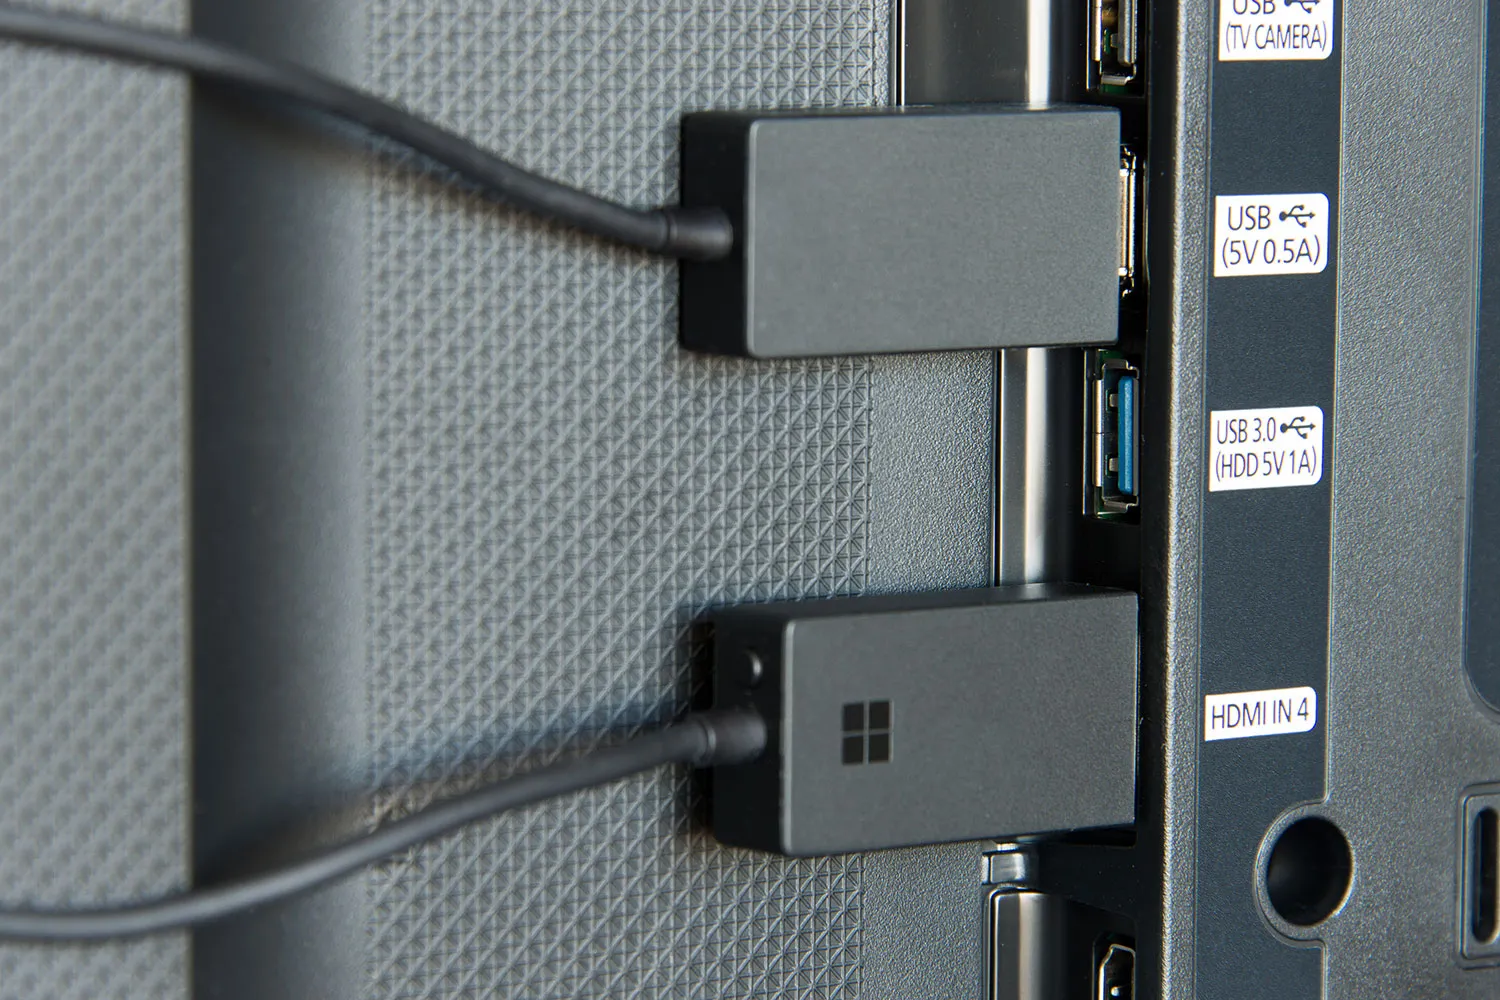
2. Locate the HDMI input port on your laptop. It is usually found on the side or back of the laptop and is labeled with an “HDMI” symbol. Connect one end of the HDMI cable to this port.
3. On your Wii U console, locate the HDMI output port. It is typically located at the back of the console. Connect the other end of the HDMI cable to this port.
4. Power on your laptop and Wii U console. Your laptop’s screen should now display the output from the Wii U console. If not, continue to the next step.
5. If the display is not automatically showing on your laptop screen, you may need to switch the input source manually. To do this, press the function key (often labeled as “Fn”) on your laptop’s keyboard, along with the corresponding “F” key that has an image of a screen or monitor. This combination varies depending on the laptop model, so consult your laptop’s manual if you’re unsure.
6. Once the input source is switched, you should see the Wii U display on your laptop screen. Adjust the screen resolution and orientation if needed to ensure the best gaming experience.
That’s it! You have successfully connected your laptop and Wii U console. Now you can start enjoying your favorite Wii U games on the larger screen of your laptop, taking your gaming experience to a whole new level.
Note: It’s important to keep in mind that using a laptop as a gaming monitor may introduce some input lag. This is the time it takes for your laptop to process the input from the Wii U controller. While it may not be noticeable for casual gaming, it can affect the overall gameplay experience for competitive or fast-paced games.
Now that you have established the connection, the next step is to adjust the display settings to optimize the gaming experience. We’ll cover this in the next section.
Adjusting Display Settings
After successfully connecting your laptop and Wii U console, it’s essential to adjust the display settings to optimize your gaming experience. Follow these steps to fine-tune the display settings:
1. Right-click on your desktop and select “Display Settings” or “Screen Resolution” from the menu. This will open the display settings window.
2. In the display settings window, you will see a list of connected displays. Identify your laptop display and click on it.
3. Adjust the screen resolution to your preferred setting. A higher resolution will result in sharper visuals, but keep in mind that it may also require more processing power from your laptop. Choose a resolution that strikes a good balance between visual quality and performance.
4. If the screen orientation needs to be adjusted, you can do so under the “Orientation” dropdown menu. Select either “Portrait” or “Landscape” depending on your preference.
5. To make the Wii U display full-screen on your laptop, click on “Display mode” or “Scaling options.” Choose the option that allows the display to fill the entire screen without any black borders.
6. Once you have made the necessary adjustments, click on “Apply” or “OK” to save the changes and apply them to your laptop display.
7. Test the display settings by launching a Wii U game. Ensure that the game is displayed correctly on your laptop screen, with no stretched or distorted visuals.
By adjusting the display settings according to your preferences, you can enhance the visual quality and ensure a seamless gaming experience on your laptop as the gaming monitor for Wii U.
Keep in mind that different games may have their own specific graphic settings within the game itself. You may need to adjust these settings separately to optimize the visuals and performance for each game.
Now that you have customized the display settings, the next step is to configure the audio to ensure you can enjoy the game with immersive sound. We’ll cover this in the next section.
Configuring Audio
Now that you’ve adjusted the display settings, it’s time to configure the audio settings to ensure you can enjoy the game with immersive sound. Follow these steps to set up the audio:
1. Right-click on the volume icon in the system tray of your laptop’s taskbar. Select “Playback Devices” from the menu that appears. This will open the Sound settings window.
2. In the Sound settings window, you will see a list of playback devices. Locate your laptop’s speakers or headphone jack and ensure that it is set as the default playback device. This ensures that the audio from the Wii U console is directed to your laptop’s speakers or headphones.
3. If you prefer to use headphones for gaming, plug them into the headphone jack of your laptop. Make sure the headphones are set as the default playback device in the Sound settings.
4. Test the audio by playing a sound or launching a Wii U game. Ensure that the sound is coming from the laptop’s speakers or headphones, depending on your configuration.
5. To adjust the volume levels, use the volume control keys on your laptop’s keyboard or the volume slider in the taskbar. Fine-tune the volume to your preferred level for an optimal gaming experience.
If you’re using external speakers or a gaming headset with USB connectivity, make sure to set them as the default playback device in the Sound settings instead of your laptop’s built-in speakers or headphone jack.
Note: Some HDMI cables transmit audio signals along with the video signals. In this case, the audio settings on your laptop may not need any further configuration as it will automatically detect and play the audio from the Wii U console. However, if you’re not getting audio or prefer to use headphones or external speakers, manually configuring the audio settings is necessary.
By configuring the audio settings correctly, you can enjoy the immersive sound effects, music, and dialogue while playing Wii U games on your laptop as a gaming monitor.
Now that you have the display and audio settings properly configured, let’s move on to optimizing the gameplay for the best performance and experience.
Optimizing Gameplay
To ensure a smooth and enjoyable gaming experience on your laptop as a gaming monitor for Wii U, it’s important to optimize the gameplay settings. Follow these tips to maximize performance and enhance your gaming experience:
1. Update Graphics Drivers: Make sure your laptop’s graphics drivers are up to date. Visit the manufacturer’s website or use a third-party software to check for the latest drivers and install them if needed. Updated drivers can improve compatibility and performance for gaming.
2. Close Unnecessary Programs: Close any unnecessary programs running in the background to free up system resources. This will help ensure that your laptop has ample processing power and memory available for running the Wii U games smoothly.
3. Adjust Power Settings: Set your laptop’s power settings to “High Performance” or “Gaming Mode.” This will prioritize performance over energy-saving features and maximize your laptop’s capabilities during gaming sessions.
4. Disable Notifications: Temporarily disable notifications, alerts, and pop-ups while gaming to avoid any interruptions. Notifications can cause lag or distract you from the gameplay, so it’s best to turn them off during your gaming sessions.
5. Optimize In-Game Settings: Adjust the graphics and performance settings within the Wii U games themselves. Each game may have different options, so explore the menus and choose settings that strike a balance between visual quality and smooth performance on your laptop. Disable any unnecessary graphical effects to improve the framerate.
6. Use a Cooling Pad: If your laptop tends to get hot during extended gaming sessions, consider using a cooling pad. A cooling pad helps dissipate heat and keeps your laptop running at optimal temperatures, preventing performance throttling due to overheating.
7. Consider Game Mode or Game Boost: Some laptops have a specific gaming mode or game boost feature that when enabled, optimizes the system for gaming by allocating more resources to the game and minimizing background processes. If your laptop has this feature, enable it for an enhanced gaming experience.
Remember, the performance and optimization options may vary depending on your laptop model, so consult your laptop’s manual or manufacturer’s website for specific recommendations and features.
With these optimization tips, you can ensure smooth gameplay, minimize lag, and enjoy Wii U games at their best on your laptop as a gaming monitor. Now, let’s address any potential issues or challenges you may encounter during the setup process in the next section.
Troubleshooting
While using your laptop as a gaming monitor for Wii U can be a fantastic gaming experience, you may encounter a few challenges along the way. Here are some common troubleshooting tips to help you overcome any issues:
1. No Display on Laptop: If you don’t see any display on your laptop screen after connecting the Wii U console, double-check the HDMI connection. Ensure that the HDMI cable is securely plugged into both the laptop and the Wii U. You may also need to switch the input source on your laptop by using the function key combination specific to your laptop model.
2. Poor Graphics Quality: If the graphics quality doesn’t meet your expectations, check the display settings on your laptop. Adjust the resolution and scaling options to achieve the desired visual clarity. Additionally, make sure that your laptop’s graphics drivers are up to date as outdated drivers can sometimes impact the graphics performance.
3. Lag or Delayed Response: If you experience input lag or delayed response while playing Wii U games on your laptop, try reducing the graphical settings within the games. Lowering the graphics quality can help improve the overall performance and reduce lag. Additionally, closing any unnecessary background programs and using a cooling pad to keep your laptop’s temperature in check can minimize performance issues.
4. No Sound or Audio Issues: If you’re not getting any sound or experiencing audio issues, ensure that your laptop’s audio settings are correctly configured. Set the laptop’s speakers or headphone jack as the default playback device in the sound settings. If you’re using external speakers or headphones, make sure they are properly connected and set as the default playback device.
5. Compatibility Issues: In some cases, certain Wii U games may not run smoothly on your laptop due to compatibility issues. Ensure that your laptop meets the minimum system requirements for the games you are playing. If a particular game is consistently problematic, consider checking online forums or contacting the game developer to see if there are any known compatibility issues or patches that can help resolve the problem.
If you’re still unable to resolve the issues you’re encountering, it may be helpful to consult with technical support or seek assistance from online communities dedicated to gaming or laptop troubleshooting. Remember to provide detailed information about your laptop model, operating system, and any error messages you may have encountered for more accurate and targeted solutions.
Now that you’re aware of the potential troubleshooting steps, you’ll be better equipped to address any challenges that may arise during the setup and usage of your laptop as a gaming monitor for Wii U.
Conclusion
Using your laptop as a gaming monitor for Wii U can unlock a whole new level of gaming experience, allowing you to enjoy your favorite Wii U games on a larger screen with improved visuals. By following the steps outlined in this guide, you can successfully connect your laptop to the Wii U console, adjust the display and audio settings, optimize gameplay, and troubleshoot any issues that may arise.
Remember to ensure that your laptop meets the necessary requirements, including having an HDMI input port and meeting the minimum system requirements for smooth gameplay. Connect the HDMI cable, adjust the display settings to your preference, and configure the audio settings to enjoy immersive sound.
To enhance the gaming experience, consider optimizing gameplay by updating graphics drivers, closing unnecessary background programs, adjusting power settings, and fine-tuning in-game settings. Troubleshooting common issues such as no display, poor graphics quality, lag, or audio problems can be resolved by double-checking connections, adjusting settings, and seeking support if needed.
Although using a laptop as a gaming monitor for Wii U may introduce some input lag, the overall gaming experience can be greatly enhanced. Keep in mind that each game may have its own specific settings that can be adjusted to optimize performance and graphics quality.
We hope that this guide has provided you with the necessary knowledge and steps to successfully use your laptop as a gaming monitor for Wii U. Now, grab your laptop, connect it to your Wii U console, and embark on an exciting gaming journey with an immersive and larger display!