Introduction
Welcome to our guide on how to uninstall Windows updates. As a Windows user, you may encounter situations where you need to remove an installed update. This could be due to compatibility issues, performance problems, or simply the need to free up disk space. Uninstalling Windows updates can be a useful troubleshooting step or a way to revert back to a previous state.
Windows updates are essential for keeping your system secure and up to date with the latest features and improvements. However, there are instances when a particular update can cause more harm than good. It could result in software conflicts, system crashes, or even compatibility issues with certain applications or hardware.
In this guide, we will explore various methods to uninstall Windows updates, depending on your specific situation. Whether you prefer using the Control Panel, Command Prompt, Windows Update Troubleshooter, System Restore, or PowerShell, we’ve got you covered.
Before we proceed, it’s important to note that uninstalling Windows updates should be done with caution. Removing a critical update or a security patch can potentially leave your system vulnerable to threats.
It’s also worth mentioning that once an update is uninstalled, you may need to reinstall it if it’s deemed necessary or beneficial in the future. So, let’s dive in and explore the different methods you can use to uninstall Windows updates and restore your system to a stable state.
Why would you want to uninstall Windows updates?
Windows updates are designed to improve the functionality, security, and stability of your operating system. However, there are instances when you may want to uninstall a Windows update. Let’s explore some common scenarios where you might consider removing an installed update.
Compatibility issues: Sometimes, a Windows update can cause compatibility problems with certain software applications or hardware devices. This can result in unpredictable behavior, errors, or even system crashes. Uninstalling the problematic update can help restore compatibility and resolve any issues caused by the update.
Performance problems: In rare cases, a Windows update can negatively impact system performance. This might manifest as slow boot times, sluggish response, or increased resource usage. If you notice a significant decline in performance after installing a specific update, removing that update might help improve your system’s performance.
Software conflicts: Windows updates can sometimes conflict with other installed software, especially if you have specialized or older programs. These conflicts can lead to errors, crashes, or malfunctioning applications. By uninstalling the conflicting update, you can eliminate the compatibility issues and restore proper functionality to your programs.
Unwanted changes: Windows updates often introduce changes to the user interface, features, or settings. While these changes are typically intended to enhance the user experience, they may not always align with your preferences. If you find that a specific update has made unwanted changes to your system, uninstalling it can revert your system back to its previous state.
Freeing up disk space: Over time, Windows updates accumulate and take up valuable disk space. If you are running low on storage or prefer to maintain a lean system, uninstalling unnecessary updates can help free up disk space and improve the overall performance of your computer.
Remember, uninstalling Windows updates should only be considered as a troubleshooting step or solution to specific issues. It’s generally recommended to keep your system up to date with the latest patches and security fixes to ensure optimal performance and protection.
In the following sections, we’ll explore different methods to uninstall Windows updates, allowing you to effectively manage and troubleshoot your system.+
Method 1: Using the Control Panel
One of the easiest ways to uninstall Windows updates is by using the Control Panel. Here’s how you can do it:
- Open the Control Panel by searching for it in the Start menu or pressing the Windows key + R, then typing ‘control’ and hitting Enter.
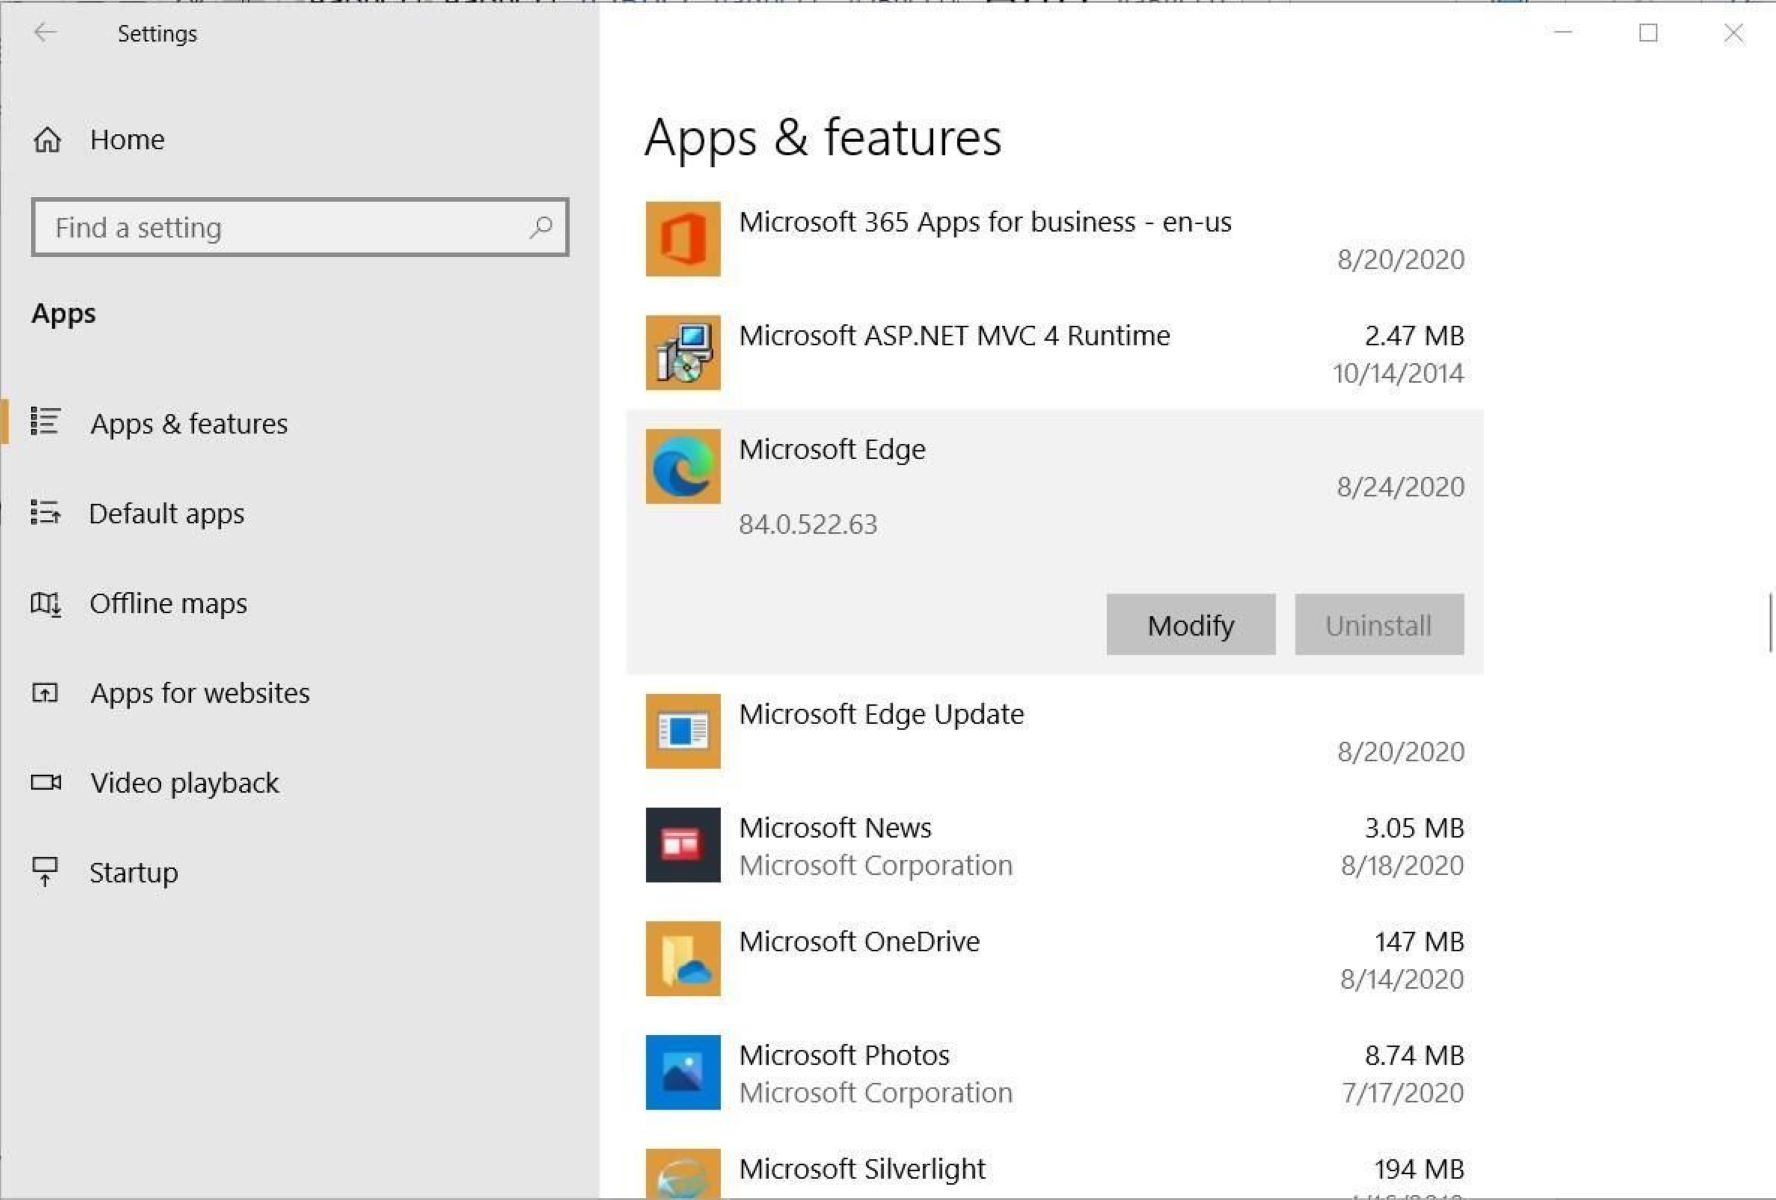
- In the Control Panel, navigate to the ‘Programs’ or ‘Programs and Features’ section.
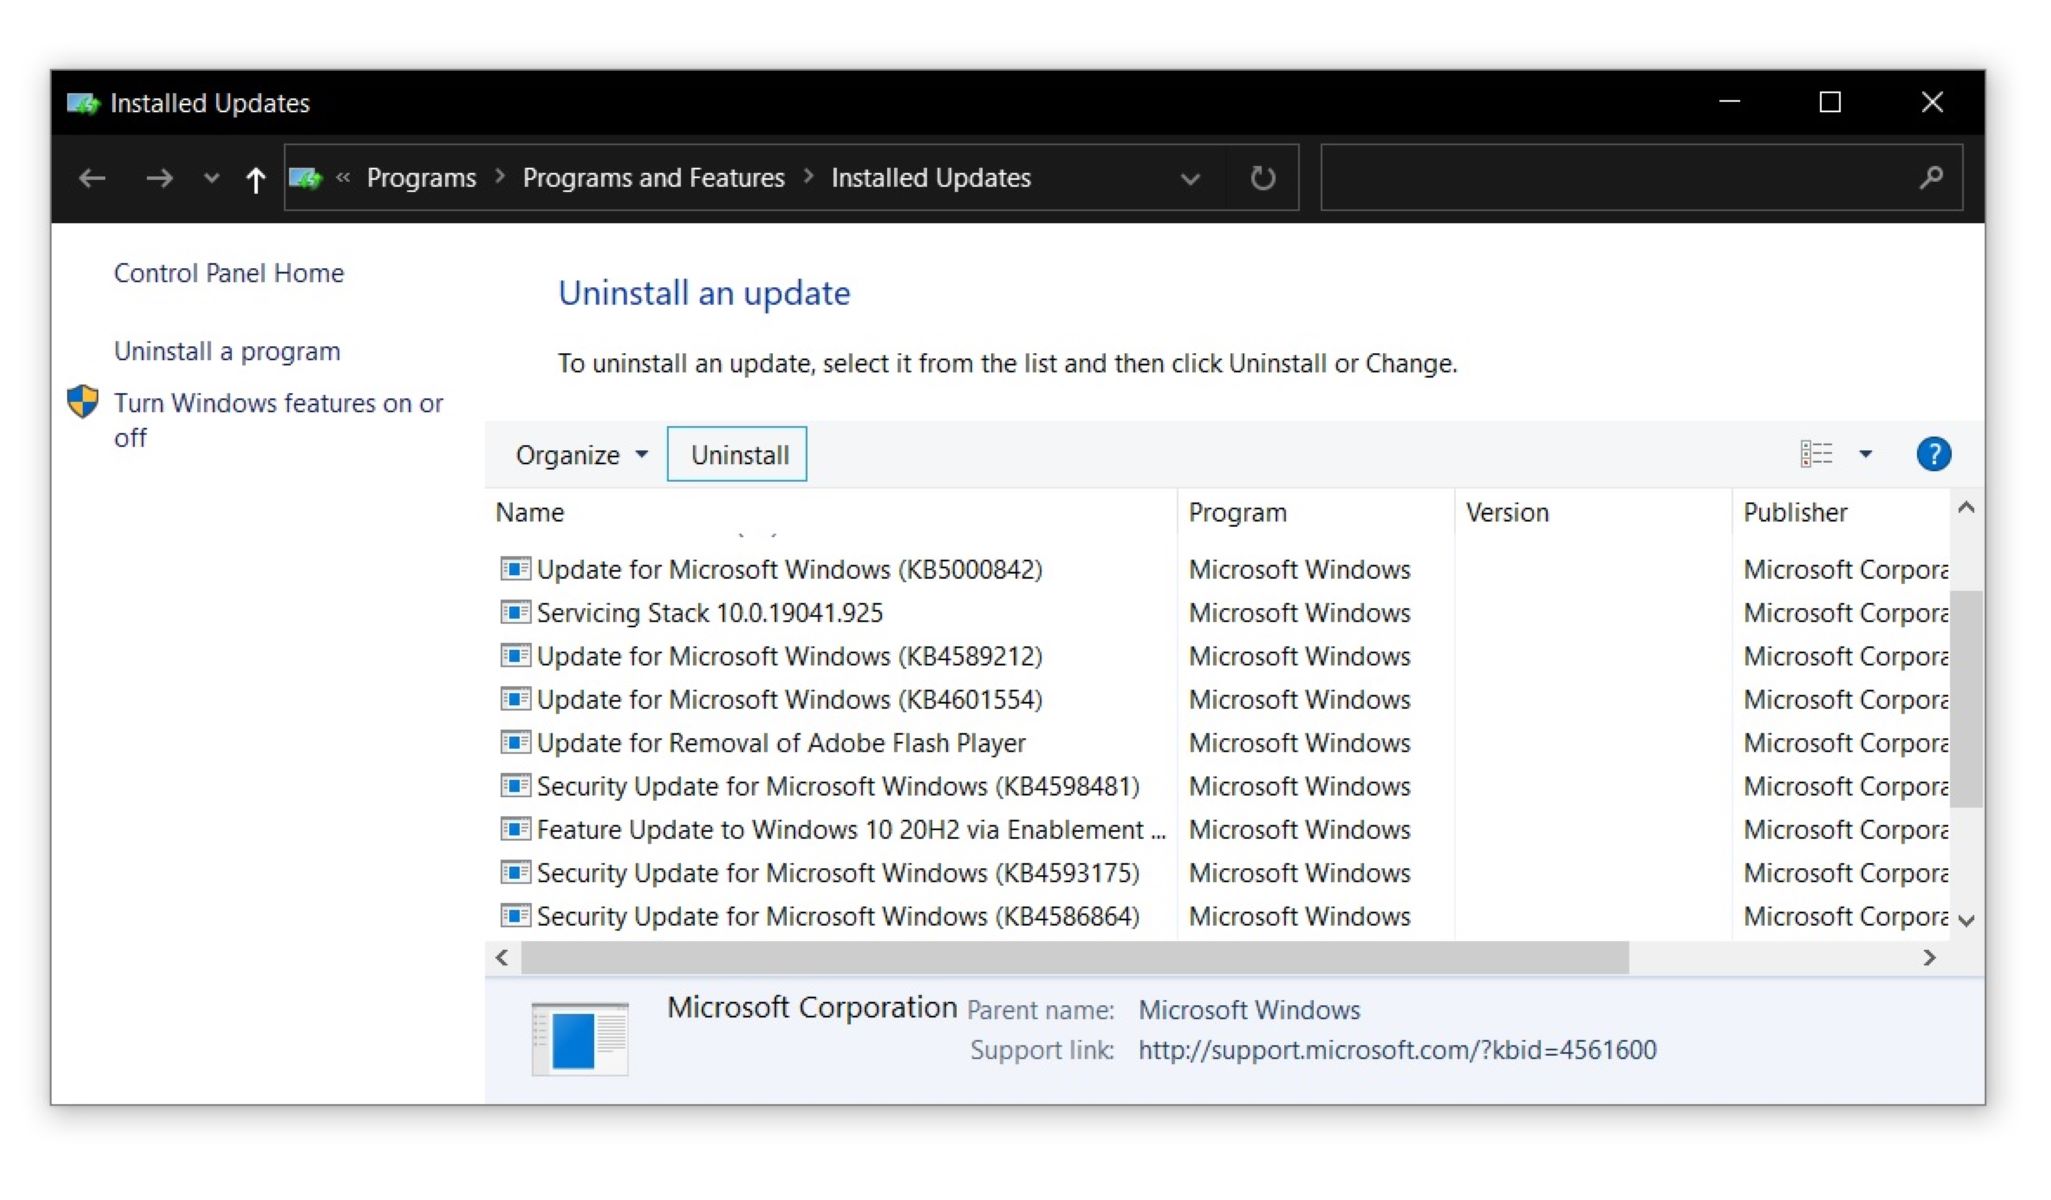
- Click on ‘View installed updates’ on the left-hand side of the window. This will display a list of all the installed updates on your system.
- Scroll through the list to find the specific update you want to remove. You can sort the updates by date or name to make it easier to locate the one you need.
- Once you’ve found the update, right-click on it and select ‘Uninstall’.
- Follow the on-screen prompts to complete the uninstallation process. You may be asked to restart your computer after the update has been removed.
It’s important to note that not all updates can be uninstalled using the Control Panel. Some critical security updates or system files may not appear in the list of installed updates. In such cases, you’ll need to use an alternative method to uninstall the update.
Uninstalling updates using the Control Panel is a straightforward method suitable for most users. However, if you prefer using command-line tools or need more advanced options, continue reading to learn about other uninstallation methods.
Method 2: Using the Command Prompt
If you’re comfortable using the command line, you can uninstall Windows updates using the Command Prompt. Here’s how:
- Open the Command Prompt as an administrator. To do this, right-click on the Start menu, select ‘Command Prompt (Admin)’ or ‘Windows PowerShell (Admin)’.
- Type the following command to list all the installed updates:
wmic qfe list brief /format:table - Press Enter to execute the command. This will display a table containing the details of all the installed updates on your system.
- Scroll through the list and locate the update you want to uninstall. Note down the ‘HotFixID’ or ‘UpdateID’ associated with the update.
- To uninstall the specific update, type the command:
wusa /uninstall /kb:[HotFixID]orwusa /uninstall /kb:[UpdateID]. Replace [HotFixID]/[UpdateID] with the ID of the update you want to remove. - Press Enter to execute the command. Follow the on-screen prompts to complete the uninstallation process. You may need to restart your computer after the update has been uninstalled.
Using the Command Prompt provides you with more control and flexibility when uninstalling Windows updates. It’s especially handy if you know the specific update ID or if the update doesn’t appear in the Control Panel’s list of installed updates.
Keep in mind that the Command Prompt method requires administrative privileges. Make sure to run the Command Prompt as an administrator to perform the uninstallation successfully.
Now that you know how to uninstall Windows updates using the Command Prompt, let’s explore another method using the Windows Update Troubleshooter.
Method 3: Using Windows Update Troubleshooter
If you’re encountering issues with Windows updates, you can try using the built-in Windows Update Troubleshooter to diagnose and resolve the problem. In some cases, this troubleshooter may automatically uninstall problematic updates. Here’s how you can use it:
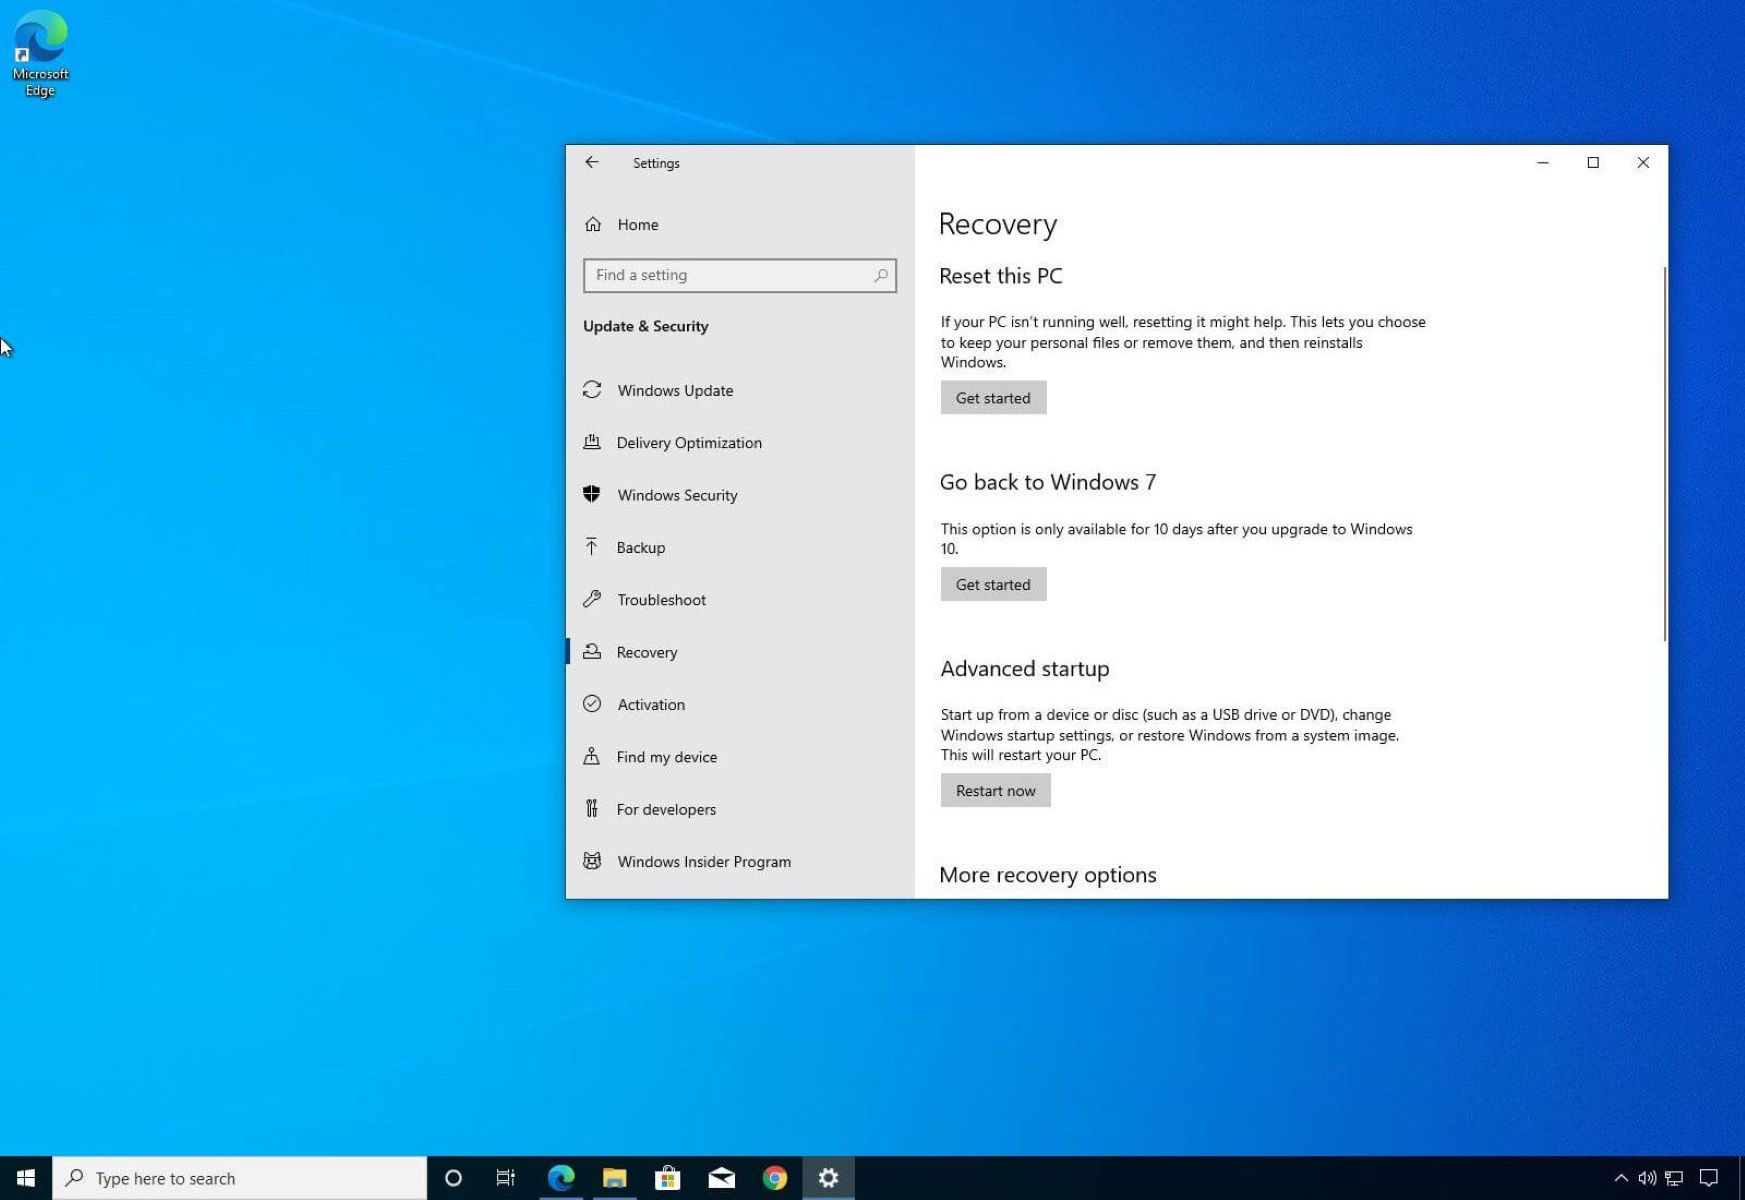
- Open the Settings app by clicking on the Start menu and selecting the gear icon, or by pressing the Windows key + I.
- In the Settings app, click on ‘Update & Security’.
- On the left-hand side of the window, click on ‘Troubleshoot’.
- Scroll down and locate ‘Windows Update’ in the list of troubleshooters. Click on it.
- Click on the ‘Run the troubleshooter’ button. Windows will now scan for any issues related to Windows Update.
- If the troubleshooter detects any problems, it will provide you with a list of possible fixes. Follow the on-screen instructions to apply the recommended solutions.
During the troubleshooting process, Windows may automatically detect and uninstall any problematic updates that are causing issues on your system. This can help resolve your update-related problems without the need for manual intervention.
Using the Windows Update Troubleshooter is a quick and convenient method to diagnose and automatically resolve common update issues. It’s recommended to run this troubleshooter before attempting manual uninstallation methods.
Now that you’re familiar with using the Windows Update Troubleshooter, let’s explore another method known as System Restore.
Method 4: System Restore
If you’re unable to uninstall a Windows update using the previous methods or if your system is experiencing major issues after an update, you can try using System Restore. This feature allows you to revert your computer back to a previous state, effectively removing any recently installed updates. Here’s how you can use System Restore:
- Open the Start menu and search for ‘System Restore’. Click on the ‘Create a restore point’ or ‘System Restore’ option that appears.
- In the System Properties window, click on the ‘System Restore…’ button. This will launch the System Restore wizard.
- Select the option to ‘Choose a different restore point’ and click ‘Next’.
- You will see a list of available restore points. Each restore point represents a specific system state at a particular date and time. Choose a restore point that was created prior to the installation of the problematic update.
- Click on ‘Next’, then review the restore point details. Make sure you understand that System Restore will uninstall updates and potentially remove recently installed software.
- Click on ‘Finish’ to begin the restoration process. Your computer will restart and the selected restore point will be applied.
System Restore will roll back your system to a previous configuration, effectively uninstalling any updates or changes that occurred after the selected restore point. Keep in mind that System Restore does not affect your personal files, but it may remove third-party software installed since the restore point was created.
System Restore is a powerful tool that can help you undo updates and resolve issues caused by them. However, it’s important to remember that it only affects system files and settings, not your personal data. Regularly creating restore points can serve as a safety net, allowing you to easily revert back to a stable system state if needed.
Now that you’re familiar with using System Restore, let’s explore another method using PowerShell to uninstall Windows updates.
Method 5: Uninstall Windows Updates using PowerShell
If you prefer a more advanced and script-based approach, you can use PowerShell to uninstall Windows updates. PowerShell is a powerful command-line tool that provides extensive control over your system. Here’s how to use PowerShell to uninstall updates:
- Open PowerShell as an administrator. To do this, right-click on the Start menu, select ‘Windows PowerShell (Admin)’ or ‘Windows PowerShell (Admin)’.
- Once PowerShell is open, you can list installed updates by running the command:
Get-WmiObject -Class 'Win32_QuickFixEngineering' - This command will display a list of all installed updates on your system, along with their properties.
- Scroll through the list and identify the update you want to uninstall based on the information provided.
- To uninstall a specific update, use the following command:
wusa /uninstall /kb:[KBNumber], replacing [KBNumber] with the KB number of the update you want to remove. - Execute the command by pressing Enter. Follow any on-screen prompts to complete the uninstallation process. You may need to restart your computer after the update has been uninstalled.
Using PowerShell to uninstall updates gives you fine-grained control over the process and allows for automation if needed. It is particularly useful when dealing with multiple updates or when scripting is required for repeatability.
Remember, PowerShell is a powerful tool, so be cautious when executing commands. Make sure you understand the specific update you want to uninstall and double-check the command syntax before executing it.
Now that you’ve learned how to uninstall Windows updates using PowerShell, you have a range of methods to choose from. Consider your specific needs and preferences to determine which method is most suitable for you.
In the next section, we’ll summarize the methods we covered and provide some final thoughts on uninstalling Windows updates.
Conclusion
Uninstalling Windows updates can be a useful solution when you encounter compatibility issues, performance problems, software conflicts, or unwanted changes on your system. Depending on your comfort level and specific requirements, you have several methods at your disposal.
If you prefer a user-friendly approach, using the Control Panel allows you to easily uninstall updates through a straightforward interface. The Command Prompt is a powerful tool for more advanced users who prefer a command-line interface. Windows Update Troubleshooter can automatically detect and resolve update-related issues, including uninstalling problematic updates. System Restore offers a comprehensive solution by allowing you to roll back your system to a previous state, effectively removing installed updates. Lastly, PowerShell provides advanced control and scripting capabilities for those who are comfortable with command-line tools.
When uninstalling Windows updates, it’s essential to exercise caution and consider the potential impact on your system. Critical updates and security patches should generally not be uninstalled, as they play a crucial role in keeping your system secure and up to date. Before proceeding with any method, it’s recommended to create a backup or restore point to ensure you have a safety net in case anything goes wrong.
Remember, finding the right balance between maintaining a stable system and addressing any issues caused by updates is key. Regularly reviewing and managing your installed updates can help keep your system running smoothly and ensure that you’re utilizing the latest features and security enhancements.
We hope this guide has provided you with the necessary information to uninstall Windows updates effectively. Choose the method that suits your needs, and don’t hesitate to reach out to Microsoft support or online forums if you require further assistance.
Now, go ahead and take control of your Windows updates, ensuring a stable and optimized computing experience!