Introduction
Windows updates are an essential part of maintaining your computer’s security and performance. They provide bug fixes, improvements, and new features that keep your system running smoothly. However, there may be instances where a Windows update causes issues or conflicts with certain software or hardware components on your computer. In such cases, rolling back the update can help restore stability and functionality.
In this article, we will explore why you might want to roll back a Windows update, different methods to roll back updates, and some tips to prevent issues during the rollback process.
Rolling back a Windows update essentially means undoing the changes made by the update and reverting to the previous version of the operating system or device driver. It is important to note that rolling back an update should be approached with caution and should only be performed if you are experiencing significant issues that were not present before the update installation.
Before we delve into the methods of rolling back a Windows update, let’s take a look at some scenarios where you might want to consider this option:
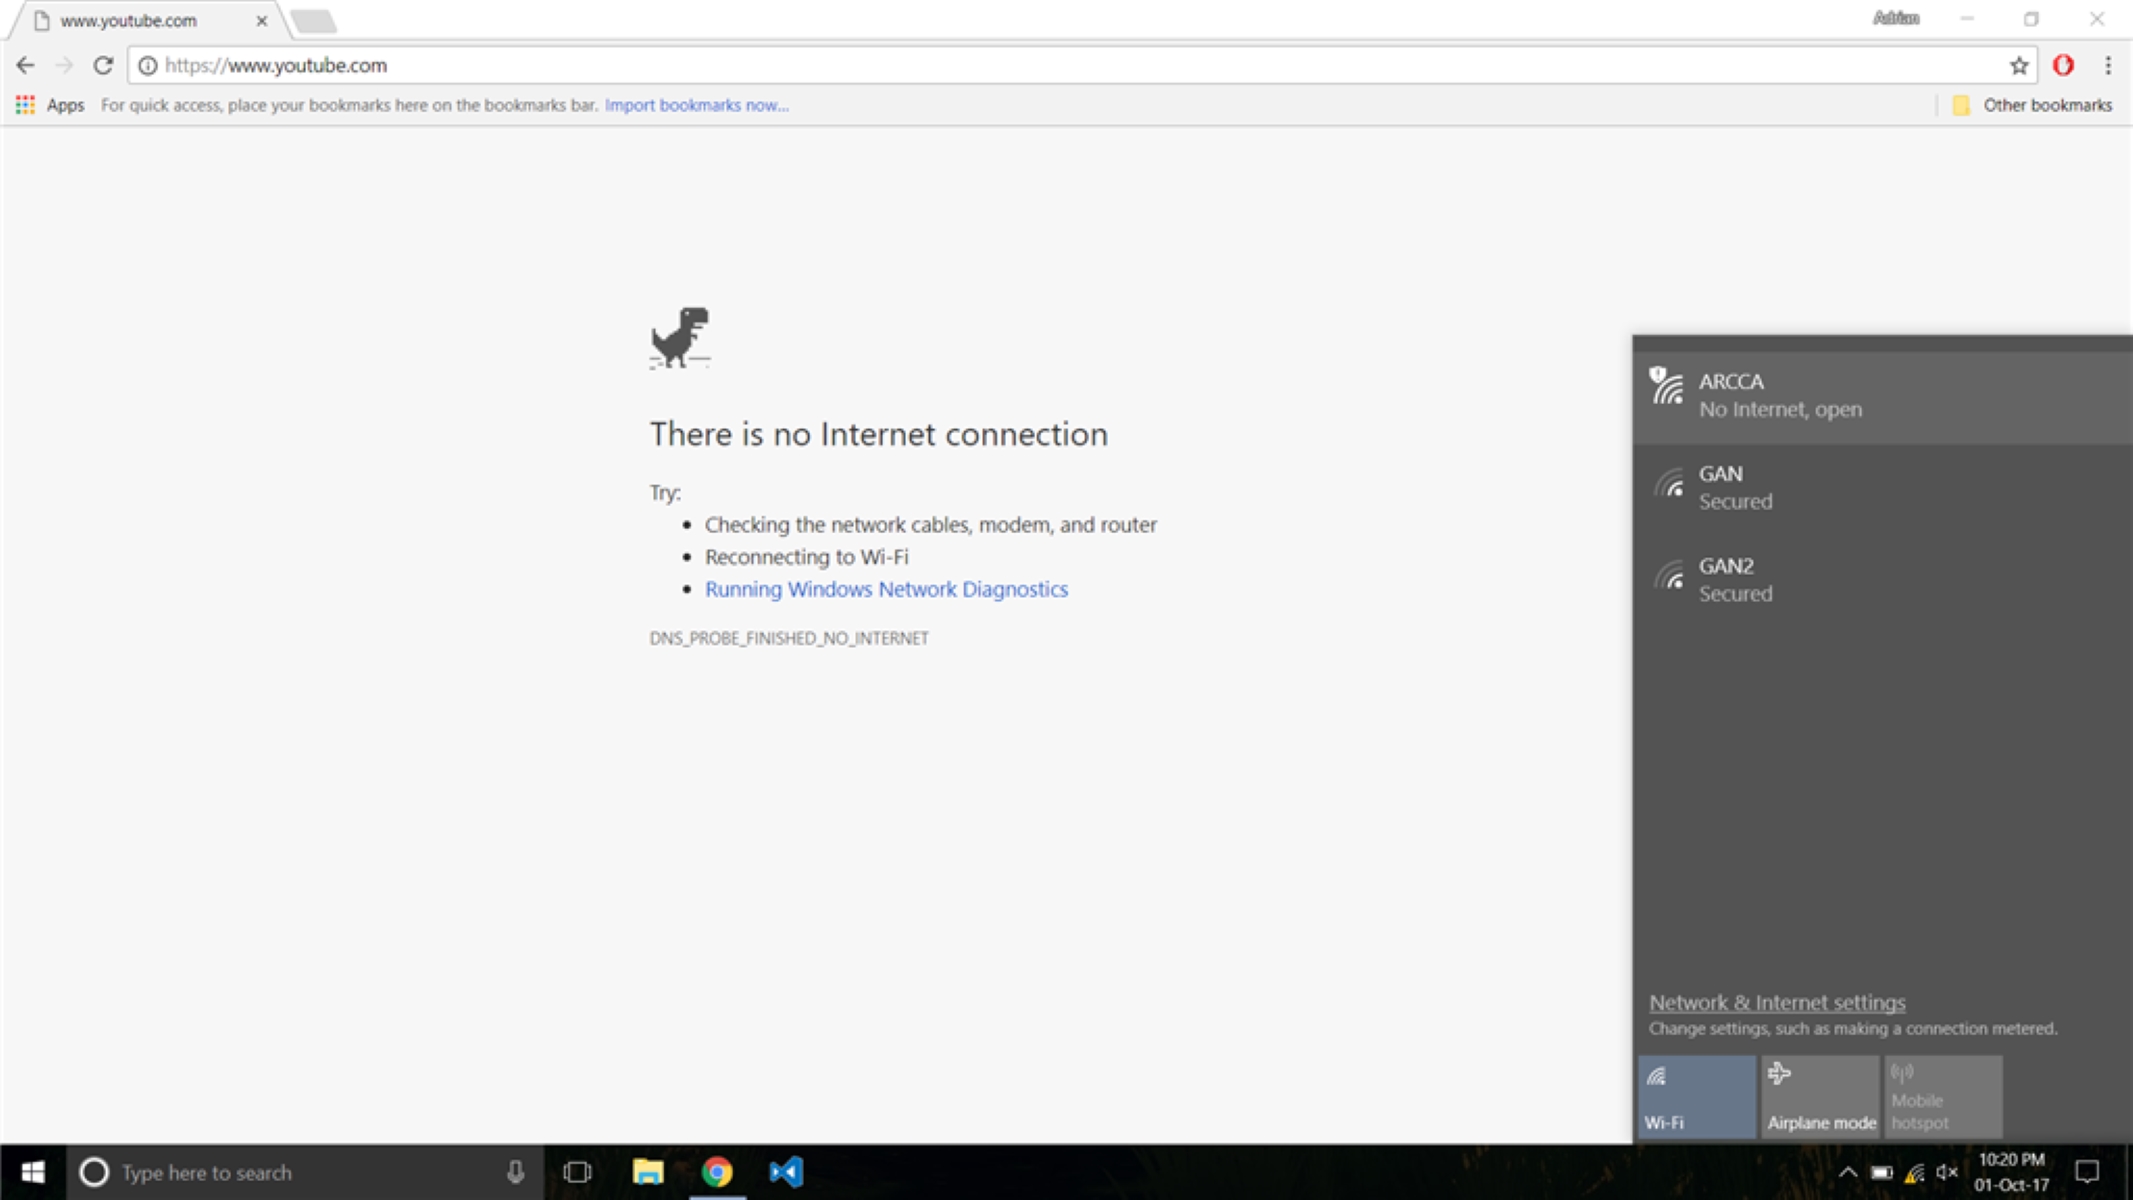
- Software Incompatibility: Sometimes, a Windows update can introduce compatibility issues with certain third-party software applications, causing them to crash or malfunction.
- Hardware Compatibility: In some cases, a Windows update might adversely affect the functioning of specific hardware devices or drivers, leading to performance issues or even system crashes.
- System Instability: After installing a Windows update, you might notice a general decline in system stability, such as frequent freeze-ups, sudden reboots, or sluggishness.
- Unintended Consequences: Occasionally, a Windows update can inadvertently cause unexpected behavior or changes that you are not comfortable with, such as alterations to the user interface or default settings.
Now that we understand the reasons why you might want to roll back a Windows update, let’s explore the different methods to check for recently installed updates and roll them back if necessary.
Why You Might Want to Roll Back a Windows Update
While Windows updates are generally beneficial for maintaining the security and stability of your computer, there are instances where you may encounter problems after installing an update. These issues can range from software incompatibility to system instability, and rolling back the update becomes a viable solution. Let’s explore some common scenarios where rolling back a Windows update may be necessary:
Software Incompatibility: In some cases, a Windows update can cause conflicts with specific software applications installed on your computer. This can manifest as crashes, errors, or overall poor performance of the affected software. Rolling back the update can help restore compatibility and enable the software to function correctly.
Hardware Compatibility: Certain hardware devices on your computer may not be fully compatible with a particular Windows update. This can result in driver conflicts, device malfunctions, or even system crashes. Rolling back the update allows you to revert to a previous version of the operating system or device driver that worked seamlessly with your hardware components.
System Instability: While rare, occasionally a Windows update can introduce stability issues to your computer. You may experience frequent freeze-ups, performance slowdowns, or sudden reboots after installing an update. Rolling back the update can help resolve these issues and restore the previous state of system stability.
Unintended Consequences: Windows updates may come with unexpected changes or alterations that you may find undesirable or inconvenient. For example, an update might modify certain user interface elements or change default settings without your consent. If you prefer the previous state of your system or want to retain specific settings, rolling back the update can revert these changes and maintain your preferred configuration.
It is worth noting that rolling back a Windows update should be considered as a last resort when all other troubleshooting methods have failed to resolve the issue. Before proceeding with the rollback, you can try other remedies, such as updating drivers, disabling conflicting software, or performing a system restore. Additionally, it is crucial to back up your important files and documents before rolling back an update, as there is a possibility of data loss during the process.
Now that we understand the various reasons why you may need to roll back a Windows update, let’s explore the methods through which you can check for recently installed updates and roll them back using different approaches.
How to Check If You Have Recently Installed Windows Updates
Before you can roll back a Windows update, it’s important to verify that you have indeed installed updates recently. Windows provides multiple ways to check for recently installed updates. Here are two commonly used methods:
Method 1: Using the Windows Update Settings:
- Press the Windows key + I on your keyboard to open the Settings app.
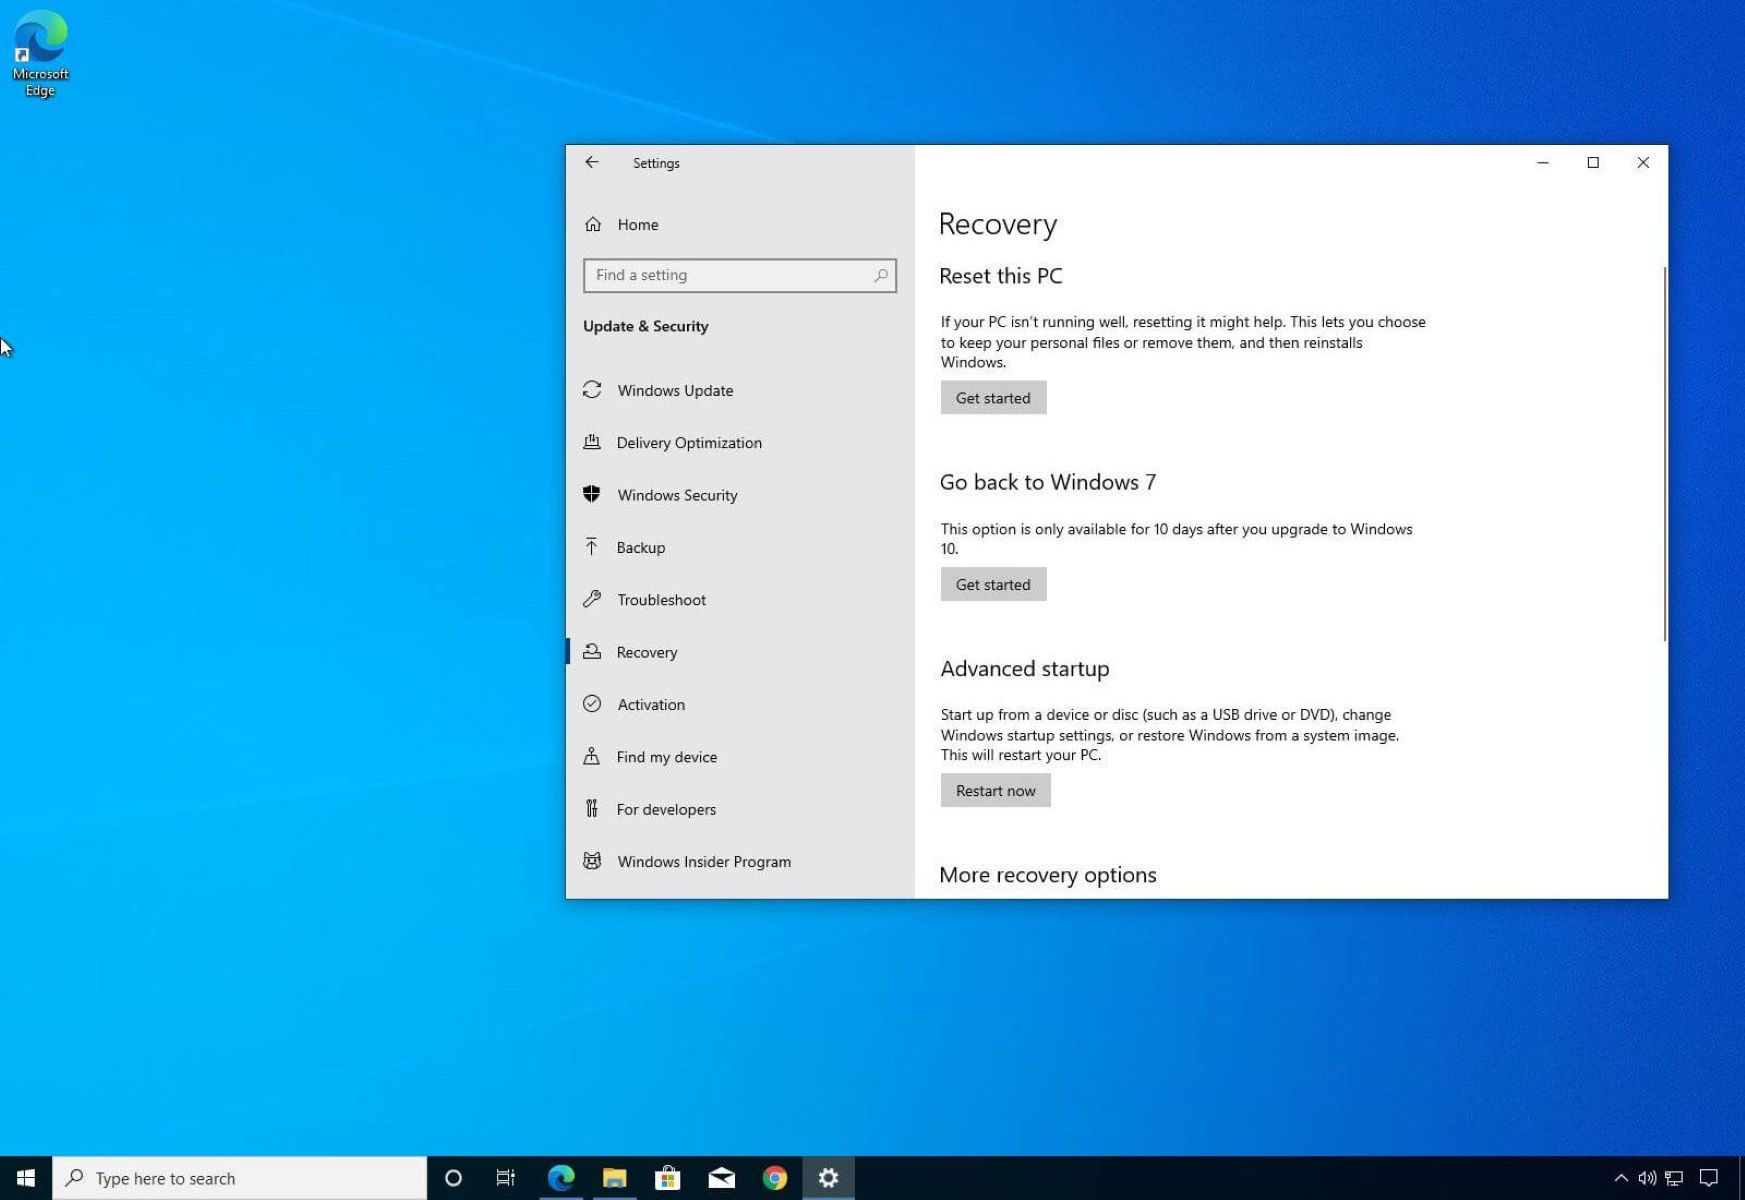
- Click on “Update & Security” from the options available.
- In the left sidebar, select “Windows Update.”
- Click on “View update history.”
- You will now see a list of recently installed updates, including the date of installation and update details.
Method 2: Using the Control Panel:
- Press the Windows key + R on your keyboard to open the Run dialog box.
- Type “control panel” and press Enter. This will open the Control Panel.
- In the Control Panel, set the “View by” option to either “Large icons” or “Small icons”
- Click on “Windows Update” or “Windows Update and Security.”
- Click on “View update history.”
- A list of recently installed updates will be displayed, along with the installation dates and details.
By using either of these methods, you can easily check if there have been any recent updates installed on your system. Once you have confirmed the presence of recent updates, you can proceed to the next step of rolling back the desired update. In the following sections, we will explore different methods to roll back a Windows update using the Control Panel, System Restore, and the Command Prompt.
Remember to create a backup of your important files before proceeding with any rollback process to ensure the safety of your data.
How to Roll Back a Windows Update Using the Control Panel
If you have recently installed a Windows update and are experiencing issues, you can roll back the update using the Control Panel. Follow these steps:
- Press the Windows key + I on your keyboard to open the Settings app.
- Click on “Update & Security” from the options available.
- In the left sidebar, select “Windows Update.”
- Click on “Update History.”
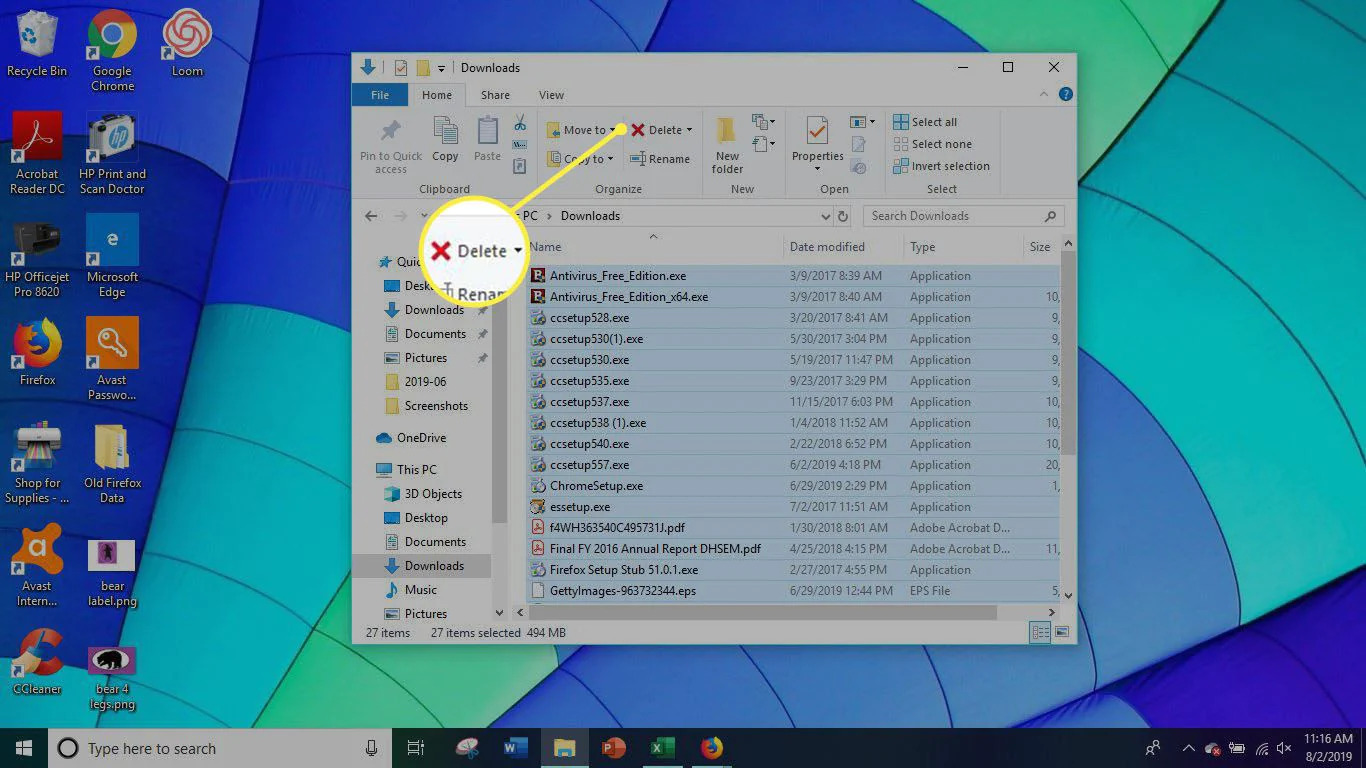
- A list of recently installed updates will be displayed. Click on “Uninstall updates” at the top.
- A new window will open, showing a list of installed updates.
- Scroll through the list and locate the update you want to roll back.
- Right-click on the update and select “Uninstall.”
- Follow the prompts to complete the uninstallation process. Your system may require a restart to finalize the rollback.
After the restart, your computer will revert to the previous state before the update was installed. This method allows you to individually select and uninstall specific updates, which can be helpful if you suspect a particular update is causing issues.
However, it’s important to note that not all updates can be uninstalled. Some critical updates, service packs, or security patches may not be eligible for uninstallation. In such cases, you may need to consider alternative methods, such as using System Restore or Command Prompt to roll back the update.
If rolling back using the Control Panel does not resolve the issues you are experiencing, you can explore other rollback methods, which we’ll cover in the following sections.
It’s recommended to monitor your system after rolling back an update to ensure that the issues have been resolved and that your computer is functioning normally. If the problems persist or new issues arise, you may need to seek further assistance or explore alternative troubleshooting methods.
How to Roll Back a Windows Update Using System Restore
If you are unable to roll back a Windows update using the Control Panel or if the update is not eligible for uninstallation, you can try using System Restore to revert your computer to a previous state before the update was installed. Follow these steps:
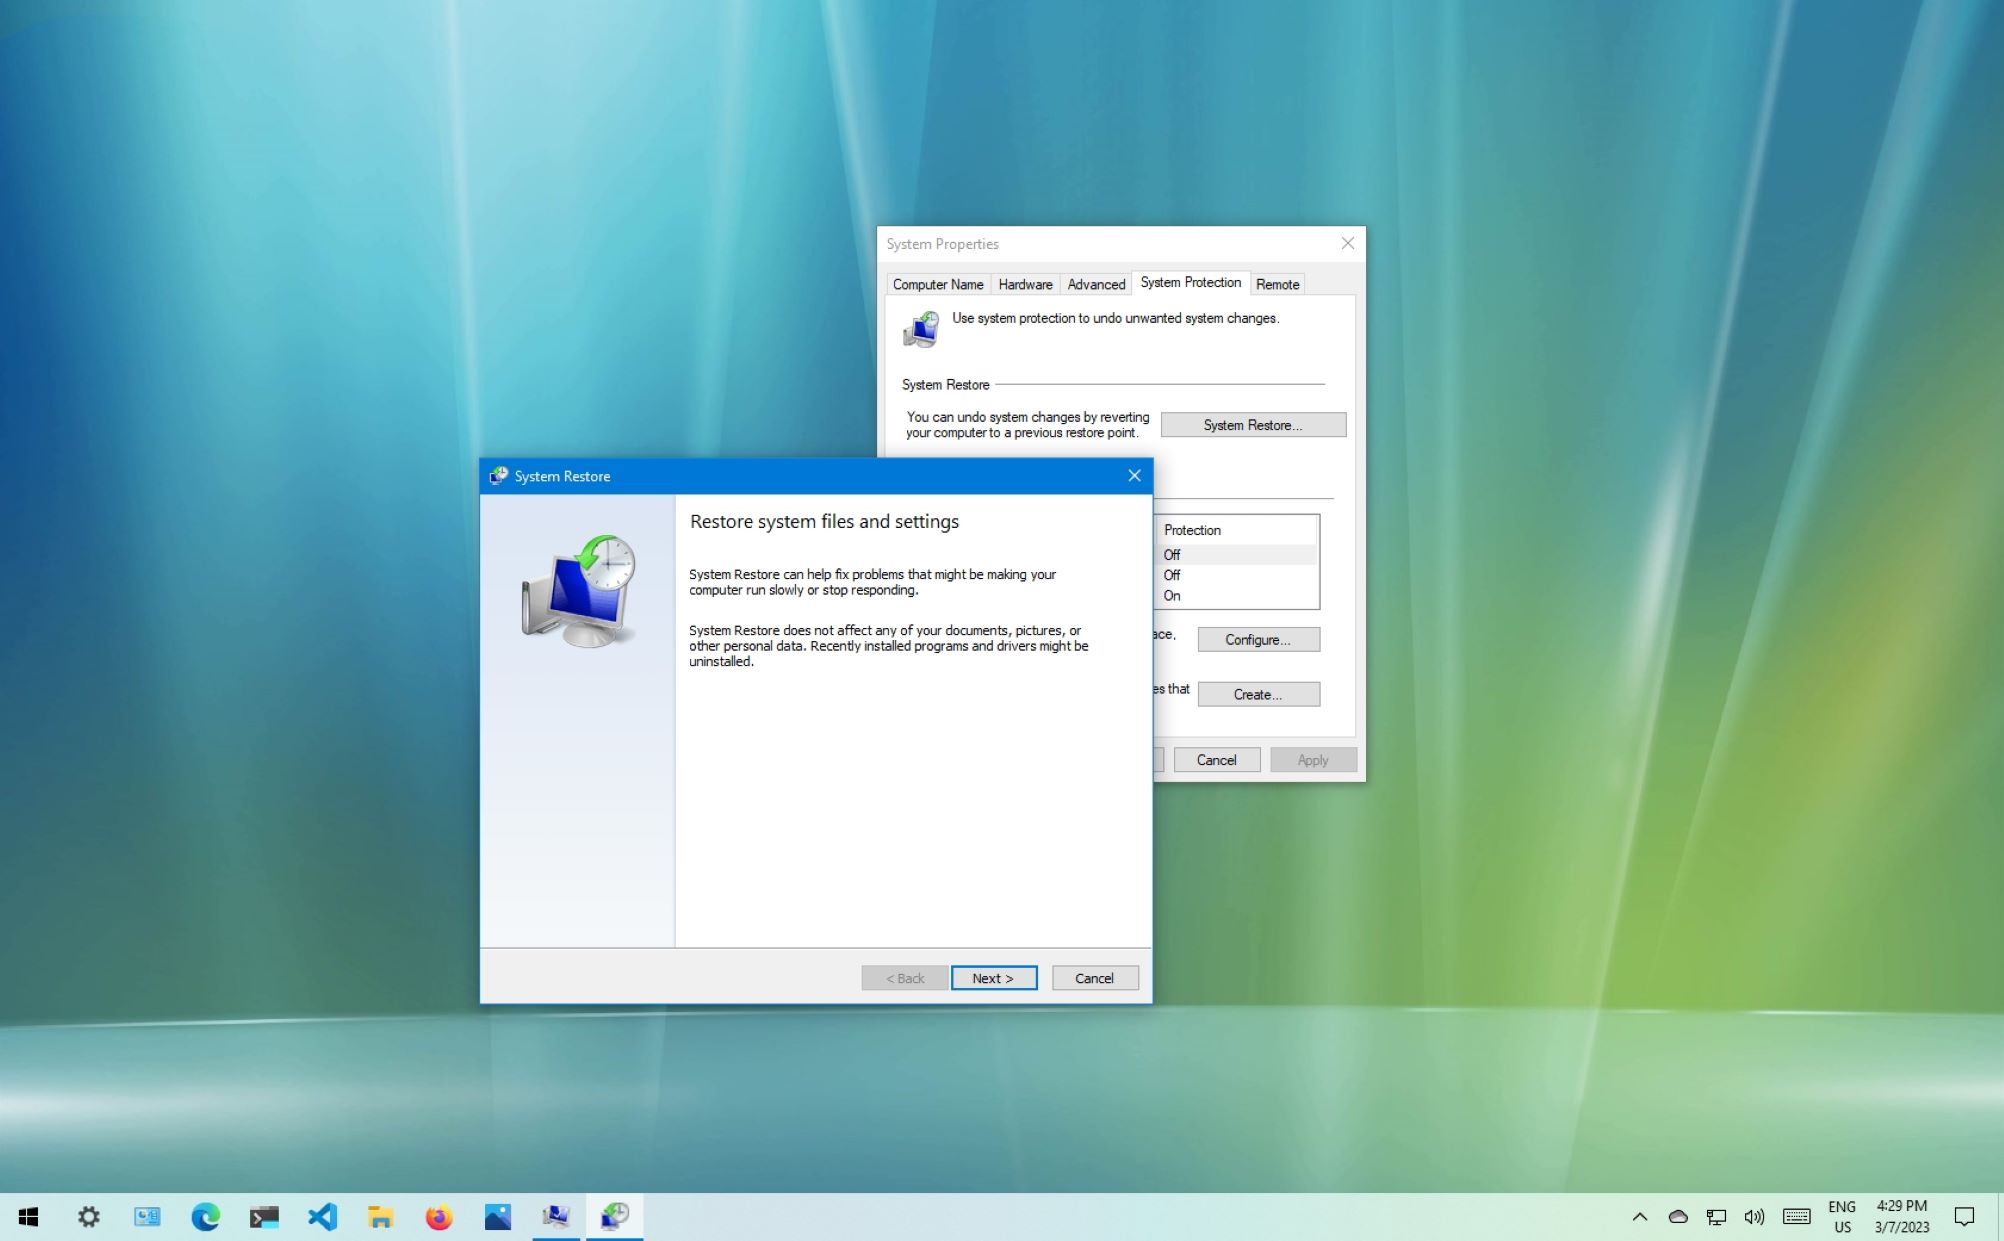
- Press the Windows key + R on your keyboard to open the Run dialog box.
- Type “rstrui” and press Enter. This will open the System Restore wizard.
- In the System Restore wizard, click on “Next” to proceed.
- You will see a list of available restore points. Check the box that says “Show more restore points” to display more options.
- Select a restore point that was created before the installation of the problematic update.
- Click on “Next” and then “Finish” to start the restoration process.
- System Restore will initiate the rollback process, which might take some time. Your computer will restart during this process.
- Once the process is complete, your computer will revert to the previous state before the update was installed.
System Restore works by reverting your system files, program files, and registry settings to a previous version stored in the restore point. It does not affect your personal files, such as documents, pictures, or emails.
It’s important to note that using System Restore to roll back a Windows update will also undo any system changes made after the restore point. This means that any software installations, updates, or configuration changes made after the selected restore point will be lost. Therefore, it’s crucial to carefully choose a restore point and consider the potential consequences.
If System Restore does not resolve the issues you are experiencing or if you prefer a more targeted approach, you can explore the option of rolling back a Windows update using the Command Prompt, which we will cover in the next section.
After the rollback process, it’s recommended to thoroughly test your computer to ensure that the problematic update has been effectively rolled back and that your system is functioning properly.
How to Roll Back a Windows Update Using the Command Prompt
If you are unable to uninstall a Windows update using the Control Panel or System Restore, you can try rolling back the update using the Command Prompt. Follow these steps:
- Press the Windows key + X on your keyboard to open the Power User menu.
- From the list of options, select “Command Prompt (Admin)” or “Windows PowerShell (Admin)” to open the elevated Command Prompt.
- In the Command Prompt window, type the following command and press Enter:
wmic qfe list brief /format:table - This will display a list of installed updates on your computer, including their Hotfix IDs and installation dates.
- Identify the update you want to roll back using the Hotfix ID or the installation date.
- To uninstall the update, type the following command and press Enter, replacing
HotfixIDwith the ID of the update you want to roll back:wusa /uninstall /kb:HotfixID - Follow the prompts to complete the uninstallation process. Your system may require a restart to finalize the rollback.
Using the Command Prompt to roll back a Windows update provides a more granular approach compared to the Control Panel or System Restore methods. It allows you to specifically target the update you want to uninstall by using the Hotfix ID.
After the rollback is complete, monitor your computer’s performance to ensure that the issues caused by the update have been resolved. If problems persist or new issues arise, you may need to seek further assistance or explore other troubleshooting methods.
It’s important to note that rolling back an update using the Command Prompt should be done with caution, as incorrect usage of the commands or uninstalling the wrong update can have unintended consequences. Ensure that you have identified the correct update to uninstall and follow the process carefully.
Now that you are familiar with the various methods to roll back a Windows update, let’s explore some tips to help prevent issues when rolling back updates.
Tips to Prevent Issues When Rolling Back Windows Updates
While rolling back a Windows update can help resolve compatibility or stability issues, it is always best to try and prevent these issues from occurring in the first place. Here are some tips to help you minimize the need to roll back Windows updates:
1. Create System Restore Points: Before installing any updates or making significant changes to your system, create a restore point. This allows you to easily revert to a previous state if issues arise after installing updates.
2. Check Compatibility: Ensure that your software and hardware components are compatible with the latest Windows updates. Before updating, check the manufacturer’s website or community forums for any known compatibility issues.
3. Update Drivers: Keep your drivers up to date. Outdated drivers can cause conflicts and instability. Regularly check the manufacturer’s website or use driver update tools to ensure you have the latest versions installed.
4. Disable Unnecessary Software: Temporarily disable or uninstall any software that may interfere with the update process. This includes antivirus programs, firewalls, and third-party system tools. Remember to re-enable or reinstall them after the update is complete.
5. Back Up Your Data: Before installing any major Windows updates, back up your important files and documents. In the event of issues, you can restore your data without losing any critical information.
6. Research Updates: Prioritize critical security updates, but research non-critical updates before installing them. Look for user feedback or known issues related to the update. If others have experienced problems, it may be wise to wait until the issues are resolved before updating.
7. Test Updates in a Controlled Environment: If possible, test updates on a non-production system or in a controlled testing environment first. This allows you to identify any compatibility or performance issues before rolling out the updates on your primary system.
8. Keep System Clean: Regularly perform system maintenance tasks such as disk cleanup and removal of unnecessary files. This helps to optimize system performance and minimize potential conflicts with updates.
9. Research Known Issues: Stay informed about known issues with Windows updates. Explore Microsoft forums, support websites, and community platforms to learn about common issues and potential workarounds.
10. Seek Professional Help: If you encounter persistent issues or are uncertain about rolling back updates, seek assistance from a qualified professional or Microsoft support to ensure a smooth and reliable rollback process.
By following these tips, you can minimize the chances of encountering issues with Windows updates and reduce the need to roll back updates. However, if problems do arise, now you have the knowledge and methods to effectively roll back Windows updates and restore the stability of your system.
Conclusion
Windows updates are essential for maintaining the security and performance of your computer. However, there may be instances where updates cause issues or compatibility conflicts with software and hardware components. In such cases, rolling back the updates becomes necessary to restore stability and functionality to your system.
In this article, we explored why you might want to roll back a Windows update, different methods to check for recently installed updates, and various approaches to roll back updates using the Control Panel, System Restore, and Command Prompt.
Remember to exercise caution when rolling back updates and consider alternative troubleshooting methods before resorting to the rollback process. It is essential to back up your important files and documents before performing a rollback to prevent data loss.
Additionally, we provided tips to help prevent issues when rolling back Windows updates, including creating system restore points, checking compatibility, updating drivers, disabling unnecessary software, backing up data, and researching updates and known issues.
By following these best practices and troubleshooting steps, you can minimize the need to roll back Windows updates and ensure a smoother and more reliable computing experience.
If you encounter persistent issues or require further assistance, it is always advisable to seek professional help or consult Microsoft support to ensure proper resolution and prevent any potential system damage.
We hope that this article has provided you with valuable insights into rolling back Windows updates and equips you with the necessary knowledge to effectively manage and maintain your computer’s performance and stability.