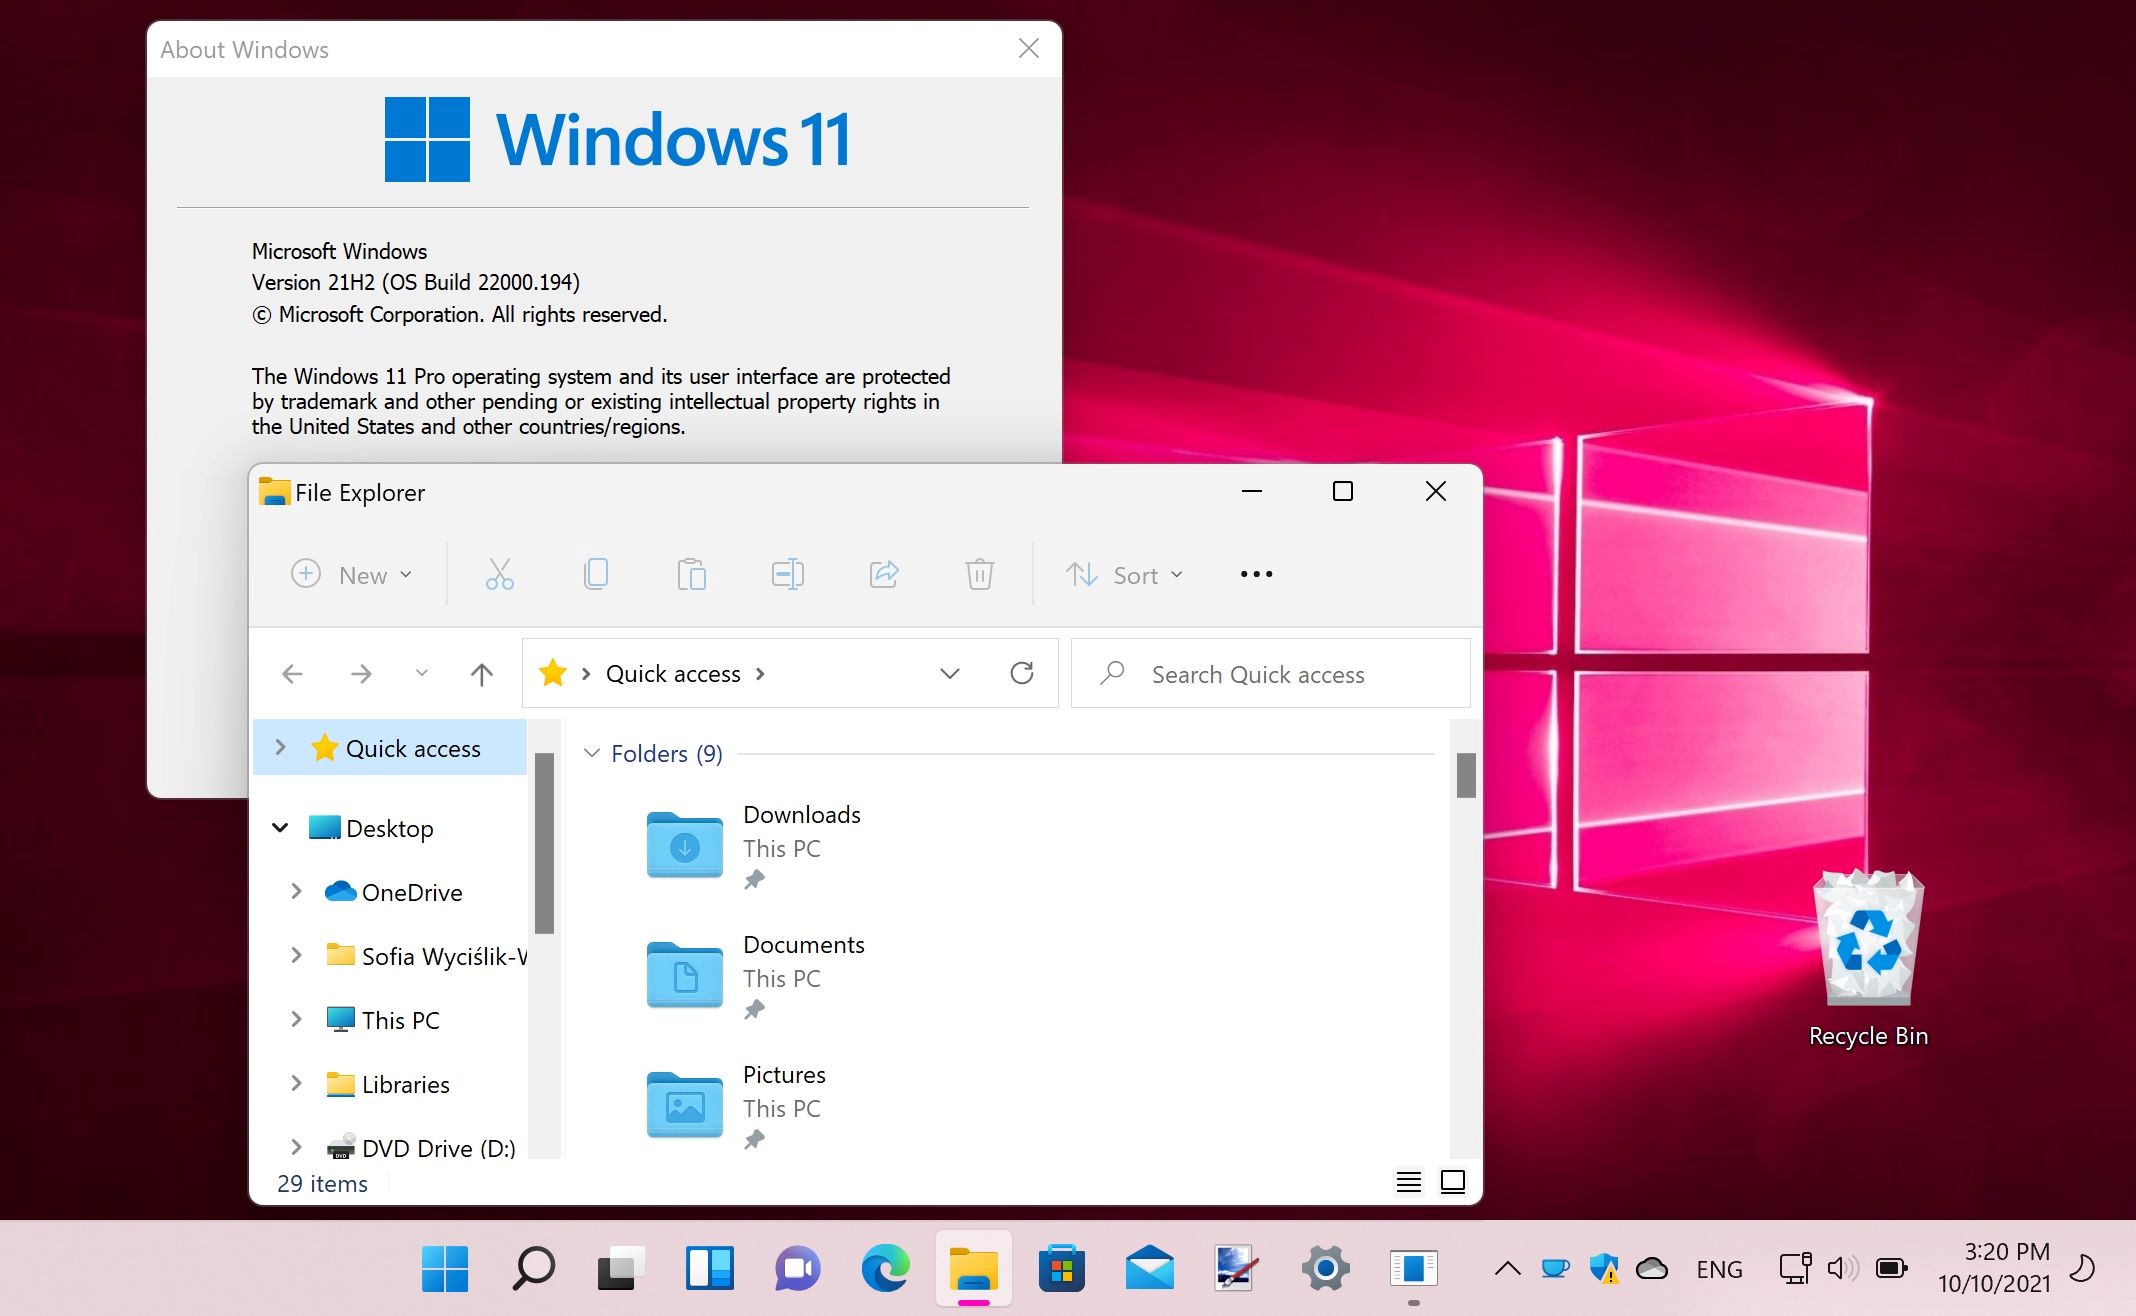
Introduction
Welcome to this guide on how to revert from Windows 11 to Windows 10. While Windows 11 brings a fresh and modern interface, improved performance, and exciting new features, you may find that it doesn’t meet your specific needs or preferences. Whether it’s compatibility issues with certain software, driver compatibility problems, or simply a preference for the familiar Windows 10 environment, you can still make the switch. In this article, we will walk you through the step-by-step process of reverting from Windows 11 to Windows 10.
Before we proceed, it’s essential to note that reverting to a previous version of an operating system involves a complete reinstallation of the operating system. Therefore, it is crucial to backup your data to avoid any loss. Additionally, ensure that you have the necessary system requirements for Windows 10, including sufficient storage space and compatible hardware.
In the following sections, we will guide you through the process of creating a bootable Windows 10 USB drive, accessing the BIOS/UEFI settings, changing the boot order to prioritize the USB drive, installing Windows 10 from the USB drive, and restoring your backed-up data. It’s important to carefully follow each step to ensure a successful transition back to Windows 10.
Please note that reverting to Windows 10 will erase all data on your computer, so it’s crucial to have a backup of your important files and documents. Make sure to store them in a safe location before proceeding. Keep in mind that this process may be time-consuming and may require you to reinstall your applications and drivers. We recommend allocating sufficient time for the process to ensure a smooth transition back to Windows 10.
Now that you understand the basic overview of reverting from Windows 11 to Windows 10, let’s dive into the detailed steps required to accomplish this. Remember, the process may vary slightly depending on your device and configuration, so be sure to consult your device manufacturer’s documentation for specific instructions if needed.
System Requirements
Before reverting from Windows 11 to Windows 10, it’s important to ensure that your device meets the necessary system requirements. Here are the minimum system requirements for Windows 10:
- Processor: 1 gigahertz (GHz) or faster processor or SoC
- RAM: 1 gigabyte (GB) for 32-bit or 2 GB for 64-bit
- Storage: 16 GB for 32-bit OS or 20 GB for 64-bit OS
- Graphics card: DirectX 9 or later with WDDM 1.0 driver
- Display: 800 x 600 resolution
Additionally, ensure that your device has sufficient free storage space to accommodate the Windows 10 installation. It is recommended to have at least 30 GB of free space to ensure a smooth transition. Keep in mind that installing Windows 10 will erase all data on your computer, so it’s crucial to backup your important files before proceeding with the installation process.
Moreover, check for any compatibility issues with specific hardware components or software applications that you rely on. Some devices or software may not be fully compatible with Windows 10, which could potentially affect their functionality or result in compatibility errors. If you encounter any issues during the installation or after reverting to Windows 10, consult the respective hardware or software manufacturer for assistance and updated drivers or software versions.
It is also important to consider any specific requirements based on your usage needs. For example, if you require specific software that only runs on Windows 10 or have hardware peripherals that are not compatible with Windows 11, reverting to Windows 10 becomes necessary. Therefore, assess your individual requirements and ensure that Windows 10 can support all the applications and hardware you rely on for your daily tasks.
By ensuring that your device meets the system requirements and taking into account any specific compatibility issues, you can proceed with confidence in reverting to Windows 10. The next step is to back up your data to avoid loss during the reinstallation process. Let’s explore this crucial step in the following section.
Backup Your Data
Before proceeding with the process of reverting from Windows 11 to Windows 10, it is essential to back up your data to ensure that no valuable information is lost during the transition. While the installation process typically doesn’t delete files, it’s always better to be safe than sorry. Follow these steps to backup your important data:
- Identify your important files: Make a list of the files, documents, photos, videos, and any other data that you consider important and can’t afford to lose. This will help you ensure that nothing is overlooked during the backup process.
- Choose a backup method: There are various methods you can use to back up your data. You can opt for an external hard drive, USB flash drive, cloud storage, or even a combination of these methods for added security. Select the method that best suits your needs and available resources.
- Copy your files: Begin by creating a new folder on your chosen backup destination. Then, manually copy and paste the identified files and folders into the backup folder. Ensure that you organize your files in a logical manner to make it easier to locate them later.
- Verify your backup: Once you have copied all the necessary files, double-check to ensure that they have been successfully copied and are accessible on your backup device. This step is crucial to ensure that your backup is reliable and complete.
Remember to include files from all relevant locations, including your user directory (Documents, Pictures, Videos), desktop, and any other custom folders where you may have saved important files. If you’re using cloud storage as your backup method, make sure that the syncing process has completed, and all files are up to date.
It is also worth noting that certain applications may store important data in non-standard locations. Take the time to research any application-specific backup requirements to ensure a comprehensive and accurate backup.
By following these steps and backing up your data, you can proceed with confidence to the next phase of the reverting process. In the next section, we will guide you through creating a bootable Windows 10 USB drive, an essential step for reinstalling the operating system.
Create a Bootable Windows 10 USB Drive
To revert from Windows 11 to Windows 10, you will need a bootable Windows 10 USB drive. This will allow you to install Windows 10 on your device. Follow the steps below to create a bootable Windows 10 USB drive:
- Download the Windows 10 ISO: Visit the official Microsoft website or trusted sources to download the Windows 10 ISO file. Make sure to select the correct version and edition that matches your current Windows 11 installation.
- Prepare your USB drive: Connect a USB drive with at least 8GB of storage to your computer. It’s important to note that all data on the USB drive will be erased during this process, so ensure that you have backed up any important files stored on it beforehand.
- Use a reliable tool: To create a bootable USB drive, you can use various third-party tools or the official Windows USB/DVD Download Tool provided by Microsoft. These tools will guide you step-by-step through the process and ensure that the USB drive is correctly formatted and set up for booting.
- Select the Windows 10 ISO: In the tool, locate the Windows 10 ISO file that you downloaded in the first step. Follow the on-screen instructions to select the ISO file and choose the USB drive as the destination for creating the bootable drive.
- Create the bootable USB drive: Click on the “Create” or “Burn” button to begin the process of creating the bootable USB drive. This may take some time, so be patient and do not interrupt the process until it is completed.
Once the bootable Windows 10 USB drive has been successfully created, you are ready to proceed with the next steps of reverting to Windows 10. In the upcoming section, we will explore how to access the BIOS/UEFI settings to change the boot order and prioritize the USB drive as the boot device.
Access the BIOS/UEFI Settings
In order to revert from Windows 11 to Windows 10 and install the operating system from the bootable USB drive, you will need to access the BIOS (Basic Input/Output System) or UEFI (Unified Extensible Firmware Interface) settings of your computer. These settings allow you to configure the boot order and prioritize the USB drive. Follow the steps below to access the BIOS/UEFI settings:
- Restart your computer: Begin by restarting your computer. You may need to press and hold the power button to shut it down completely and then turn it back on.
- Enter the BIOS/UEFI: During the boot process, pay attention to the screen as it starts up. Typically, there is a key or combination of keys that you need to press to enter the BIOS/UEFI settings. Common keys include F2, F10, Del, or Esc. Refer to the documentation or the manufacturer’s website of your device for the specific key(s) to enter the BIOS/UEFI.
- Navigate the BIOS/UEFI: Once you have entered the BIOS/UEFI, you will see a menu or interface with various options. Use the arrow keys on your keyboard to navigate through the different tabs or sections, as the exact layout may vary depending on your device and BIOS/UEFI version.
- Locate the Boot Options: Look for a tab or section related to “Boot” or “Boot Options” in the BIOS/UEFI settings menu. This is where you can modify the boot order of your device.
- Change the boot order: Within the Boot Options section, you should see a list of bootable devices. Use the arrow keys to highlight the USB drive or the appropriate option that represents the bootable USB drive you created in the previous section.
- Save and exit: Once you have selected the bootable USB drive as the first boot device, save your changes. Look for an option to save and exit the BIOS/UEFI settings. This is usually done by pressing F10 or selecting the option to “Save and Exit” from the menu.
Now that you have successfully accessed the BIOS/UEFI settings and configured the boot order to prioritize the USB drive, you are ready to proceed with the installation of Windows 10. In the next section, we will guide you through the steps to install Windows 10 from the USB drive.
Change the Boot Order
To revert from Windows 11 to Windows 10 and perform a fresh installation using the bootable USB drive, you need to change the boot order in the BIOS/UEFI settings of your computer. By changing the boot order, you ensure that the computer boots from the USB drive first. Follow the steps below to change the boot order:
- Restart your computer: Begin by restarting your computer to access the BIOS/UEFI settings. You may need to press and hold the power button to shut it down completely and then turn it back on.
- Enter the BIOS/UEFI settings: During the boot process, pay attention to the screen for any prompts indicating which key(s) to press to enter the BIOS/UEFI settings. Common keys include F2, F10, Del, or Esc. Refer to your device’s documentation or the manufacturer’s website for the specific key(s) to enter the BIOS/UEFI.
- Navigate to the Boot Options: Once you are in the BIOS/UEFI settings, use the arrow keys on your keyboard to navigate to the “Boot” or “Boot Order” section. The exact location may vary depending on your device and BIOS/UEFI version.
- Change the boot order: Within the Boot Options section, you will see a list of bootable devices. Locate the entry for the USB drive or the option that corresponds to your bootable Windows 10 USB drive. Use the designated key to move the USB drive to the top of the boot order list, ensuring that it has the highest priority.
- Save the changes: Once you have adjusted the boot order, save the changes in the BIOS/UEFI settings. Look for an option to save and exit, typically denoted by “Save and Exit” or similar wording. This action will prompt the computer to restart.
Upon restarting, the computer will now boot from the Windows 10 USB drive, initiating the installation process. It’s important to note that the steps to change the boot order may vary slightly depending on your device and BIOS/UEFI version. Refer to your device’s documentation or the manufacturer’s support resources for specific instructions if needed.
Now that you have successfully changed the boot order, you are ready to proceed with the installation of Windows 10. In the next section, we will guide you through the steps to install Windows 10 from the USB drive.
Install Windows 10 from the USB Drive
Now that you have changed the boot order to prioritize the USB drive, you are ready to proceed with installing Windows 10 from the USB drive. Follow the step-by-step instructions below:
- Insert the bootable USB drive: Make sure the Windows 10 bootable USB drive is inserted into a USB port on your computer.
- Restart your computer: Restart your computer, and it will now boot from the USB drive. You may see a message on the screen indicating that the computer is booting from the USB drive.
- Select language and keyboard layout: On the Windows Setup screen, choose your preferred language, time, and currency format, as well as the keyboard layout. Click “Next” to continue.
- Click “Install Now”: On the next screen, click on the “Install Now” button to begin the installation process.
- Enter the Windows 10 product key: If prompted, enter your Windows 10 product key. If you don’t have one, you may be able to skip this step or enter it later. Click “Next” to continue.
- Accept the license terms: Read and accept the license terms by checking the box. Click “Next” to proceed.
- Choose installation type: Select the installation type you prefer. If you want to perform a clean installation, choose “Custom: Install Windows only (advanced)”.
- Select the partition: On the next screen, select the partition where you want to install Windows 10. If necessary, you can delete existing partitions to start with a clean installation. Follow the on-screen instructions to complete the partitioning process.
- Begin the installation: After selecting the partition, click on “Next” to begin the installation process. The computer will now install Windows 10, which may take some time.
- Follow the on-screen instructions: During the installation process, you may be prompted to choose various settings, such as privacy options, account setup, and network settings. Follow the on-screen instructions to complete the setup.
Once the installation process is complete, your computer will restart, and you will be greeted with the Windows 10 login screen. Congratulations! You have successfully reverted from Windows 11 to Windows 10. In the next section, we will guide you through the process of restoring your backed-up data.
Complete the Installation Process
After successfully installing Windows 10 from the USB drive, there are a few important steps to complete the installation process and ensure that your system is fully functional. Follow the steps below to finalize the installation:
- Customize Windows settings: Once the installation is complete, Windows 10 will prompt you to customize various settings. This includes setting up a user account, choosing privacy options, and selecting other preferences such as theme, color scheme, and desktop background. Follow the on-screen instructions to personalize your Windows 10 experience.
- Install device drivers: Check if any device drivers are missing or need to be updated. Device drivers are necessary for the proper functioning of hardware components such as graphics cards, sound cards, and network adapters. Visit the support website of your device manufacturer to download and install the latest drivers compatible with Windows 10.
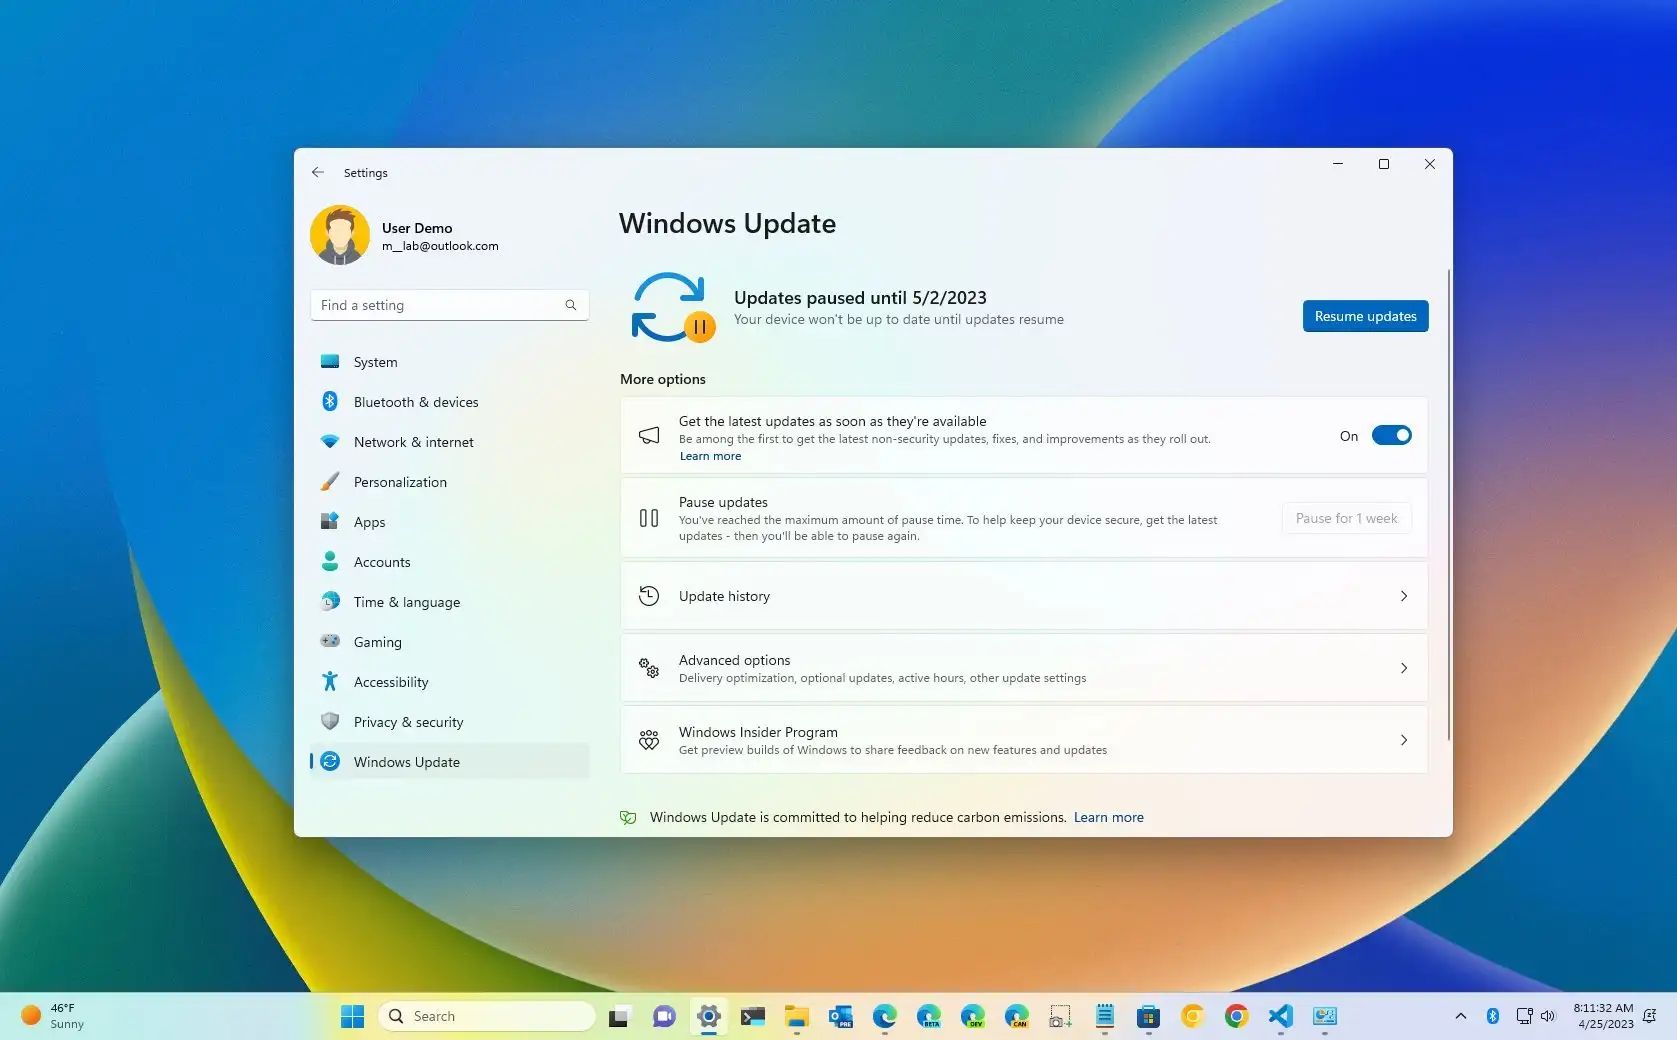
- Windows Update: After installing the necessary device drivers, connect your computer to the internet and run Windows Update. This will ensure that your system is up to date with the latest security patches and bug fixes. Go to Settings > Update & Security > Windows Update and click on “Check for updates” to initiate the update process.
- Reinstall applications and software: Now is the time to reinstall any applications, software, or programs that you used on Windows 10 before reverting to Windows 11. Use the original installation files or download the latest versions from the respective software providers’ websites. Also, make sure to transfer any license keys or serial numbers required for activation.
- Restore backed-up data: After reinstalling applications and software, it’s time to restore your previously backed-up data. Retrieve the backup you created before reverting to Windows 10 and copy the files back to their respective locations. Make sure to place files in the correct directories, such as Documents, Pictures, Music, and Videos folders.
- Check system functionality: Take some time to test your computer’s functionality by ensuring that all hardware components, software applications, and peripherals are working as expected. Check for any compatibility issues or errors and troubleshoot them accordingly. If you encounter any difficulties, consult the appropriate support resources or seek assistance from technical experts.
By following these steps, you will complete the installation process and have a fully functional Windows 10 system. Take the time to personalize your settings, update your device drivers and software, and verify that your data has been successfully restored. Congratulations on successfully reverting from Windows 11 to Windows 10! If you have any further questions or need additional assistance, feel free to reach out for support.
Restore Your Backed Up Data
After completing the installation of Windows 10 and ensuring that your system is functional, it’s time to restore your backed-up data. Follow the steps below to restore your important files and data:
- Connect your backup device: Connect the external hard drive, USB flash drive, or any other storage device that contains your backed-up data to your computer. Ensure that the device is recognized and accessible.
- Locate your backup files: Navigate to the location where you stored your backed-up files. This could be on the backup device itself or on your local computer if you created a backup folder.
- Copy and paste: Select the files and folders that you want to restore and copy them from the backup device. Paste them into the appropriate directories on your computer, such as Documents, Pictures, Music, or Videos folders. If you used a backup folder, simply copy the entire folder and its contents to the desired location.
- Verify file integrity: After copying the files, double-check that they have been successfully restored. Open a few files to ensure that they are intact and can be accessed without any issues. If there are any corrupted or missing files, refer back to your backup device and attempt to copy them again.
- Reconfigure applications and settings: Some applications may require additional steps to recognize the restored files. For example, media players may need to rebuild their libraries, and email clients may need to reconfigure their account settings. Take note of any specific instructions provided by the applications you use and adjust the settings as necessary.
- Test access and functionality: Test your restored files by opening them in the appropriate applications and performing any necessary actions. Make sure that you can view and edit your documents, play your media files, and access any other restored data without any issues. If you encounter any problems, troubleshoot as needed or refer to the relevant support resources.
- Keep the backup: Once you have verified that your files have been successfully restored, it is advisable to keep your backup for future use. Having an up-to-date backup is crucial for data security and recovery in case of unexpected events or accidents. Regularly back up your important files and maintain multiple copies in different locations for added safety.
By following these steps, you can restore your backed-up data and ensure that your valuable files are secure and accessible on your newly installed Windows 10 system. Take your time to organize your files and check their integrity before continuing with your regular computing activities. Congratulations on completing the restoration process!
Conclusion
In this guide, we have walked you through the process of reverting from Windows 11 to Windows 10. Whether it’s due to compatibility issues, personal preferences, or your specific needs, restoring Windows 10 can be a practical solution. We covered important steps such as backing up your data, creating a bootable Windows 10 USB drive, accessing the BIOS/UEFI settings to change the boot order, installing Windows 10 from the USB drive, restoring your backed-up data, and completing the installation process.
It’s crucial to remember that reverting to Windows 10 involves a complete reinstallation of the operating system, which may result in the loss of data. Therefore, backing up your important files is of utmost importance to avoid any data loss during the process. Also, ensure that your device meets the necessary system requirements for Windows 10 before proceeding, and take note of any specific compatibility issues with software or hardware components.
By following the steps outlined in this guide, you can successfully revert from Windows 11 to Windows 10 and have a fully functional system. Remember to customize your Windows settings, update your device drivers and software, and verify the successful restoration of your data. In case of any issues, consult the relevant documentation or seek assistance from technical support.
It’s worth mentioning that Windows operating systems continue to evolve, and future updates may bring new features and improvements. Before deciding to revert to an earlier version, it’s advisable to explore alternative options, such as troubleshooting or seeking updates for compatibility issues. Windows 11 offers several benefits and advancements that may enhance your computing experience.
Remember to regularly backup your important files and maintain multiple copies in different locations for added safety. Keeping your system up to date with the latest security patches and updates is also essential for a secure computing environment.
Thank you for following this guide. We hope it has been informative and helpful in your journey to revert from Windows 11 to Windows 10. Enjoy your Windows 10 experience!