Introduction
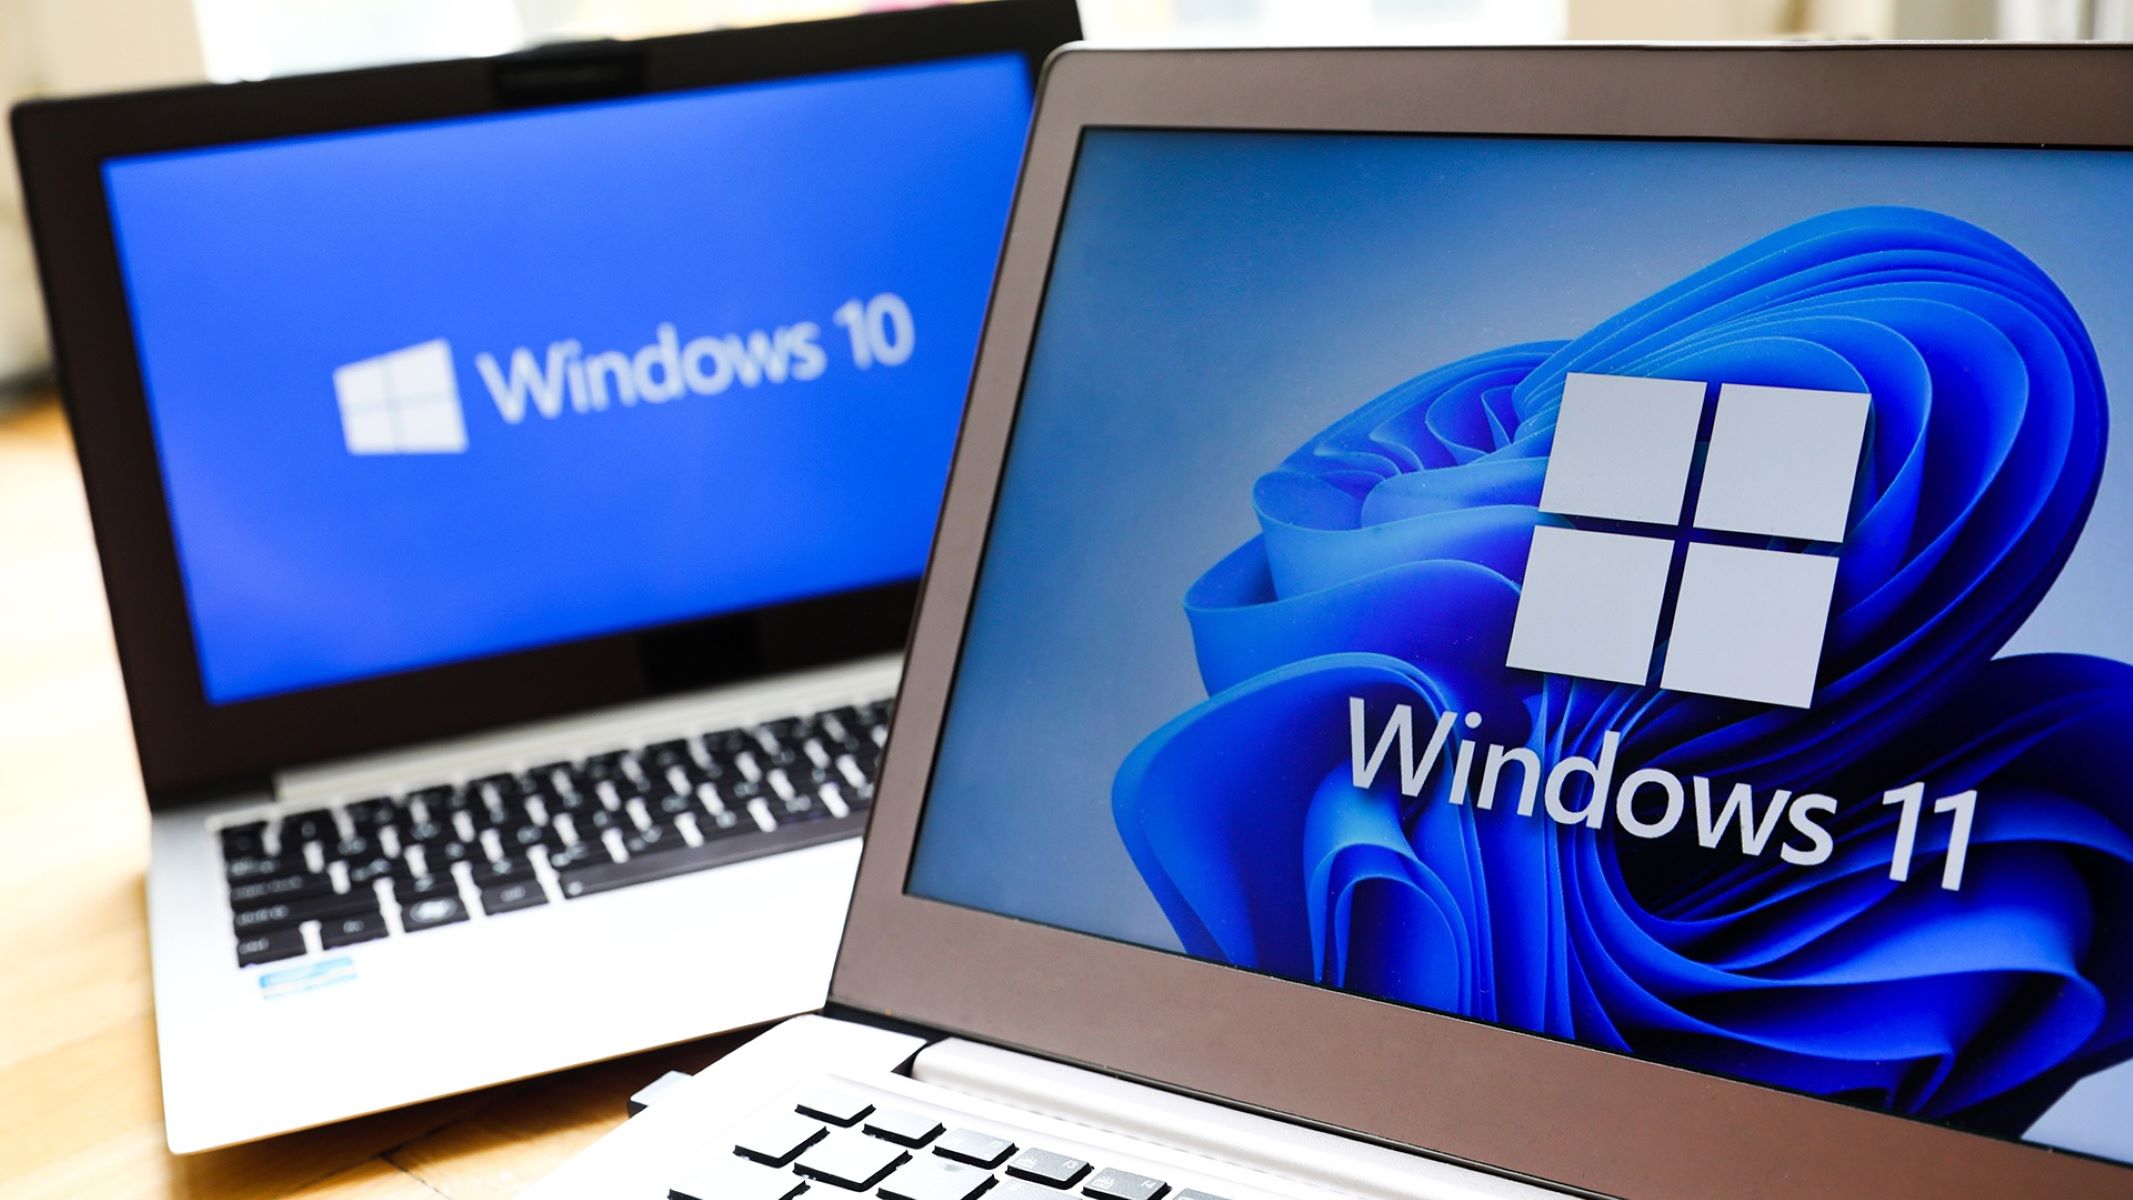
Welcome to the article on how to create a bootable USB for Windows 10! Whether you are setting up a new computer, upgrading your existing operating system, or troubleshooting issues, having a bootable USB drive can be incredibly useful. With a bootable USB, you can easily install Windows 10 on any compatible device without an optical drive. In this guide, we will walk you through the steps to create a bootable USB using various methods.
Creating a bootable USB for Windows 10 is not only convenient but also essential in scenarios where your computer’s operating system is corrupted or non-functional. By having a bootable USB, you can easily reinstall Windows 10 and regain full functionality of your device.
Before we dive into the steps, it is important to note that creating a bootable USB will erase all existing data on the drive. Therefore, it is crucial to backup any important files or data from the USB drive before you proceed. Additionally, make sure you have a stable internet connection and a Windows 10 ISO file, which is a disk image containing the full installation files of Windows 10.
In the following sections, we will cover the requirements for creating a bootable USB, as well as step-by-step instructions for three popular methods: using the Windows USB/DVD Download Tool, Rufus, and UNetbootin. We will also guide you through setting up your computer’s BIOS to boot from the USB and the installation process of Windows 10.
So, whether you are a beginner or an experienced user, this guide will provide you with all the information you need to create a bootable USB for Windows 10. Let’s get started!
Requirements
Before you begin creating a bootable USB for Windows 10, you need to ensure that you have the following requirements:
- A computer with a working USB port: In order to create a bootable USB, you will need a computer with at least one working USB port. This is where you will connect the USB drive.
- A USB drive: You will need a USB drive with a sufficient storage capacity to hold the Windows 10 ISO file. It is recommended to use a USB drive with a capacity of at least 8GB to ensure enough space for the installation files.
- A Windows 10 ISO file: The ISO file is a disk image that contains the full installation files of Windows 10. You can download the Windows 10 ISO file from the official Microsoft website or through other trusted sources.
- A stable internet connection: Some methods require you to download additional software, drivers, or updates during the process. Having a stable internet connection will ensure a smooth and uninterrupted process.
- A computer with administrative privileges: In order to perform certain actions, such as formatting the USB drive or changing the BIOS settings, you will need administrative privileges on the computer. Make sure you have the necessary permissions before proceeding.
It is important to note that the requirements mentioned above are general recommendations. The specific requirements may vary depending on the method you choose to create the bootable USB. Some methods may have additional requirements, such as specific software or utilities. It is essential to carefully read the instructions provided for each method to ensure you meet all the necessary requirements.
Now that you have a clear idea of the requirements, let’s move on to the next section, where we will guide you through the process of downloading the Windows 10 ISO file.
Step 1: Downloading the Windows 10 ISO file
The first step in creating a bootable USB for Windows 10 is to download the Windows 10 ISO file. The ISO file is a disk image that contains all the necessary installation files for Windows 10. Follow the steps below to download the Windows 10 ISO file:
- Open a web browser on your computer and go to the official Microsoft website.
- Navigate to the “Download Windows 10” page.
- On the download page, you will find two options: “Download tool now” and “Download ISO file”. If you want to create a bootable USB using the Windows USB/DVD Download Tool, click on “Download tool now”. If you prefer to use other methods like Rufus or UNetbootin, click on “Download ISO file”.
- If you selected “Download tool now”, the Windows 10 Media Creation Tool will begin downloading. Once the download is complete, run the tool and follow the on-screen instructions to download the ISO file.
- If you selected “Download ISO file”, the ISO file will begin downloading directly to your computer.
- Wait for the download to complete. The download time may vary depending on your internet connection speed.
- Once the ISO file has finished downloading, make a note of the location where it was saved on your computer.
It is important to download the ISO file from the official Microsoft website or other trusted sources to ensure the authenticity and integrity of the file. Avoid downloading Windows 10 ISO files from unknown or unreliable sources, as they may contain malware or other security risks.
Now that you have successfully downloaded the Windows 10 ISO file, you are ready to move on to the next step: Choosing the right USB drive.
Step 2: Choosing the right USB drive
Choosing the right USB drive is crucial when creating a bootable USB for Windows 10. The USB drive will serve as the storage medium for the Windows 10 installation files and will be used to boot your computer. Here are a few factors to consider when selecting a USB drive:
- Storage capacity: Make sure that the USB drive has enough storage capacity to hold the Windows 10 ISO file and the necessary installation files. It is recommended to use a USB drive with a minimum capacity of 8GB to ensure sufficient space.
- USB version: Check the USB version compatibility with your computer. If your computer has USB 3.0 ports, it is recommended to use a USB 3.0 compatible drive for faster data transfer speed. However, if your computer only has USB 2.0 ports, a USB 2.0 drive will still work, but the transfer speed may be slower.
- Reliability: Choose a reliable and durable USB drive to ensure a successful and error-free installation process. Opt for well-known brands and avoid using old or damaged drives.
- Compatibility: Ensure that the USB drive is compatible with your computer’s operating system. Most modern computers support USB drives without any issues, but it’s always a good idea to double-check.
Remember that when you create a bootable USB, all existing data on the drive will be erased, so make sure to backup any important files or data before proceeding. It is also recommended to format the USB drive before using it to eliminate any potential compatibility issues or conflicting data.
Once you have chosen the right USB drive that meets the above criteria, you are ready to move on to the next step: Formatting the USB drive.
Step 3: Formatting the USB drive
Before you can create a bootable USB for Windows 10, it is essential to format the USB drive. Formatting the drive will erase all existing data and prepare it to be used as a bootable drive. Follow the steps below to format the USB drive:
- Connect the USB drive to your computer’s USB port.
- Open the File Explorer (Windows Key + E).
- In the File Explorer, right-click on the USB drive and select “Format” from the context menu.
- A new window will appear, displaying the format settings for the USB drive. Ensure that the file system is set to “FAT32” or “NTFS”. It is recommended to use the “FAT32” file system for better compatibility.
- You can also provide a new name for the USB drive in the “Volume label” field if desired.
- Double-check the format settings to make sure they are correct, and then click on the “Start” button.
- A warning message will appear, notifying you that all data on the USB drive will be erased. Confirm the action by clicking on “OK”.
- The formatting process will begin and may take a few minutes to complete. Do not remove the USB drive or interrupt the process until it is finished.
- Once the formatting process is complete, you will see a message indicating that the format was successful. Click on “OK” to close the window.
Formatting the USB drive ensures that it is clean and ready to receive the Windows 10 installation files. It is important to note that formatting the USB drive will erase all existing data, so ensure that you have backed up any important files before proceeding.
With the USB drive properly formatted, you are now ready to move on to the next step: Creating a bootable USB using the Windows USB/DVD Download Tool.
Step 4: Creating a bootable USB using Windows USB/DVD Download Tool
If you prefer using the official Windows tool to create a bootable USB for Windows 10, the Windows USB/DVD Download Tool is a great option. Follow the steps below to create a bootable USB using this tool:
- Download and install the Windows USB/DVD Download Tool from the official Microsoft website.
- Launch the Windows USB/DVD Download Tool.
- Click on the “Browse” button and locate the Windows 10 ISO file that you downloaded earlier.
- Select the ISO file and click on the “Open” button.
- Choose the “USB device” option when prompted to select the media type.
- Make sure the correct USB drive is selected from the drop-down menu.
- Click on the “Begin copying” button to start the process.
- Wait for the Windows USB/DVD Download Tool to copy the Windows 10 installation files onto the USB drive. This may take some time depending on the speed of your computer and USB drive.
- Once the process is complete, you will see a message indicating that the bootable USB has been successfully created.
- You can now safely eject the USB drive from your computer.
The Windows USB/DVD Download Tool provides a user-friendly interface to create a bootable USB quickly and efficiently. It takes care of all the necessary steps, including copying the Windows 10 installation files onto the USB drive. Once the process is complete, you will have a bootable USB that you can use to install Windows 10 on any compatible device.
Now that you have successfully created a bootable USB using the Windows USB/DVD Download Tool, you can proceed to the next step: Creating a bootable USB using Rufus.
Step 5: Creating a bootable USB using Rufus
If you prefer a more versatile and customizable tool to create a bootable USB for Windows 10, Rufus is an excellent choice. Rufus is a free and lightweight utility that allows you to create bootable USB drives with ease. Follow the steps below to create a bootable USB using Rufus:
- Download and install Rufus from the official Rufus website.
- Launch Rufus on your computer.
- Ensure that your USB drive is connected to the computer’s USB port.
- In the Rufus interface, select your USB drive from the “Device” dropdown menu.
- Under the “Boot selection” section, click on the “Select” button.
- Locate the Windows 10 ISO file that you downloaded earlier and click on the “Open” button.
- Verify that the selected partition scheme and target system type are appropriate for your computer.
- Optionally, you can change the “Volume label” to give a name to your bootable USB drive.
- Leave all other settings at their default values unless you have specific requirements or preferences.
- Click on the “Start” button to initiate the process of creating a bootable USB.
- Rufus will format the USB drive, copy the Windows 10 installation files, and make it bootable.
- Wait for Rufus to complete the process. This may take some time depending on the speed of your computer and USB drive.
- Once the process is finished, you will see a message indicating that the bootable USB has been successfully created.
- You can now safely eject the USB drive from your computer.
Rufus offers a wide range of customization options, allowing you to modify various settings according to your needs. It is a powerful and reliable tool for creating bootable USB drives, and it supports various operating systems, including Windows 10.
With the bootable USB created using Rufus, you can now proceed to the next step: Creating a bootable USB using UNetbootin.
Step 6: Creating a bootable USB using UNetbootin
If you prefer a cross-platform tool to create a bootable USB for Windows 10, UNetbootin is a great choice. UNetbootin is a free and open-source utility that allows you to create bootable USB drives for various operating systems. Follow the steps below to create a bootable USB using UNetbootin:
- Download and install UNetbootin from the official UNetbootin website.
- Launch UNetbootin on your computer.
- Ensure that your USB drive is connected to the computer’s USB port.
- In the UNetbootin interface, select the “Diskimage” option.
- Click on the “…” button next to the “Diskimage” field.
- Navigate to the location where the Windows 10 ISO file is saved, select it, and click on the “Open” button.
- Choose the “USB Drive” option under “Type”.
- In the “Drive” dropdown menu, select your USB drive.
- Ensure that the correct drive is selected, as the process will erase all data on the selected drive.
- Leave all other settings at their default values unless you have specific requirements or preferences.
- Click on the “OK” button to start the process of creating a bootable USB.
- UNetbootin will format the USB drive, copy the Windows 10 installation files, and make it bootable.
- Wait for UNetbootin to complete the process. This may take some time depending on the speed of your computer and USB drive.
- Once the process is finished, you will see a message indicating that the bootable USB has been successfully created.
- You can now safely eject the USB drive from your computer.
UNetbootin is a reliable tool for creating bootable USB drives, and it supports a wide range of operating systems, including Windows 10. It provides a simple and intuitive interface, making it easy to create a bootable USB for Windows 10.
Now that you have successfully created a bootable USB using UNetbootin, you can proceed to the next step: Setting up the BIOS to boot from USB.
Step 7: Setting up the BIOS to boot from USB
In order to install Windows 10 from a bootable USB, you need to configure your computer’s BIOS (Basic Input/Output System) to boot from USB. The process may vary slightly depending on the manufacturer and model of your computer, but here are the general steps to set up the BIOS:
- Start or restart your computer.
- As soon as the computer powers on, look for a message that indicates the key to access the BIOS. This is often displayed as a line of text on the screen, such as “Press DEL to enter Setup” or “Press F2 to enter BIOS.”
- Press the designated key to enter the BIOS. The key may vary, but common keys include DEL, F2, F10, or ESC.
- Once you are inside the BIOS, navigate to the “Boot” or “Boot Order” section using the arrow keys on your keyboard.
- Look for a setting called “Boot Priority,” “Boot Sequence,” or similar. This setting determines the order in which your computer searches for bootable devices.
- Move the USB drive to the top of the boot priority list. This ensures that your computer will try to boot from the USB drive first.
- If necessary, save your changes by following the on-screen instructions in the BIOS. This is typically done by pressing a key, such as F10, to save and exit.
- Restart your computer.
After setting up the BIOS to boot from USB, your computer will first attempt to boot from the USB drive when it starts up. If the bootable USB has been created correctly, the Windows 10 installation process should begin.
It is important to remember that accessing the BIOS and configuring the boot order may vary depending on the computer’s manufacturer and model. If you are unsure about the specific steps for your computer, refer to the manufacturer’s documentation or support website for detailed instructions.
Now that you have successfully set up the BIOS to boot from USB, you can proceed to the final step: Installing Windows 10 from the bootable USB.
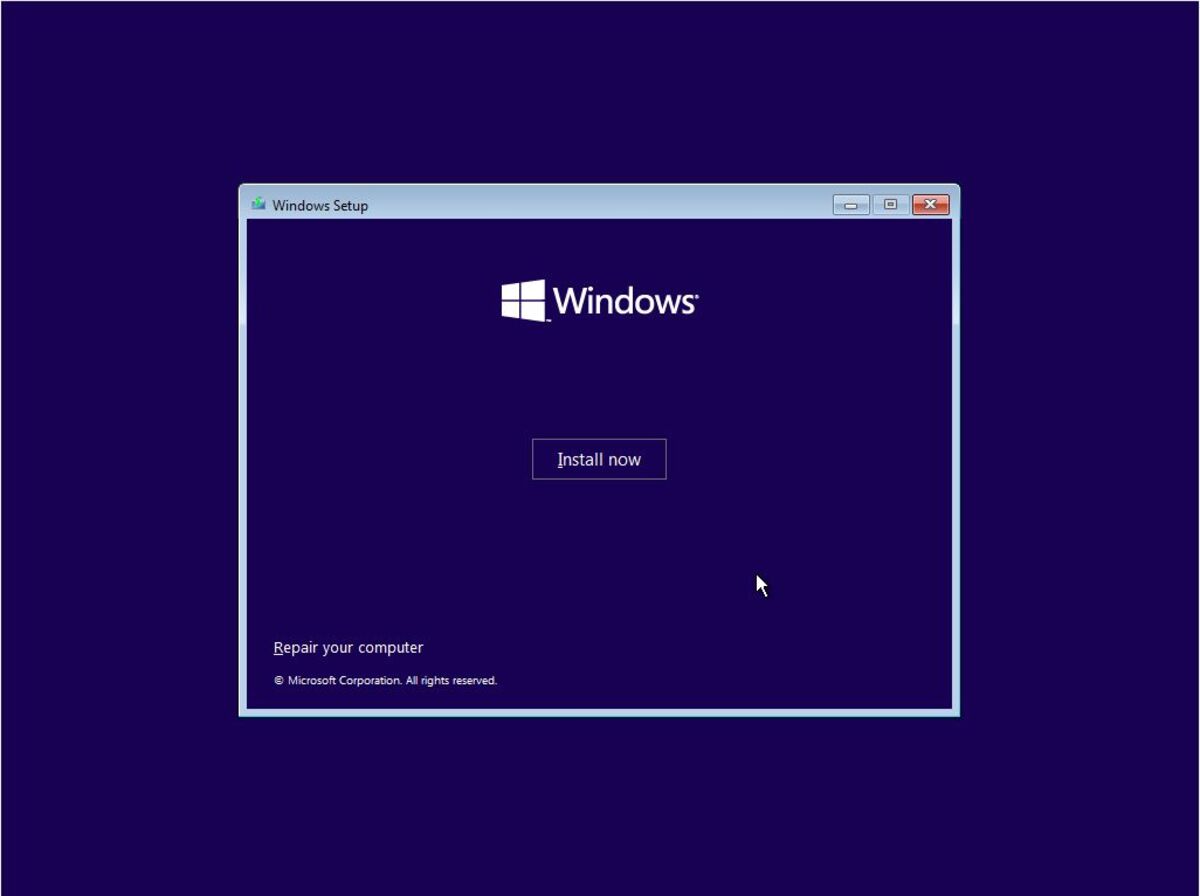
Step 8: Installing Windows 10 from the bootable USB
Now that you have set up your computer to boot from the USB drive, you are ready to install Windows 10. Follow the steps below to install Windows 10 from the bootable USB:
- Connect the bootable USB to a USB port on your computer.
- Restart your computer.
- As the computer restarts, it should automatically detect the bootable USB and start the Windows 10 installation process.
- Follow the on-screen instructions to proceed with the installation. You may be asked to select your language preferences, enter the product key, and accept the license terms.
- On the next screen, choose the installation type. If you are performing a clean installation, select the “Custom: Install Windows only (advanced)” option.
- Select the partition where you want to install Windows 10. If you are installing Windows 10 on a new computer or replacing the existing operating system, select the unallocated space or the partition you want to use.
- Click on the “Next” button to begin the installation.
- Wait for the installation process to complete. Your computer may restart multiple times during the installation.
- Once the installation is finished, you will be prompted to set up the initial settings, such as your region, keyboard layout, and user account information.
- Follow the prompts to complete the setup process.
- After the setup is complete, you will be greeted with the Windows 10 desktop.
It is important to note that the installation process may take some time, depending on your computer’s performance and the complexity of the installation. Make sure to keep your computer plugged into a power source to prevent any interruptions during the installation.
Congratulations! You have successfully installed Windows 10 from the bootable USB. Make sure to update your drivers, software, and install necessary updates to ensure a smooth and secure operating system.
If you encounter any issues during the installation process, refer to the official Microsoft documentation or seek technical support from Microsoft or your computer manufacturer.
That concludes the installation process. Enjoy using Windows 10!
Conclusion
Congratulations on successfully creating a bootable USB for Windows 10! We have covered the step-by-step process of downloading the Windows 10 ISO file, selecting the right USB drive, formatting the drive, and creating a bootable USB using various methods such as the Windows USB/DVD Download Tool, Rufus, and UNetbootin.
Once you have created the bootable USB, we guided you through setting up your computer’s BIOS to boot from the USB drive. Finally, we walked you through the process of installing Windows 10 from the bootable USB, ensuring that you have a fully functional operating system on your computer.
Creating a bootable USB for Windows 10 is an essential skill that can be incredibly useful in situations where you need to install or reinstall the operating system. Whether you are setting up a new computer, upgrading your current system, or troubleshooting issues, having a bootable USB enables you to easily install Windows 10 without the need for an optical drive.
Remember to always download the Windows 10 ISO file from official sources to ensure the authenticity and security of the file. Additionally, make sure to perform regular backups of your important files and data before formatting the USB drive, as the process will erase all existing data.
We hope that this guide has been helpful in guiding you through the process of creating a bootable USB for Windows 10. If you have any questions or encounter any issues, refer to the official documentation or seek assistance from reliable sources.
Now that you have successfully installed Windows 10, take the time to explore the new features, customize your system, and enjoy the benefits of an upgraded operating system.