Introduction
Wanting to get rid of the Windows 10 download on your computer? Whether you’re experiencing compatibility issues, performance problems, or simply prefer an earlier version of Windows, there are several methods you can try to remove the Windows 10 update and revert back to your previous operating system.
Windows 10, the latest version of Microsoft’s operating system, brought many exciting features and improvements. However, it may not be suitable for everyone, and some users may find it more beneficial to stick with their previous version of Windows. Fortunately, there are multiple methods available to help you uninstall Windows 10 and go back to the version you were using before the upgrade.
In this article, we will explore several effective methods to get rid of the Windows 10 download from your computer. These methods include uninstalling the update, disabling the Windows Update service, using tools such as the Show or Hide Updates Tool, the Group Policy Editor, and the Windows Registry Editor. Additionally, we will cover using the Media Creation Tool to reinstall your previous version of Windows and rolling back to the previous version. Let’s dive into each method and find the one that suits your needs.
It’s important to note that before you proceed with any of these methods, you should always back up your important files and data to prevent any potential loss. Additionally, it’s advisable to create a system restore point or disk image in case you need to revert back to your current system configuration.
Now, let’s explore the various techniques you can utilize to get rid of the Windows 10 download and return to your preferred version of Windows.
Method 1: Uninstall Windows 10 Update
If you recently installed the Windows 10 update and you’re not satisfied with it, you can uninstall it and revert back to the previous version of Windows. Follow these steps to uninstall the Windows 10 update:
- Press the Windows key + I on your keyboard to open the Settings app.
- Click on “Update & Security” from the options.
- In the left-hand menu, select “Windows Update.”
- Click on “View update history.”
- Click on “Uninstall updates.”
- A list of installed updates will appear. Look for the Windows 10 update, which may be labeled as “Feature Update to Windows 10” or “Windows 10 Version [version number].”
- Right-click on the update and select “Uninstall.”
- Follow the on-screen instructions to complete the uninstallation process. Your computer will restart, and the Windows 10 update will be removed.
Please note that the availability of the uninstall option may vary depending on how long ago you installed the Windows 10 update. If the uninstall option is not available or grayed out, you may need to try an alternative method to remove the Windows 10 download.
This method allows you to easily revert back to your previous version of Windows by removing the Windows 10 update. However, keep in mind that once you uninstall the update, you may no longer receive security patches, bug fixes, and new features available in Windows 10. Therefore, it’s crucial to regularly update your operating system to ensure optimal performance and security.
Now that you know how to uninstall the Windows 10 update, let’s move on to the next method, which involves disabling the Windows Update service.
Method 2: Disable Windows Update Service
If you want to prevent Windows 10 from automatically downloading and installing updates, you can disable the Windows Update service. Here’s how:
- Press the Windows key + R on your keyboard to open the Run dialog box.
- Type “services.msc” (without quotes) and press Enter. This will open the Services window.
- Scroll down and locate the “Windows Update” service.
- Right-click on the service and select “Properties.”
- In the Properties window, under the “General” tab, locate the “Startup type” dropdown menu.
- Select “Disabled” from the dropdown menu.
- Click on the “Apply” button, then click “OK” to save the changes.
Disabling the Windows Update service will prevent Windows 10 from automatically checking for and downloading updates. However, it is important to note that this method should only be used if you are confident in your ability to manually install updates and ensure the security of your system.
Keep in mind that disabling the Windows Update service can leave your system vulnerable to security risks and prevent you from getting important updates that could improve your computer’s performance and stability. It is recommended to regularly check for updates manually or use alternative methods to manage the Windows Update process.
Now that you know how to disable the Windows Update service, let’s explore the next method which involves using the Show or Hide Updates Tool.
Method 3: Use the Show or Hide Updates Tool
If you want to selectively hide or prevent certain updates from being installed on your Windows 10 computer, you can utilize the Show or Hide Updates Tool. This tool allows you to choose which updates to install and which ones to hide. Here’s how you can use it:
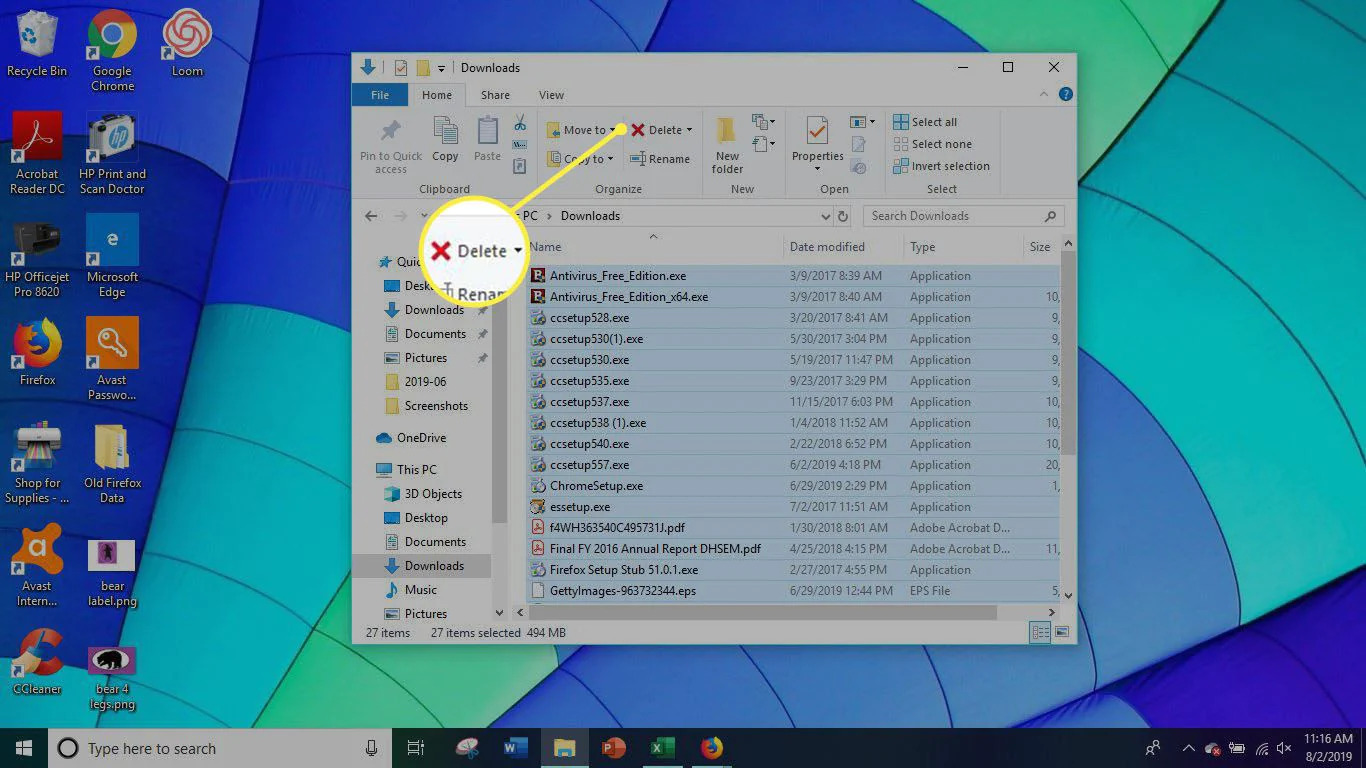
- Download the Show or Hide Updates Tool from the official Microsoft website and save it to your computer.
- Run the tool by double-clicking on the downloaded file.
- When the tool opens, it will start scanning for updates on your system.
- Once the scan is complete, you will see a list of available updates.
- Scroll through the list and look for the specific update or updates you want to hide.
- Check the box next to the update you want to hide.
- Click on the “Next” button to proceed.
- The tool will apply the changes, and the selected updates will be hidden from installation.
By using the Show or Hide Updates Tool, you have the flexibility to choose which updates you want to install and which ones you prefer to avoid. This method is particularly useful if you have specific updates that cause issues or conflicts with your computer’s hardware or software.
However, it’s important to note that using this tool to hide updates means those updates will not be installed, and your system may miss out on important security patches, bug fixes, and new features. Therefore, it’s recommended to periodically review the hidden updates and unhide them if necessary.
Now that you know how to use the Show or Hide Updates Tool, let’s move on to the next method, which involves utilizing the Group Policy Editor.
Method 4: Use the Group Policy Editor
If you have Windows 10 Pro, Enterprise, or Education edition, you have access to the Group Policy Editor, which allows you to have more control over Windows updates. By using this method, you can change the settings to prevent Windows 10 from automatically downloading and installing updates. Here’s how to do it:
- Press the Windows key + R on your keyboard to open the Run dialog box.
- Type “gpedit.msc” (without quotes) and press Enter. This will open the Group Policy Editor.
- In the Group Policy Editor window, navigate to “Computer Configuration” > “Administrative Templates” > “Windows Components” > “Windows Update.”
- In the right-hand pane, double-click on “Configure Automatic Updates.”
- In the configuration window that opens, select the “Enabled” option.
- From the “Options” dropdown menu, choose one of the following options:
- “2 – Notify for download and notify for install”: Windows will notify you when updates are available, but they will not be installed automatically.
- “3 – Auto download and notify for install”: Windows will download updates automatically, but they will not be installed automatically. You will be notified when updates are ready for installation.
- “4 – Auto download and schedule the install”: Windows will download updates automatically and schedule a specific time for installation. You will be notified when updates are ready for installation.
- Click on the “Apply” button, then click “OK” to save the changes.
By using the Group Policy Editor, you can customize the Windows Update settings according to your preference. This method gives you more control over updates, allowing you to choose when and how they are installed on your computer.
It is important to note that the Group Policy Editor is not available in Windows 10 Home editions. If you’re using the Home edition, you may need to consider other methods to manage Windows updates.
Now that you know how to use the Group Policy Editor to control Windows updates, let’s move on to the next method, which involves making changes using the Windows Registry Editor.
Method 5: Use the Windows Registry Editor
If you’re comfortable making changes to the Windows Registry, you can utilize the Windows Registry Editor to prevent Windows 10 from automatically downloading and installing updates. Before proceeding with this method, it’s essential to note that modifying the Registry is a sensitive process and should be done with caution. Here’s how to use the Windows Registry Editor:
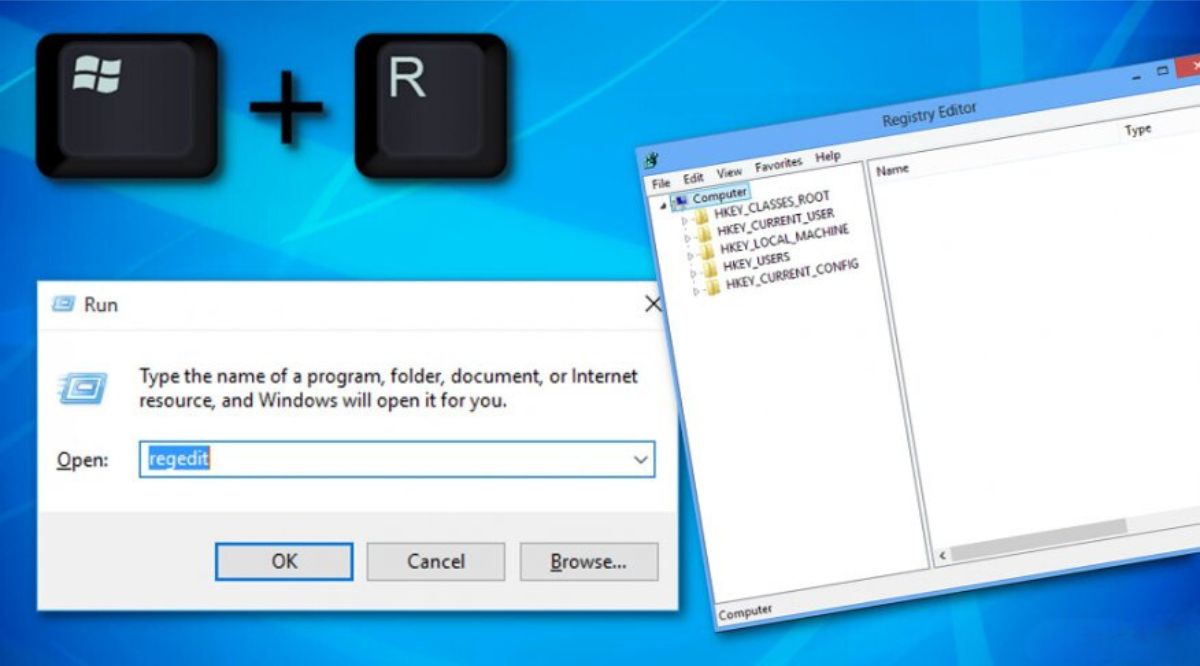
- Press the Windows key + R on your keyboard to open the Run dialog box.
- Type “regedit” (without quotes) and press Enter. This will open the Windows Registry Editor.
- In the Registry Editor window, navigate to the following key:
HKEY_LOCAL_MACHINE\SOFTWARE\Policies\Microsoft\Windows\WindowsUpdate
(Note: If the “WindowsUpdate” key does not exist, you may need to create it. Right-click on the “Windows” key, select “New,” and then choose “Key” to create a new key. Rename it as “WindowsUpdate”.) - In the “WindowsUpdate” key, right-click on the right-hand pane and select “New” and then “DWORD (32-bit) Value”.
- Name the new value “AUOptions” (without quotes).
- Double-click on the “AUOptions” value and set its “Value data” to one of the following:
- 2: Notify before download.
- 3: Automatically download and notify for installation.
- 4: Automatically download and schedule the installation.
- 5: Allow local administrators to choose the update settings.
- Click on the “OK” button to save the changes.
Using the Windows Registry Editor gives you the ability to fine-tune the Windows Update settings to suit your preferences. However, it’s essential to exercise caution when making changes to the Registry, as any incorrect modification can potentially cause system issues.
If you’re uncomfortable working with the Registry or unfamiliar with its workings, it is advisable to seek assistance from a knowledgeable individual or consult official Microsoft documentation before proceeding.
Now that you know how to use the Windows Registry Editor, let’s move on to the next method, which involves using the Media Creation Tool to reinstall your previous version of Windows.
Method 6: Use the Media Creation Tool
If you want to get rid of the Windows 10 download and revert back to your previous version of Windows, you can use the Media Creation Tool provided by Microsoft. This tool allows you to create installation media or upgrade your current system to another version of Windows. Here’s how you can use the Media Creation Tool:
- Visit the official Microsoft website and download the Media Creation Tool.
- Run the tool by double-clicking on the downloaded file.
- When the tool opens, select the option to “Create installation media for another PC.”
- Choose your preferred language, edition, and architecture (32-bit or 64-bit).
- Select either a USB flash drive or an ISO file as the installation media.
- Follow the on-screen instructions to create the installation media.
- Once the installation media is created, insert the USB flash drive or mount the ISO file on your computer.
- Restart your computer and boot from the USB flash drive or the mounted ISO file.
- Follow the prompts to reinstall your previous version of Windows.
- During the installation process, you may be prompted to enter your product key. Ensure you have the product key for your previous version of Windows handy.
- Complete the installation process and allow your computer to restart.
Using the Media Creation Tool gives you the flexibility to reinstall your previous version of Windows and remove the Windows 10 upgrade. It’s important to note that this process will erase all the data on your computer, so make sure to back up your important files and documents before proceeding.
Once the reinstallation is complete, you can restore your backed-up files and set up your computer with your desired settings. Remember to regularly check for updates and install them to keep your system secure and up to date.
Now that you know how to use the Media Creation Tool, let’s move on to the final method, which involves rolling back to the previous version of Windows.
Method 7: Roll Back to the Previous Version of Windows
If you recently upgraded to Windows 10 but are not satisfied with it, you have the option to roll back to your previous version of Windows. Windows 10 provides a built-in feature that allows you to revert back within a limited time period after the upgrade. Here’s how you can roll back to the previous version of Windows:
- Press the Windows key + I on your keyboard to open the Settings app.
- Click on “Update & Security” from the options.
- In the left-hand menu, select “Recovery.”
- Under the “Go back to the previous version of Windows 10” section, click on the “Get started” button.
- Follow the on-screen instructions to complete the rollback process.
During the rollback process, your computer will restart multiple times. It’s important to note that rolling back to the previous version of Windows will remove all the applications and settings you installed after the upgrade to Windows 10. Additionally, any applications that came with your previous version of Windows may need to be reinstalled.
It’s advisable to back up your important files and documents before proceeding with the rollback, as there is a risk of data loss during the process. You may also need to reinstall any software or applications that are incompatible with your previous version of Windows.
Once the rollback process is complete, your computer will be restored to the previous version of Windows, and you can continue using it as before. It’s recommended to review your Windows Update settings to prevent the automatic installation of Windows 10 in the future, if desired.
Now that you know how to roll back to the previous version of Windows, you have successfully gone through all the methods to get rid of the Windows 10 download and return to your previous operating system.
Conclusion
Getting rid of the Windows 10 download and reverting back to your previous version of Windows is possible through several methods. Whether you choose to uninstall the Windows 10 update, disable the Windows Update service, use tools like the Show or Hide Updates Tool or the Group Policy Editor, modify the Windows Registry, use the Media Creation Tool, or roll back to the previous version, you have options to suit your needs and preferences.
It’s important to keep in mind that each method has its own advantages and considerations. Uninstalling the update or disabling the Windows Update service may prevent automatic updates but can leave your system vulnerable to security risks. Using tools like the Show or Hide Updates Tool or the Group Policy Editor gives you more control over updates, but you need to stay diligent in managing them. Modifying the Windows Registry requires caution, as incorrect changes can lead to system issues. Reinstalling the previous version of Windows through the Media Creation Tool or rolling back within the limited time period after the upgrade gives you a fresh start but involves data loss and potential application reinstallation.
As with any changes to your computer’s operating system, it’s crucial to back up your important files and data before proceeding with any of these methods. Additionally, regularly updating your operating system and keeping it secure is essential for optimal performance and protection against security threats.
By following the methods provided in this article, you can successfully remove the Windows 10 download and return to the previous version of Windows that best suits your needs. Choose the method that aligns with your comfort level and ensure that you carefully follow the instructions to achieve the desired outcome.
Now you have the knowledge and tools to take control of your Windows operating system and make the changes necessary to create the computing experience you desire.