Introduction
Welcome to the world of OS X 10.11! Operating systems play a crucial role in the overall functionality and performance of our devices, and OS X 10.11 is no exception. Whether you are a new user looking to upgrade or an existing user eager to experience the latest features, this guide will provide you with a step-by-step process to download and install OS X 10.11 on your Mac.
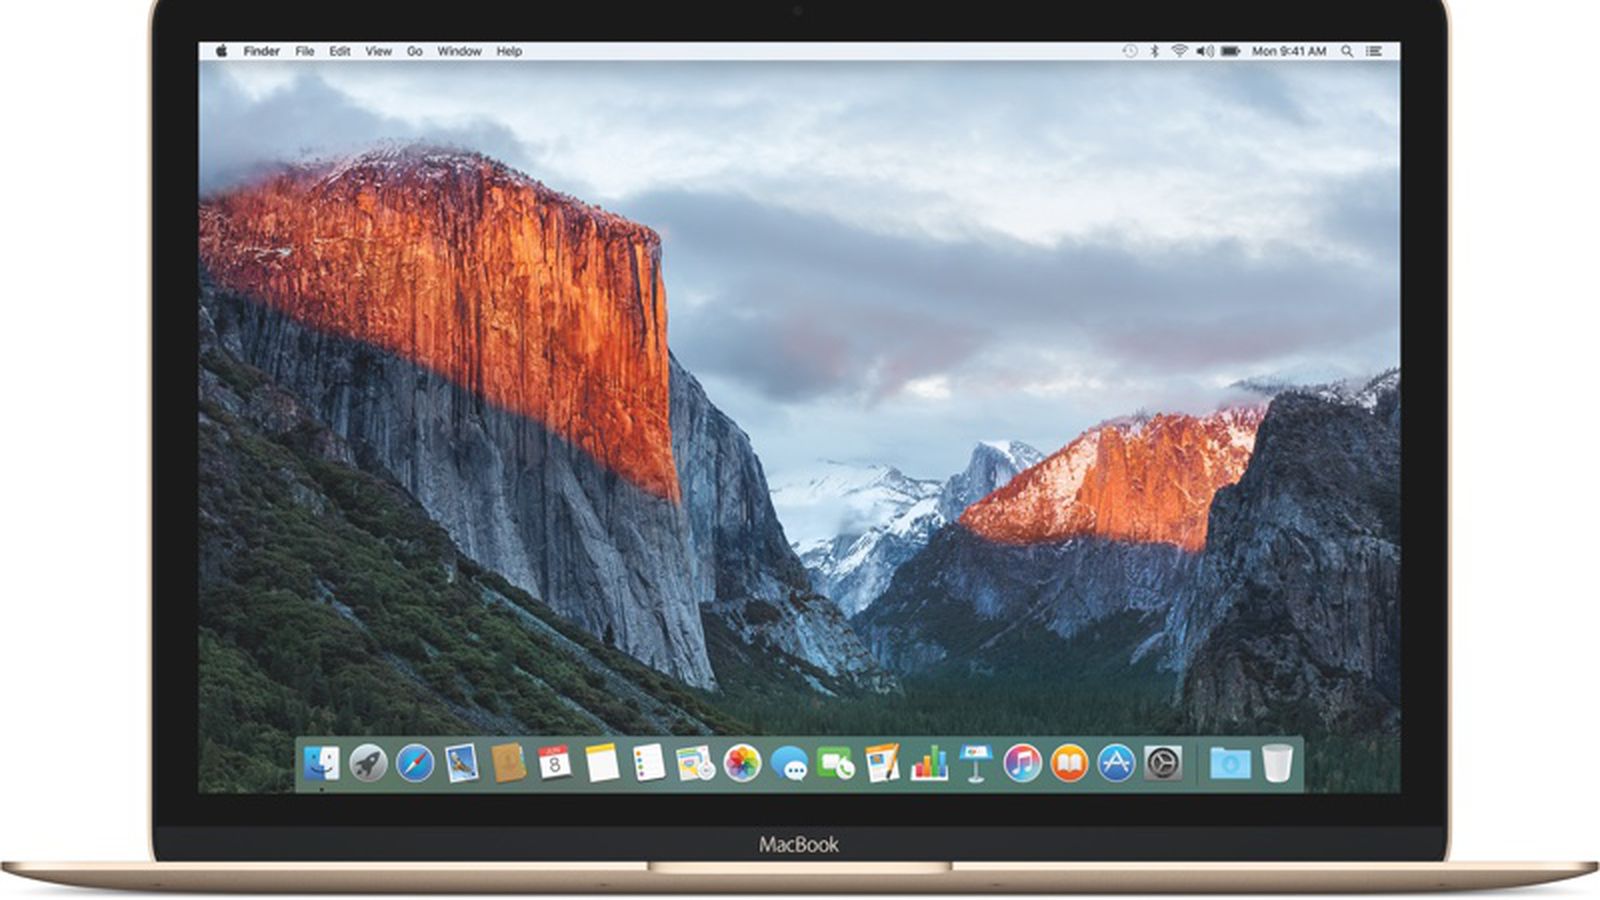
Known as “El Capitan,” OS X 10.11 offers a range of improvements and enhancements compared to its predecessor. These include increased performance, refined visual design, and new features designed to enhance productivity and streamline daily tasks. Moreover, it brings a more stable and reliable platform, ensuring a smoother and more enjoyable user experience.
Before diving into the process, it’s essential to ensure that your system meets the necessary requirements. This will help guarantee the successful installation and compatibility of OS X 10.11 with your Mac. Additionally, it’s crucial to back up your data to avoid any potential loss during the installation process.
In this guide, we will walk you through the entire process of downloading and installing OS X 10.11. From signing in to the Mac App Store to locating the OS X 10.11 download and executing the installation, we will provide detailed instructions, tips, and insights to help you along the way.
So, whether you’re a tech-savvy user or a beginner, get ready to explore the exciting features and benefits of OS X 10.11. Let’s jump right in!
Step 1: Check System Requirements
Before you start the process of downloading and installing OS X 10.11, it’s essential to make sure that your Mac meets the system requirements. This will ensure a smooth installation and optimal performance of the operating system.
The following are the minimum system requirements for OS X 10.11:
- A Mac computer with at least 2GB of RAM
- Free disk space of at least 8GB
- An internet connection to access the Mac App Store
- Compatibility with OS X 10.6.8 or later
If your Mac meets these requirements, you can proceed with the installation process. However, if your Mac falls short of any of these specifications, it may not be able to run OS X 10.11 effectively.
To check your Mac’s current specifications, follow these steps:
- Click on the Apple menu in the top-left corner of the screen.
- Select “About This Mac” from the drop-down menu.
- A window will open displaying information about your Mac, including the model, processor, and memory. Make sure that your Mac meets the minimum requirements mentioned earlier.
If your Mac meets the system requirements, congratulations! You’re ready to move on to the next step. However, if your Mac does not meet the requirements, you may need to consider upgrading your hardware or using an older version of OS X that is compatible with your system.
Ensuring that your Mac meets the necessary specifications will not only enhance the performance of OS X 10.11 but also avoid any potential issues during the installation process. Take the time to check your system requirements before proceeding to the next steps.
Step 2: Backup Your Data
Before proceeding with the installation of OS X 10.11, it is crucial to backup your data to prevent any loss or corruption during the process. While the installation process is designed to be smooth and seamless, it’s always better to be safe than sorry.
Creating a backup ensures that your important files, documents, and media are safely stored in case anything unexpected occurs during the installation. This way, you can easily restore your data and continue from where you left off without any disruption.
To backup your data, you can follow these simple steps:
- Connect an external hard drive or use cloud storage services like iCloud, Dropbox, or Google Drive.
- Select the files and folders that you want to backup. It’s a good idea to focus on critical files such as documents, photos, music, and any other data that you cannot afford to lose.
- Copy and paste or drag and drop the selected files and folders to the external hard drive or the designated cloud storage location.
- Double-check that all your essential data has been successfully backed up and is accessible.
Alternatively, you can use Time Machine, a built-in backup utility in OS X, to create a full system backup. This will enable you to easily restore your entire system, including settings, applications, and files, in case of any issues during or after the installation process.
By taking the time to backup your data, you can have peace of mind knowing that your important files are protected. In the unlikely event that anything goes wrong during the installation of OS X 10.11, you’ll be prepared and can restore your data without any hassle.
Once you have successfully backed up your data, you can now proceed with confidence to the next steps in the installation process.
Step 3: Sign in to the Mac App Store
In order to download OS X 10.11 from the Mac App Store, you will need to have a valid Apple ID and be signed in to the Mac App Store.
If you already have an Apple ID, follow these steps to sign in:
- Open the App Store by clicking on the App Store icon in your dock or by searching for it in Spotlight.
- Click on the “Sign In” button located at the bottom of the left-hand sidebar.
- Enter your Apple ID and password in the provided fields and click “Sign In.”
If you don’t have an Apple ID, you can create one by clicking on the “Create Apple ID” button and following the prompts.
Once you are signed in to the Mac App Store with your Apple ID, you will have access to a wide range of apps, including OS X 10.11.
It’s important to note that downloading OS X 10.11 may incur a charge if you didn’t previously download it from the Mac App Store. However, if you have previously downloaded OS X 10.11, it can be re-downloaded for free.
Signing in to the Mac App Store not only allows you to download OS X 10.11 but also gives you access to a variety of other apps and updates. It is a necessary step to ensure that you can proceed to the next step smoothly.
Now that you’re signed in and ready to go, let’s move on to the next step: searching for and downloading OS X 10.11.
Step 4: Search for OS X 10.11
With your Apple ID signed in to the Mac App Store, you are now ready to search for OS X 10.11, also known as “El Capitan.”
Follow these steps to locate OS X 10.11:
- Open the App Store by clicking on the App Store icon in your dock or by searching for it in Spotlight.
- In the search bar located at the top right corner of the App Store window, type “OS X El Capitan” or “OS X 10.11” and press Enter.
- The search results will populate, and you should see OS X 10.11 among the results. Click on it to access the OS X 10.11 download page.
On the OS X 10.11 download page, you will find detailed information about the operating system, including a description of its features and improvements.
Make sure to read through the information provided to familiarize yourself with the changes and additions that OS X 10.11 brings. This will help you understand how the new features can enhance your Mac experience.
Once you are ready to proceed with the download, click on the “Download” button. Depending on your internet connection speed, the download may take some time. Be patient and avoid interrupting the download process.
It’s important to note that downloading OS X 10.11 will require a stable internet connection. If you have a slow or unstable connection, you may experience delays or interruptions during the download. In such cases, it’s recommended to try downloading at a later time or consider using a more reliable network connection.
Now that you have successfully found OS X 10.11 and initiated the download process, you’re one step closer to enjoying its enhanced features and functionalities. In the next step, we will discuss how to install OS X 10.11 once the download is complete.
Step 5: Download OS X 10.11
Now that you have located OS X 10.11 in the Mac App Store, it’s time to proceed with the download process. Follow these steps to download OS X 10.11:
- Click on the “Download” button located on the OS X 10.11 download page in the Mac App Store.
- The download will begin, and you will see a progress bar indicating the status of the download.
- Depending on your internet connection speed, the download may take some time. It’s important to have a stable and reliable internet connection to ensure a smooth and uninterrupted download process.
- While the download is in progress, it’s recommended to avoid using other bandwidth-intensive activities, such as streaming videos or downloading large files, as it may slow down the download speed.
- Once the download is complete, you will receive a notification indicating that the OS X 10.11 installer is ready to be installed.
Before you proceed with the installation, it’s a good practice to verify the integrity of the downloaded file. To do this, you can compare the file’s checksum with the one provided by Apple. This ensures that the downloaded file is not corrupted or tampered with.
To verify the downloaded OS X 10.11 installer:
- Open the Terminal application on your Mac. You can find it in the Utilities folder within the Applications folder.
- Type the following command in the Terminal:
shasum -a 256 /Applications/Install\ OS\ X\ El\ Capitan.app/Contents/SharedSupport/InstallESD.dmg - The Terminal will display a long string of characters. Compare this checksum with the one provided by Apple. If they match, it means that the downloaded file is intact and can be safely installed.
Now that you have successfully downloaded OS X 10.11 and verified its integrity, you’re ready to move on to the final step: installing OS X 10.11 on your Mac. We will discuss the installation process in the next step.
Step 6: Install OS X 10.11
With the OS X 10.11 download complete, it’s time to install the operating system on your Mac. Follow these steps to install OS X 10.11:
- Locate the downloaded OS X 10.11 installer file. It is usually located in the Applications folder and named “Install OS X El Capitan.”
- Double-click on the installer file to launch the installation wizard.
- Read and review the license agreement carefully. Click “Agree” to proceed with the installation.
- Select the destination drive where you want to install OS X 10.11. Usually, this will be your Macintosh HD.
- Click “Install” and enter your administrator password when prompted.
- The installation process will begin, and you will see a progress bar indicating the status of the installation.
- Be patient as the installation may take some time, depending on your Mac’s hardware specifications.
- Once the installation is complete, your Mac will automatically restart, and you will be greeted with the setup assistant to configure your OS X 10.11 settings.
- Follow the on-screen instructions to set up your Mac, including selecting your language, region, creating a user account, and signing in with your Apple ID.
- After completing the initial setup, OS X’s familiar desktop environment will appear, and you can start exploring the new features and improvements offered by OS X 10.11.
Congratulations! You have successfully installed OS X 10.11 on your Mac. Take some time to familiarize yourself with the new features and functionalities that OS X 10.11 has to offer, such as enhanced performance, a refined visual design, and improved productivity tools.
Remember to reinstall any necessary applications and restore your backed-up data to ensure a seamless transition to the new operating system.
Now that you have completed the installation process, you’re all set to enjoy the benefits of OS X 10.11 and take advantage of its various features to enhance your Mac experience.
Conclusion
Congratulations! You have successfully downloaded and installed OS X 10.11, also known as “El Capitan,” on your Mac. By following the step-by-step process in this guide, you have expanded your Mac’s capabilities and can now enjoy the enhanced features and improvements that OS X 10.11 offers.
OS X 10.11 brings a range of benefits to your Mac experience. From improved performance and stability to a refined visual design and new productivity tools, this operating system upgrade enhances both functionality and aesthetics.
Remember, before starting the installation process, it is crucial to check your Mac’s system requirements to ensure compatibility. Additionally, backup your data to prevent any loss or corruption during the installation. By taking these precautions, you can confidently proceed with the download and installation of OS X 10.11.
Throughout the process, signing in to the Mac App Store, searching for OS X 10.11, downloading the operating system, and finally installing it on your Mac were crucial steps. Each step played a vital role in ensuring a smooth and successful installation.
Now that you have installed OS X 10.11, take the time to familiarize yourself with its features and functionalities. Explore the enhanced performance, streamlined workflow, and improved user experience that this operating system brings. Reinstall any necessary applications and restore your backed-up data to complete the transition.
Remember, as technology advances, operating systems evolve. Regularly updating your Mac’s operating system ensures that you have access to the latest features, security enhancements, and performance improvements. Stay up to date with new releases and consider upgrading to the latest version when it becomes available.
We hope that this guide has been helpful in guiding you through the process of downloading and installing OS X 10.11. Enjoy the enhanced capabilities and features of your Mac and make the most out of your computing experience!


