Introduction
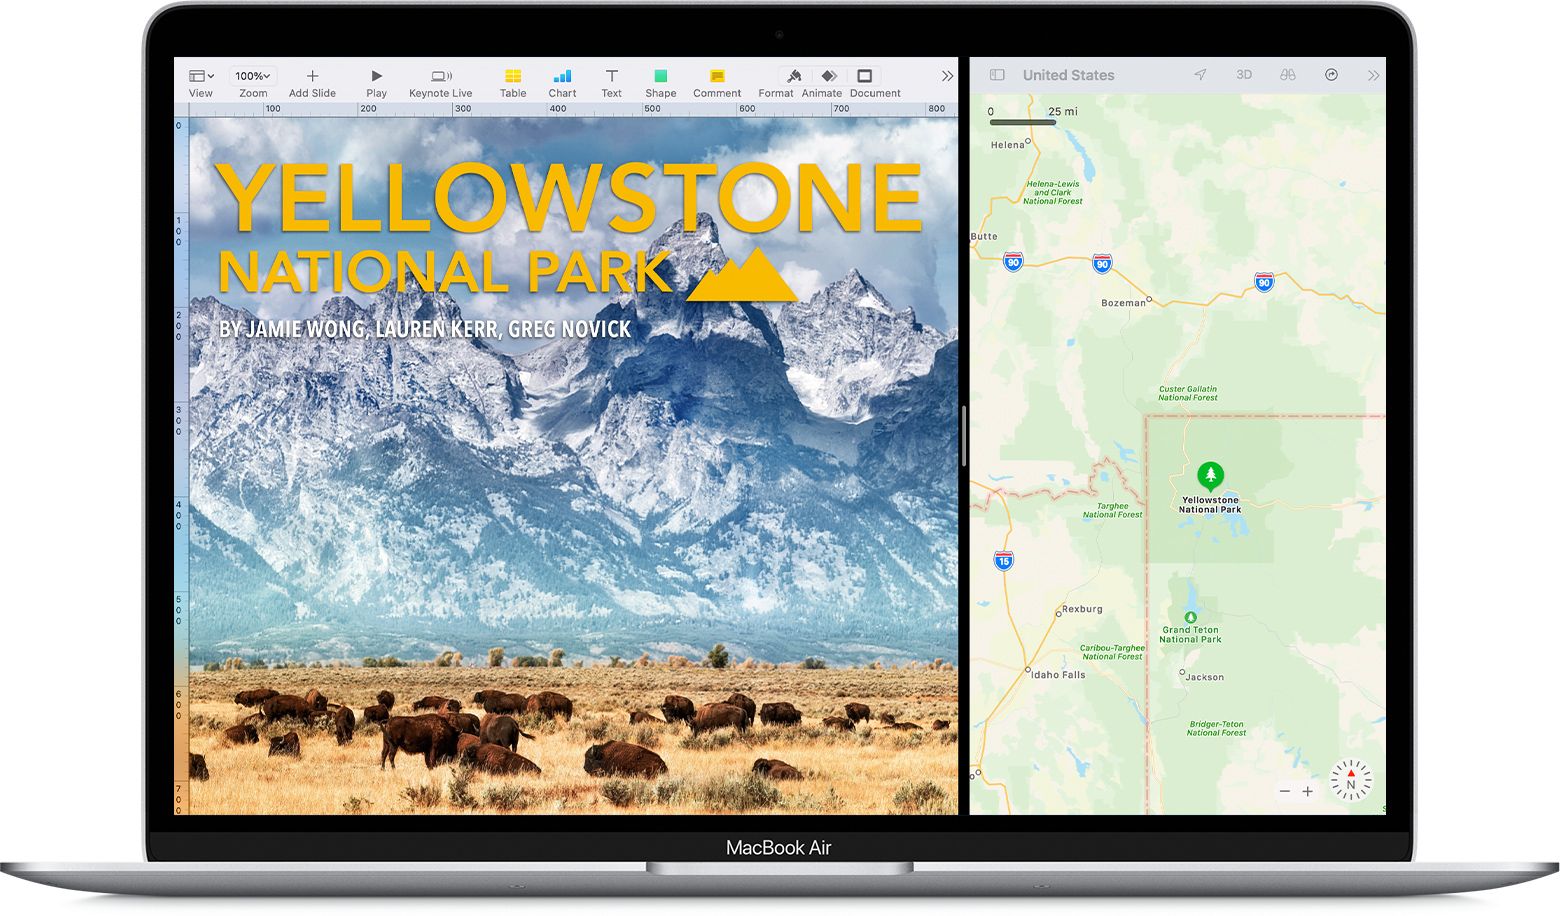
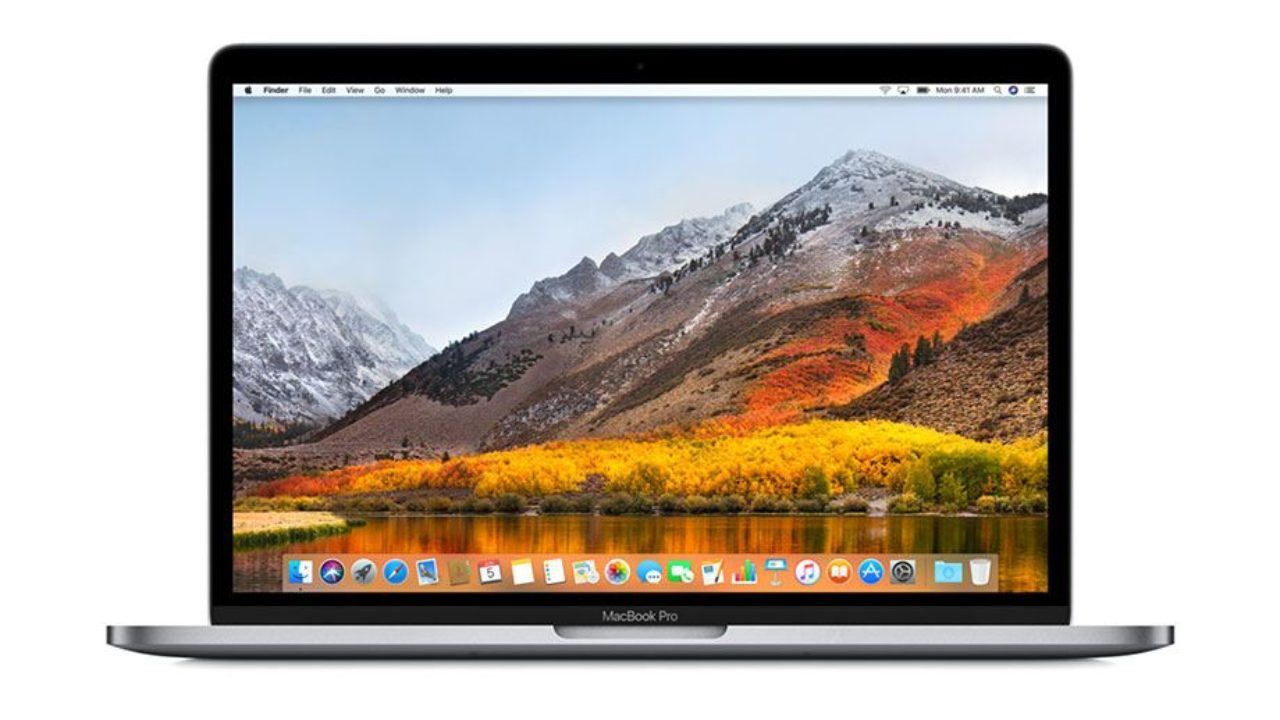
Welcome to the world of multitasking on your MacBook Pro! Splitting the screen allows you to effortlessly view and work on multiple applications simultaneously. Whether you need to compare data, reference information, or simply want to boost your productivity, splitting the screen is a useful feature that can enhance your multitasking capabilities.
In this article, we will guide you through the process of splitting the screen on your MacBook Pro. We will explore two different methods: using Mission Control and utilizing full-screen apps. Additionally, we will explain how to adjust the split screen proportions to fit your needs and provide instructions on exiting split screen mode.
Before we dive into the steps, let’s ensure your MacBook Pro is compatible with this feature. Split screen functionality is available starting from macOS El Capitan (version 10.11) and above. So, if your MacBook Pro is running on an older macOS version, we recommend updating it to enjoy this feature and other improvements.
Now that we’ve covered the basics, let’s move on to the next section, where we will check the compatibility of your MacBook Pro.
Checking Your MacBook Compatibility
Before you can start splitting the screen on your MacBook Pro, it’s important to check if your device is compatible with this feature. As mentioned earlier, split screen functionality is available from macOS El Capitan (version 10.11) onwards. Here’s how you can confirm if your MacBook Pro meets the necessary requirements:
- Click on the Apple Menu in the top-left corner of your screen, and select “About This Mac.”
- In the window that appears, you will see the version of macOS installed on your MacBook Pro. Ensure that it is at least macOS El Capitan or a newer version.
- If your MacBook Pro is running on an older version of macOS, you will need to update it. To do so, click on the “Software Update” option in the same “About This Mac” window. Follow the prompts to download and install the latest macOS update.
Once your MacBook Pro is running on a compatible macOS version, you are ready to proceed to the next section, where we will explore how to split the screen using Mission Control.
Splitting Screen Using Mission Control
Mission Control is a powerful feature on your MacBook Pro that allows you to manage and organize your open windows and desktops. By utilizing Mission Control, you can easily split the screen and work on different applications side by side. Here’s how you can do it:
- Make sure the applications you want to split are open and active on your MacBook Pro.
- Swipe up with three or four fingers on your trackpad, or press the “Mission Control” key on your keyboard (F3 by default) to open Mission Control.
- In Mission Control, you will see all your open windows displayed on a grid-like interface. Drag and drop one of the windows onto the thumbnail of another window.
- The screen will split, and each application will occupy one half of the screen. You can easily resize the windows by clicking and dragging the divider between them.
- To switch between the split windows, simply click on the desired window or use the Mission Control gesture or key (swipe up or press F3) to bring up the Mission Control view and select the desired window.
Splitting the screen with Mission Control enables you to work seamlessly with multiple applications side by side, increasing your productivity and efficiency. Next, let’s explore an alternative method of splitting the screen using full-screen apps.
Splitting Screen Using Full-Screen Apps
In addition to using Mission Control, you can also split the screen on your MacBook Pro by utilizing full-screen apps. This method provides a more immersive and focused experience, as each app occupies its own dedicated space. Here’s how you can split the screen using full-screen apps:
- Open the first application you want to work with and click on the green maximize button in the top-left corner of the window. The app will enter full-screen mode.
- Next, open the second application you want to split the screen with.
- Swipe up with three or four fingers on your trackpad, or press the “Mission Control” key on your keyboard (F3 by default) to open Mission Control.
- Drag the window of the second application to the top of the screen and drop it on the thumbnail of the first application in Mission Control.
- The screen will split, with each app occupying its own space. You can easily resize the windows by clicking and dragging the divider between them.
- To switch between the split windows, use a three-finger swipe left or right on your trackpad to navigate between them. Alternatively, you can use the Mission Control gesture or key to bring up the Mission Control view and select the desired window.
Splitting the screen using full-screen apps provides a seamless and focused workflow, allowing you to fully utilize the screen real estate and work efficiently. Now that you know how to split the screen, let’s move on to adjusting the split screen proportions.
Adjusting the Split Screen Proportions
When splitting the screen on your MacBook Pro, you have the flexibility to adjust the proportions of the split windows based on your specific needs. This feature allows you to allocate more screen space to one application while still keeping the other application visible. Here’s how you can adjust the split screen proportions:
- Place your cursor on the divider between the split windows. The cursor will change to a double-sided arrow.
- Click and drag the divider to the left or right to resize the windows.
- As you drag the divider, you will see a live preview of how the split screen proportions will change.
- Release the mouse or trackpad button once you’re satisfied with the new proportions.
By adjusting the split screen proportions, you can customize your workspace to suit your preferences. Whether you need a larger window for one application or an equal split between two applications, you have the flexibility to create the ideal setup for your workflow.
Now that you’re familiar with adjusting the split screen proportions, it’s time to learn how to exit split screen mode. Let’s move on to the next section.
Exiting Split Screen Mode
Once you’re done working with split screen on your MacBook Pro, you may want to exit this mode and return to a single fullscreen app or window. Exiting split screen mode is a straightforward process. Here’s how you can do it:
- Hover your cursor to the top of the screen while in split screen mode.
- A menu bar will appear, showing the title of the active application in split screen mode.
- Click on the green maximize button next to the title of the active application.
- The active application will exit split screen mode and return to fullscreen.
Alternatively, you can also exit split screen mode by using a keyboard shortcut. Simply press the Esc key, and the active application will exit split screen mode and return to fullscreen.
Exiting split screen mode allows you to switch back to a single fullscreen app or window, providing a more focused workspace for your tasks.
Now that you know how to exit split screen mode, let’s wrap up this article with a quick summary and some final thoughts.
Conclusion
Congratulations! You’ve now learned how to split the screen on your MacBook Pro, allowing you to multitask and work with multiple applications simultaneously. By utilizing either Mission Control or full-screen apps, you can effortlessly split your screen and increase your productivity.
We started by checking the compatibility of your MacBook Pro and making sure you’re running a compatible version of macOS. Then, we explored the process of splitting the screen using Mission Control, where you can easily drag and drop windows into split view. We also learned how to split the screen using full-screen apps, which provide a more immersive and focused experience.
Additionally, we discussed how to adjust the split screen proportions to create a workspace that suits your specific needs. You have the flexibility to resize the windows and allocate more or less screen space to each application. Finally, we covered the steps to exit split screen mode and return to a single fullscreen app or window.
With these skills in your repertoire, you can efficiently navigate and utilize the split screen feature on your MacBook Pro. Take advantage of this powerful tool to enhance your multitasking abilities and improve your productivity.
Now it’s time to put your knowledge into practice and experiment with splitting the screen on your MacBook Pro. Embrace the convenience of multitasking and enjoy a more efficient workflow!


