Introduction
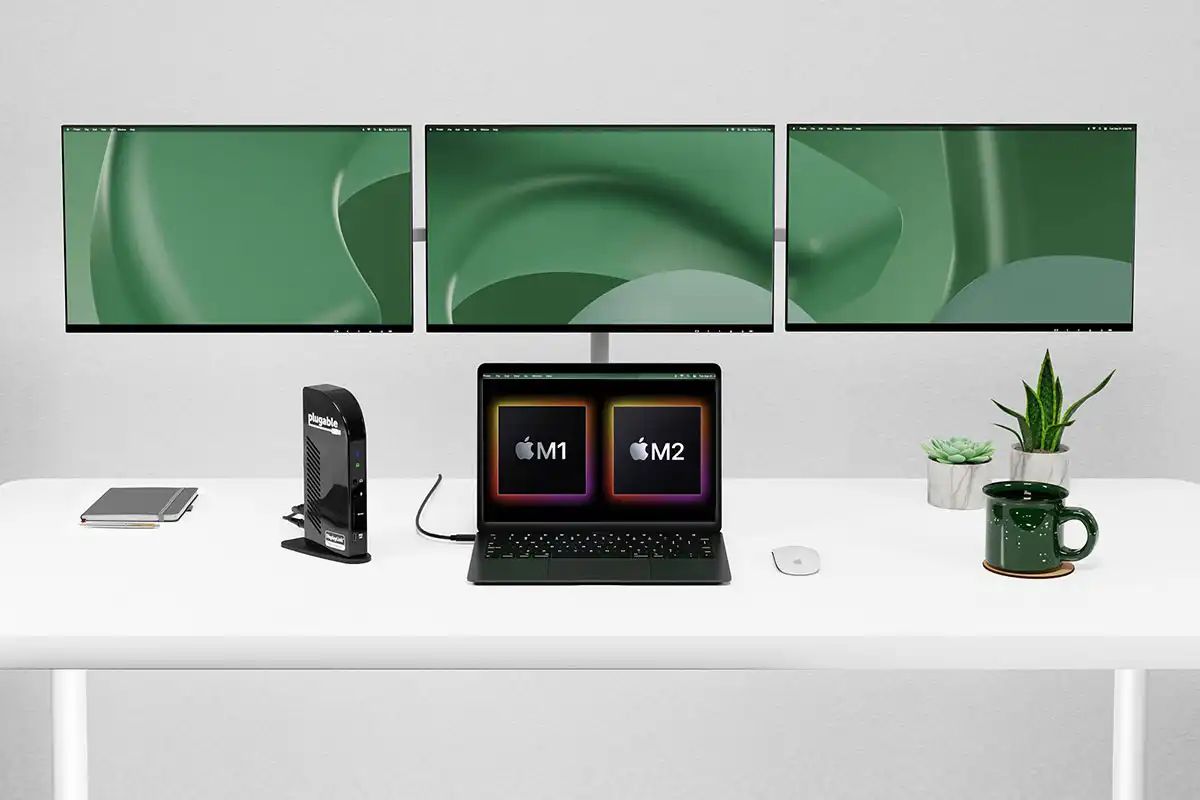
Connecting two monitors to your MacBook Pro can greatly enhance your productivity and improve your overall computing experience. Whether you’re a graphic designer, a programmer, or simply someone who needs extra screen real estate, being able to extend your Mac’s display across multiple monitors can make multitasking easier and more efficient.
However, setting up dual monitors with a MacBook Pro may seem like a daunting task, especially if you’re not familiar with the necessary adapters and settings. In this tutorial, we will guide you step-by-step through the process of connecting two monitors to your MacBook Pro and configuring them correctly.
Before we dive into the technical details, it’s important to note that the process may vary depending on the model of your MacBook Pro and the type of monitors you have. Therefore, it’s advisable to refer to your specific MacBook Pro’s user manual and the manuals of your monitors for any specific instructions or limitations.
Additionally, it’s crucial to choose the right adapters and cables to ensure compatibility between your MacBook Pro and the monitors. Fortunately, there are numerous options available in the market that cater to different connection types and ports.
In the following sections, we will explore the various adapters, steps, and settings required to successfully connect two monitors to your MacBook Pro. By the end of this tutorial, you’ll have a clear understanding of the process and be able to enjoy the expanded workspace and improved productivity.
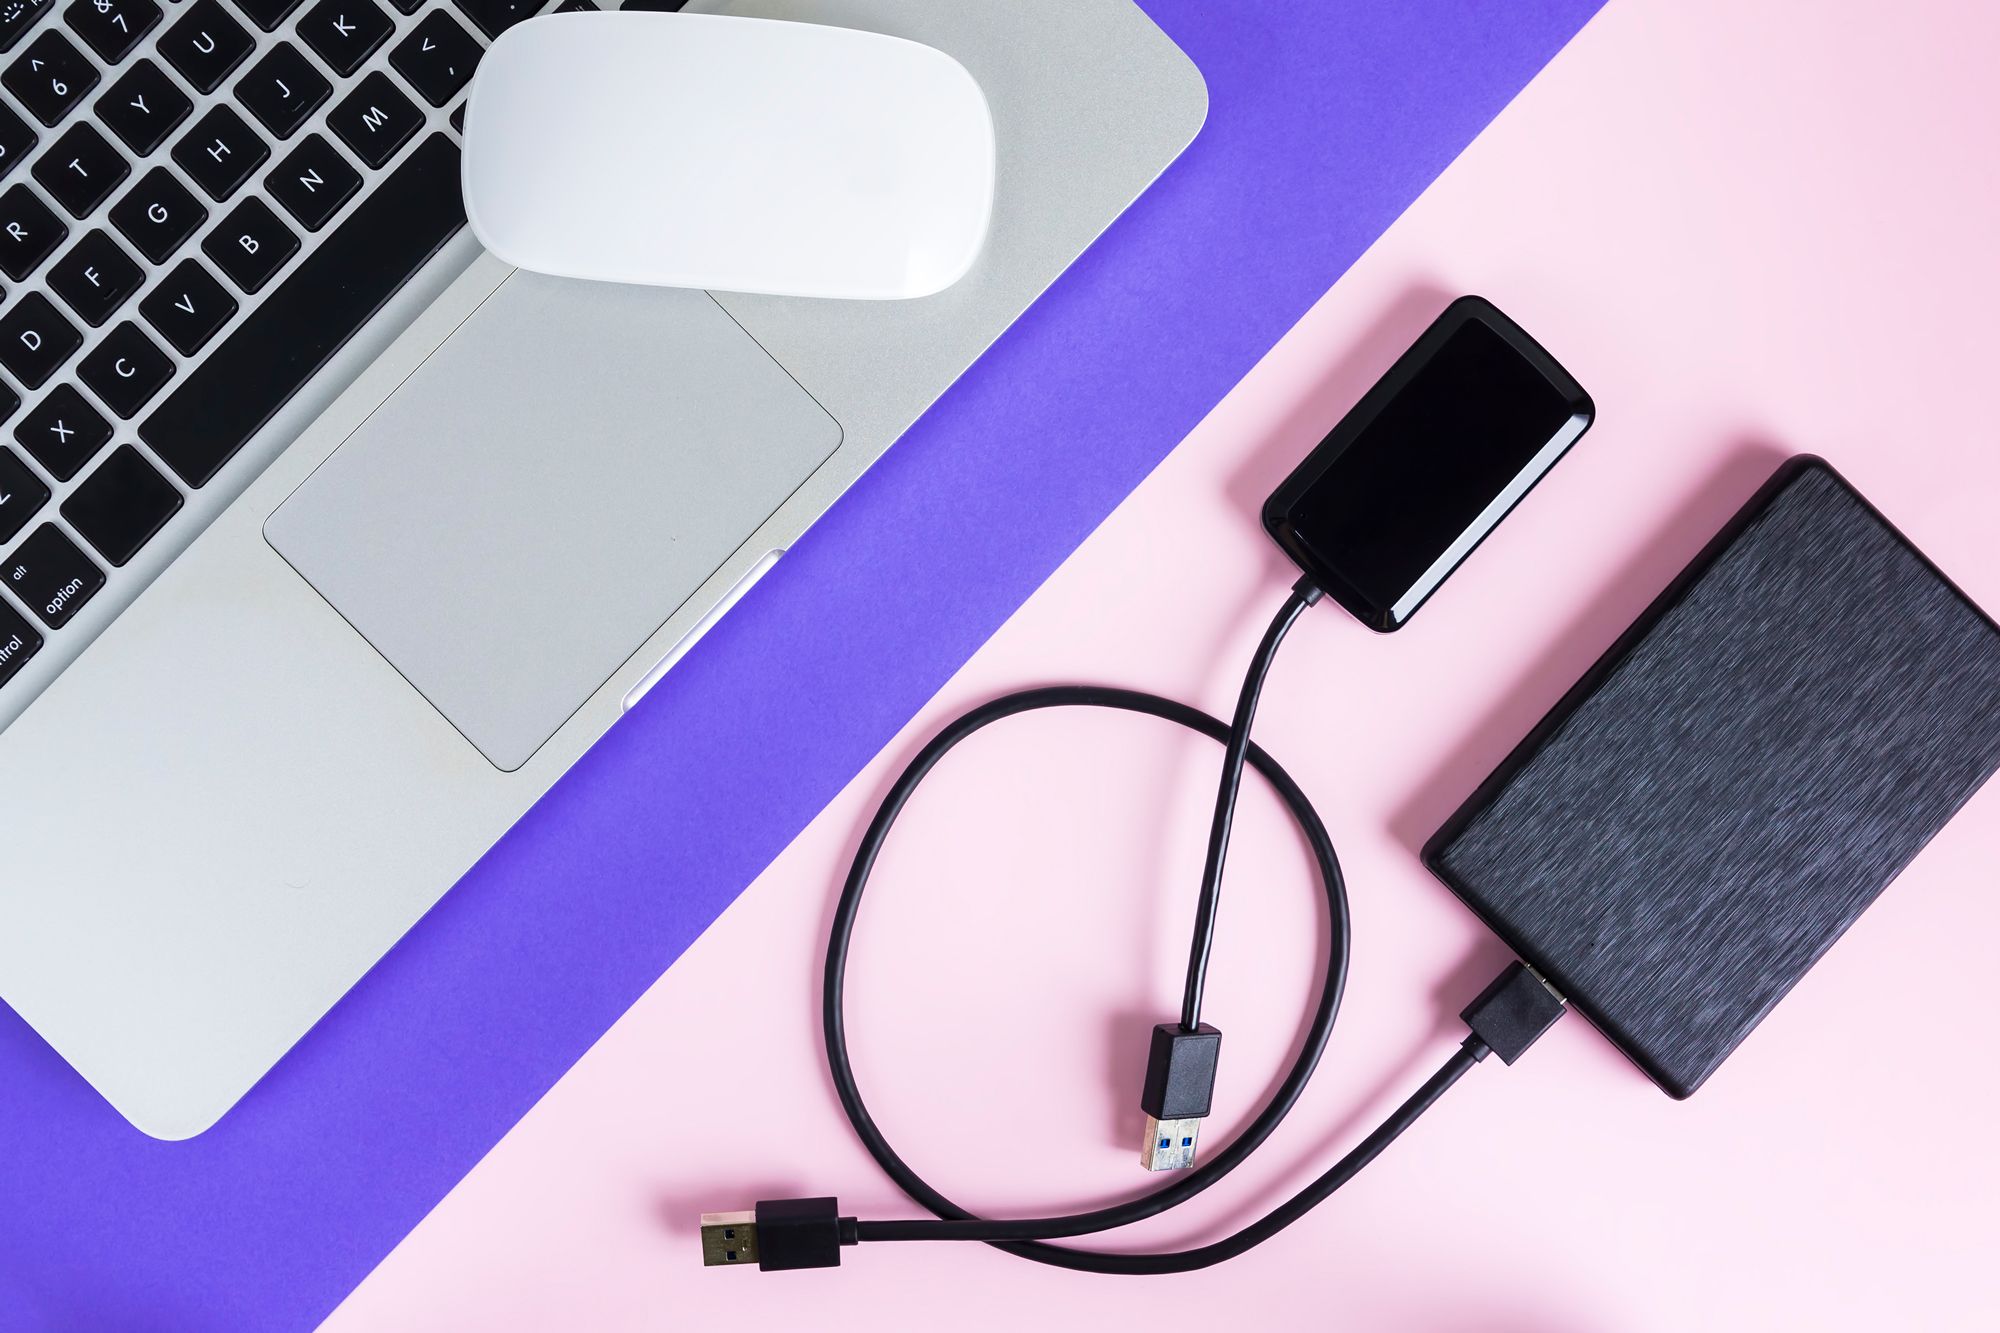
Finding the Right Adapters
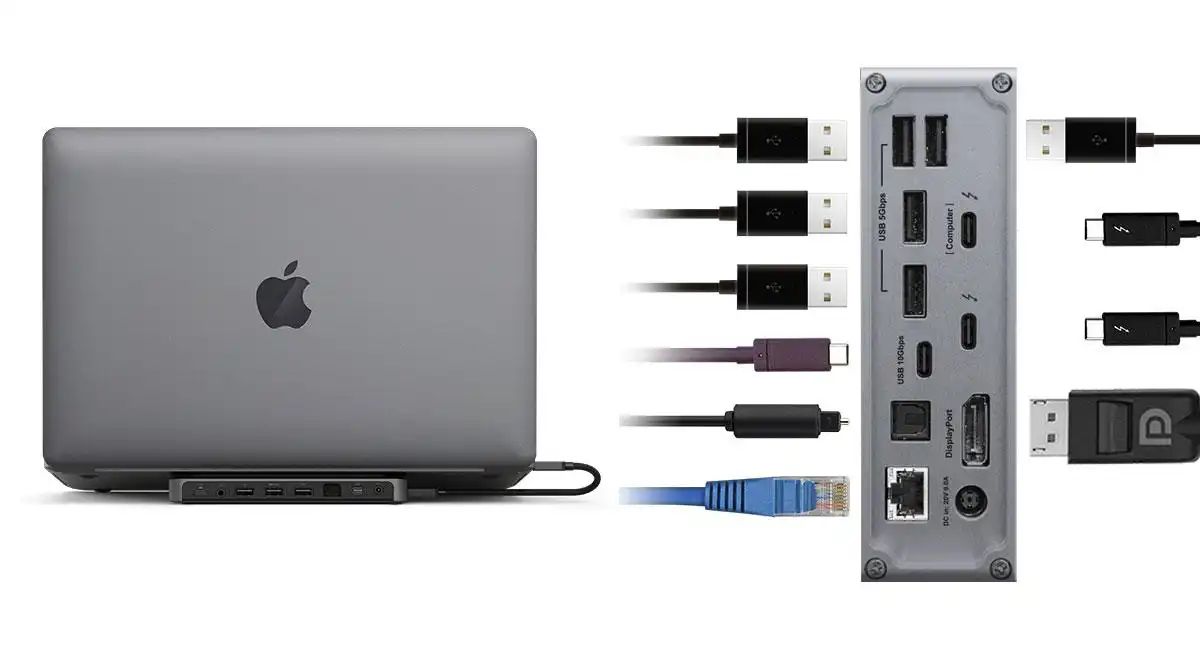
Before you can connect two monitors to your MacBook Pro, you’ll need to ensure that you have the appropriate adapters and cables to make the connection. The type of adapters required will depend on the ports available on your MacBook Pro and the ports on your monitors.
First, identify the ports available on your MacBook Pro. The most common ports found on MacBook Pro models include USB-C/Thunderbolt 3 and HDMI. If you have an older MacBook Pro model, you may also have Mini DisplayPort or Thunderbolt 2 ports.
Next, check the ports on your monitors. Common monitor ports include HDMI, DisplayPort, DVI, and VGA. It’s important to identify which ports your monitors have, as this will determine the type of adapter you’ll need.
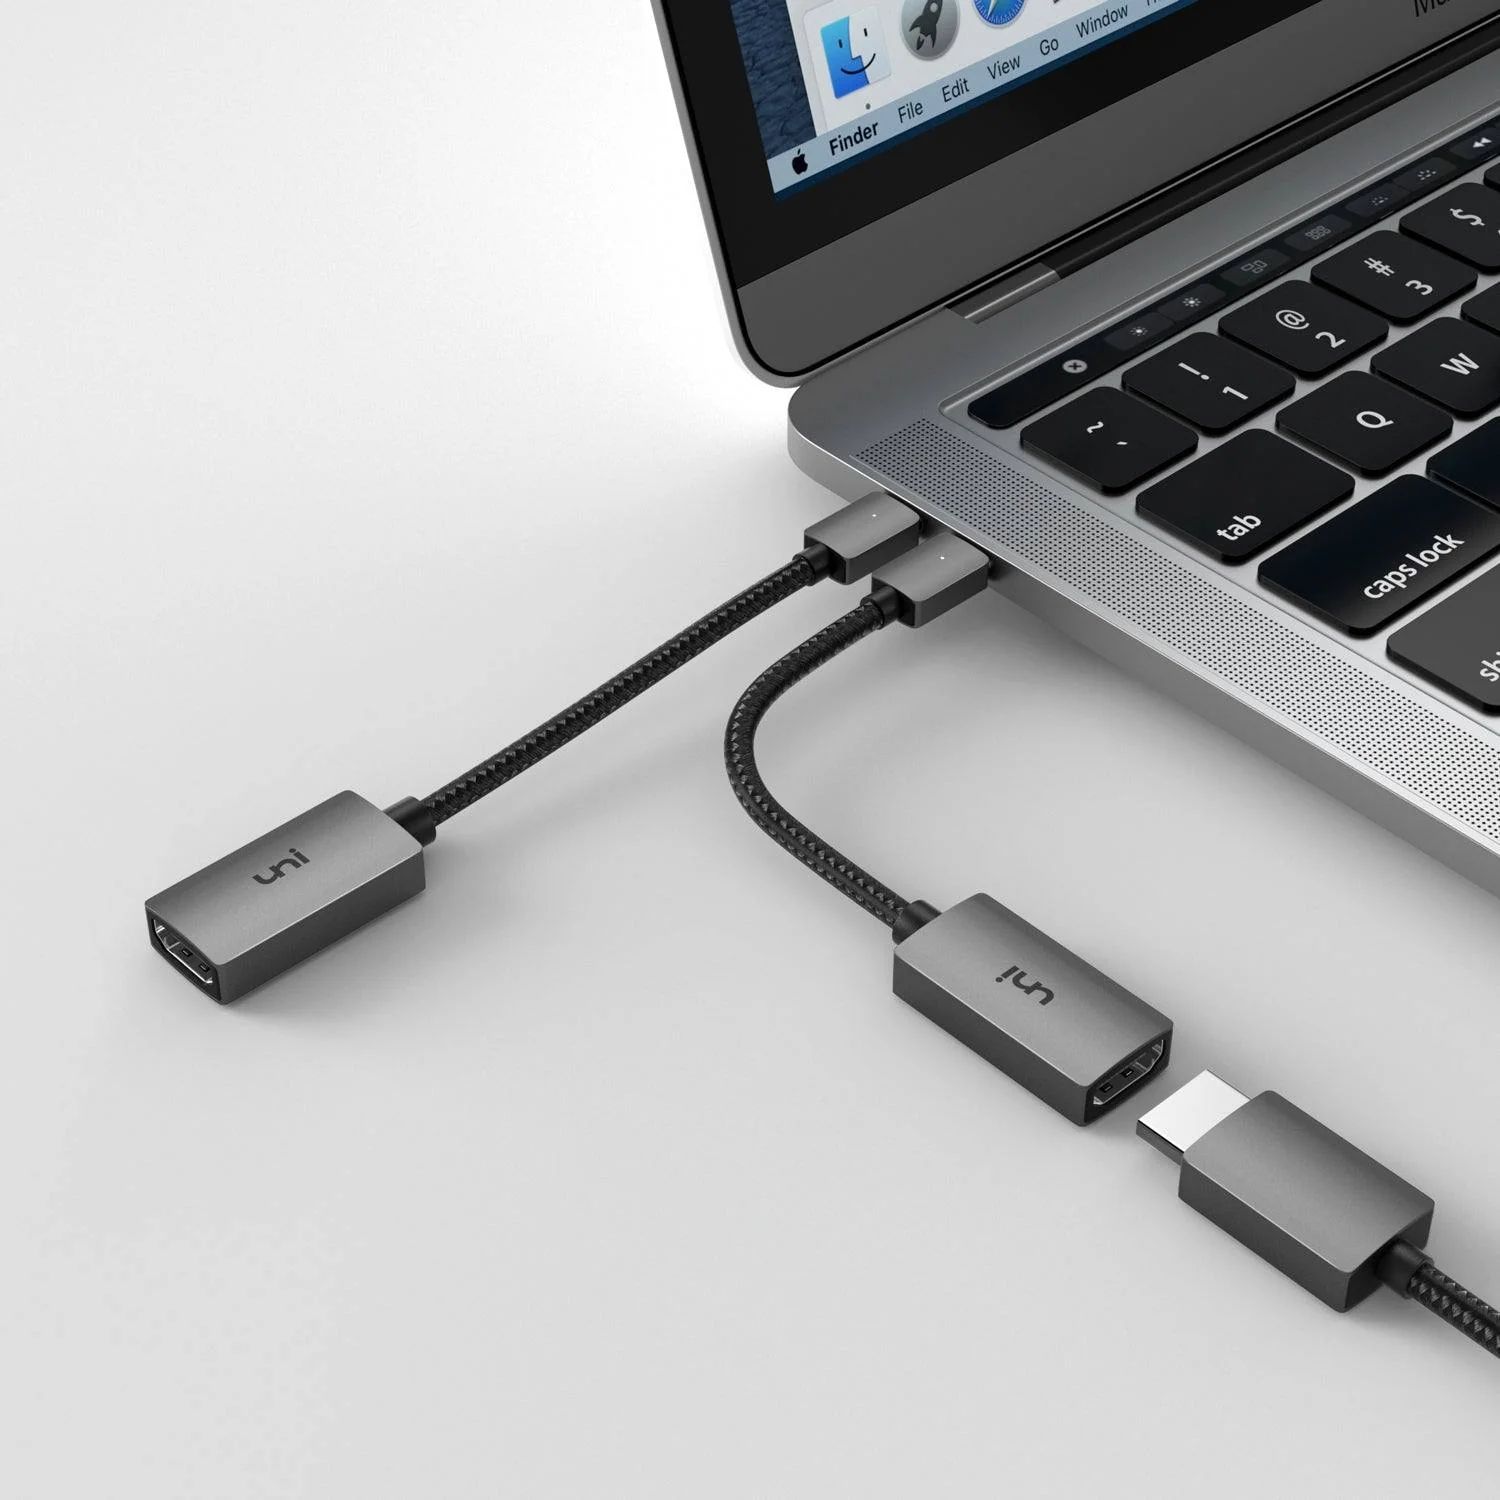
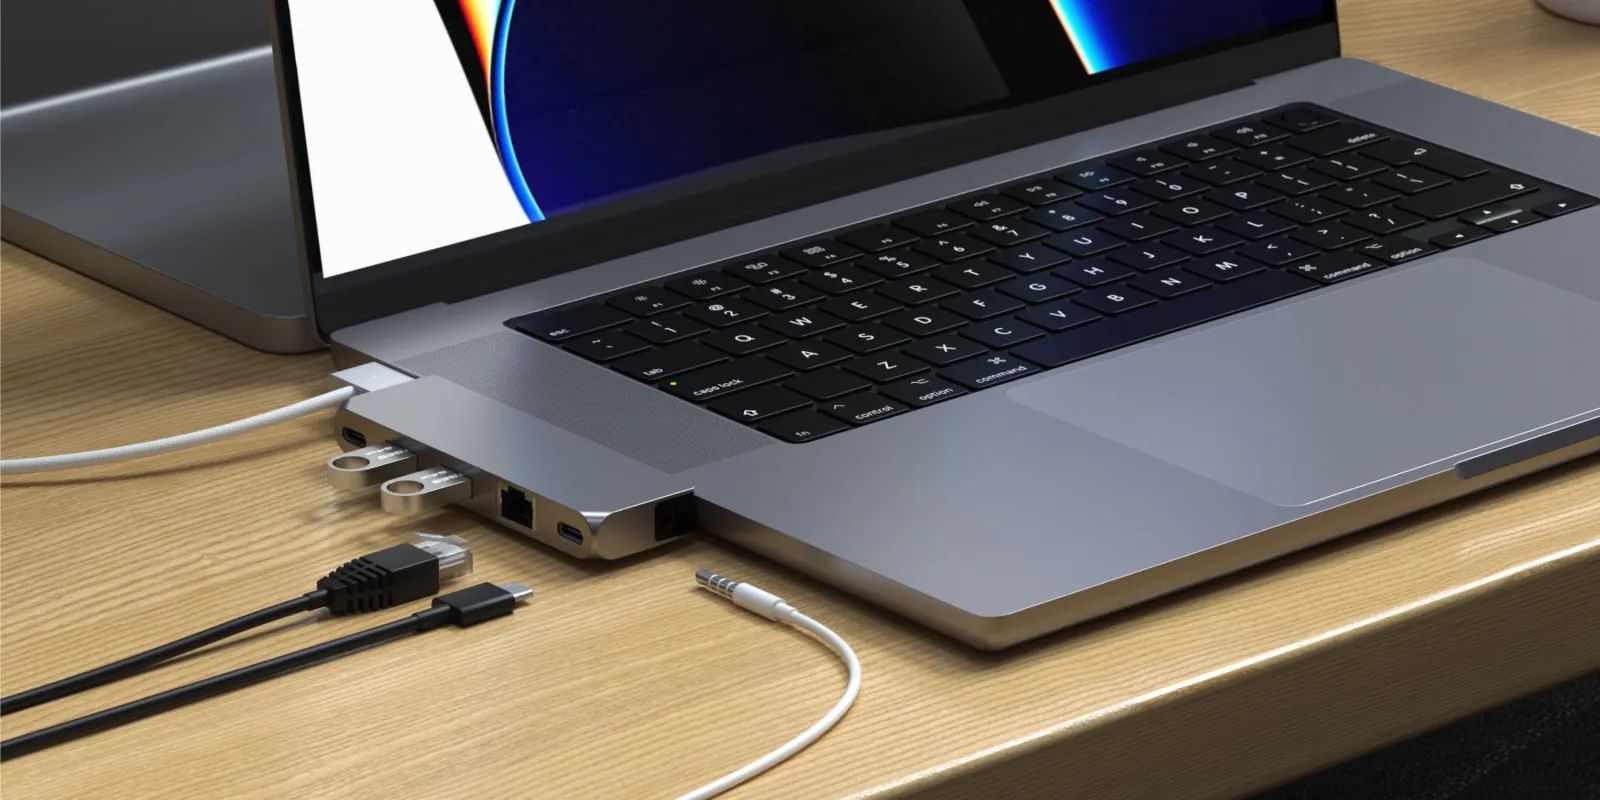
Once you’ve identified the ports on both your MacBook Pro and your monitors, you can now choose the appropriate adapters. There are various types of adapters available, such as USB-C to HDMI, USB-C to DisplayPort, Mini DisplayPort to HDMI, and more. Ensure that the adapters you choose are compatible with the specific ports on your MacBook Pro and your monitors.
In addition to the adapters, you may also need appropriate cables to connect the adapters to your monitors. For example, if you’re using an HDMI adapter, you’ll need an HDMI cable to connect the adapter to the HDMI port on your monitor.
It’s worth noting that when selecting adapters and cables, it’s advisable to choose high-quality options from reputable manufacturers. This will help ensure a stable and reliable connection, as well as minimize the risk of compatibility issues or signal degradation.
Once you’ve obtained the necessary adapters and cables, you’re ready to proceed with connecting your monitors to your MacBook Pro. In the next section, we’ll guide you through the steps to connect the first monitor.
Connecting the First Monitor
Now that you have the necessary adapters and cables, it’s time to connect the first monitor to your MacBook Pro. Follow these steps to successfully set up the first monitor:
- Power off both your MacBook Pro and the monitor.
- Connect one end of the adapter to the appropriate port on your MacBook Pro.
- Connect the other end of the adapter to the corresponding port on the monitor.
- Ensure that all connections are secure.
- Power on both your MacBook Pro and the monitor.
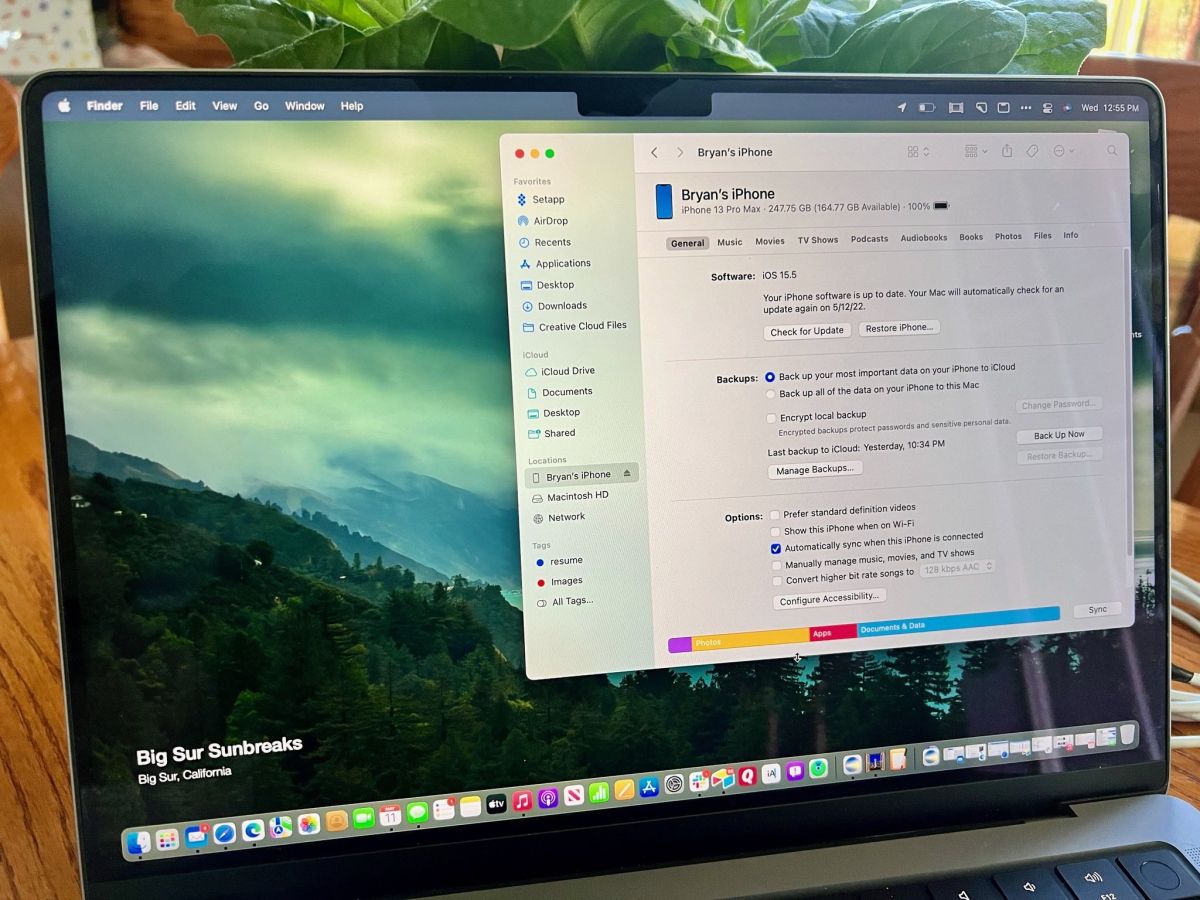
- Your MacBook Pro should automatically detect the new monitor. If not, go to the Apple menu, select System Preferences, and then click on Displays. From there, you can select “Detect Displays” to force your MacBook Pro to recognize the monitor.
- Once the monitor is detected, you can adjust the display settings according to your preferences. This may include changing the resolution, refresh rate, or screen arrangement.
It’s important to note that the specific steps may vary depending on the model of your MacBook Pro, the operating system version, and the monitor you’re using. Therefore, it’s advisable to refer to the user manual for your MacBook Pro and the monitor for any specific instructions.
After completing these steps, you should have successfully connected the first monitor to your MacBook Pro. However, if you want to connect a second monitor, continue reading to learn how to do so in the next section.
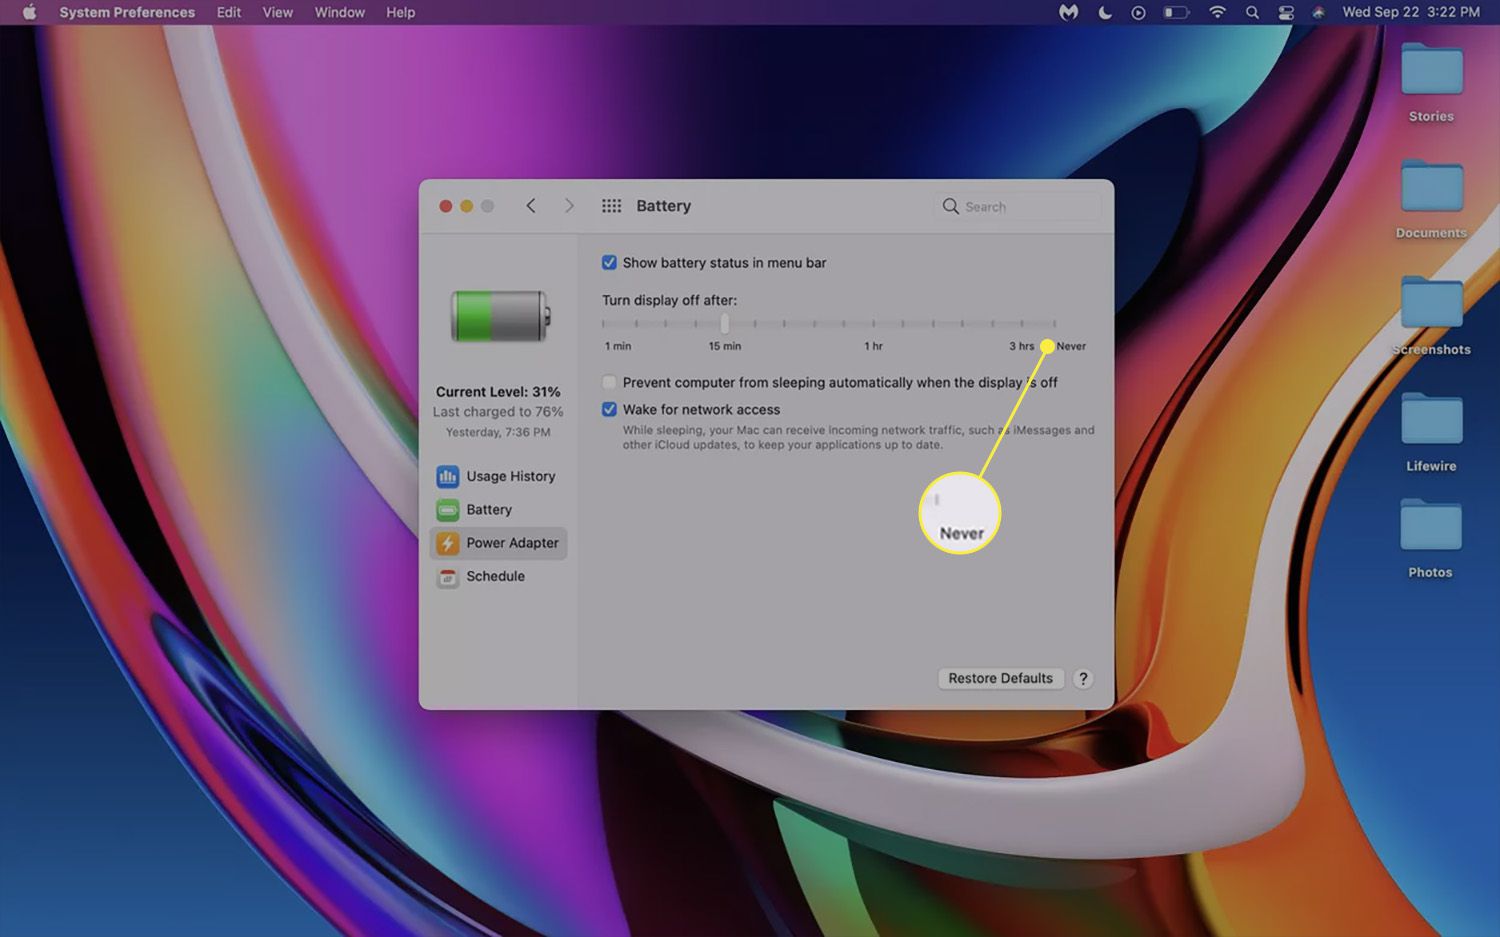
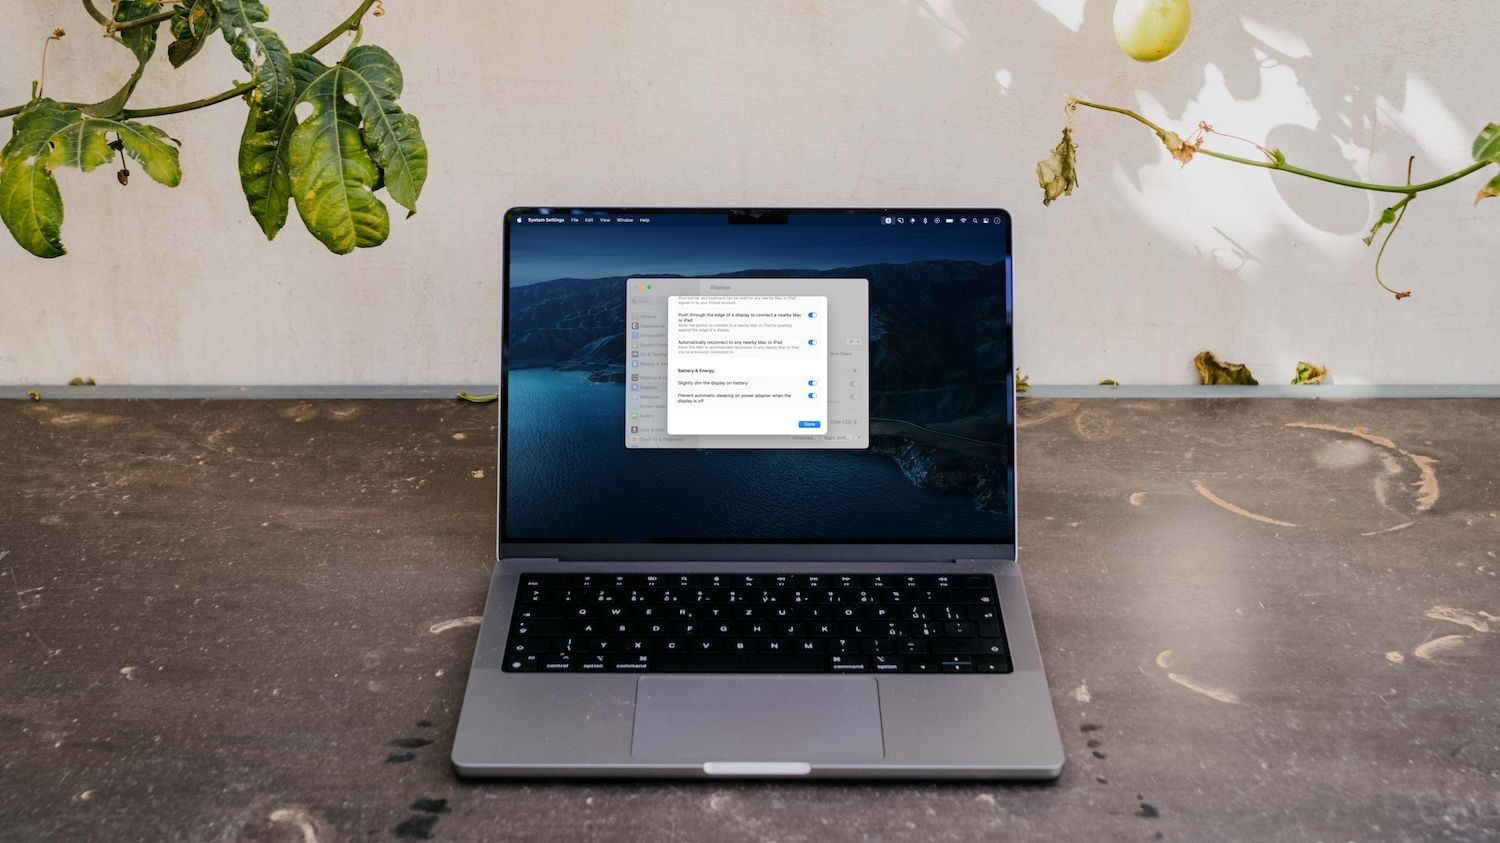
Adjusting the Display Settings
After connecting the first monitor to your MacBook Pro, it’s time to fine-tune the display settings to optimize your dual-monitor setup. Here are the steps to adjust the display settings:
- Open the Apple menu and click on System Preferences.
- Select Displays from the System Preferences window.
- In the Displays window, you’ll see the arrangement tab, which shows a representation of your monitors. Drag and position the monitors in the desired configuration to match their physical placement on your desk.
- You can also adjust the resolution of each monitor by selecting the “Scaled” option. Choose the resolution that best suits your needs, balancing between clarity and screen real estate.
- If you prefer one monitor to act as the primary display, make sure the menu bar is positioned on that monitor. You can drag the white bar at the top of the menu bar to the desired monitor.
- Depending on your needs, you can choose to enable or disable the “Mirror Displays” option. Enabling this option will duplicate the contents of your primary display on the second monitor.
- Under the “Color” tab, you can adjust color profiles and calibrate the monitors to ensure accurate color reproduction.
- Explore other options and settings in the Displays window to customize your dual-monitor setup, such as display brightness, Night Shift, and more.
Remember to click the “Apply” button after making any changes to save the settings. You may need to rearrange windows and applications to take full advantage of the extended desktop.
Keep in mind that the steps and available settings may vary depending on the macOS version and the specific model of your MacBook Pro. It’s always recommended to consult the user manual or online resources for more detailed instructions based on your specific configuration.
With the display settings adjusted, you’re ready to proceed with connecting the second monitor, which we’ll cover in the next section.
Connecting the Second Monitor
After successfully connecting and adjusting the settings for the first monitor, you’re now ready to connect and configure the second monitor to your MacBook Pro. Follow these steps to set up the second monitor:
- Power off both your MacBook Pro and the second monitor.
- Check the available ports on your MacBook Pro and identify the appropriate adapter needed to connect the second monitor. Ensure that the adapter is compatible with both your MacBook Pro and the second monitor.
- Connect one end of the adapter to the port on your MacBook Pro.
- Connect the other end of the adapter to the corresponding port on the second monitor.
- Make sure all connections are secure.
- Power on both your MacBook Pro and the second monitor.
- Similar to the first monitor, your MacBook Pro should automatically detect the second monitor. If it doesn’t, go to the Apple menu, select System Preferences, and click on Displays. From there, click on “Detect Displays” to prompt your MacBook Pro to recognize the second monitor.
- Once the second monitor is detected, you can adjust the display settings as desired. You can position the monitors in the desired arrangement, adjust the resolution, and customize other settings.
It’s important to note that some MacBook Pro models may have limitations on the number of displays that can be connected simultaneously. Check your MacBook Pro’s specifications or user manual to ensure that your model supports dual-monitor setups.
If you encounter any issues during the setup process, double-check the connections and consult the user manuals for your MacBook Pro and the second monitor for troubleshooting tips.
With the second monitor connected and properly configured, you can now enjoy the benefits of a dual-monitor setup on your MacBook Pro. Whether you’re working on multiple tasks, collaborating with colleagues, or simply expanding your screen real estate, the dual monitors will enhance your productivity and overall computing experience.
In the next section, we’ll discuss the options for extending or mirroring the displays to suit your workflow preferences.
Extending or Mirroring the Displays
Once you have successfully connected multiple monitors to your MacBook Pro, you have the flexibility to choose between extending the displays or mirroring them. Understanding the difference between these options will help you customize your dual-monitor setup to suit your needs.
Extending Displays:
By extending the displays, you can effectively create a larger workspace by spreading your windows and applications across multiple monitors. This allows you to work on different tasks simultaneously, improving multitasking capabilities. To extend the displays:
- Go to the Apple menu and select System Preferences.
- Click on Displays and navigate to the Arrangement tab.
- Ensure that the checkbox “Mirror Displays” is unchecked.
- Drag and position the monitors in the desired arrangement, reflecting their physical placement on your desk.
With the displays extended, you can now move windows and applications between the monitors by simply dragging them across the screen. This allows you to have different applications open on separate monitors, maximizing productivity and organization.
Mirroring Displays:
If you prefer to have both monitors display the same contents, you can choose the mirroring option. This can be useful for scenarios where you want to share your screen with others or when you need your MacBook Pro display replicated on a larger monitor for presentations. To mirror the displays:
- Go to the Apple menu, select System Preferences, and click on Displays.
- Navigate to the Arrangement tab.
- Check the box “Mirror Displays”.
With the displays mirrored, anything shown on your MacBook Pro will be replicated on the second monitor. This ensures that both screens show identical content, making it convenient for presentations or demonstrations.
Remember, you can switch between extended and mirrored displays whenever you want, based on your specific requirements. Simply adjust the settings in the Displays preferences as outlined above.
With the displays extended or mirrored according to your preference, you can take full advantage of your dual-monitor setup and enjoy enhanced productivity and flexibility.
In the next section, we’ll explore some common issues that may arise during the setup process and provide troubleshooting tips to help you overcome them.
Troubleshooting Common Issues
While setting up dual monitors with your MacBook Pro, you may encounter some common issues that can disrupt the smooth functioning of your dual-monitor setup. Here are a few troubleshooting tips to help you overcome these issues:
1. Display not detected:
If one or both of your monitors are not being detected by your MacBook Pro, try the following:
- Check the connections between your MacBook Pro, the adapters, and the monitors to ensure they are secure.
- Restart your MacBook Pro and the monitors.
- Go to the Apple menu, select System Preferences, and click on Displays. Click on “Detect Displays” to force your MacBook Pro to recognize the monitors.
2. Incorrect display arrangement:
If the displays are not arranged correctly, with the wrong monitor as the primary display or in the wrong position, follow these steps:
- Go to the Apple menu, select System Preferences, and click on Displays. Navigate to the Arrangement tab.
- Drag and position the monitors in the desired physical arrangement.
- If necessary, drag the white menu bar at the top of the menu bar to the desired monitor to designate it as the primary display.
3. Display resolution issues:
If the resolution on one or both of your monitors is not optimal or doesn’t match, follow these steps:
- Go to the Apple menu, select System Preferences, and click on Displays.
- Click on the “Scaled” option and choose the appropriate resolution for each monitor.
- Experiment with different resolutions to find the best balance between clarity and screen real estate.
4. Flickering or unstable display:
If you experience flickering or an unstable display on one or both of your monitors, try these solutions:
- Check the connections between the MacBook Pro, the adapters, and the monitors to ensure they are secure.
- Verify that you are using high-quality adapters and cables that are compatible with your MacBook Pro and the monitors.
- Update your MacBook Pro’s operating system and display drivers to the latest versions.
If you continue to experience issues, consult the user manuals for your MacBook Pro and the monitors or visit the manufacturer’s support website for further assistance.
Remember that troubleshooting steps may vary depending on your MacBook Pro model, operating system version, and specific monitor configurations. It’s always a good idea to refer to the official documentation and seek support from the manufacturer if needed.
With troubleshooting tips in mind, you can now make the most of your dual-monitor setup with your MacBook Pro. Enjoy the expanded workspace and improved productivity!
Conclusion
Connecting two monitors to your MacBook Pro can significantly boost your productivity and enhance your overall computing experience. By following the steps outlined in this tutorial, you can successfully set up and configure a dual-monitor setup with your MacBook Pro.
First, ensure that you have the right adapters and cables that are compatible with your MacBook Pro and monitors. Then, connect the monitors one at a time, making sure all connections are secure. Adjust the display settings, such as resolution and arrangement, to fit your preferences.
Remember that you have the option to extend your displays, giving you more screen real estate to work on different tasks concurrently. Alternatively, you can choose to mirror your displays, useful for presentations or sharing your screen with others.
If you encounter any issues during the setup process, refer to the troubleshooting section for helpful tips. Be sure to check the connections, restart your devices, and update your software as needed.
With a properly set up dual-monitor system, you can enjoy the benefits of an expanded workspace, improved multitasking capabilities, and enhanced productivity. Whether you’re a creative professional, a data analyst, or simply need more screen space, connecting two monitors to your MacBook Pro opens up a world of possibilities.
Remember to consult the user manuals for your MacBook Pro and monitors for any specific instructions or limitations that may apply to your specific setup.
Now that you know how to connect two monitors to your MacBook Pro, go ahead and unlock the full potential of your productivity by expanding your screen space!