Introduction
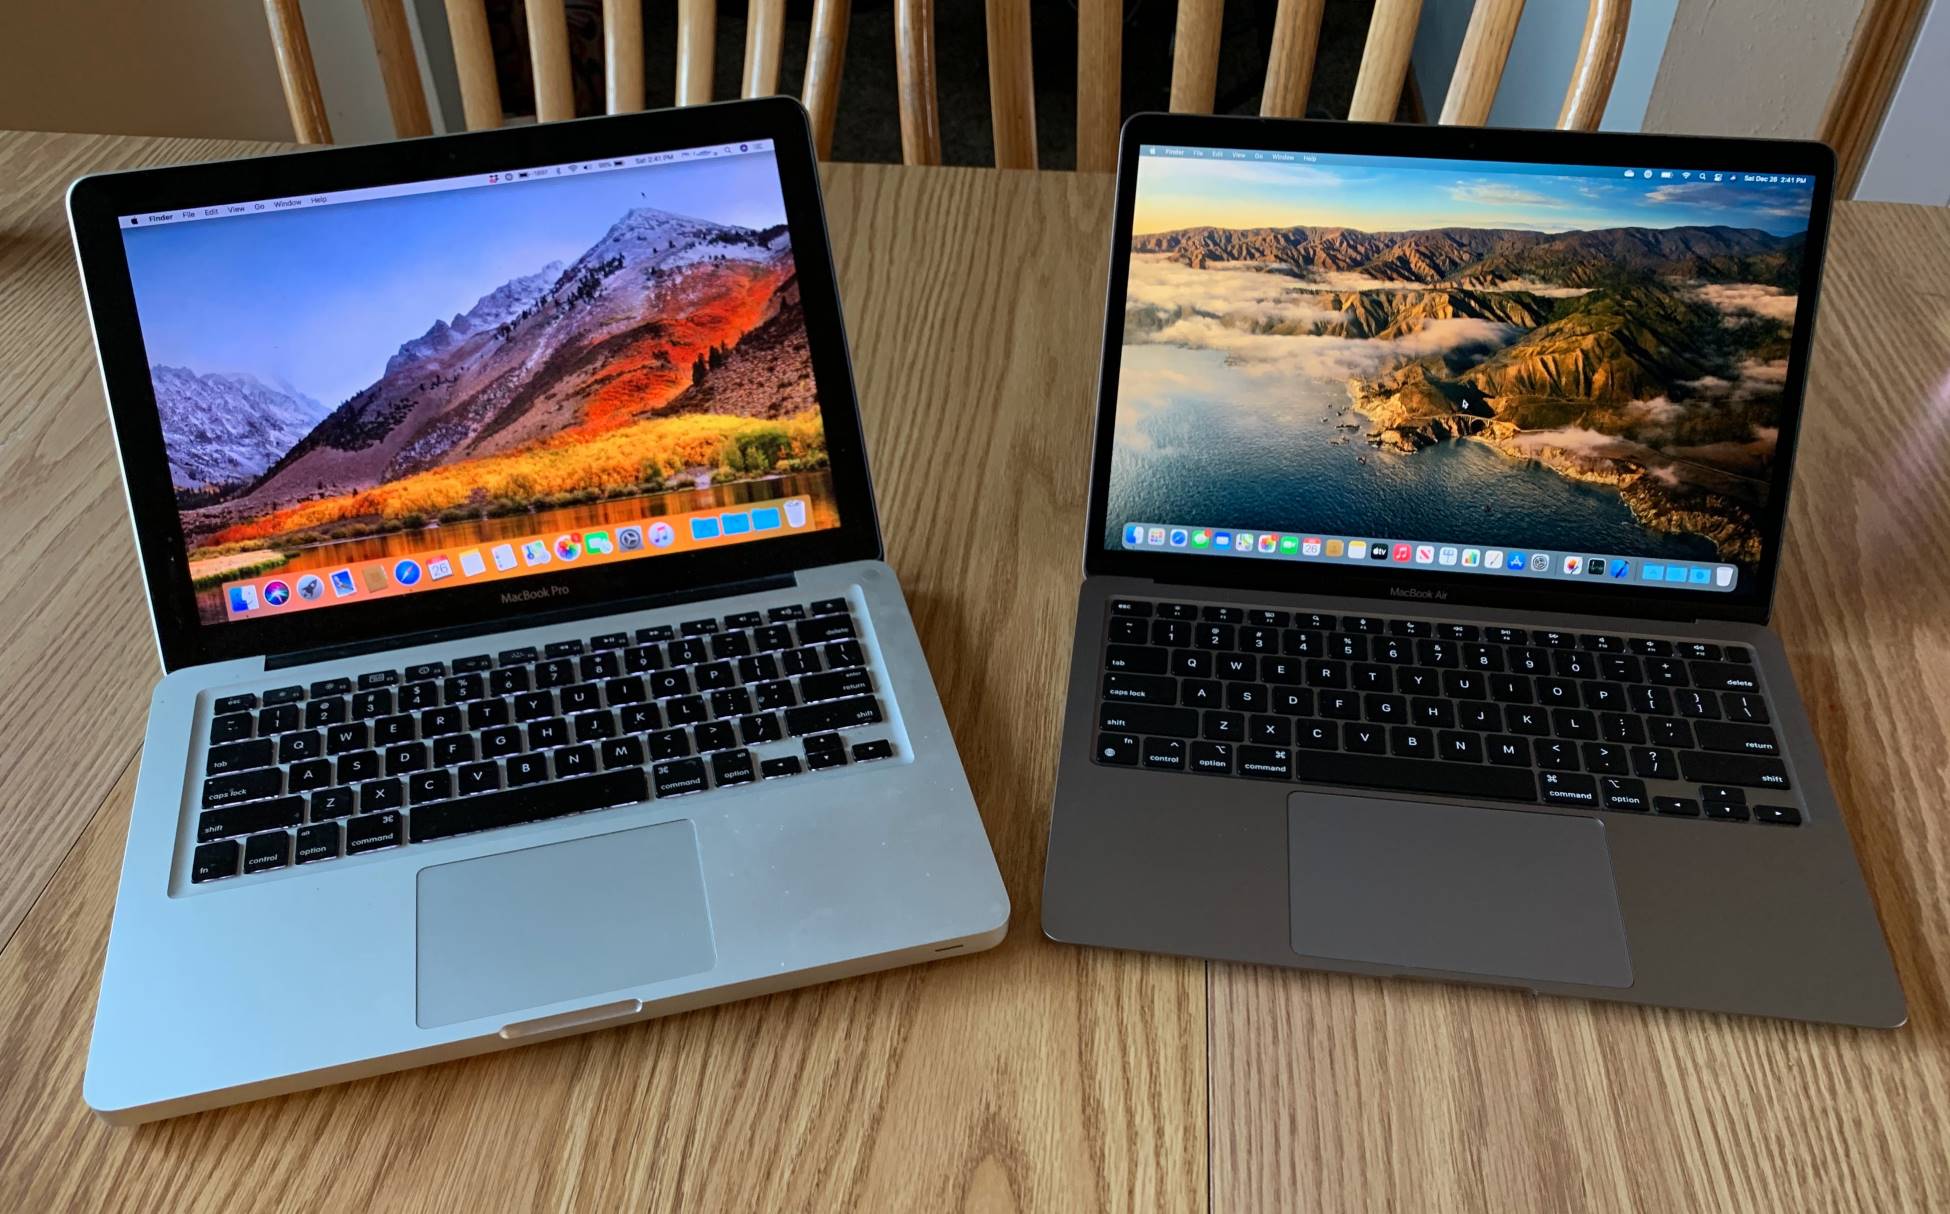
Are you looking to enhance your working environment or increase your productivity by connecting your iMac to your MacBook Pro? Well, you’ve come to the right place! In this article, we will guide you through the step-by-step process of connecting your iMac to your MacBook Pro.
Connecting your iMac to your MacBook Pro opens up numerous possibilities, such as using the iMac as a secondary display or sharing files and data between the two devices. Whether you want to enjoy the bigger screen of your iMac for a more immersive work experience or you need to transfer files seamlessly, this guide will help you achieve that.
In the following sections, we will discuss the necessary equipment, connection process, configuration steps, and troubleshooting tips. By the end of this article, you will have all the knowledge and tools necessary to connect your iMac to your MacBook Pro like a pro.
Before we dive into the technical details, it’s important to note that connecting your iMac to your MacBook Pro requires a Thunderbolt cable. Additionally, make sure both devices are powered on and logged in before starting the connection process.
So, let’s get started! Follow the steps below to connect your iMac to your MacBook Pro and unlock the full potential of your devices.
Step 1: Gather the necessary equipment
Before you can start connecting your iMac to your MacBook Pro, it’s important to ensure that you have the necessary equipment. Here’s what you’ll need:
- Thunderbolt cable: This is the key component required for connecting your iMac to your MacBook Pro. Make sure you have a Thunderbolt cable that is compatible with both devices.
- iMac: Ensure that your iMac is powered on and functioning properly. It’s also a good idea to update the software on your iMac before initiating the connection process.
- MacBook Pro: Make sure your MacBook Pro is also powered on and working smoothly. Similar to the iMac, it’s advisable to update the software on your MacBook Pro before proceeding.
- Power cables: Ensure that both your iMac and MacBook Pro are connected to a power source using their respective power cables. This ensures uninterrupted power supply during the connection process.
Once you have gathered all the necessary equipment, you’re ready to move on to the next step: connecting your iMac and MacBook Pro with the Thunderbolt cable.
Note: It’s always a good idea to check the compatibility and requirements of your specific iMac and MacBook Pro models. This will ensure a seamless connection process and avoid any compatibility issues.
Step 2: Connect the iMac and MacBook Pro with Thunderbolt cable
Now that you have gathered the necessary equipment, it’s time to connect your iMac and MacBook Pro using a Thunderbolt cable. Follow these steps:
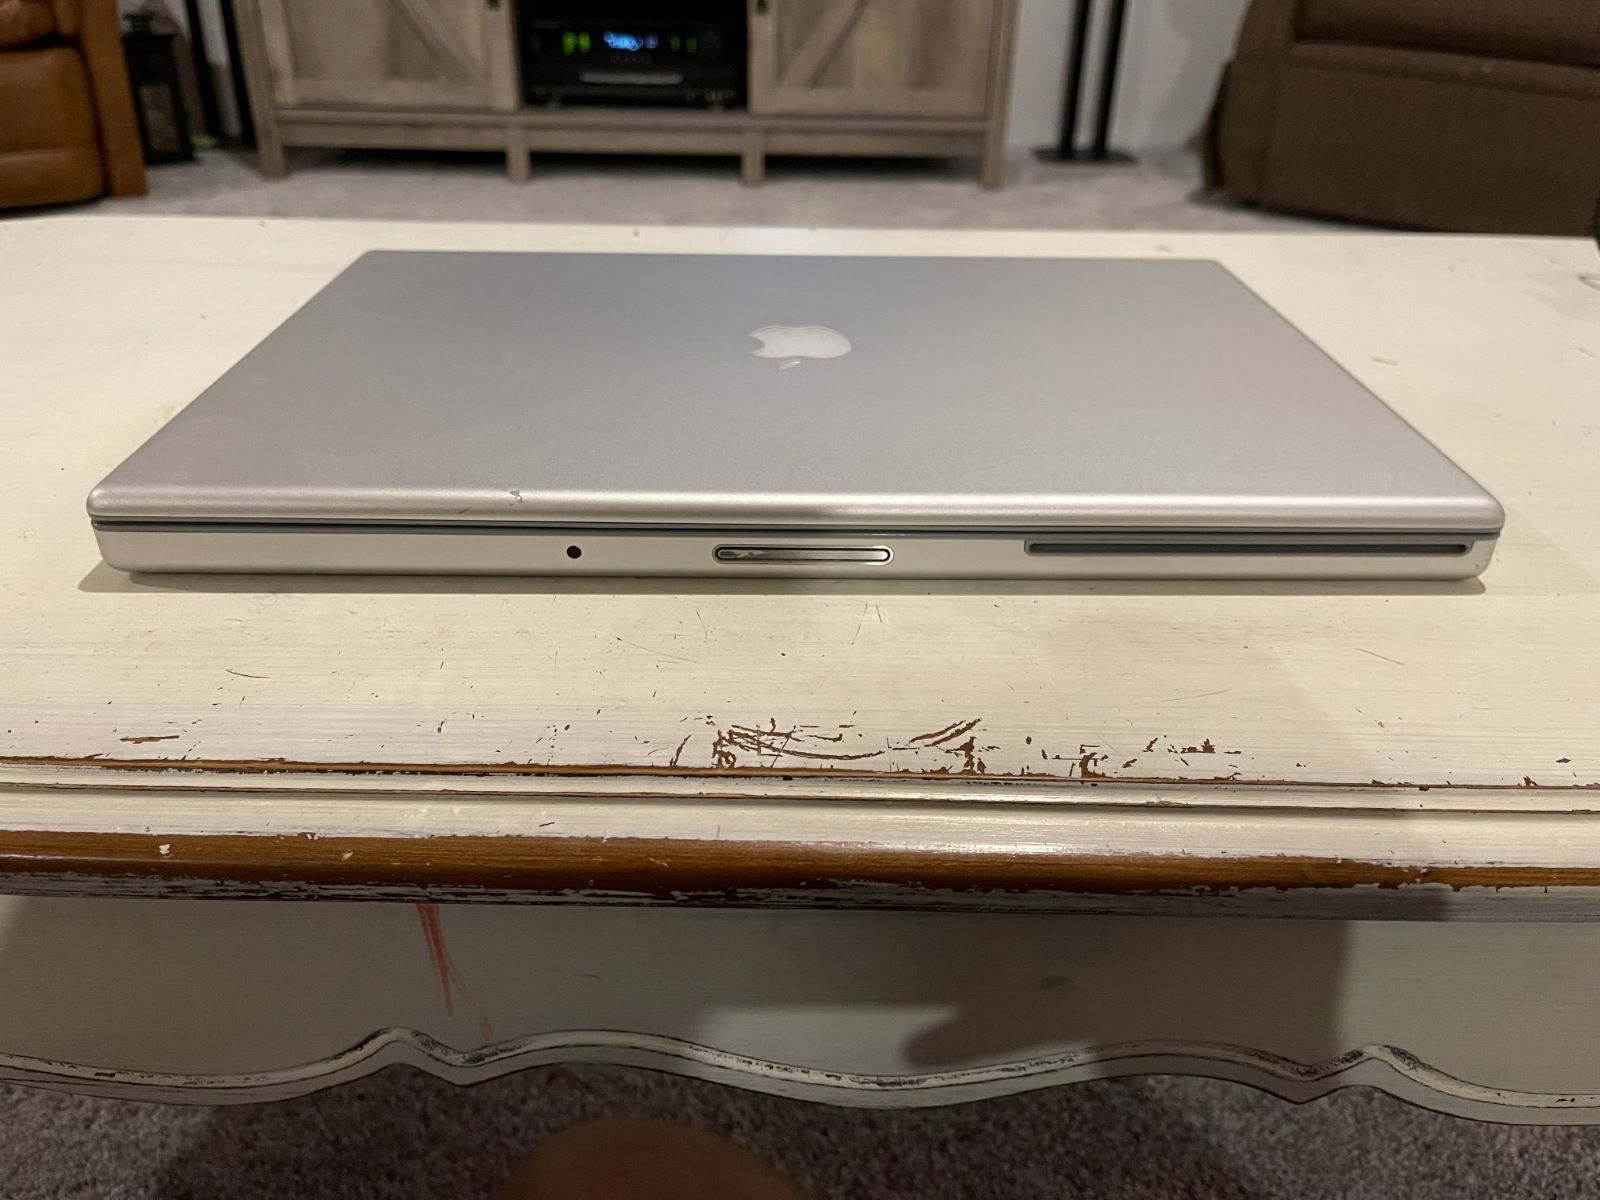
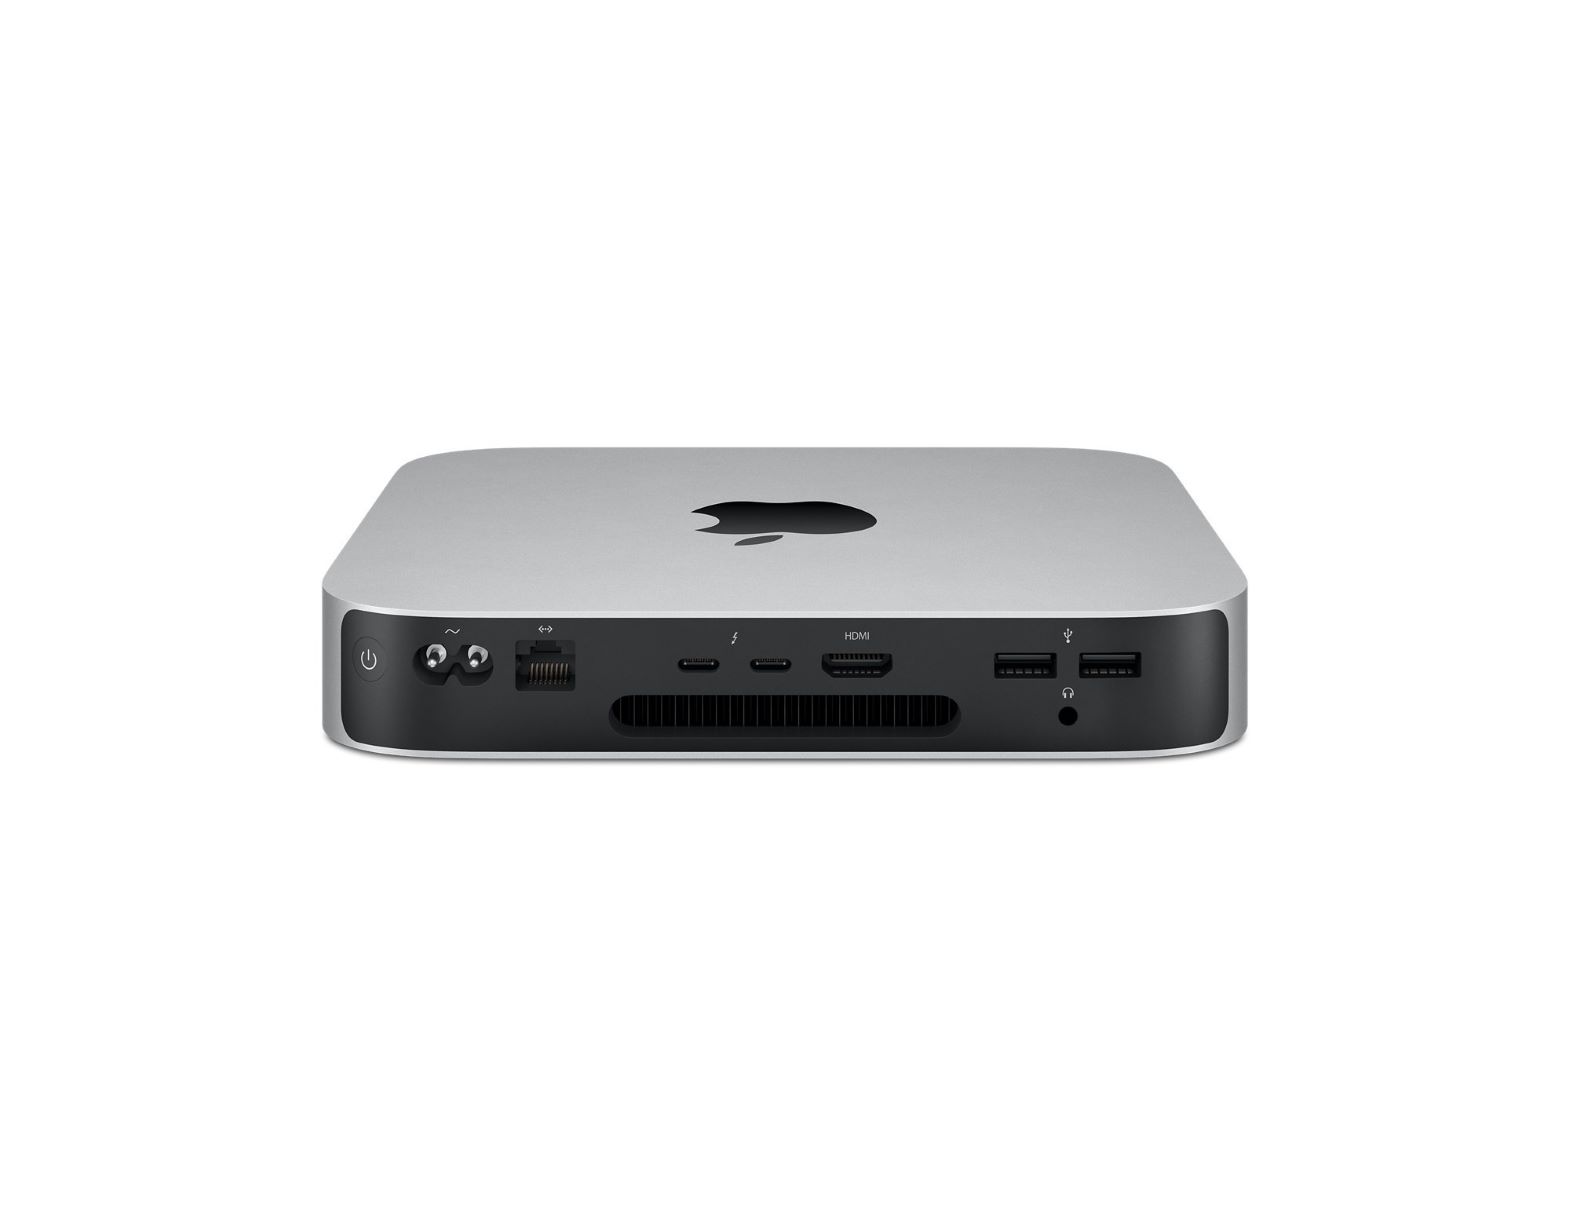
- Locate the Thunderbolt ports: On both your iMac and MacBook Pro, locate the Thunderbolt ports. These ports are usually located on the back or sides of the devices and are marked with the lightning bolt symbol.
- Connect the Thunderbolt cable: Take one end of the Thunderbolt cable and plug it into the Thunderbolt port of your iMac. Make sure the cable is inserted securely into the port.
- Connect the other end of the Thunderbolt cable to the Thunderbolt port of your MacBook Pro. Again, ensure that the cable is firmly inserted into the port.
- Verify the connection: Once the cable is connected to both devices, you should see the Thunderbolt icon appear on the menu bar of both the iMac and MacBook Pro screens. This indicates a successful connection between the two devices.
Once the Thunderbolt cable is securely connected, you have established a physical connection between your iMac and MacBook Pro. In the next step, we will ensure that both devices are powered on and logged in.
Step 3: Ensure both devices are powered on and logged in
Now that you have connected your iMac and MacBook Pro with the Thunderbolt cable, it’s crucial to ensure that both devices are powered on and logged in. Follow these steps to proceed:
- Power on your iMac: Press the power button located on the back or side of your iMac to turn it on. Wait for the device to boot up completely before moving on to the next step.
- Power on your MacBook Pro: Similarly, press the power button on your MacBook Pro and wait for it to boot up. Make sure both devices have successfully started up to their respective home screens.
- Login to your iMac and MacBook Pro: Enter your credentials, such as your username and password, to log in to both the iMac and MacBook Pro. Ensure that you have admin privileges on both devices to make necessary configuration changes.
It’s important to note that both devices need to be logged in to establish a connection properly. If you’re prompted to enter your password after waking up your devices from sleep mode, enter the password to log in.
Once both the iMac and MacBook Pro are powered on and logged in, you’re ready to proceed with configuring the iMac as a secondary display.
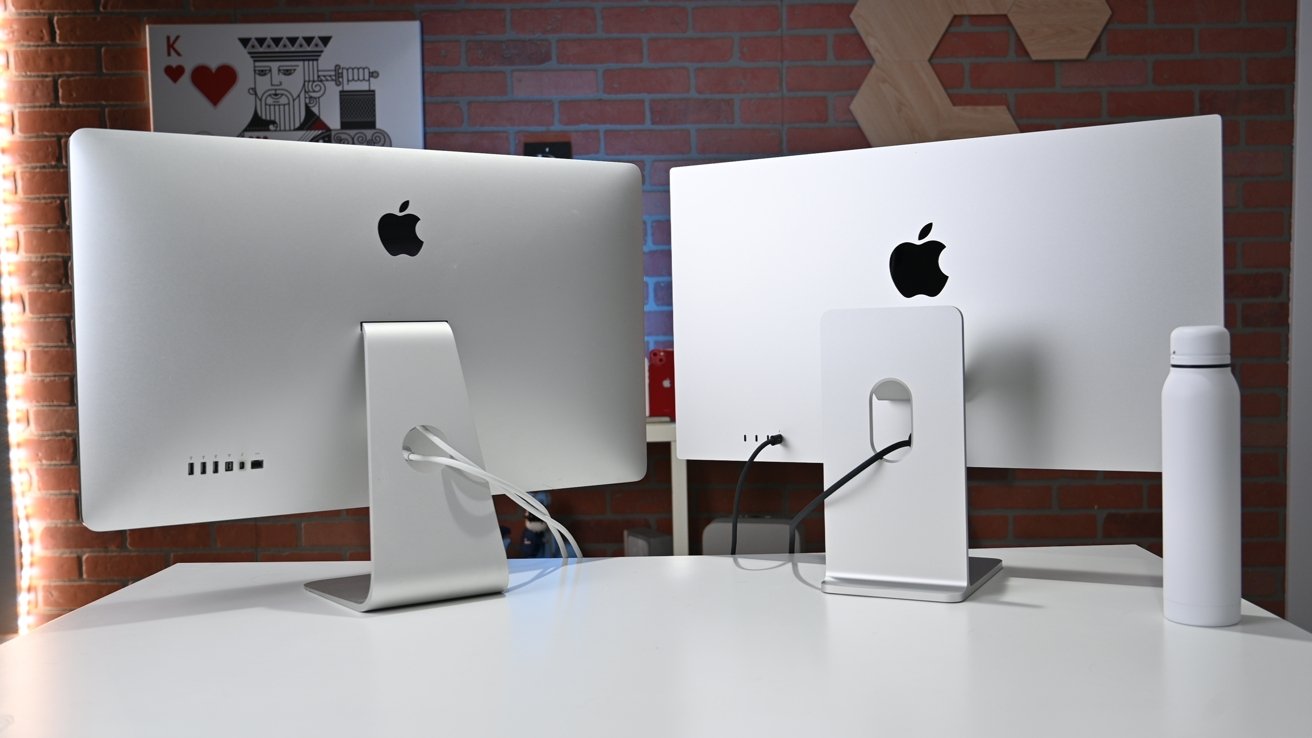
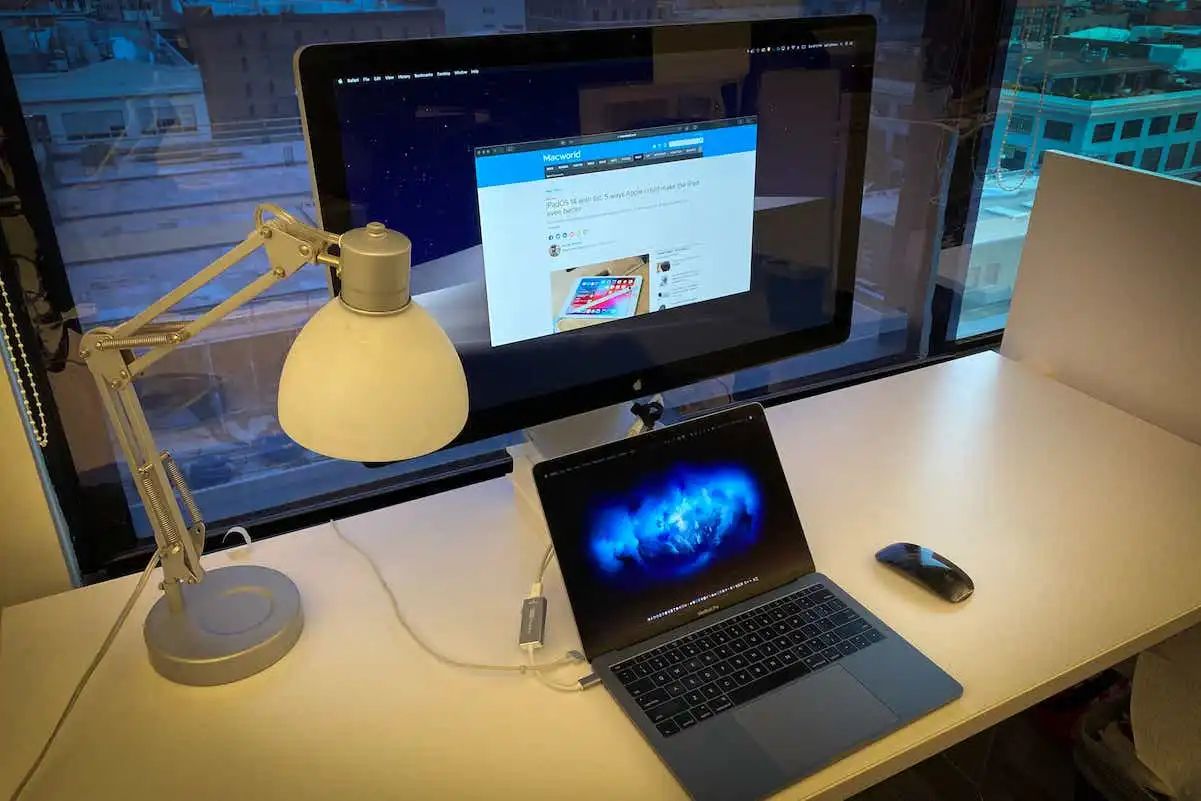
Step 4: Configure the iMac as a secondary display
Now that your iMac and MacBook Pro are connected and powered on, it’s time to configure the iMac as a secondary display. By doing this, you can use the larger screen of your iMac to extend your desktop workspace. Follow these steps to configure the iMac as a secondary display:
- On your MacBook Pro, click the Apple menu in the top-left corner of the screen and select “System Preferences” from the drop-down menu.
- In the System Preferences window, click on “Displays.”
- Click on the “Arrangement” tab.
- Check the box that says “Mirror Displays” if you want both the iMac and MacBook Pro screens to display the same content. If you want to use the iMac as a secondary display, uncheck this box.
- Drag and arrange the virtual display thumbnails to match the physical layout of your iMac and MacBook Pro screens. This ensures that moving the cursor between the screens feels natural.
Once you have configured the iMac as a secondary display, you can now move on to adjusting display settings and arranging desktops to optimize your workspace.
Note: Configuring the iMac as a secondary display may vary slightly depending on the version of macOS you are using. The steps mentioned above are for macOS Mojave and later versions. For older versions, the process may be slightly different.
Step 5: Adjust display settings and arrange desktops
Now that you have configured the iMac as a secondary display, it’s time to adjust display settings and arrange your desktops to optimize your workspace. This will help you make the most of the dual-screen setup. Follow these steps to adjust display settings and arrange desktops:
- On your MacBook Pro, go to the System Preferences menu by clicking on the Apple menu in the top-left corner of the screen and selecting “System Preferences” from the drop-down menu.
- In the System Preferences window, click on “Displays.”
- Click on the “Arrangement” tab.
- Adjust the resolution and scaling: You can choose the resolution and scaling options for each display. This allows you to customize the appearance and text size on both screens as per your preference.
- Arrange desktops: Drag and arrange the virtual display thumbnails to define the physical arrangement of your iMac and MacBook Pro screens. This will ensure a smooth transition when moving your mouse cursor across displays.
- Enable or disable displays: By clicking on the checkboxes next to each display, you can choose to enable or disable specific screens. This is useful if you want to use only one display at a time.
By adjusting display settings and arranging desktops to your liking, you can create an efficient and intuitive workspace that maximizes productivity.
Now that you have successfully adjusted display settings and arranged desktops, you’re all set to transfer files and share data between your iMac and MacBook Pro.
Step 6: Transfer files and share data between devices
Now that your iMac and MacBook Pro are connected and the display settings are configured, you can easily transfer files and share data between the two devices. This allows for seamless collaboration and efficient workflow. Follow these steps to transfer files and share data:
- Use iCloud Drive: If you use iCloud Drive, you can save your files in the cloud and access them from both your iMac and MacBook Pro. This ensures that your files are always up to date and accessible from any device.
- Transfer files via AirDrop: AirDrop is a convenient feature that allows you to wirelessly transfer files between Apple devices. On your MacBook Pro, click on the Finder icon in the dock, select AirDrop from the sidebar, and ensure that both devices are discoverable. Then, drag and drop files onto the iMac icon to transfer them.
- Use external storage devices: You can also transfer files by using external storage devices such as USB flash drives or external hard drives. Simply copy the files onto the external storage device from one device and then plug it into the other device to access the transferred files.
- Email or messaging apps: Another way to share files between devices is by sending them through email or using messaging apps like iMessage. Simply attach the files in an email or use the file-sharing feature of the messaging app to send the desired files.
By following these methods, you can easily transfer files and share data between your iMac and MacBook Pro, facilitating seamless collaboration and file management.
Now that you have successfully transferred files and shared data between the devices, let’s move on to the final step: disconnecting the devices and troubleshooting any issues, if necessary.
Step 7: Disconnect and troubleshoot any issues
After successfully completing the connection, configuration, and file transfer processes, it’s important to know how to disconnect your iMac from your MacBook Pro and troubleshoot any issues that may arise. Here are some steps to help you with the disconnecting process and troubleshooting:
- Disconnecting the devices: Before physically disconnecting the Thunderbolt cable, make sure you close any open files or applications that are being used across both devices. This ensures that there are no active connections or data transfers between the iMac and MacBook Pro. Once you have closed all necessary applications, safely remove the Thunderbolt cable by gently pulling it out from both devices.
- Troubleshooting common issues: If you encounter any issues during the connection process or while configuring the iMac as a secondary display, here are some troubleshooting steps:
- Ensure that you are using a compatible Thunderbolt cable for the connection.
- Restart both the iMac and MacBook Pro and try the connection again.
- Update the software on both devices to the latest version.
- Check the Thunderbolt ports on your iMac and MacBook Pro for any debris or damage.
- Consult the user manual or official support channels for your specific iMac and MacBook Pro models for further assistance.
By following these steps, you can safely disconnect your iMac from your MacBook Pro and troubleshoot any common issues that may arise during the connection process.
Congratulations! You have successfully learned how to connect your iMac to your MacBook Pro, configure the iMac as a secondary display, transfer files, and troubleshoot any issues. Enjoy the benefits of dual-screen productivity and seamless collaboration between your devices.
Conclusion
Connecting your iMac to your MacBook Pro opens up a world of possibilities, allowing you to utilize the larger screen of your iMac, transfer files seamlessly, and enhance your productivity. Throughout this guide, we have walked you through the step-by-step process of connecting, configuring, and utilizing the dual-screen setup. By following these steps, you can take full advantage of the benefits offered by connecting your iMac to your MacBook Pro.
Starting with gathering the necessary equipment and connecting the devices using a Thunderbolt cable, we ensured that both your iMac and MacBook Pro were powered on and logged in. We then guided you in configuring the iMac as a secondary display and adjusting display settings to create an optimal workspace. Additionally, we explored methods to transfer files and share data between the two devices, promoting seamless collaboration.
Lastly, we discussed the importance of disconnecting the devices correctly and provided troubleshooting steps for common issues that may arise during the process. By diligently following these steps and troubleshooting any challenges that may occur, you can ensure a smooth experience when connecting your iMac to your MacBook Pro.
Remember, this guide serves as a starting point, and every iMac and MacBook Pro setup may have unique specifications and requirements. It is always recommended to consult the user manuals or official support channels for your specific devices for further assistance.
We hope this guide has equipped you with the necessary knowledge and confidence to connect your iMac to your MacBook Pro successfully. Now that you have unlocked the full potential of your devices, enjoy the enhanced productivity and seamless integration between your iMac and MacBook Pro!