Introduction
Getting the most out of your MacBook Pro sometimes requires connecting an external monitor to expand your workspace or enjoy a larger display. Whether you need it for work, gaming, or simply to enjoy multimedia content, learning how to connect a monitor to your MacBook Pro is an essential skill. With the right equipment and a few simple steps, you can easily connect and set up an external monitor to enhance your productivity and overall user experience.
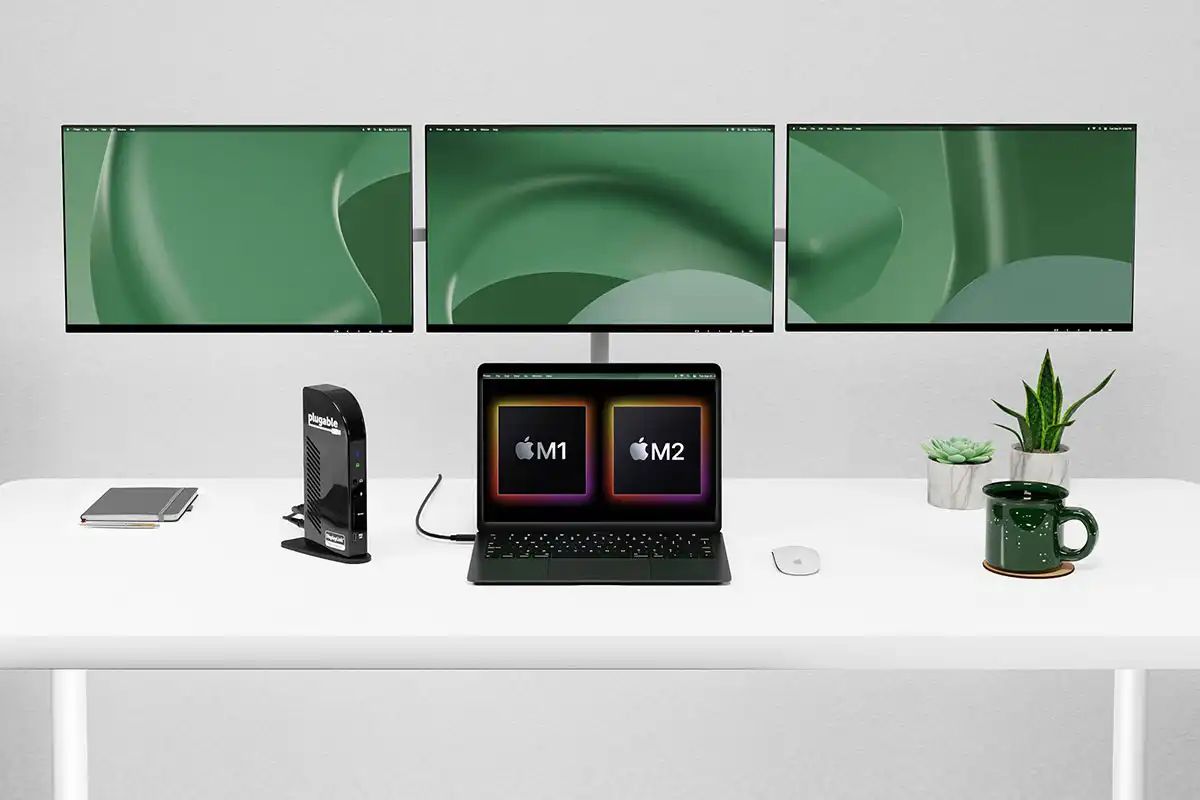
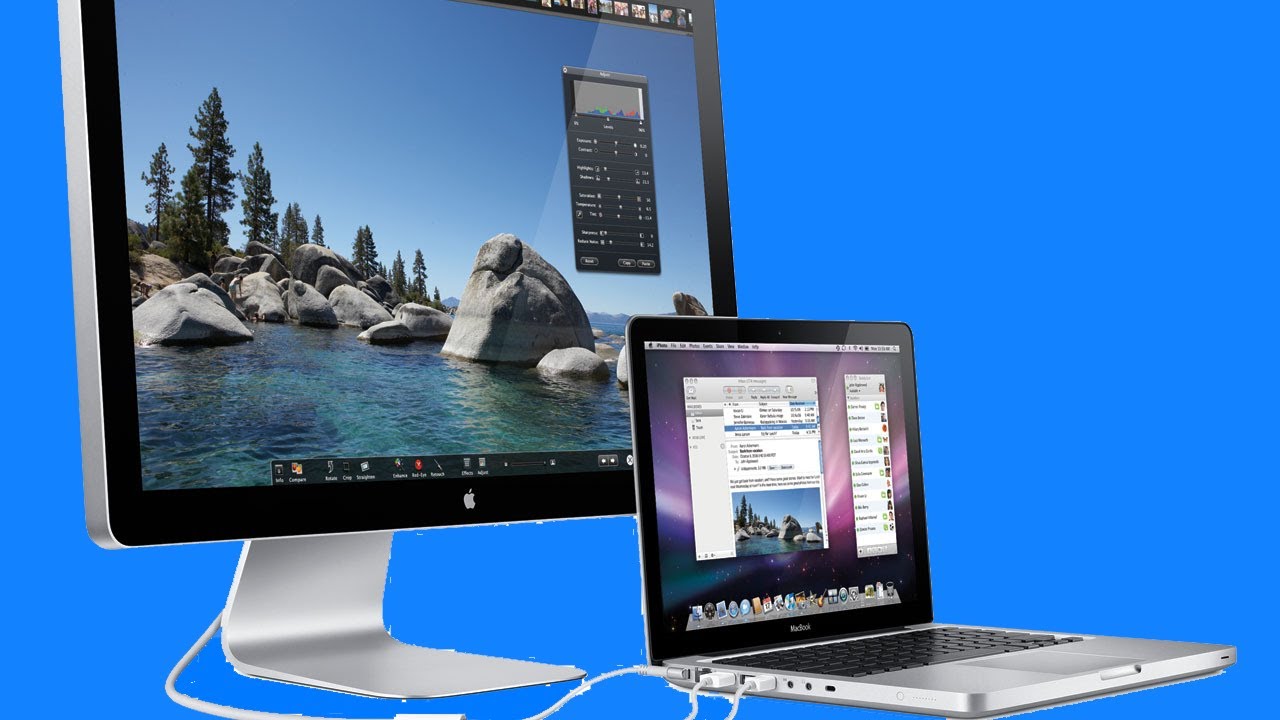
By connecting an external monitor to your MacBook Pro, you can extend your desktop, mirror the display, or even use the external monitor as your primary screen. This allows for seamless multitasking, increased screen real estate, and the ability to view content on a larger and more immersive display. Whether you’re a creative professional, a digital nomad, or a student, connecting an external monitor can greatly enhance your workflow and make working with multiple applications a breeze.
In this article, we will guide you through the step-by-step process of connecting a monitor to your MacBook Pro. We’ll cover everything from identifying the ports on your MacBook Pro to adjusting the display settings to troubleshooting common issues. Whether you have a MacBook Pro with USB-C Thunderbolt 3 ports or an older model with Thunderbolt 2 or HDMI ports, we’ve got you covered.
Before we dive into the details, it’s important to note that the specific steps may vary slightly depending on the model of your MacBook Pro and the type of external monitor you’re using. However, the basic principles and concepts remain the same, and we will provide general guidelines that will apply to most situations.
So, if you’re ready to connect an external monitor to your MacBook Pro and take your productivity to the next level, let’s get started with step one: understanding the ports on your MacBook Pro.
Step 1: Know the Ports on Your MacBook Pro
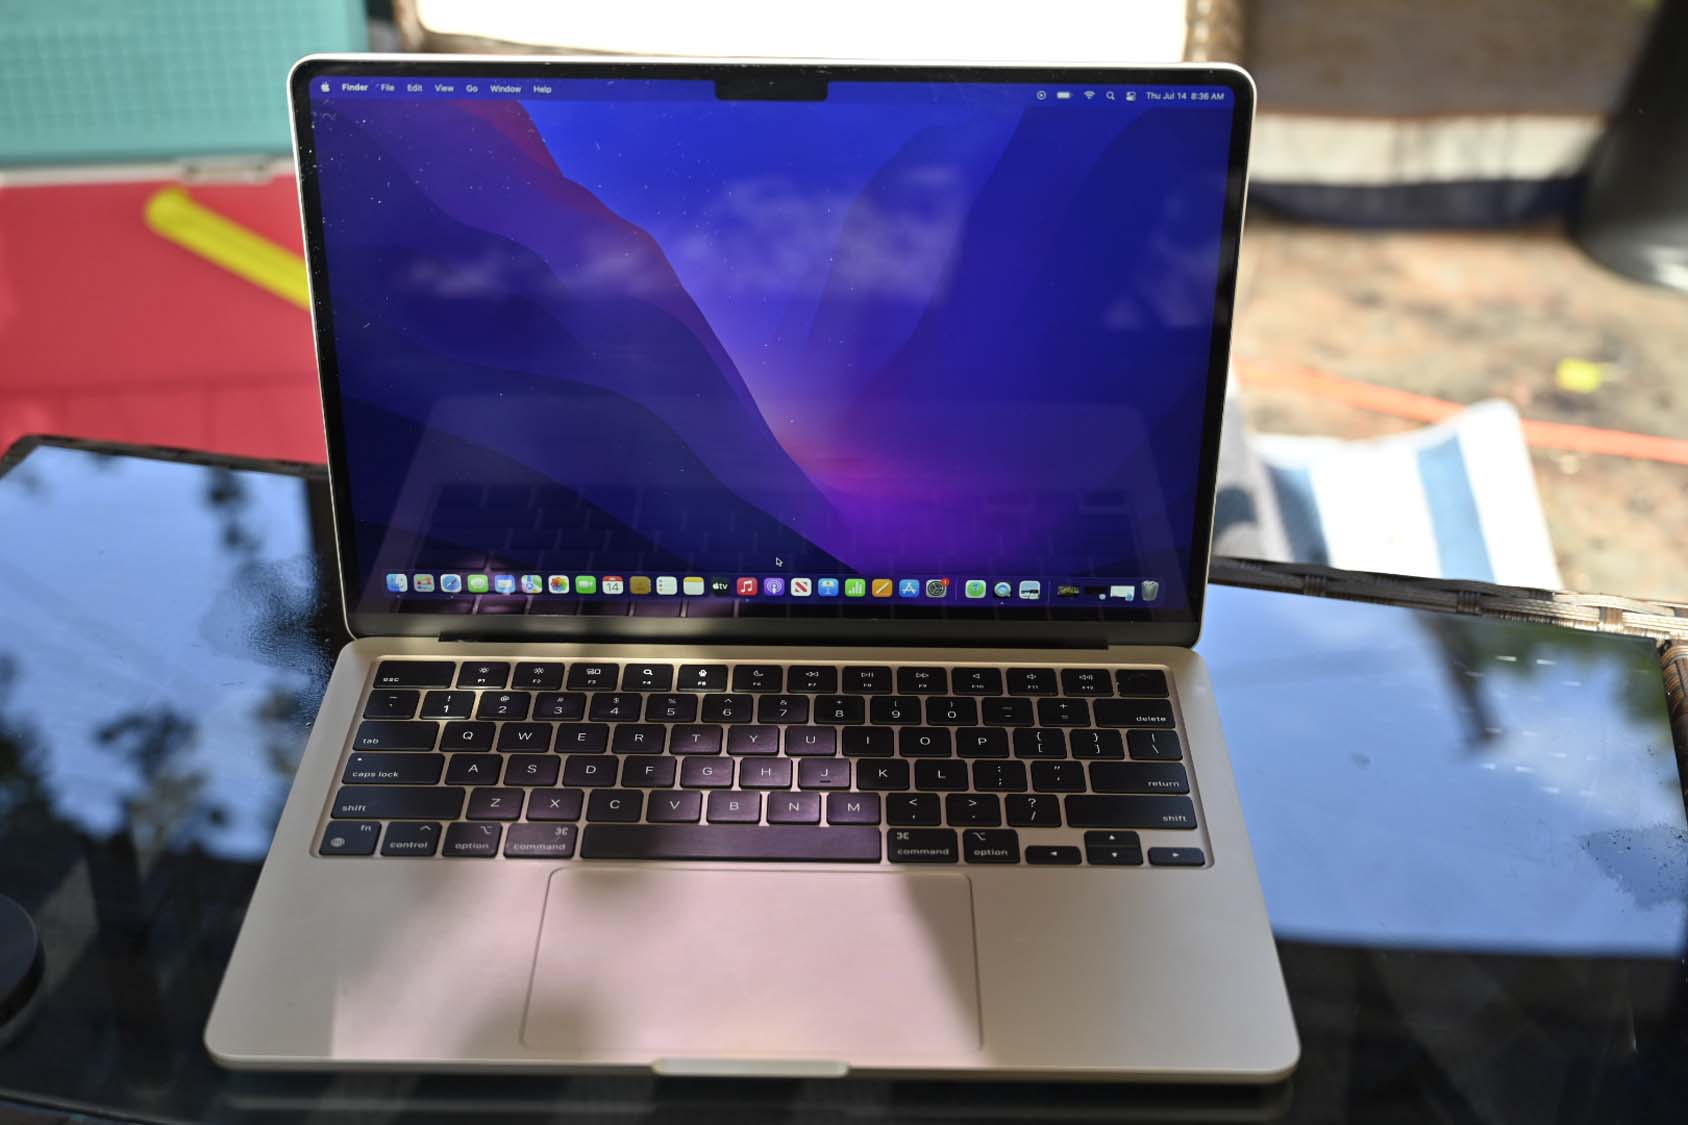
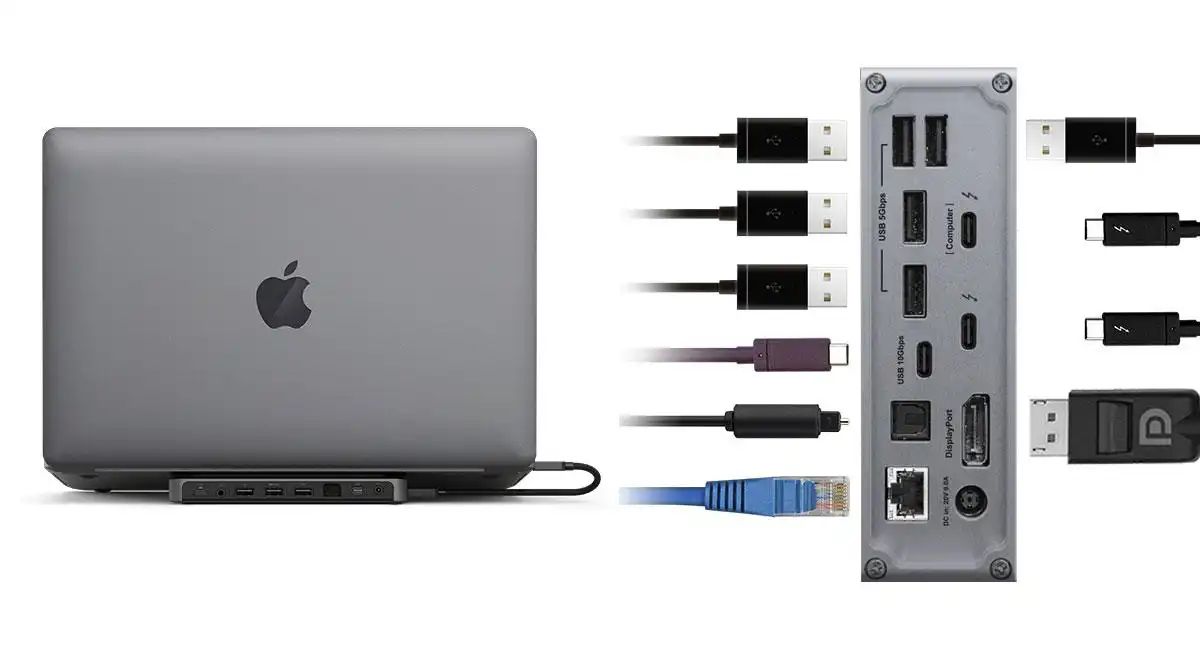
Before you can connect a monitor to your MacBook Pro, it’s essential to familiarize yourself with the different ports available on your device. The type of ports you have will determine the method and adapters required to successfully connect an external monitor.
The most recent models of MacBook Pro come with USB-C Thunderbolt 3 ports, which offer a wide range of capabilities and compatibility. These ports not only support video output but also allow for data transfer, charging, and connecting various peripherals. If you have an older MacBook Pro model, you may have Thunderbolt 2 or HDMI ports instead.
To identify the ports on your MacBook Pro, look at the sides of your device. Depending on the model, you may find USB-C Thunderbolt 3 ports, Thunderbolt 2 ports (which resemble mini DisplayPort), HDMI ports, or a combination of these. It’s useful to consult your device’s manual or Apple’s official website for your specific model’s port details.
If your MacBook Pro has USB-C Thunderbolt 3 ports, you’re in luck. These ports provide the most versatility and compatibility when it comes to connecting external monitors. They support video output up to 5K resolution, making them suitable for even the most demanding displays. Additionally, Thunderbolt 3 ports are backward compatible with USB-C connections, so you can use USB-C adapters and cables with them.
For those with older models sporting Thunderbolt 2 or HDMI ports, you may need to use specific adapters to connect an external monitor. Thunderbolt 2 ports are compatible with Thunderbolt 1, Mini DisplayPort, and DisplayPort connections. HDMI ports, on the other hand, are widely used and can connect to most modern monitors without the need for additional adapters.
Understanding the ports on your MacBook Pro is crucial in selecting the appropriate cables and adapters to establish a connection with an external monitor. Now that you have identified the ports on your MacBook Pro, it’s time to gather the required equipment for the connection process.
Step 2: Gather the Required Equipment
To successfully connect your MacBook Pro to an external monitor, you’ll need to gather the necessary equipment. The specific equipment you require will depend on the type of ports available on your MacBook Pro and the input ports on your external monitor. Here’s a list of the commonly used equipment:
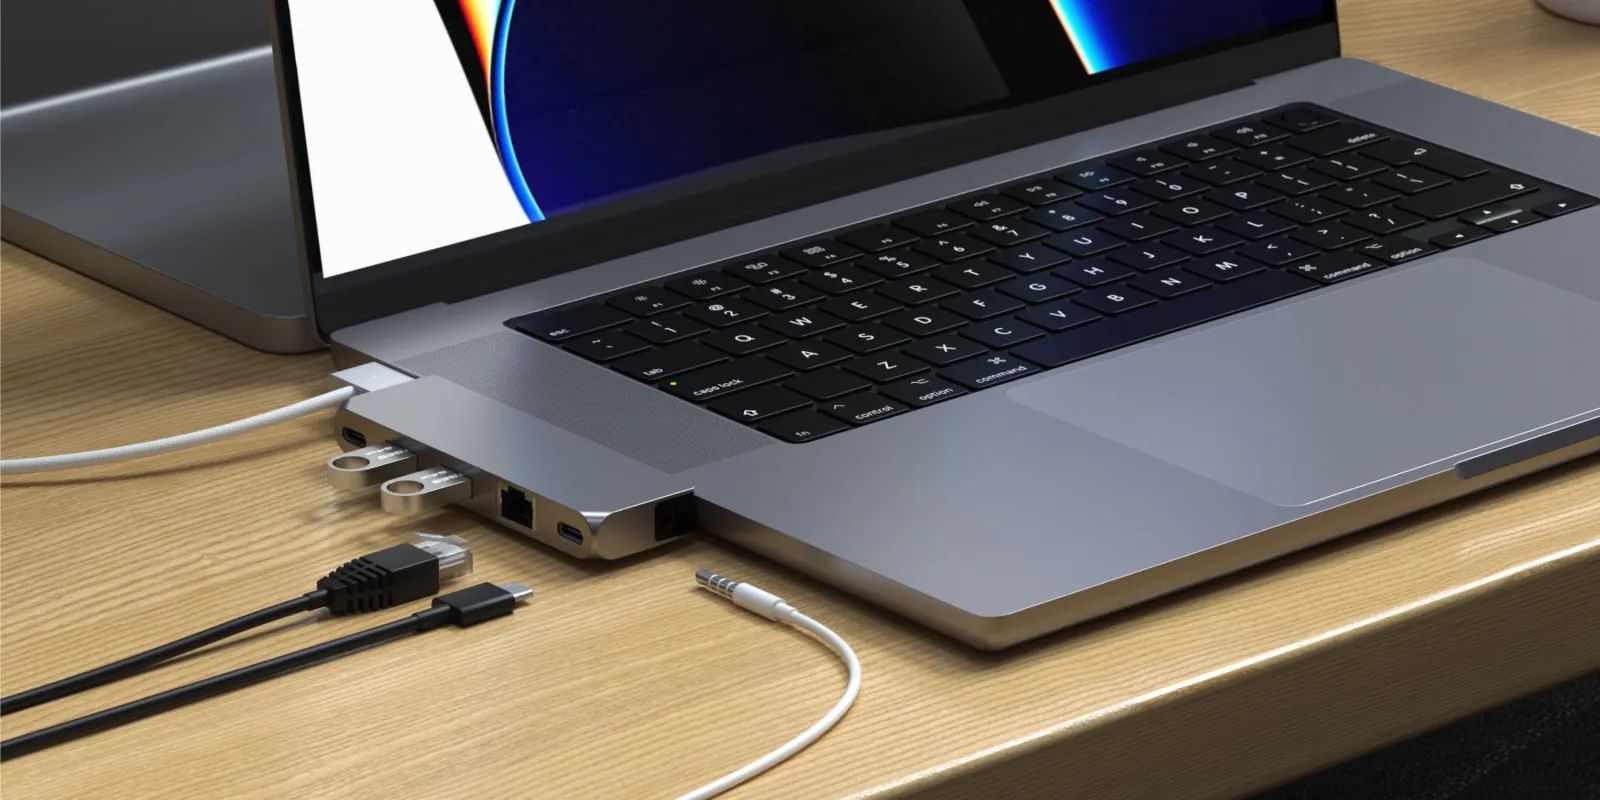
1. Display Cable or Adapter: Depending on the ports available on your MacBook Pro and the input ports on your monitor, you may need a compatible cable or adapter. For USB-C Thunderbolt 3 ports, you’ll likely need a USB-C to HDMI, DisplayPort, or VGA adapter or cable. For Thunderbolt 2 ports, you’ll need a Mini DisplayPort to HDMI, DisplayPort, or VGA cable or adapter. If your MacBook Pro has an HDMI port, an HDMI cable is usually sufficient for connecting to most monitors.
2. External Monitor: Choose an external monitor that suits your needs and preferences. Consider factors such as screen size, resolution, refresh rate, and connectivity options. Ensure that the monitor has compatible input ports for connecting to your MacBook Pro. Common input ports include HDMI, DisplayPort, DVI, and VGA. If necessary, check the user manual or the manufacturer’s website for the monitor to verify its compatibility with your MacBook Pro.
3. Power Cable: Make sure you have the power cable for your external monitor. Most monitors come with their own power supply, which needs to be connected for the monitor to function.
4. Optional Accessories: Depending on your specific setup and needs, you may require additional accessories such as a USB hub, docking station, or monitor stand to enhance your overall user experience and productivity.
Before purchasing any cables or adapters, it’s recommended to double-check the ports available on your MacBook Pro and the input ports on your chosen external monitor. This will ensure that you select the correct cables or adapters for a seamless connection.
Now that you have gathered the required equipment, it’s time to move on to the next step: connecting the monitor to your MacBook Pro.
Step 3: Connect the Monitor to Your MacBook Pro
With the necessary equipment in hand, you’re ready to connect the monitor to your MacBook Pro. Follow these steps to establish a successful connection:
- Ensure that both your MacBook Pro and the external monitor are turned off before making any connections.
- Connect one end of the display cable or adapter to the appropriate port on your MacBook Pro.
- Connect the other end of the cable or adapter to the corresponding input port on your external monitor.
- Make sure the connections are secure and properly plugged in.
- Turn on your external monitor and then power on your MacBook Pro.
Once your MacBook Pro is powered on, it should recognize the external monitor and automatically adjust the display settings. In some cases, you might need to manually configure the display settings to optimize the output on the external monitor.
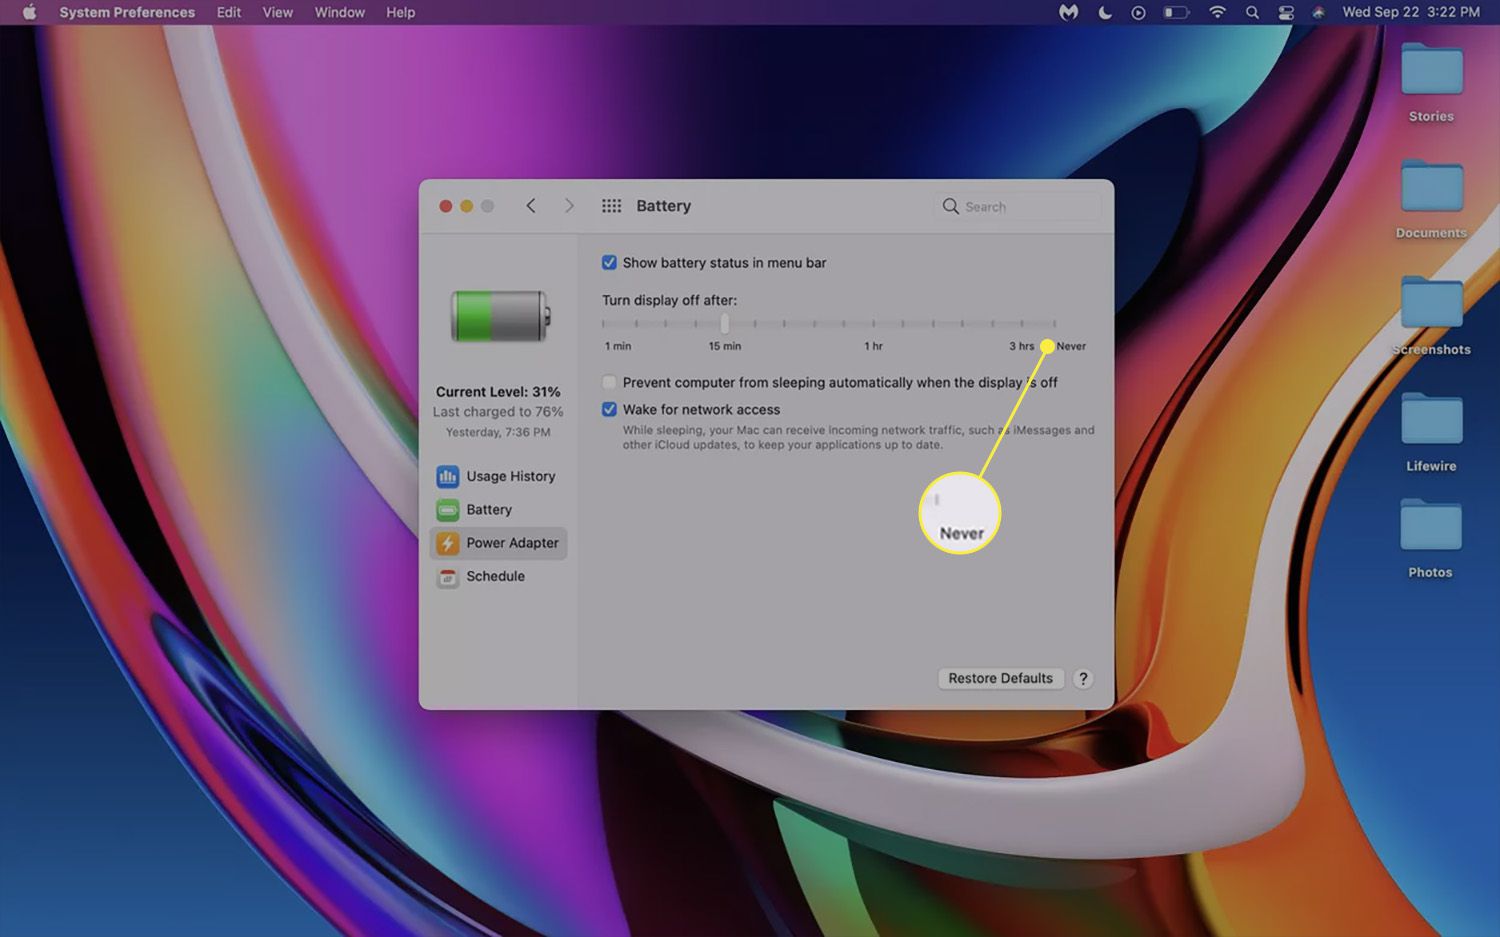
To adjust the display settings on your MacBook Pro, go to the Apple menu and select “System Preferences.” Then, click on the “Displays” option. Here, you can adjust various settings such as the resolution, brightness, arrangement, and mirroring options for your external monitor.
If your MacBook Pro doesn’t automatically detect the external monitor or you encounter any issues with the display, try the following troubleshooting steps:
- Check the connections to ensure they are secure and properly plugged in.
- Restart your MacBook Pro and the external monitor.
- Update your MacBook Pro’s operating system and display drivers.
- Try using a different display cable or adapter if available.
By following these steps and troubleshooting any issues that may arise, you should be able to successfully connect your monitor to your MacBook Pro. Now, you can enjoy the benefits of a larger screen and expanded workspace for increased productivity.
In the next step, we will explore how to adjust the display settings to further optimize your experience when using an external monitor with your MacBook Pro.
Step 4: Adjust the Display Settings
Once you have successfully connected your monitor to your MacBook Pro, it’s time to adjust the display settings to ensure optimal viewing and productivity. Here are the steps to follow:
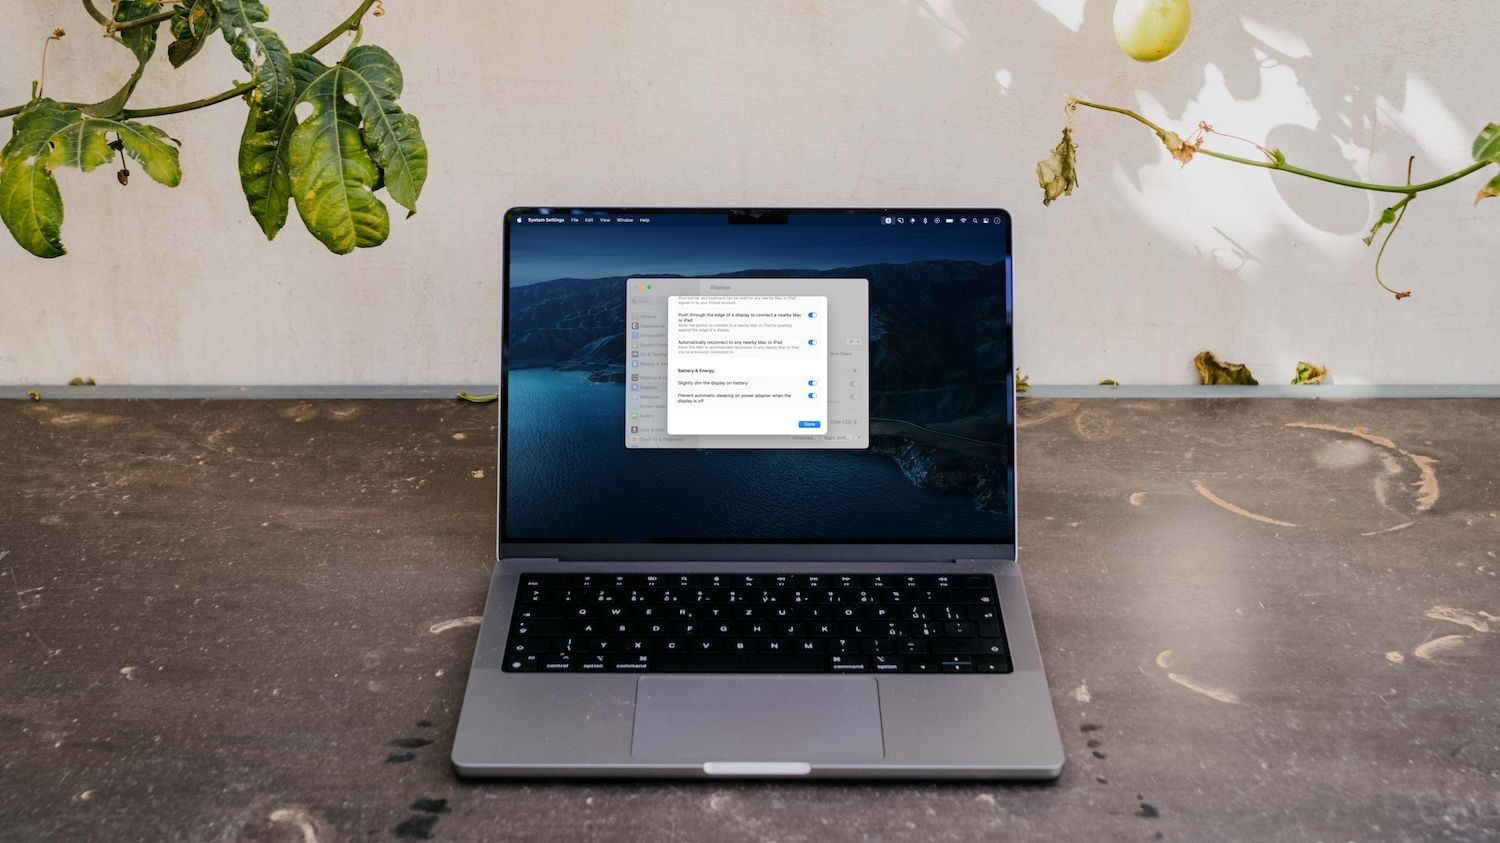
- Go to the Apple menu, click on “System Preferences,” and select “Displays.”
- In the Displays preferences window, you will see options for adjusting the resolution, brightness, arrangement, and other display settings.
- To change the resolution, select the “Scaled” option and choose the desired resolution from the list. Higher resolutions will provide more screen real estate, but the text and icons may appear smaller. Experiment with different resolutions to find the one that suits your needs.
- Adjust the brightness slider to your preferred level. You can also enable Night Shift to reduce the blue light emitted by the display, which can be beneficial for your eyes, especially during evening hours.
- Under the “Arrangement” tab, you can arrange the position of your external monitor relative to your MacBook Pro’s built-in display. You can drag and arrange the displays to match the physical placement of your monitors.
- If you prefer to use the external monitor as the primary display or want to mirror the built-in display, you can make those adjustments by checking the appropriate boxes under the “Arrangement” tab.
- Explore other options in the Display preferences window, such as color calibration, rotation, and display arrangement, to further customize your setup according to your preferences.
By adjusting these display settings, you can optimize the output on your external monitor and ensure a comfortable and productive viewing experience. Take some time to experiment with different settings to find the configuration that suits your needs and enhances your workflow.
If you frequently use your external monitor with your MacBook Pro, it’s a good idea to save the display settings as a separate profile. This makes it easier to switch between different setups quickly. To do this, go to the “Arrangement” tab in the Display preferences and click on the “Detect Displays” button. Then click on the “Display” tab and select “Save As” to save the configurations as a separate profile.
Now that you have adjusted the display settings to your liking, it’s time to address any potential issues or troubleshooting steps you may encounter when connecting and using an external monitor with your MacBook Pro.
Step 5: Troubleshooting Common Issues
While connecting an external monitor to your MacBook Pro is usually a straightforward process, there may be times when you encounter some common issues. Here are some troubleshooting steps to help you resolve these issues:
- No Display on External Monitor: Ensure that all the connections between your MacBook Pro and the external monitor are secure. Try using a different display cable or adapter if available. Restart your MacBook Pro and the external monitor.
- Unsupported Resolution: If you are unable to select the desired resolution for your external monitor, make sure the monitor supports that resolution. Check the monitor’s user manual or the manufacturer’s website for compatibility information.
- Poor Image Quality: Adjust the display settings on your MacBook Pro to enhance image quality. Try changing the resolution, brightness, and color calibration settings to achieve a better visual experience.
- Display Flickering: In some cases, users may experience flickering on the external monitor. Update your MacBook Pro’s operating system and display drivers to the latest version. Try using a different display cable or adapter to rule out any hardware issues.
- External Monitor Not Detected: If your MacBook Pro does not recognize the external monitor, check the connections, ensuring they are secure. Restart your MacBook Pro and the external monitor. Update your MacBook Pro’s operating system if an update is available.
If you have exhausted these troubleshooting steps and the issues persist, it is always a good idea to consult Apple’s official support documentation or contact their support team for further assistance. They can provide more specific guidance based on your MacBook Pro model and the specific issue you are facing.
Remember that the troubleshooting steps may vary depending on your specific setup and the model of your MacBook Pro. Refer to your device’s manual or Apple’s official website for further information and guidance.
With the troubleshooting steps covered, you should now have a good understanding of how to connect and use an external monitor with your MacBook Pro. By following the steps outlined in this article, you can enhance your productivity, expand your workspace, and enjoy a more immersive viewing experience.
Conclusion
Connecting an external monitor to your MacBook Pro is a simple process that can greatly enhance your productivity and improve your overall user experience. By familiarizing yourself with the ports on your MacBook Pro, gathering the necessary equipment, and following the step-by-step instructions, you can seamlessly connect and set up an external monitor.
Once you have established the connection, remember to adjust the display settings to optimize the output on the external monitor. Experiment with different resolutions, brightness levels, and display arrangements to find a configuration that suits your needs and enhances your workflow.
In the event that you encounter any issues, such as no display on the external monitor, unsupported resolution, poor image quality, or display flickering, refer to the troubleshooting steps provided in this article. By following these steps and seeking additional support from Apple if necessary, you can overcome these common challenges and ensure a smooth and enjoyable experience with your external monitor.
Now that you have the knowledge and guidance to connect and use an external monitor with your MacBook Pro, you can expand your workspace, improve multitasking capabilities, and enjoy a more immersive viewing experience. So go ahead and connect your monitor, adjust the settings, and unlock the full potential of your MacBook Pro.