Introduction
Welcome to this guide on how to send disappearing photos on iMessage! With the rise of instant messaging, sharing photos has become a popular way to communicate and express ourselves. However, there are times when we want to send a photo that will only be visible for a short period of time, ensuring privacy and preventing the photo from being saved or shared further.
iMessage, the default messaging app for iOS devices, offers a convenient feature that allows you to send disappearing photos. This feature is perfect for sharing sensitive or temporary content with friends, family, or colleagues. Whether you want to send a funny moment, a confidential document, or simply have your photos automatically deleted after they have been viewed, the disappearing photo feature is a great tool to have at your disposal.
In this guide, we will walk you through the step-by-step process of sending disappearing photos on iMessage. You don’t need to be a tech expert to follow along. Just grab your iPhone, open iMessage, and let’s get started on sending those self-destructing photos!
Step 1: Open iMessage
The first step in sending disappearing photos on iMessage is to open the iMessage app on your iPhone. iMessage comes pre-installed on all iOS devices, so you can easily find it on your home screen or in the app drawer.
To open iMessage, simply tap on the green speech bubble icon with a white background. Once you’ve opened the app, you’ll be greeted with your existing conversations or a blank screen if you haven’t used iMessage before.
It’s important to note that iMessage requires an active internet connection, either through Wi-Fi or cellular data. Make sure you’re connected to the internet before proceeding with the next steps.
If you haven’t set up iMessage on your iPhone, you’ll be prompted to do so by following the on-screen instructions. Setting up iMessage usually involves verifying your phone number or email address and enabling iMessage features such as read receipts and iCloud syncing. Once you’ve completed the setup, you’re ready to move on to the next step.
Now that you have iMessage open and ready to go, let’s move on to step 2: choosing a recipient for your disappearing photo.
Step 2: Choose a Recipient
After opening iMessage, the next step is to choose a recipient for your disappearing photo. Think about who you want to share the photo with and make sure they have an active iMessage account.
To select a recipient, you can either start a new conversation or choose an existing one from your list of contacts. To start a new conversation, tap on the compose icon, usually located in the top-right corner of the screen. This will open a blank message window where you can search for and select the recipient you want to send the photo to.
If you prefer to choose an existing conversation, navigate to the conversations list by tapping on the back arrow or by swiping right from the left edge of the screen. Locate the desired contact or conversation from the list and tap on it to open the chat window.
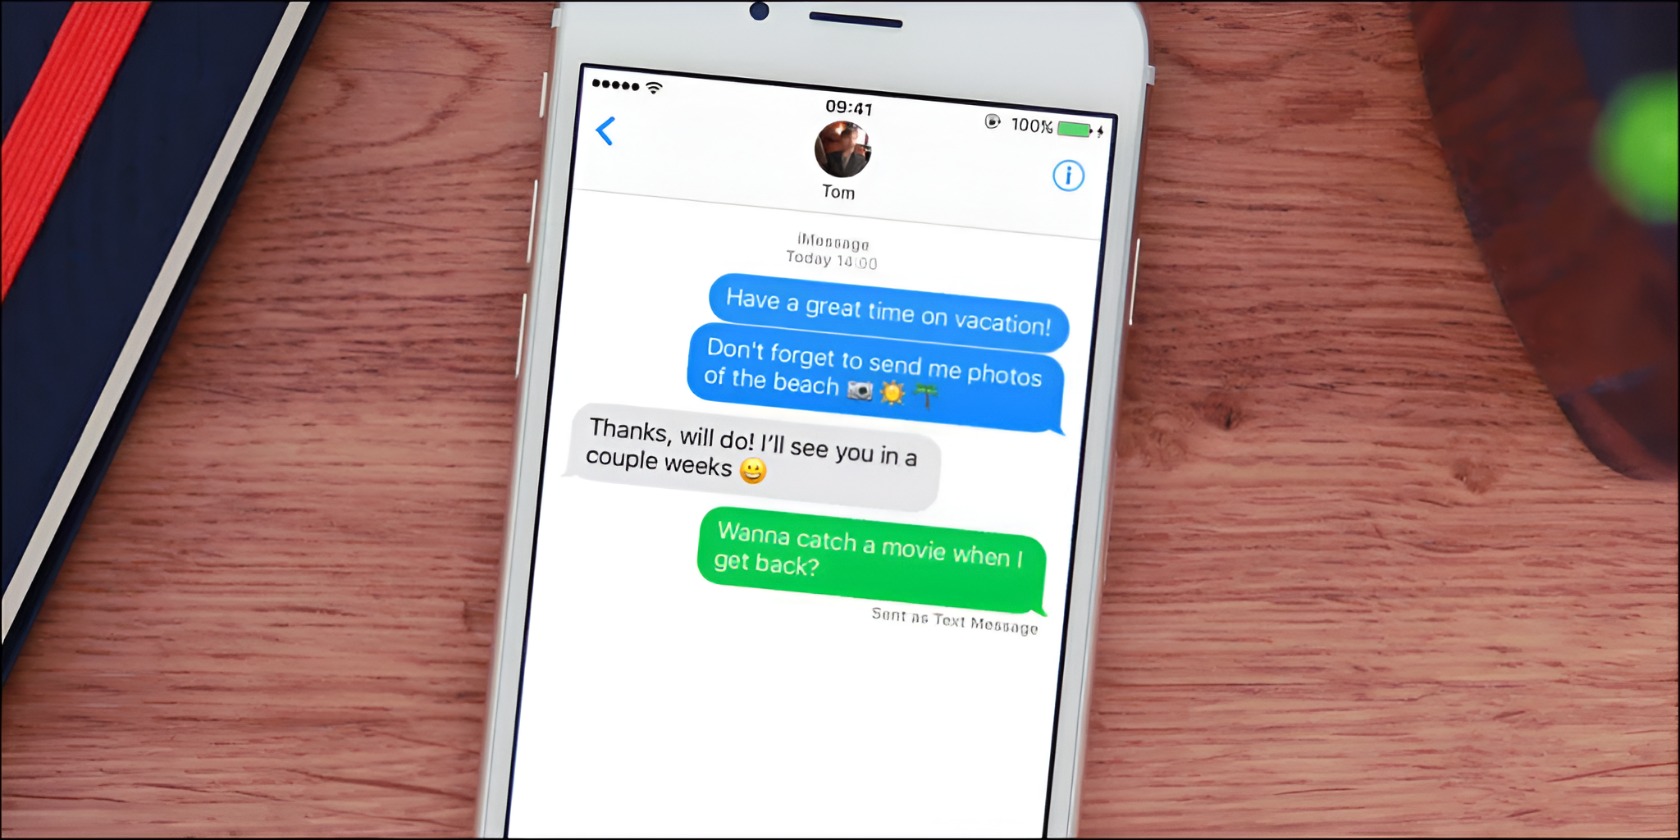
It’s important to ensure that the recipient has an active internet connection and uses iMessage. If the recipient does not use iMessage, the disappearing photo feature may not work, and your photo may be sent as a regular image instead.
Once you have chosen the recipient for your disappearing photo, you’re ready to move on to the next step: tapping on the camera icon to capture or select the photo you want to send.
Step 3: Tap on the Camera Icon
Now that you have selected the recipient for your disappearing photo, it’s time to tap on the camera icon within the iMessage app. This will allow you to either capture a new photo or select an existing photo from your camera roll.
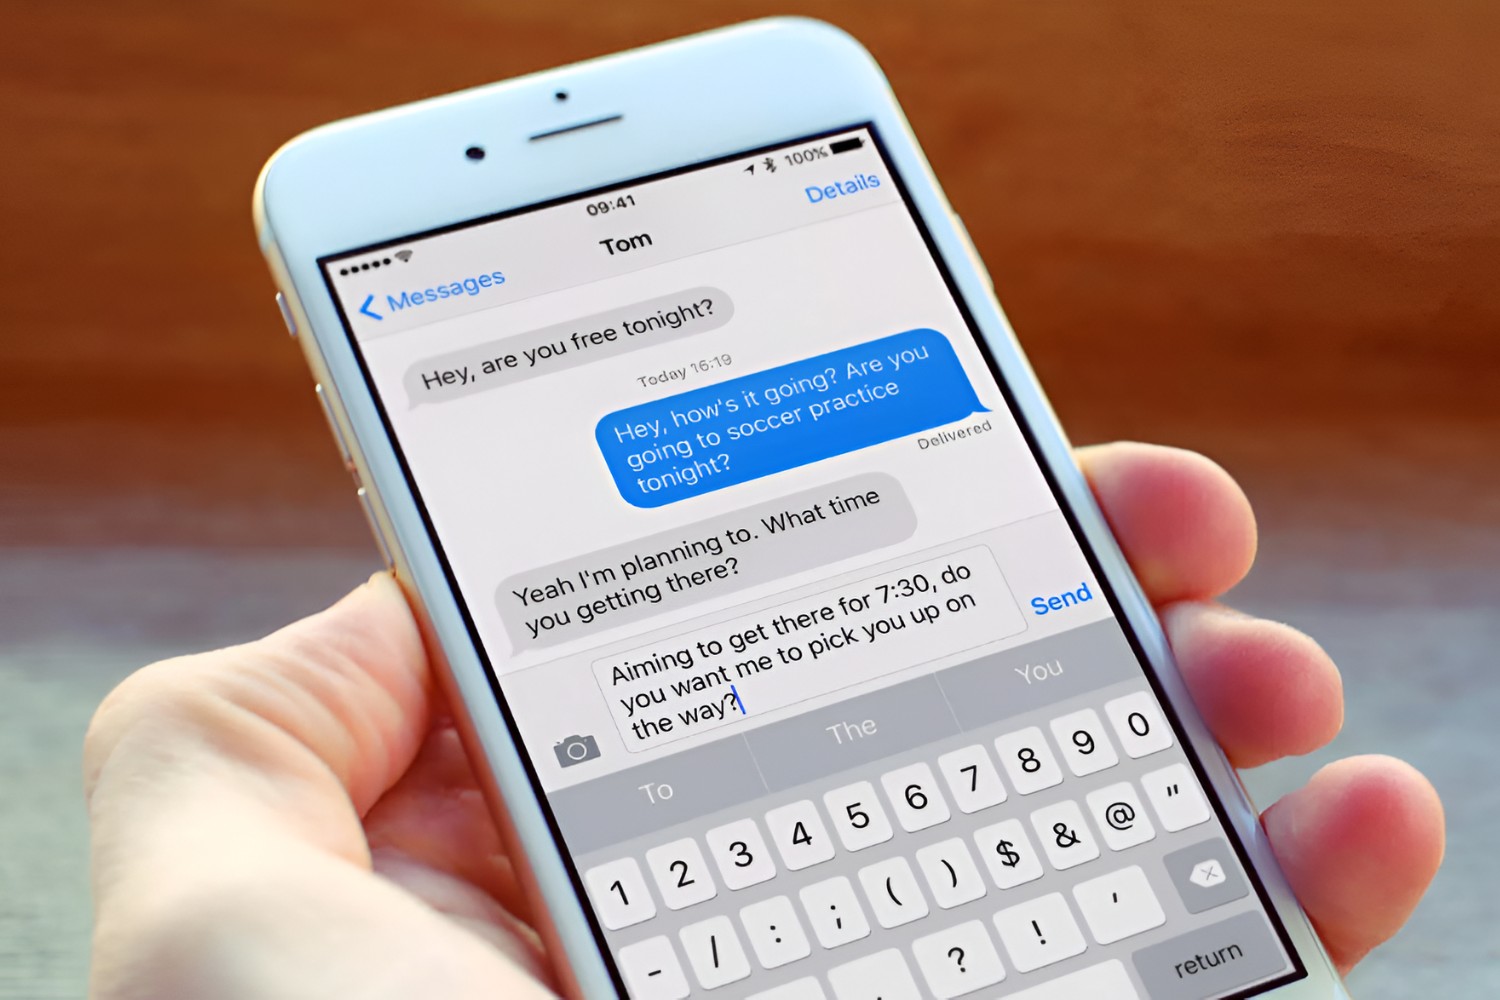
To access the camera icon, look for the camera icon located within the text input field at the bottom of the chat window. It typically appears as a small icon resembling a camera. Tap on this icon to open the camera interface.
If this is your first time accessing the camera within iMessage, you may be prompted to grant camera permissions to the app. Follow the on-screen instructions to allow iMessage access to your device’s camera.
Once the camera interface opens, you have two options: capture a new photo or select an existing photo from your camera roll.
To capture a new photo, use your device’s camera to frame the subject and tap on the capture button, usually indicated by a circular icon. After taking the photo, you will have the option to review and retake it if necessary.
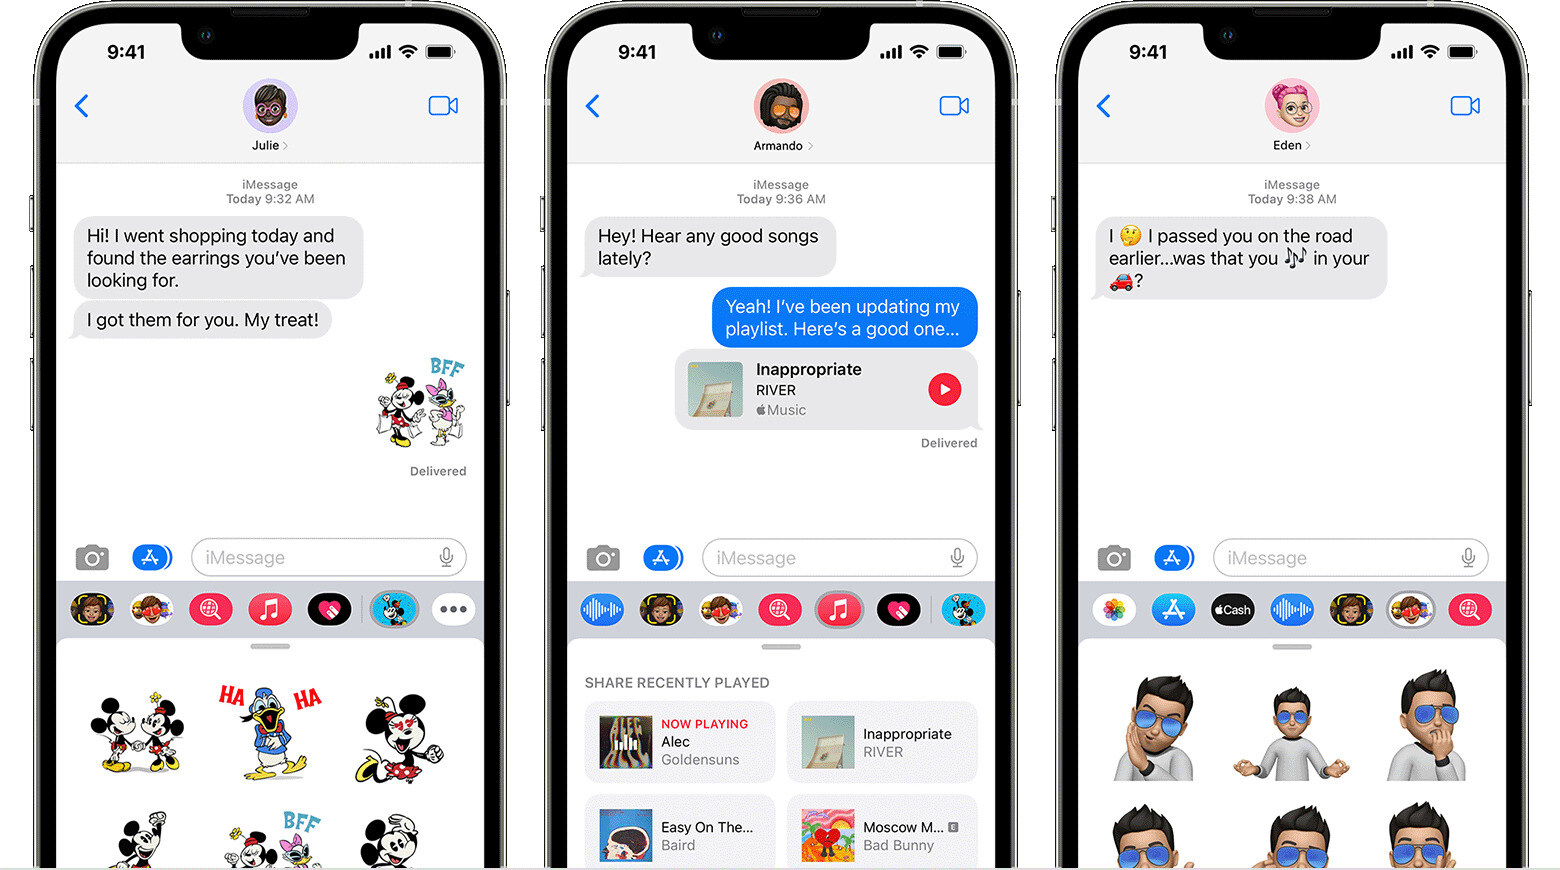
If you prefer to select an existing photo from your camera roll, tap on the photo library icon, usually located in the bottom-left corner of the camera interface. This will open your device’s photo gallery, allowing you to browse through and select the desired photo.
Once you have either captured a new photo or selected an existing one, it’s time to move on to the next step: customizing the photo settings before sending it as a disappearing photo.
Step 4: Select the Photo You Want to Send
After tapping on the camera icon in iMessage, you will be presented with the option to select the photo you want to send as a disappearing photo. This can be a newly captured photo or an existing photo from your camera roll.
If you have just captured a photo using the iMessage camera interface, you will see a preview of the photo on your screen. Take a moment to review the photo and ensure it meets your satisfaction. If you’re not happy with the photo, tap on the retake button to capture a new one.
If you prefer to send an existing photo from your camera roll, tap on the photo library icon (usually located in the bottom-left corner of the camera interface) to access your device’s photo gallery. Browse through the library and select the desired photo that you want to share as a disappearing photo.
Once you have selected the photo you want to send, it will be displayed in the iMessage chat window. You can preview the photo and make any final adjustments if needed, such as cropping or applying filters.
It’s important to note that iMessage has restrictions on the size and resolution of the photos you can send. If your selected photo exceeds these limitations, iMessage may automatically resize or compress the image to meet the requirements.
Now that you have selected the photo you want to send, it’s time to move on to the next step: customizing the photo settings to send it as a disappearing photo.
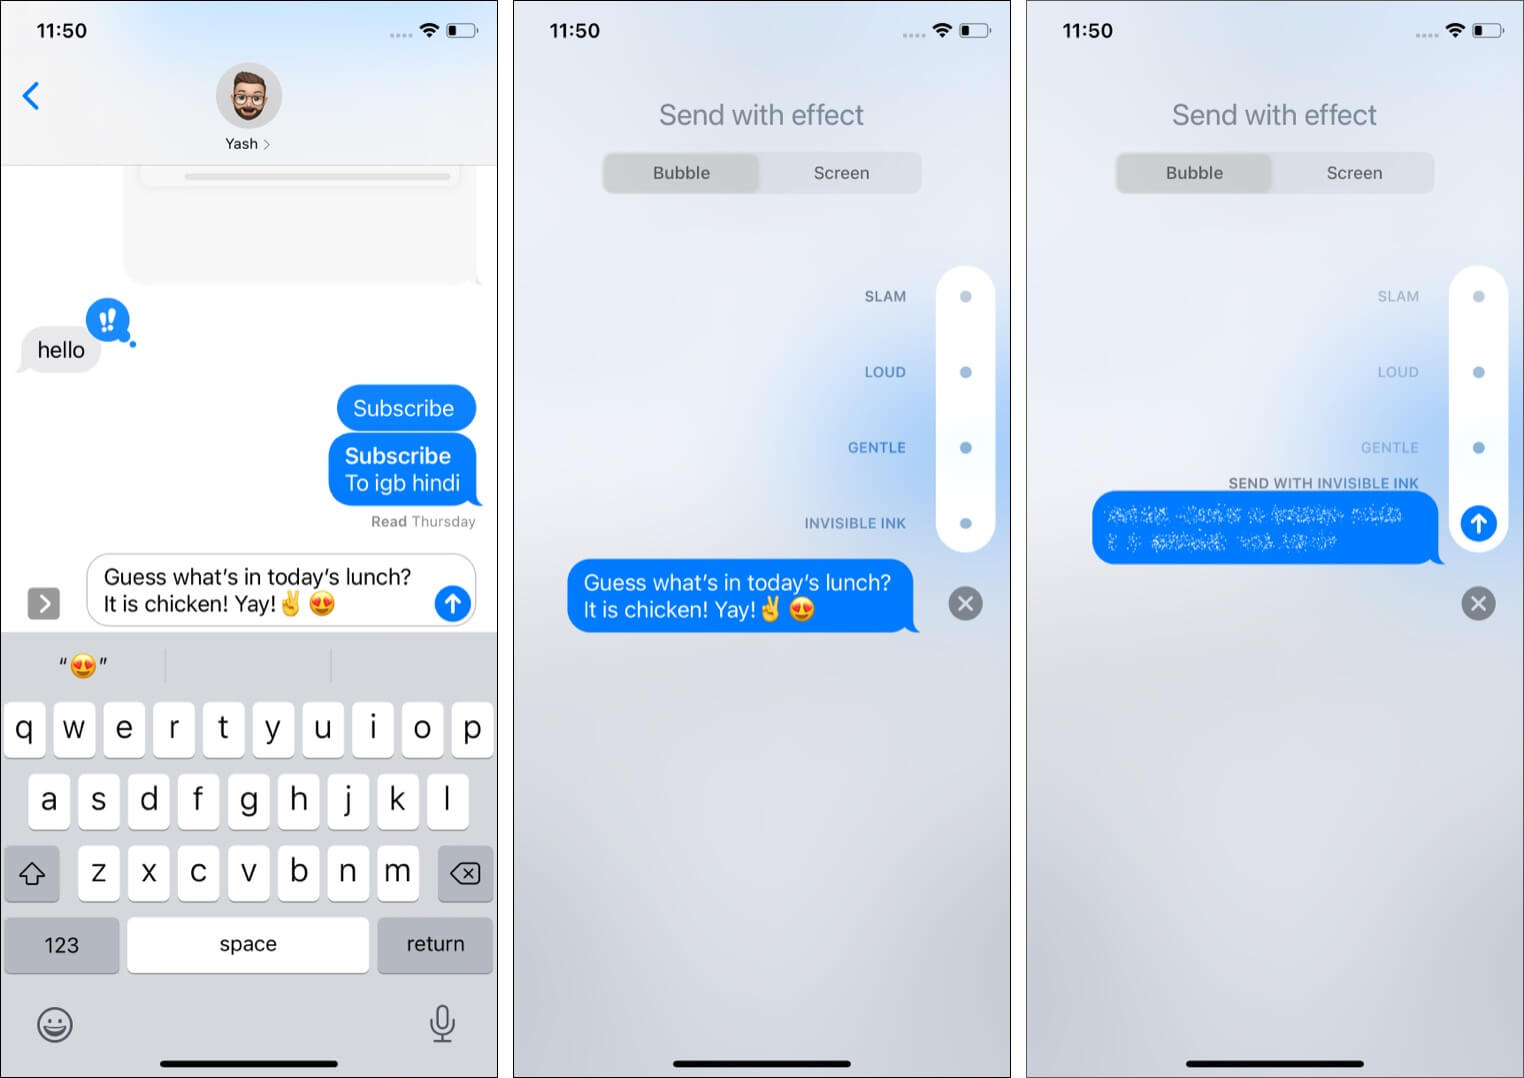
Step 5: Customize the Photo Settings
Now that you have selected the photo you want to send as a disappearing photo in iMessage, it’s time to customize the photo settings before sending it. These settings will allow you to determine how long the recipient can view the photo and whether they can save or screenshot it.
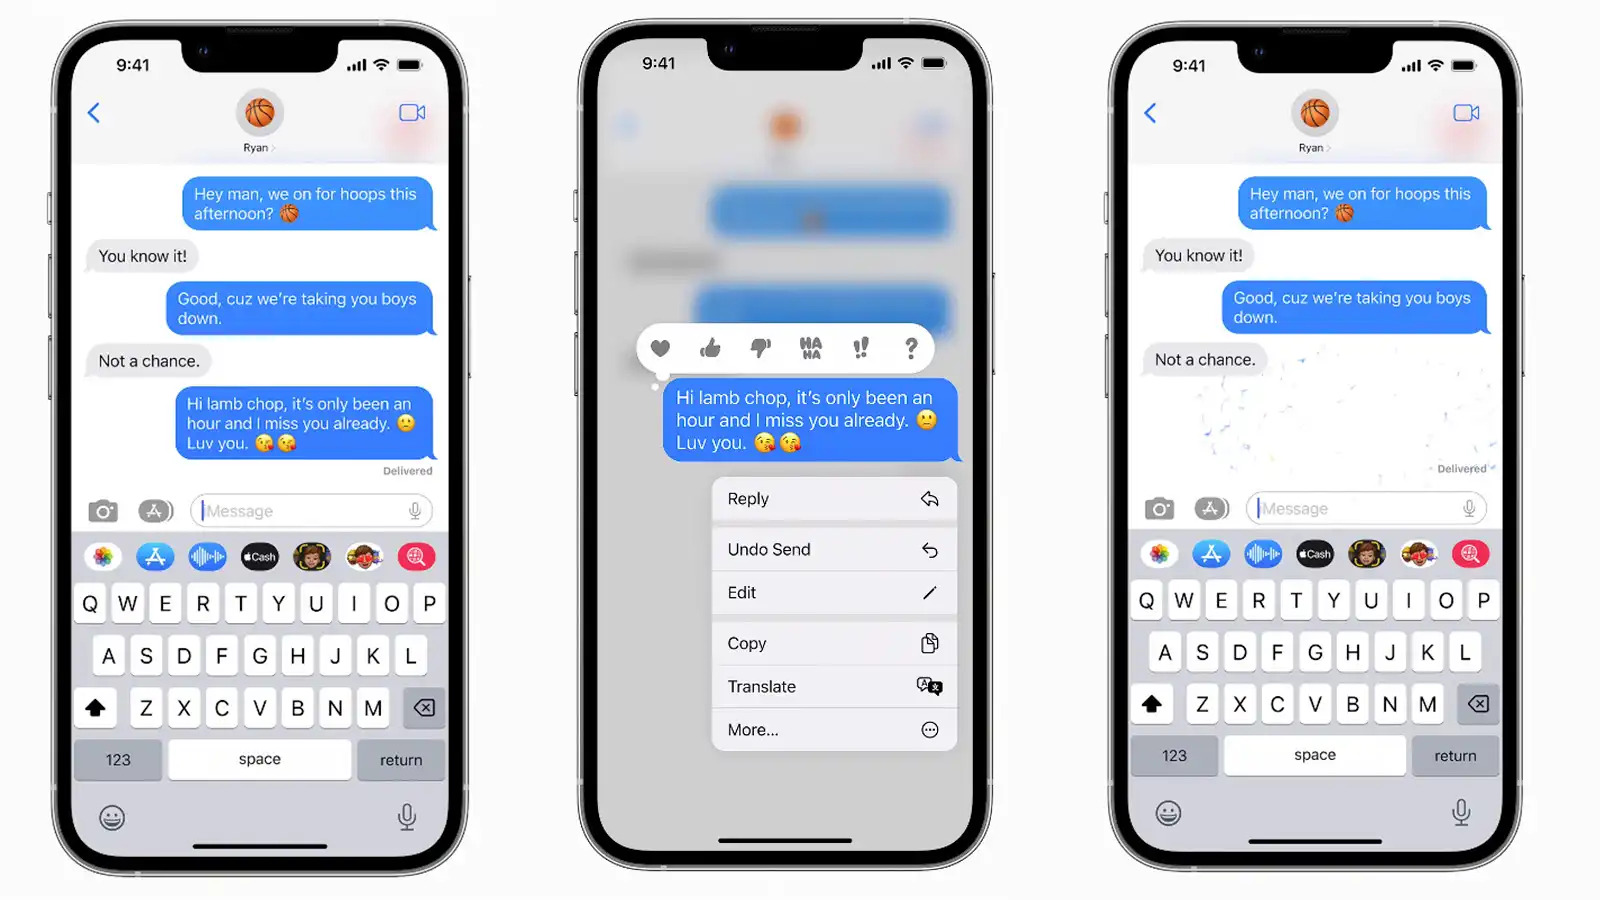
To customize the photo settings, locate the options symbol or the “More” button in the chat window. This symbol is usually represented by three dots or lines arranged vertically. Tap on it to open the additional options menu.
Within the options menu, you will find various settings related to the photo. Look for an option that allows you to set the expiration time for the photo. This setting will determine how long the photo will be visible to the recipient before it disappears from the chat.
Some iMessage versions may also provide additional settings, such as the ability to prevent the recipient from saving or screenshotting the photo. If these options are available, consider enabling them for added privacy and control over the photo.
Take your time to adjust the settings according to your preferences. You can choose a time limit that ranges from a few seconds to minutes, or even select the “View Once” option, which makes the photo visible only once and then disappear automatically.
Remember that customizing these settings is optional. If you don’t make any changes, the default settings of iMessage will apply, allowing the recipient to view and keep the photo indefinitely.
Once you have customized the photo settings to your liking, you’re now ready to move on to the next step: enabling the disappearing photo feature before sending the photo.
Step 6: Enable the Disappearing Photo Feature
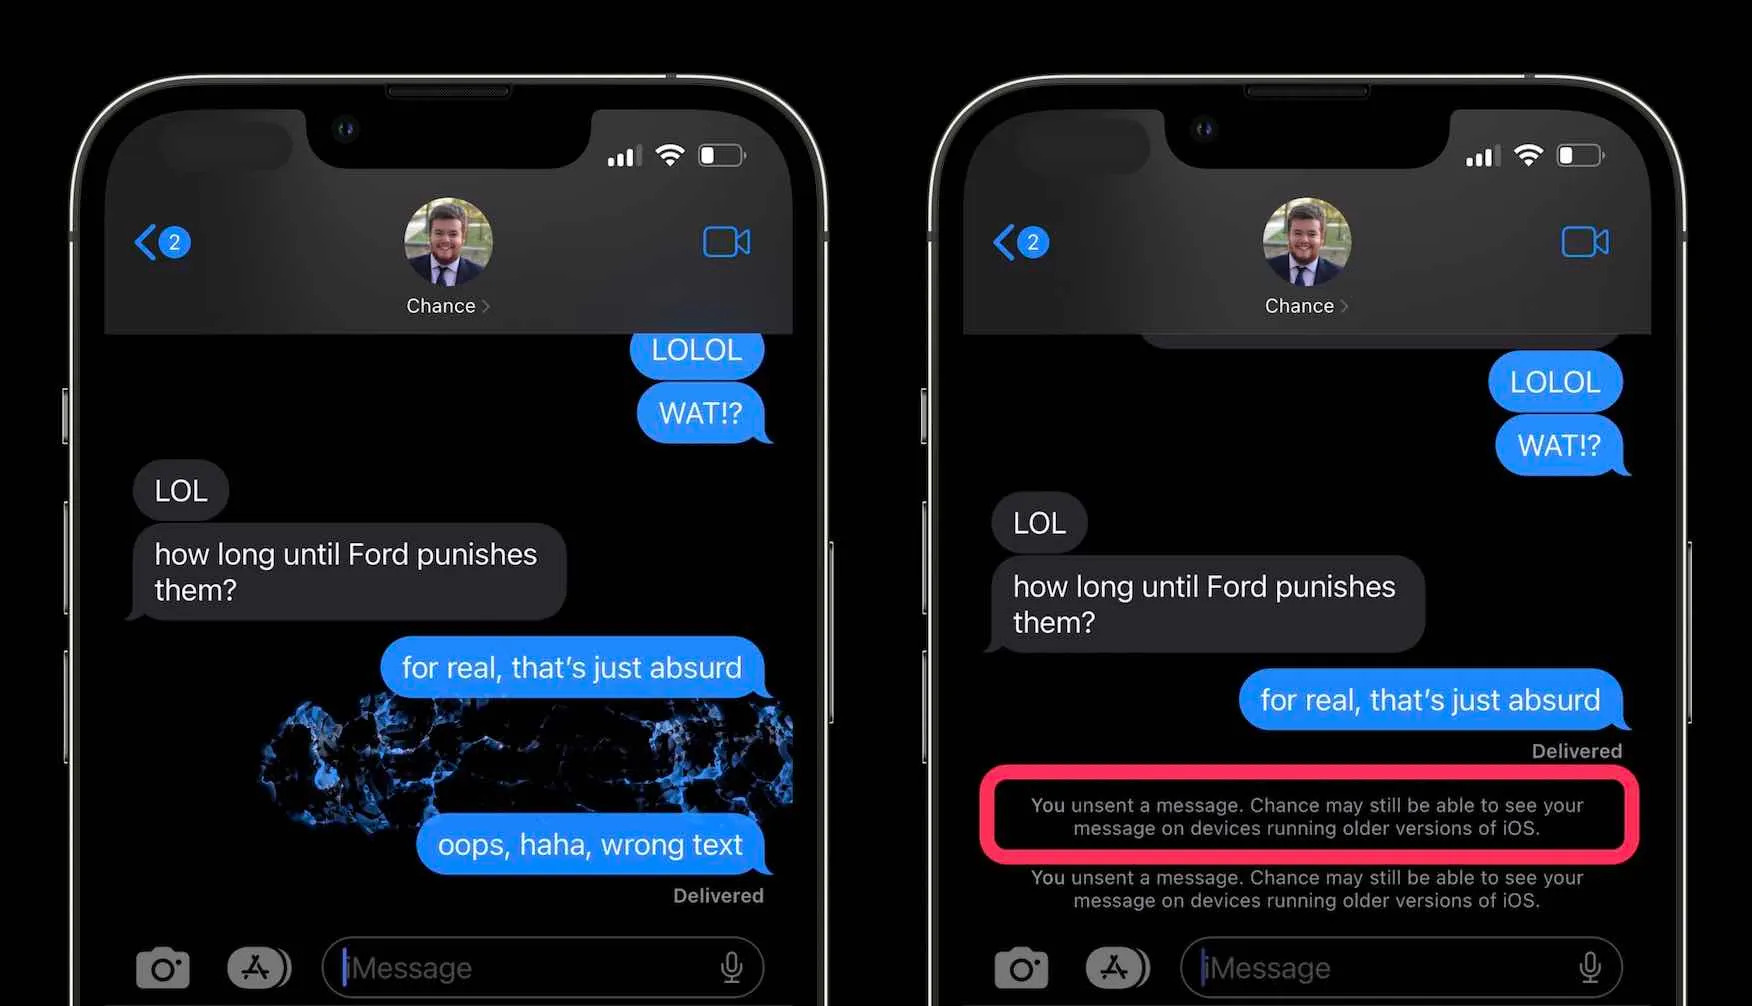
After customizing the photo settings in iMessage, the next step is to enable the disappearing photo feature. This feature ensures that the photo you send will be automatically deleted from the recipient’s device after the specified time limit.
To enable the disappearing photo feature, locate the switch or toggle button that allows you to activate it. This button is usually labeled as “Disappearing Photos” or “Self-Destructing Photos”. Tap on the button to turn it on or enable the feature.
Once you have enabled the disappearing photo feature, you will see a confirmation or indicator that it is active. This may be denoted by a checkmark, a color change in the button, or a message stating that the photo will disappear after a certain period of time.
It’s important to note that the disappearing photo feature only works if both you and the recipient have compatible devices and are using an updated version of iMessage. If the recipient does not have the necessary requirements, the photo may not disappear as intended.
Double-check that the disappearing photo feature is properly enabled before proceeding to the next step. This ensures that your photo will be automatically deleted after the specified time, adding an extra layer of privacy and security to your message.
Now that the disappearing photo feature is enabled, it’s time for the final step: sending the photo to the recipient. Let’s move on to step 7 and complete the process.
Step 7: Send the Photo
After customizing the photo settings and enabling the disappearing photo feature in iMessage, it’s time to send the photo to the intended recipient. With just a few taps, you’ll be able to share your self-destructing photo seamlessly.
To send the photo, simply tap on the send button located in the chat window. This button is usually represented by an arrow icon or the word “Send”. When you tap on it, the photo will be transmitted to the recipient’s device.
Once the photo is sent, you may see a status indicator, such as a checkmark, to confirm that the message has been delivered. This indicates that the recipient can now view the photo within their iMessage app.
As the sender, you will also see the disappearing photo in the chat window. However, keep in mind that once the recipient has viewed the photo and the specified time limit has elapsed, the photo will automatically disappear from their device.
It’s important to note that the recipient must also have an updated version of iMessage in order to properly receive and view the disappearing photo. If they are using an outdated version of the app or a non-compatible device, the photo may not function as intended.
With the photo sent, you’ve successfully completed the process of sending a disappearing photo on iMessage. The recipient will be able to view the photo for the specified time and then it will be automatically deleted from their device, ensuring privacy and temporary access.
Now you can enjoy the convenience and security of sharing self-destructing photos with your contacts through iMessage!
Conclusion
In this guide, we have covered the step-by-step process of sending disappearing photos on iMessage. With this feature, you can easily share photos that will only be visible for a short period of time, adding an extra layer of privacy and control to your conversations.
By following the steps outlined in this guide, you can open iMessage, choose a recipient, tap on the camera icon to select a photo, customize the photo settings, enable the disappearing photo feature, and finally, send the photo. It’s a simple and straightforward process that can be completed in just a few minutes.
Remember that both you and the recipient must have compatible devices and updated versions of iMessage for the disappearing photo feature to work properly. If the recipient does not meet these requirements, the photo may not disappear as intended.
With disappearing photos, you can share sensitive content, temporary moments, or simply have your photos automatically deleted after they have been viewed. It’s a useful feature for a range of situations, from sending confidential documents to sharing funny or personal moments.
So, the next time you want to share a photo that you don’t want to be saved or shared further, give the disappearing photo feature on iMessage a try. It’s a convenient and secure way to share moments without leaving a digital footprint.
Thank you for following this guide on how to send disappearing photos on iMessage. We hope you found it helpful and that you will enjoy using this feature in your future conversations!