Introduction
Welcome to this guide on how to schedule an iMessage! If you’re someone who wants to pre-plan your messages or simply want to ensure that your messages are sent at the right time, scheduling an iMessage can be a great option.
With the iMessage app on your iPhone or iPad, you can easily schedule messages to be sent at a specific date and time. This feature can be incredibly helpful when you have a busy schedule or if you want to send a message to someone living in a different time zone.
In this guide, we will take you through the step-by-step process of scheduling an iMessage. Whether you want to wish your friend a happy birthday at midnight or remind your colleague about an important meeting, scheduling an iMessage will ensure that your messages are sent exactly when you want them to be sent.
This guide assumes that you have the latest version of the iOS software installed on your device. Without further ado, let’s dive into the steps to schedule an iMessage!
Step 1: Open the iMessage app
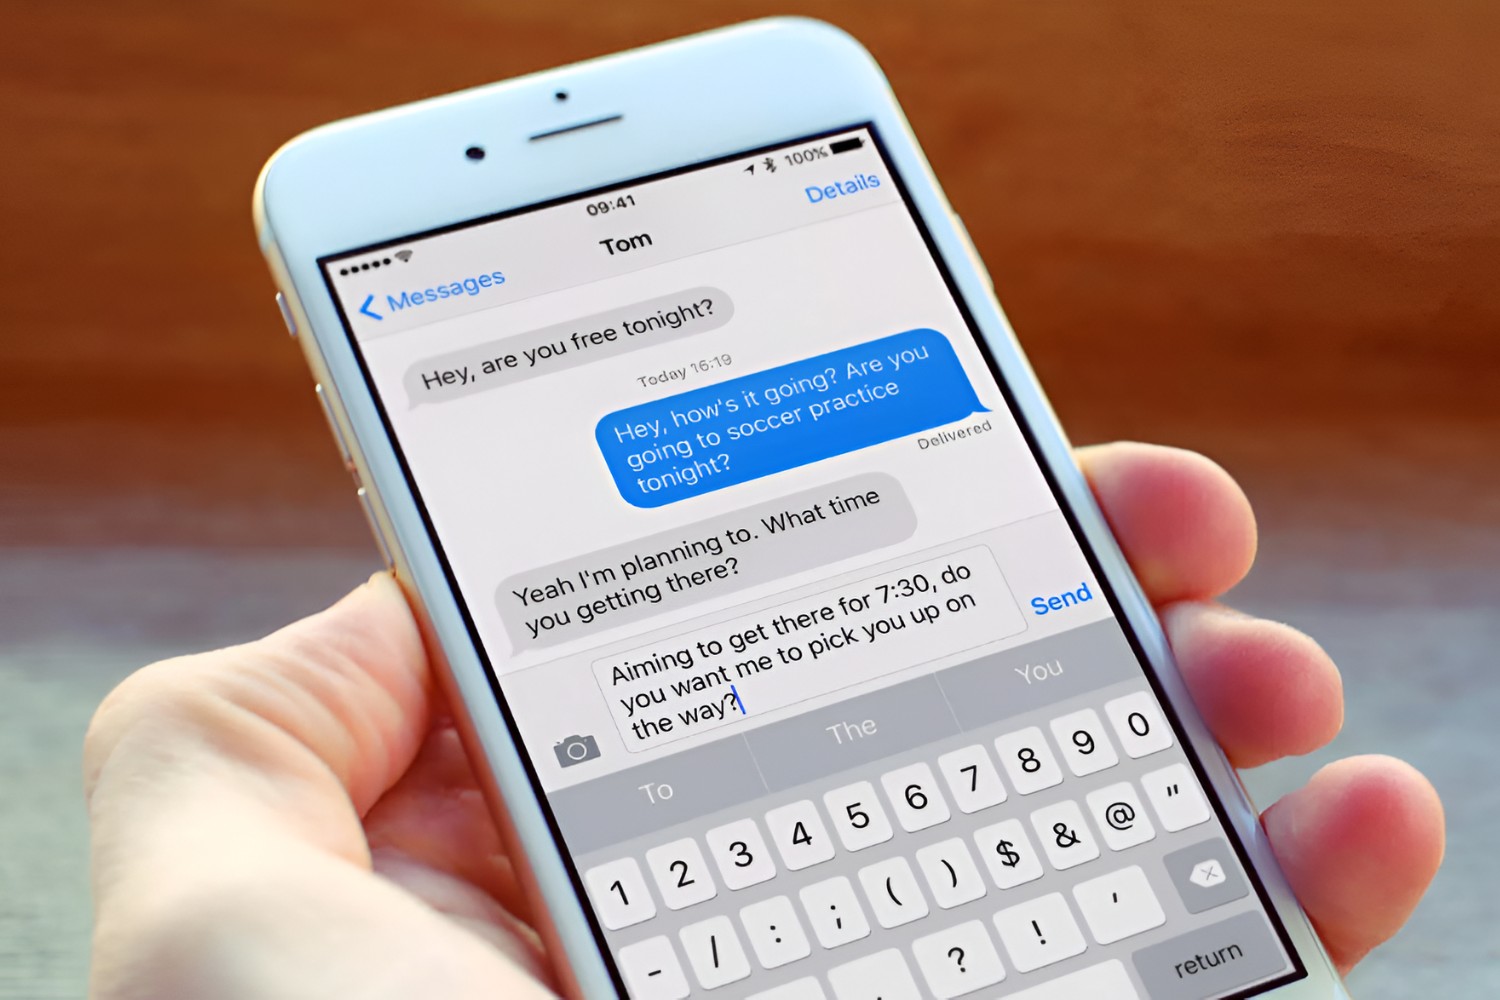
To schedule an iMessage, the first step is to open the iMessage app on your iPhone or iPad. The iMessage app allows you to send messages, photos, videos, and more to other Apple users.
Look for the green icon with a white speech bubble on your device’s home screen or in the app drawer. Tap on it to open the iMessage app.
If you have recently used the iMessage app, you may find its icon in the recently used apps section. Alternatively, you can swipe right on your home screen and use the search bar at the top of the screen to search for “iMessage.”
Once you have opened the iMessage app, you will be greeted with a list of your recent conversations. In the iMessage app, you can send messages to individual contacts or start group chats with multiple people.
If you have never used iMessage before, you may need to set it up by following the on-screen instructions. This usually involves verifying your phone number and Apple ID.
Now that you have opened the iMessage app, you are ready to move on to the next step: composing your message. Let’s proceed to the next section to learn how to do this.
Step 2: Compose your message
Once you have opened the iMessage app, you can start composing your message. Whether you want to send a simple text message, share a photo or video, or use one of the fun iMessage features like stickers or animations, the process is straightforward.
To compose a message, follow these steps:
- Tap on the message field at the bottom of the screen. This will bring up the virtual keyboard.
- Type your message using the keyboard. You can write a simple text message or get creative with emojis, GIFs, and other media.
- If you want to send a photo or video, tap on the camera icon to the left of the message field. This will open your device’s camera or photo library. Select the desired photo or video and tap “Choose” or “Send”.
- If you want to add stickers, animations, or other iMessage features, tap on the “+” icon to the left of the message field. This will open the iMessage App Drawer, where you can browse and select various interactive elements to enhance your message.
Remember, you can also customize the appearance of your message by changing the font, text color, bubble color, and more. To do this, tap on the “Aa” icon on the right side of the message field.
Once you have composed your message to your liking, you’re ready to move on to the next step: scheduling the message. Let’s explore how to do this in the next section.
Step 3: Schedule the message
Now that you have composed your message, it’s time to schedule it for later delivery. Scheduling an iMessage ensures that your message is sent at a specific date and time, even if you’re busy or unavailable at that moment.
To schedule a message in iMessage, follow these steps:
- Long-press the Send button, which is the arrow pointing upwards, located to the right of the message field.
- A new menu will appear with options to “Send with Effect” and “Schedule Message.” Select “Schedule Message.”
- You will be presented with a list of suggested date and time options, such as “Later Today,” “Tomorrow,” or “Custom.” Choose the option that best fits your desired delivery time.
- If you choose “Custom,” you can manually select the date and time by tapping on the corresponding fields and using the date and time picker.
Once you have chosen the desired delivery time for your message, tap “Done” or “Schedule” to confirm your selection.
It’s important to note that your device needs to be connected to the internet at the scheduled delivery time for the message to be sent. If your device is offline, the message will be sent when you regain an internet connection.
Now that you have successfully scheduled your message, let’s move on to the next step: choosing the date and time for delivery.
Step 4: Choose the date and time
After selecting the “Schedule Message” option, you will be prompted to choose the date and time for your message’s delivery. This step allows you to precisely schedule when the message will be sent.
To choose the date and time for your scheduled iMessage, follow these steps:
- If you selected the “Custom” option in the previous step, you will see fields for both date and time. Tap on each field to bring up the picker.
- Using the picker, scroll or tap to select the desired date and time. You can choose a specific hour and minute to ensure precision.
- As you make your selections, the date and time fields will be updated accordingly.
- Double-check the chosen date and time to ensure it aligns with your intentions.
- Once you are satisfied with your chosen date and time, tap “Done” or “Schedule” to confirm.
It’s worth noting that some versions of iMessage also offer the ability to set a recurring schedule for a message. This can be useful for sending regular reminders or weekly updates to contacts.
After selecting the date and time for your scheduled message, continue to the next step: confirming the scheduled message.
Step 5: Confirm the scheduled message
After choosing the date and time for your scheduled iMessage, you will need to confirm the details of the scheduled message. This step ensures that you have set the correct delivery time before the message is sent.
To confirm the scheduled message in iMessage, follow these steps:
- Review the details shown on the confirmation screen. This typically includes the recipient, the message content, and the scheduled delivery date and time.
- Make any necessary edits to the message by tapping on the message field. You can modify the text, add or remove attachments, or make any other changes as desired.
- If you need to cancel the scheduled message entirely, there should be an option to “Cancel” or “Delete” the scheduled message on the confirmation screen. Tap on it if necessary.
- Once you are satisfied with the message and delivery details, tap “Confirm” or “Send” to schedule the message.
After confirming the scheduled message, you will typically receive a confirmation notification or message indicating that the message has been successfully scheduled.
It’s important to note that you can also view and manage your scheduled messages in the iMessage app. Look for a “Scheduled” or “Upcoming” folder or section where you can edit, delete, or reschedule messages if needed.
With the confirmation of your scheduled message complete, you’re now ready for the final step: editing or canceling scheduled messages. Let’s explore this step in the next section.
Step 6: Edit or cancel scheduled messages
After scheduling a message in iMessage, you may realize that you need to make changes or cancel the scheduled message altogether. Fortunately, iMessage provides options to edit or cancel your scheduled messages easily.
To edit or cancel a scheduled message in iMessage, follow these steps:
- Open the iMessage app on your iPhone or iPad.
- Look for a “Scheduled” or “Upcoming” folder or section within the app. This is where your scheduled messages are stored.
- Tap on the scheduled message that you want to edit or cancel.
- In the message details screen, you should see options to edit or cancel the scheduled message. Tap on the appropriate action you wish to take.
- If you choose to edit the scheduled message, you can make changes to the content, attachments, or delivery time as needed. Once you have finished editing, confirm the changes.
- If you want to cancel the scheduled message entirely, select the “Cancel” or “Delete” option to remove it from the schedule.
It’s essential to confirm that your edited or canceled message has been saved successfully. You may receive a notification or see a confirmation message indicating the status of the message.
Remember that once a scheduled message has been sent, it becomes a regular message and is no longer editable or cancelable. Therefore, it’s important to make any necessary changes or cancellations before the scheduled delivery time.
Now that you know how to edit or cancel scheduled messages in iMessage, you have completed the final step. Congratulations!
Feel free to explore the various features and options within iMessage to make your messaging experience more personalized and convenient. Whether it’s scheduling messages, using stickers and animations, or engaging in group chats, iMessage offers an array of tools for effective and enjoyable communication.
Conclusion
Congratulations! You have successfully learned how to schedule an iMessage on your iPhone or iPad. By following the simple steps outlined in this guide, you can now send messages at a specific date and time, ensuring that your communication is timely and convenient.
Scheduling messages in iMessage provides a useful feature for those who lead busy lives or want to send messages across different time zones. Whether you need to send birthday wishes, reminders, or important announcements, scheduling an iMessage allows you to plan ahead and have your message sent automatically when you want it to be delivered.
Remember that you can easily open the iMessage app, compose your message, and then schedule it for the desired date and time. You can choose from suggested delivery times or manually select a custom date and time.
If you ever need to make changes to a scheduled message or cancel it entirely, the iMessage app offers options to edit or delete the scheduled message. Simply navigate to the “Scheduled” or “Upcoming” folder within the app, select the desired message, and make the necessary adjustments.
With iMessage, you can also take advantage of various features like stickers, animations, and media attachments to make your messages more engaging and personalized.
No matter how you choose to use iMessage, scheduling messages adds a level of convenience and flexibility to your communication. So go ahead, start scheduling your messages and make your interactions more efficient and timely!
Thank you for reading this guide. I hope you found it informative and helpful. Happy messaging!