Introduction
In today’s digital age, staying connected is essential, but constant notifications can quickly become overwhelming. Whether you’re in a meeting, trying to focus on a task, or simply need some peace and quiet, finding ways to manage your notifications is crucial. For Apple users, iMessage is a popular messaging platform that offers a seamless way to communicate with friends, family, and colleagues. However, the constant barrage of message notifications can be distracting and disruptive. Thankfully, there are ways to silence iMessage notifications and regain control of your device.
Silencing iMessage notifications allows you to maintain a productive and distraction-free environment without completely disconnecting from the platform. By customizing your notification settings, you can choose when and how you receive notifications, ensuring that you stay in control of your device and your time. Whether you’re using an iPhone, iPad, or Mac, the process of silencing iMessage notifications is relatively straightforward. In this article, we’ll guide you through the steps to silence iMessage notifications on both iOS devices (such as iPhones and iPads) and macOS devices (such as Macbooks and iMacs). We’ll also share a few tips on how to temporarily silence notifications, as well as some extra tricks to help you manage your iMessage notifications effectively.
So, if you’re tired of being constantly bombarded by iMessage notifications or if you simply want to have more control over when you’re notified, let’s dive in and explore the different methods of silencing iMessage notifications on your Apple device.
Why Silence iMessage Notifications?
In today’s fast-paced and connected world, our smartphones have become an integral part of our lives. While instant messaging platforms like iMessage allow us to quickly communicate and stay connected, the constant barrage of notifications can have negative effects on our productivity and overall well-being.
First and foremost, silencing iMessage notifications gives us the power to choose when and how we want to engage with our messages. It allows us to prioritize our focus and attention on important tasks and avoid the constant distractions that notifications bring. By selectively silencing iMessage notifications, we can enjoy more uninterrupted and productive work or leisure time.
Furthermore, silencing iMessage notifications can enhance our mental well-being. Continuous interruptions from notifications can lead to a state of perpetual distraction, which can hinder concentration and increase stress levels. By taking control over our notifications, we can protect our mental space, improve our concentration, and reduce the feelings of overwhelm that come with the constant influx of messages.
Another important reason to silence iMessage notifications is to promote better relationships and connections. When we constantly interrupt our conversations or engagements to check or respond to messages, it can be seen as disrespectful or disinterested. By silencing notifications, we can dedicate our full attention to the people or tasks at hand, fostering deeper connections and demonstrating our presence and engagement in the present moment.
Moreover, silencing iMessage notifications can help in cultivating healthy boundaries around the use of technology. It allows us to set limits on our screen time and prevent the constant need to be available and accessible. By taking control over our notifications, we can establish a healthier relationship with technology and ensure that it serves us rather than dictates our actions.
In summary, silencing iMessage notifications empowers us to regain control over our devices and our time, enhances our productivity and focus, reduces stress levels, fosters deeper connections, and promotes a healthier relationship with technology. By understanding the importance of silencing notifications, we can take proactive steps to harness the benefits and create a more balanced and intentional digital experience.
How to Silence iMessage Notifications on iOS
If you’re an Apple user with an iPhone or iPad, you can easily customize your iMessage notification settings to silence notifications and regain control over your device. Follow these steps to silence iMessage notifications on iOS:
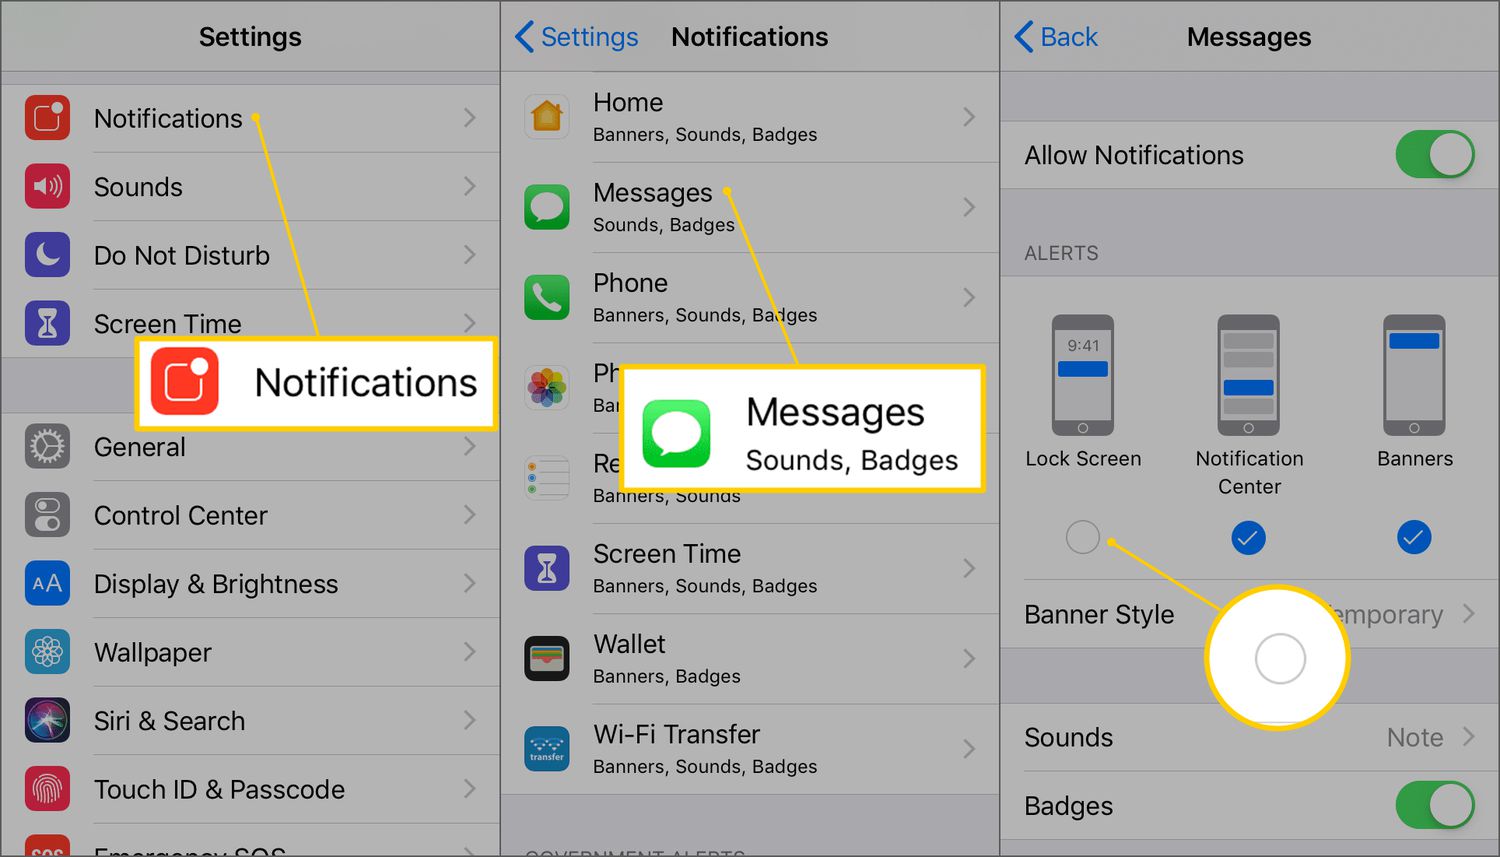
- Open the Settings app on your iOS device.
- Scroll down and tap on “Notifications”.
- Under the “Notification Style” section, locate and tap on “Messages”.
- Toggle off the “Allow Notifications” option to disable all iMessage notifications.
- Alternatively, you can keep the notifications enabled but customize them further by tapping on “Sounds” or “Show Previews”. Here, you can choose a different notification sound or choose to hide message previews.
- Scroll down further to the “Options” section and tap on “Repeat Alerts”. You can choose “Never” to receive only one notification, or select a specific number of times to repeat the alert.
- Close the Settings app, and you’re done! Your iMessage notifications are now silenced according to your preferences.
By following these simple steps, you can easily silence iMessage notifications on your iOS device and ensure a more peaceful and focused digital experience.
How to Silence iMessage Notifications on macOS
If you primarily use an Apple MacBook or iMac, you can also customize your iMessage notification settings on macOS to silence notifications and maintain a distraction-free working environment. Here’s how you can do it:
- Click on the Apple icon in the top-left corner of your screen and select “System Preferences” from the drop-down menu.
- In the System Preferences window, click on “Notifications”.
- From the left-hand sidebar, locate and click on “Messages”.
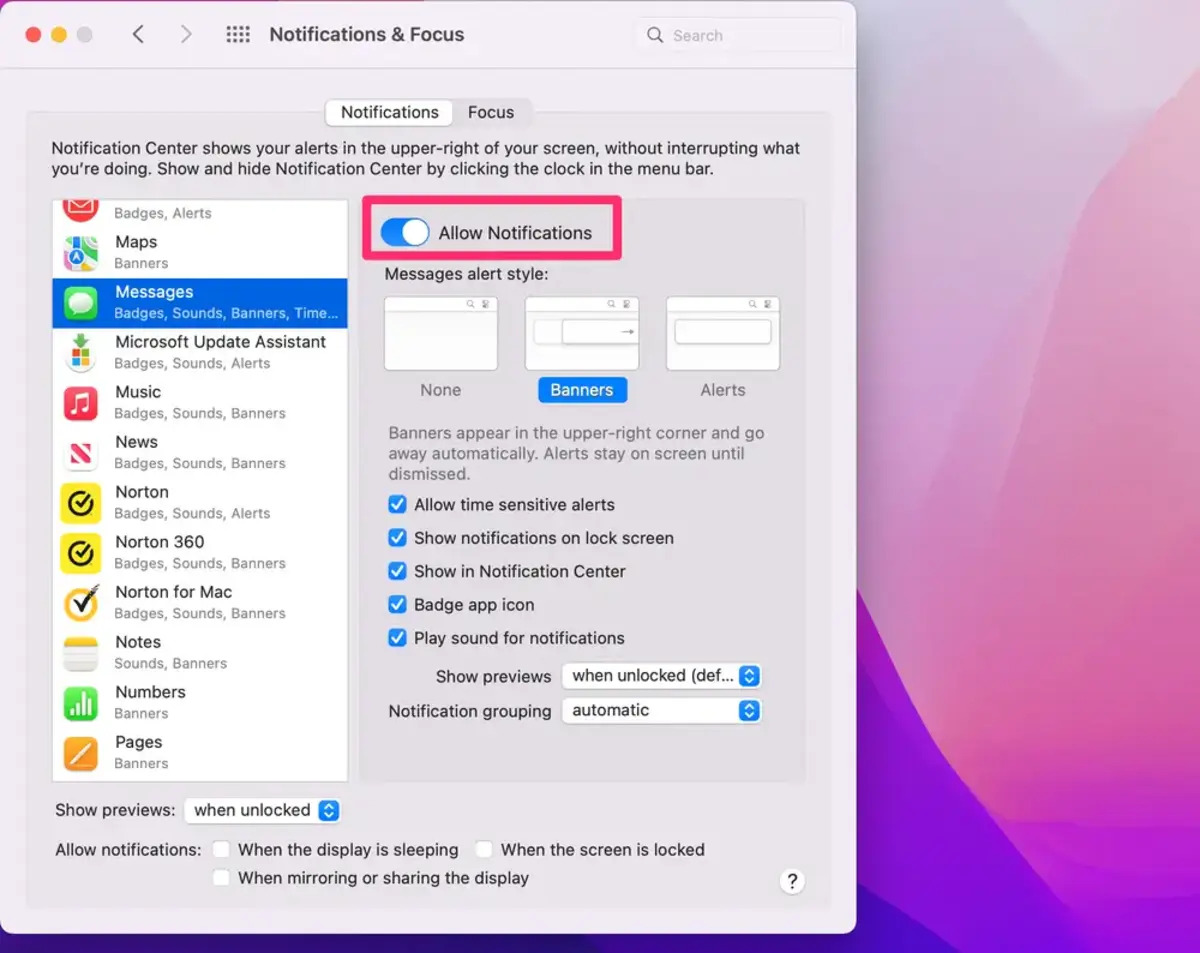
- On the right-hand side, you’ll see various options to customize your iMessage notifications. To silence notifications completely, uncheck the box next to “Allow Notifications from Messages”.
- Alternatively, you can keep the notifications enabled but customize them further. You can choose a different alert sound, enable or disable message previews, and even select which corner of the screen the notifications will appear in.
- Once you’ve made your desired changes, close the System Preferences window, and you’re good to go! Your iMessage notifications on macOS are now silenced according to your preferences.
With these simple steps, you can effectively silence iMessage notifications on your macOS device and create a more focused and distraction-free working environment.
How to Silence iMessage Notifications Temporarily
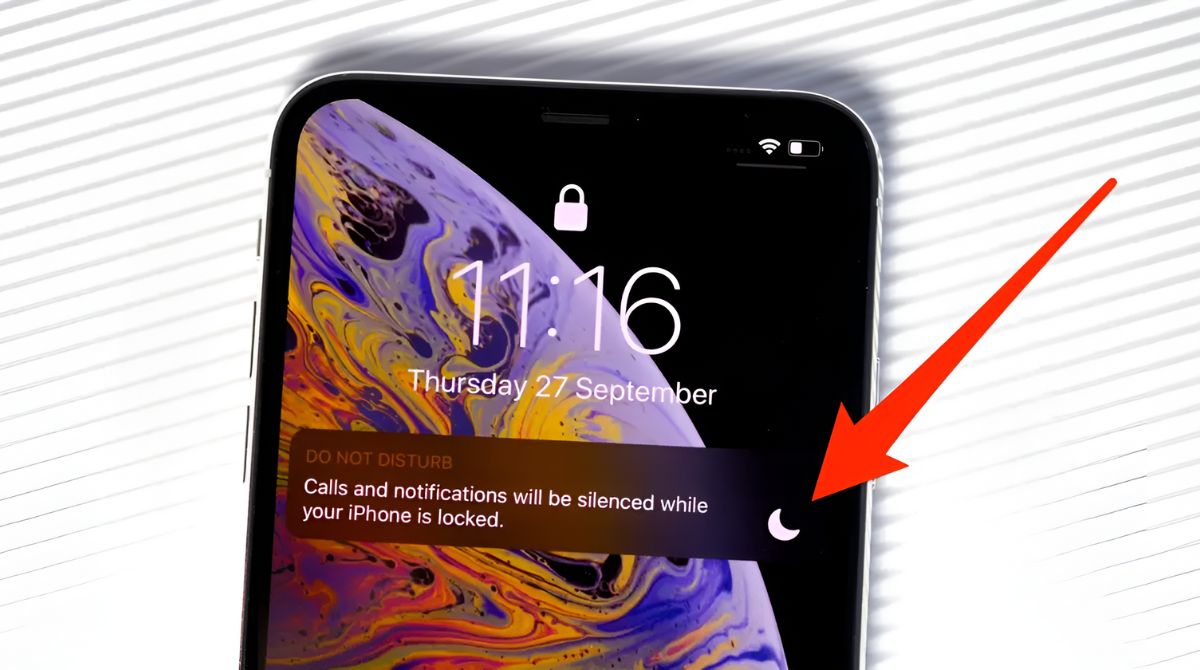
Sometimes, you may only need to silence your iMessage notifications temporarily, such as during important meetings or when you need uninterrupted focus. In such cases, you can use the “Do Not Disturb” feature on your iOS or macOS device to temporarily silence all notifications, including iMessage. Here’s how you can enable the “Do Not Disturb” mode:
On iOS:
- Swipe down from the top-right corner of your iPhone or iPad screen to open the Control Center.
- Tap on the “Do Not Disturb” icon, which looks like a crescent moon.
- You can customize the “Do Not Disturb” settings by tapping and holding the “Do Not Disturb” icon. This allows you to choose the duration of the “Do Not Disturb” mode or set it to activate automatically during specific times or events.
On macOS:
- Click on the Notification Center icon located in the top-right corner of your screen. It looks like three stacked lines.
- Scroll up to reveal the “Do Not Disturb” toggle switch.
- Click on the “Do Not Disturb” toggle switch to enable the mode.
- Similarly, you can customize the “Do Not Disturb” settings by clicking on the three horizontal lines icon at the top-right corner of the Notification Center and selecting “Preferences”.
By utilizing the “Do Not Disturb” feature, you can temporarily silence iMessage notifications and any other notifications on your Apple device, helping you to stay focused and undisturbed when you need it most.
Extra Tips to Manage iMessage Notifications
In addition to silencing iMessage notifications, there are several other tips and tricks you can use to effectively manage your notifications and enhance your overall messaging experience. Here are some extra tips to help you take control of your iMessage notifications:
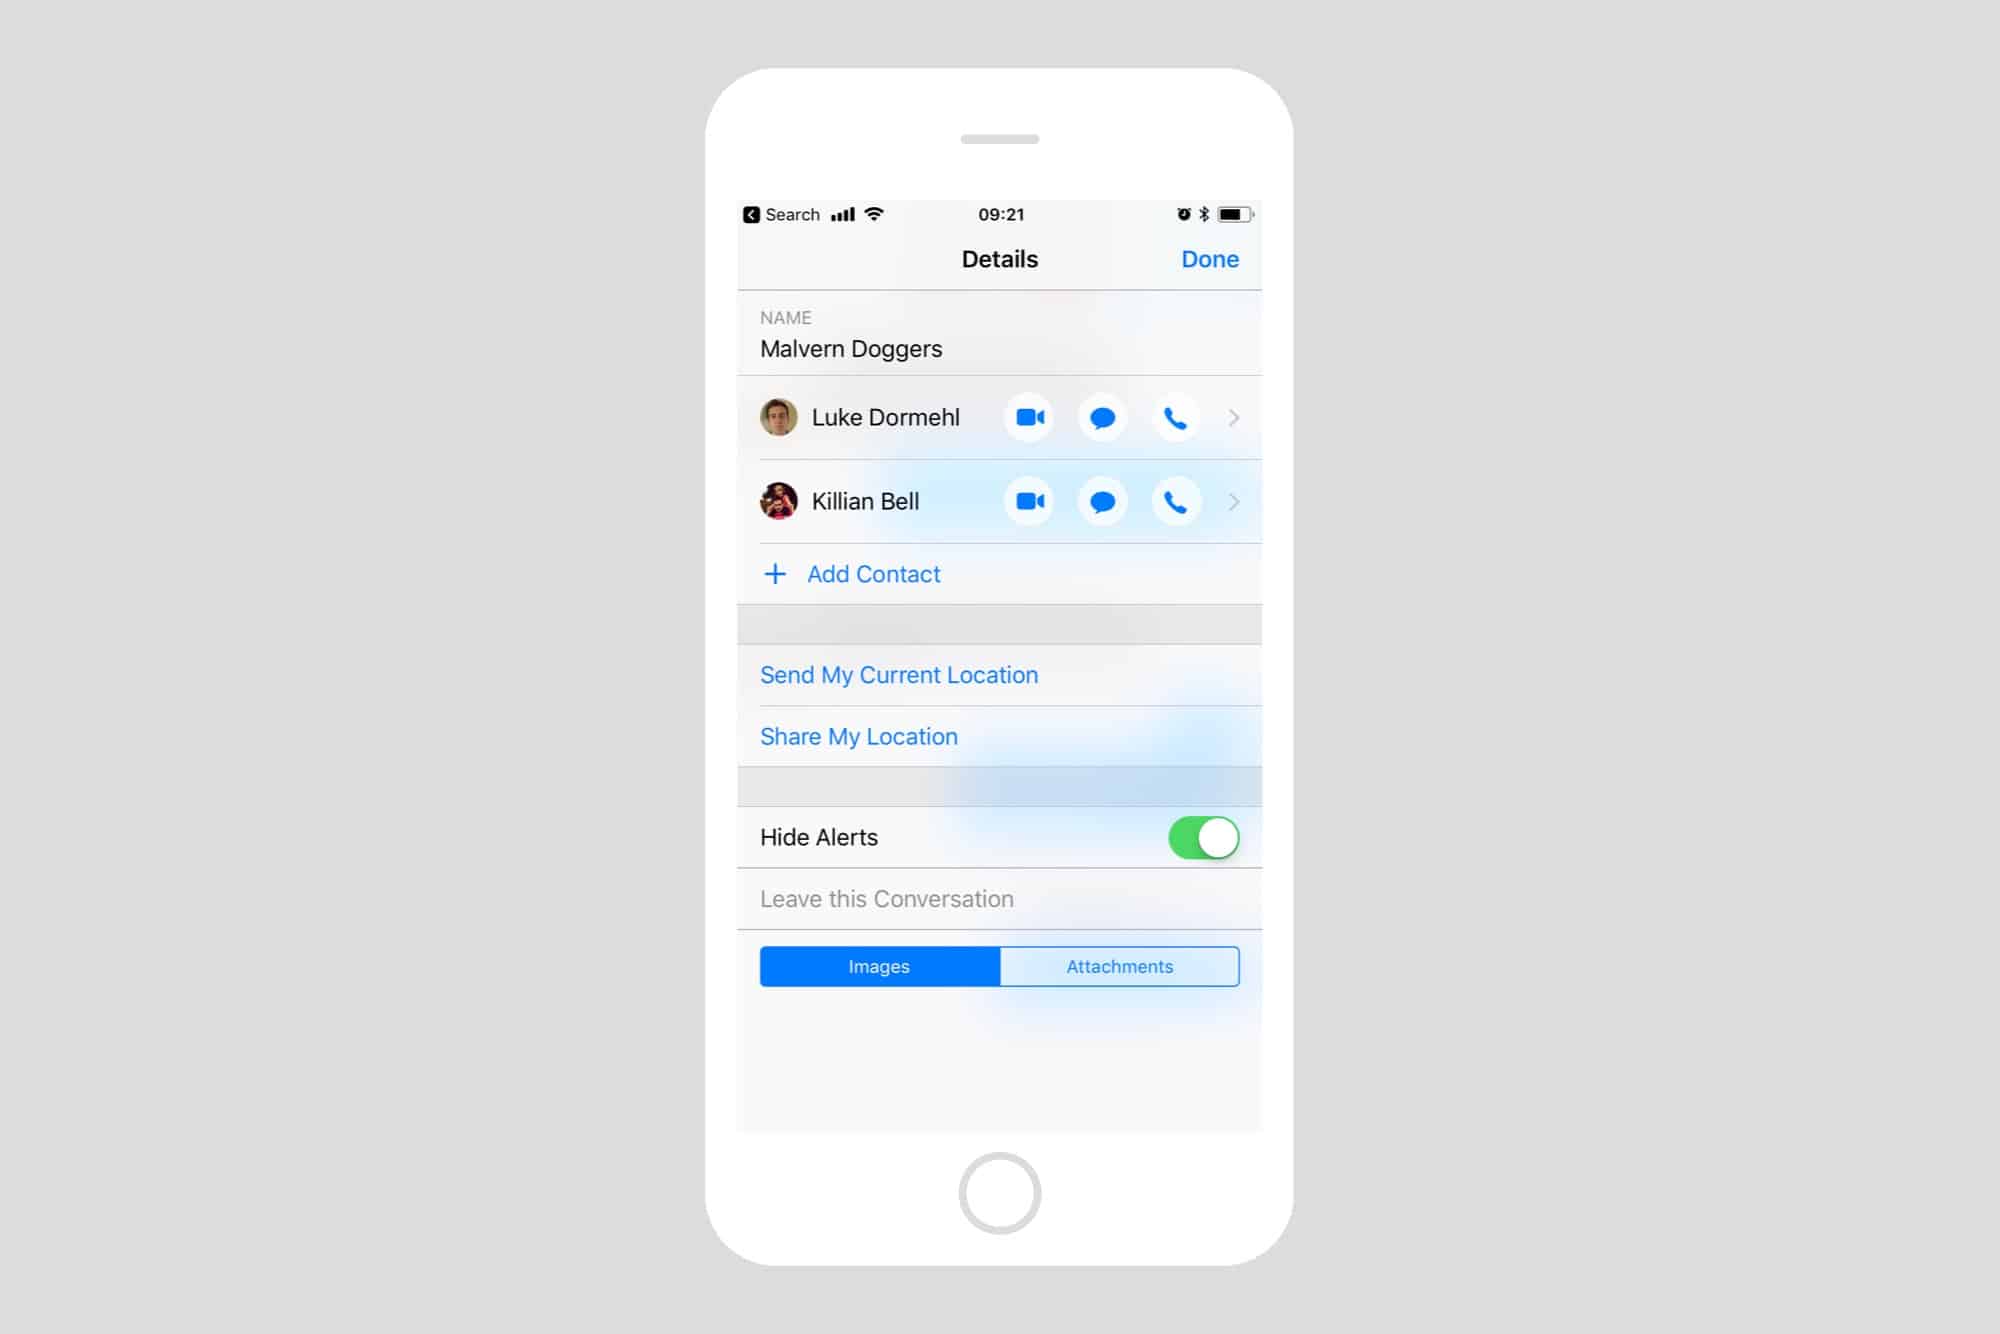
- Customize Individual Contact Settings: If there are certain contacts whose messages you don’t want to miss, you can customize their notification settings. Open the Messages app, select the contact you want to customize, tap on the info (i) icon, and choose “Customize Notifications”. This allows you to set specific alert tones or enable/disable notifications for that particular contact.
- Utilize Priority Notifications: iOS devices offer a Priority feature that allows you to receive notifications only from specific contacts or apps. You can set up Priority by going to Settings > Notifications > Messages > Allow Notifications > select “Priority Only”. Then, choose which contacts or conversations you want to receive notifications from.
- Use Siri to Announce Messages: You can enable Siri to announce incoming messages so that you don’t have to check your device constantly. Simply go to Settings > Siri & Search > Announce Messages, and toggle it on. Siri will read your messages aloud when you receive them.
- Schedule Regular Notification Downtime: To establish consistent periods of uninterrupted focus, consider scheduling daily notification downtime. Use the “Scheduled” option in the Do Not Disturb settings to automatically silence notifications during specific times each day.
- Take Advantage of Do Not Disturb While Driving: Enable the Do Not Disturb While Driving feature on your iOS device to silence notifications when you’re on the road. This feature can help reduce distractions and promote safer driving habits.
- Periodically Review Notification Settings: Regularly review and modify your iMessage notification settings to ensure they align with your needs and preferences. As your circumstances change, you may want to adjust your notification settings accordingly.
By utilizing these extra tips, you can fine-tune your iMessage notification settings and create a messaging experience that is tailored to your unique needs, allowing you to strike a balance between staying connected and maintaining your focus and well-being.
Conclusion
In a world filled with constant distractions and notifications, finding ways to manage and silence iMessage notifications is essential for maintaining focus, productivity, and well-being. Whether you’re an iOS or macOS user, you can easily customize your iMessage notification settings to regain control over your device and create a more peaceful digital experience.
By silencing iMessage notifications, you can prioritize your tasks, minimize interruptions, and cultivate a healthier relationship with technology. Whether you choose to silence notifications permanently or temporarily using the “Do Not Disturb” feature, taking intentional steps to manage your notifications can have a significant impact on your productivity, mental well-being, and relationships.
Additionally, exploring extra tips such as customizing individual contact settings, utilizing priority notifications, and scheduling regular notification downtime can further enhance your iMessage experience and ensure that you receive important messages without being overwhelmed by constant notifications.
Remember, technology is a powerful tool that should serve us rather than control us. By customizing and controlling your iMessage notifications, you can harness the benefits of instant messaging while maintaining a balanced and intentional connection with the digital world.
So, whether you’re seeking a focused work environment, striving for better relationships, or simply wishing to reclaim your time and attention, take the necessary steps to silence and manage your iMessage notifications. Embrace the power to choose when and how you engage with your messages, and create a digital experience that aligns with your priorities and values.