Introduction
Welcome to our guide on how to turn off silenced notifications on iMessage. If you have ever missed an important message or notification on your iPhone because it was silenced, you may have wondered how to disable this feature and ensure that you never miss important alerts again. Silenced notifications, also known as “Do Not Disturb”, can be useful in certain situations. However, if you find that it’s causing you to miss important messages or notifications, you can easily turn it off and regain control over your notifications.
iMessage is a messaging service exclusive to Apple devices, providing a convenient way to send text messages, photos, videos, and even make audio or video calls. With the rise of instant messaging, it has become an integral part of staying connected with friends, family, and colleagues.
Silenced notifications on iMessage is a feature that allows you to mute or silence all incoming text messages and notifications temporarily. During this time, you won’t receive any audible notifications, vibrations, or banner alerts on your device, ensuring a distraction-free experience. However, this can also lead to missed important messages or alerts, which is why knowing how to disable silenced notifications can be crucial.
In this guide, we will walk you through the steps to turn off silenced notifications on iMessage, so you can regain control over your message alerts. Whether you want to always receive notifications, or you simply want to customize your notification settings, this guide will have you covered.
Please note that the steps may vary slightly depending on the version of iOS you are using. However, the overall process remains the same, and we will provide instructions that are applicable to most iPhone devices.
So, let’s get started and learn how to disable silenced notifications on iMessage!
What are silenced notifications on iMessage?
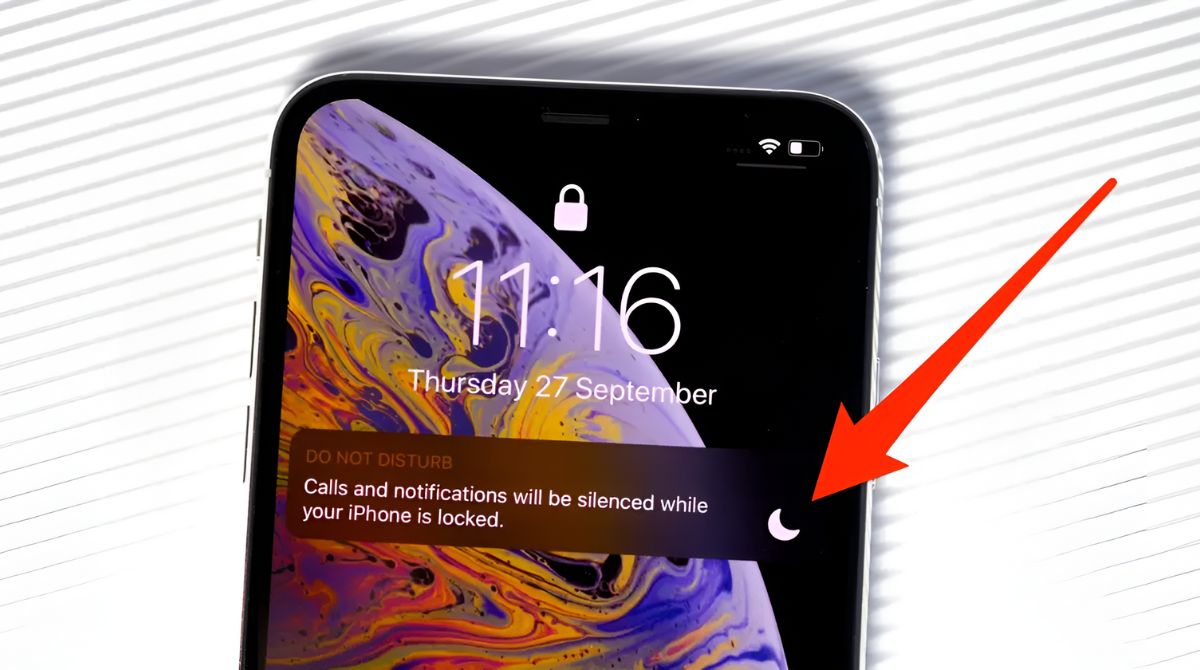
Silenced notifications, also known as “Do Not Disturb” on iMessage, is a feature that allows you to temporarily mute or silence all incoming text messages and notifications on your iPhone. When you enable this feature, you won’t receive any audible notifications, vibrations, or banner alerts on your device. This can be useful in situations where you need uninterrupted focus or during specific hours when you don’t want to be disturbed.
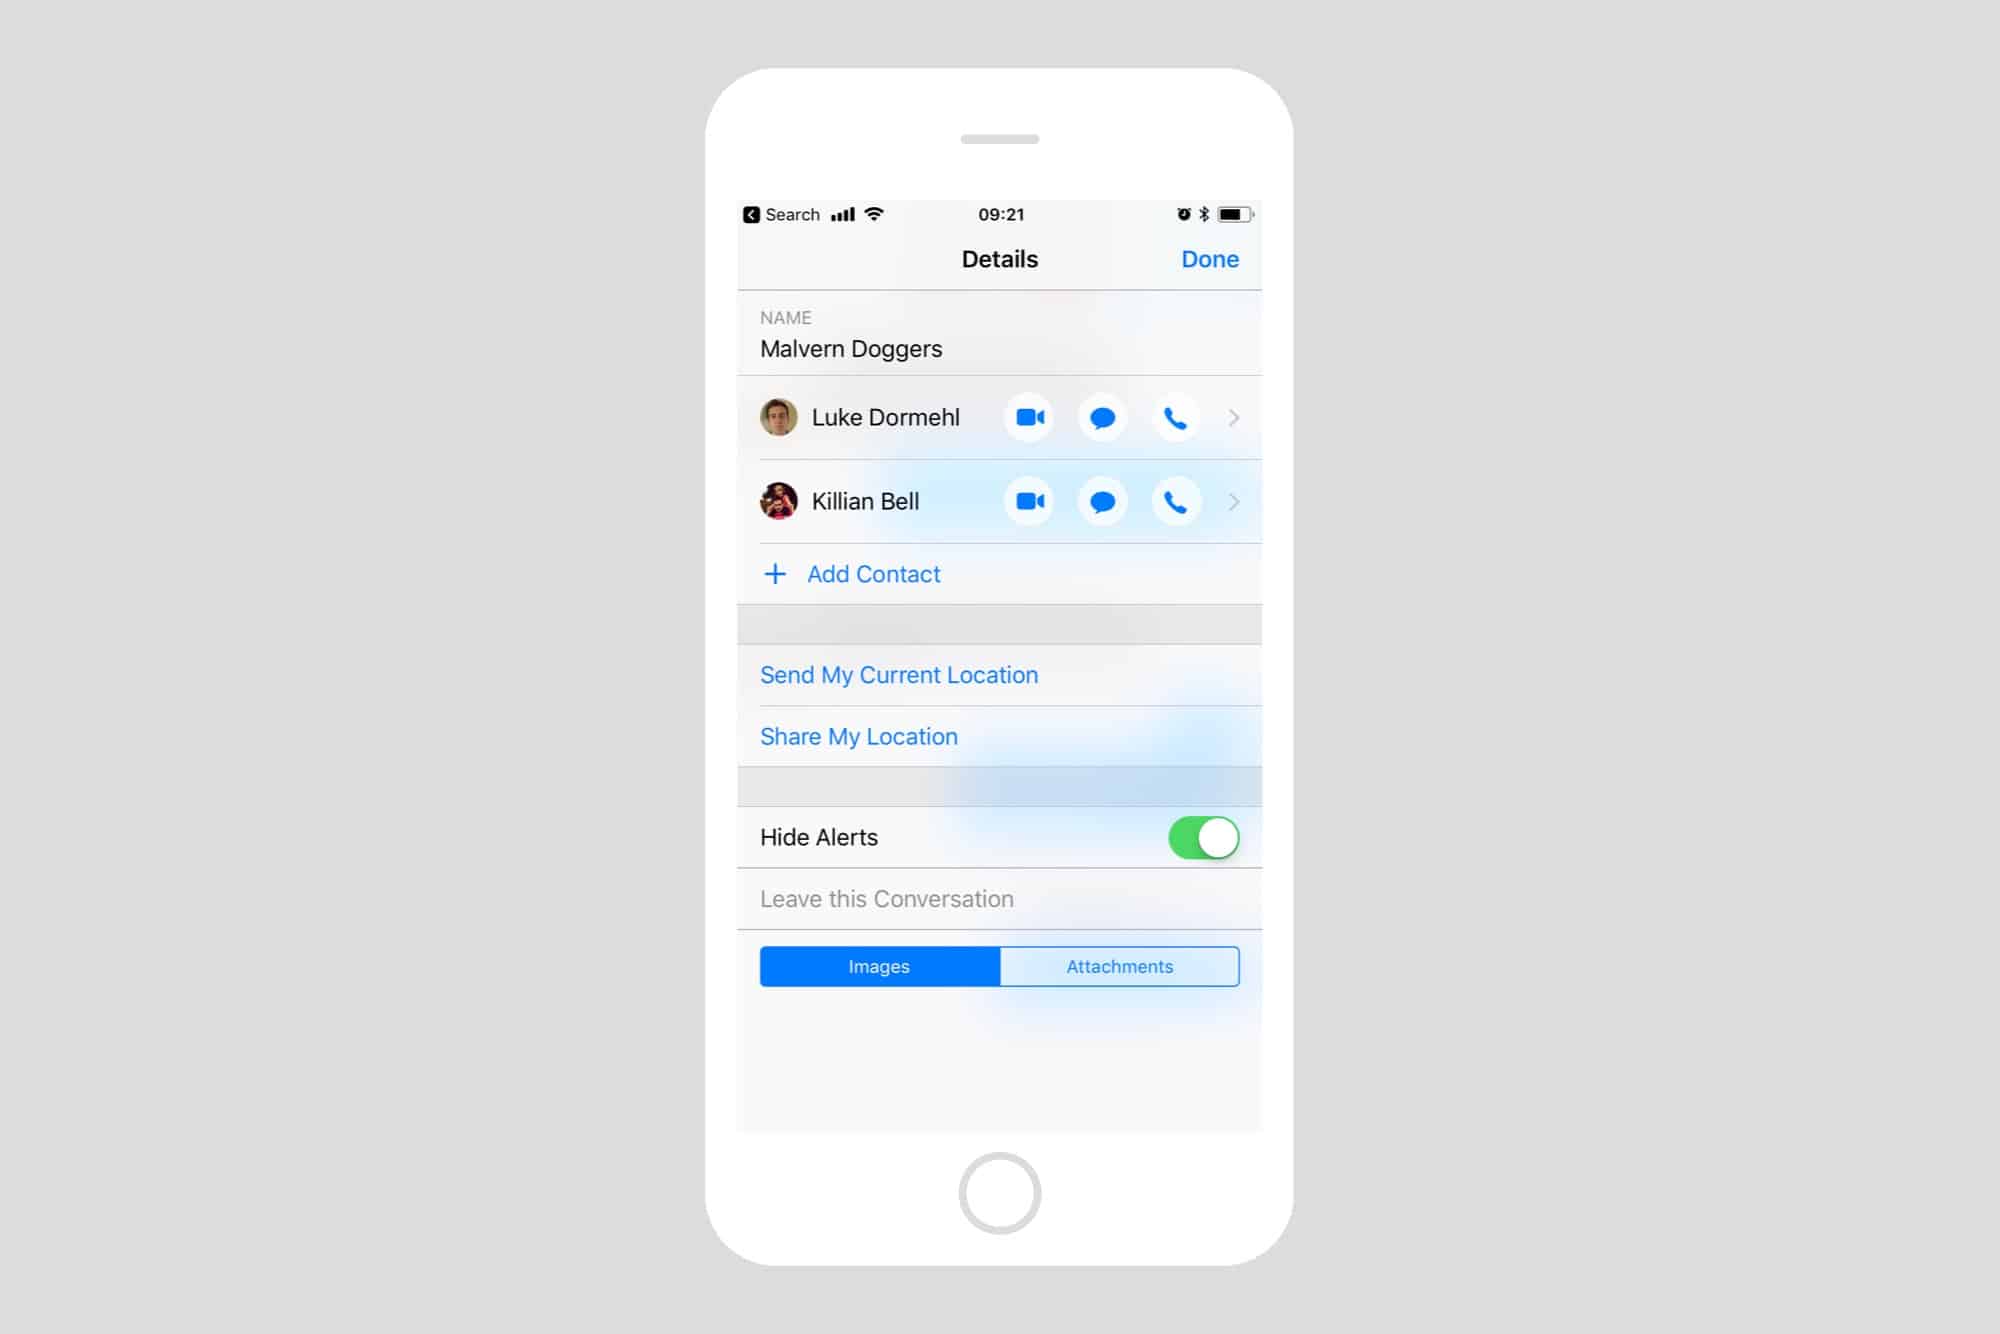
By default, silenced notifications are set to automatically activate during your designated sleep hours, which helps you have a peaceful rest without being disturbed by incoming messages or notifications. However, you can also manually enable this feature at any time, even outside of your designated sleep hours.
During the period of silenced notifications, iMessage will still receive incoming messages and notifications, but they will be stored silently in the Messages app. You can access them at any time, and they will not interrupt your current tasks or activities. Once you disable silenced notifications, you will receive all the missed messages and notifications as usual.
It’s important to note that silenced notifications on iMessage only affect text messages and notifications received through the iMessage service. It does not silence other notifications from apps or phone calls. You will still receive phone calls and notifications from other apps, as per your device’s settings.
Silenced notifications on iMessage can be a handy feature, but there are times when you might want to turn it off. If you find that important messages or notifications are being missed, or if you prefer to receive alerts at all times, you can easily disable silenced notifications on iMessage. In the next section, we will guide you through the step-by-step process to turn off silenced notifications and customize your notification settings according to your preferences.
Why would you want to turn off silenced notifications?
Silenced notifications, or “Do Not Disturb” on iMessage, can be a useful feature in certain situations. However, there are several reasons why you may want to turn off silenced notifications and ensure that you receive all messages and notifications without being interrupted:
1. Not missing important messages: While silenced notifications help avoid distractions, they can also cause you to miss important messages. If you’re expecting time-sensitive information or need to stay updated, disabling silenced notifications ensures that you receive all messages promptly.
2. Urgent notifications: In cases where you’re awaiting urgent notifications or alerts, such as emergency messages or time-sensitive information, it’s crucial to disable silenced notifications to ensure you don’t miss them. This is especially important if you rely on your iPhone for critical communications.
3. Customized notification settings: Silenced notifications have predefined settings that may not suit everyone’s needs. By turning them off, you gain the flexibility to customize your notification settings according to your preferences. You can choose to receive banner alerts, sounds, or vibrations based on your specific requirements.
4. Collaboration and communication: If you’re collaborating on projects or working closely with a team, having silenced notifications off can help you stay connected and respond promptly. It ensures that you’re aware of any messages or updates from your colleagues, enhancing productivity and seamless communication.
5. Personal preferences: Some individuals prefer to receive notifications at all times, even during designated sleep hours. If you fall into this category and don’t want any interruptions, turning off silenced notifications allows you to receive messages and notifications consistently.
6. Receiving high-priority alerts: Silenced notifications may prevent you from receiving high-priority alerts, such as important emails, reminders, or calendar invites. By disabling silenced notifications, you can ensure that you never miss those critical alerts.
Remember, silenced notifications are a helpful feature, but they may not suit everyone’s needs or preferences. If you find that they’re causing you to miss important messages or alerts, or if you simply prefer to have more control over your notifications, turning off silenced notifications is a straightforward process, as we will outline in the next section.
Step-by-step guide on how to turn off silenced notifications on iMessage
Disabling silenced notifications on iMessage is a simple process that can be done in a few easy steps. Follow the guide below to turn off silenced notifications on your iPhone:
- Unlock your iPhone and navigate to the home screen.
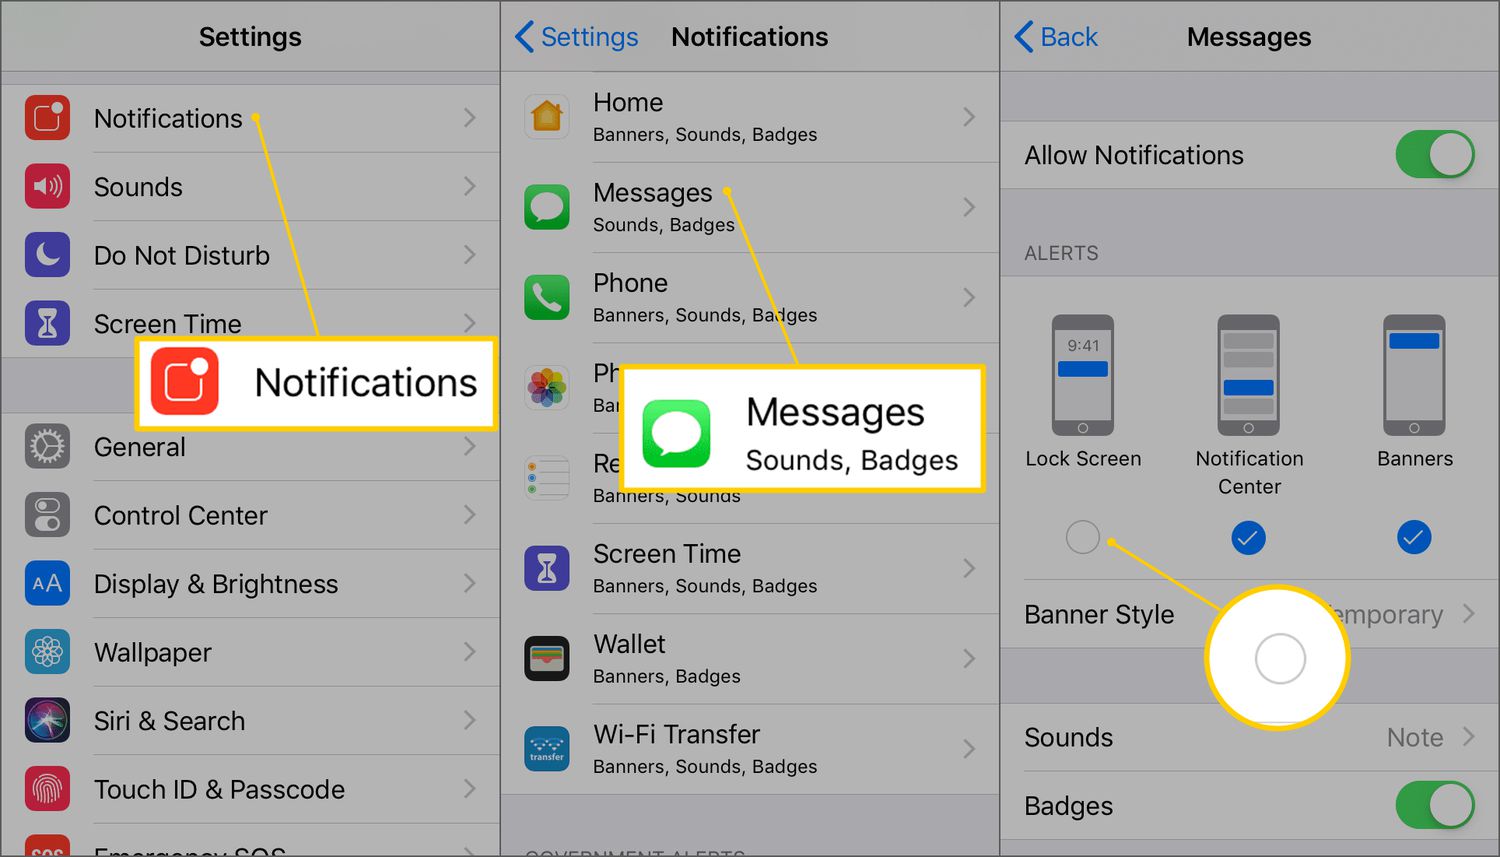
- Locate and open the “Settings” app. It can usually be found on your home screen or in your app library.
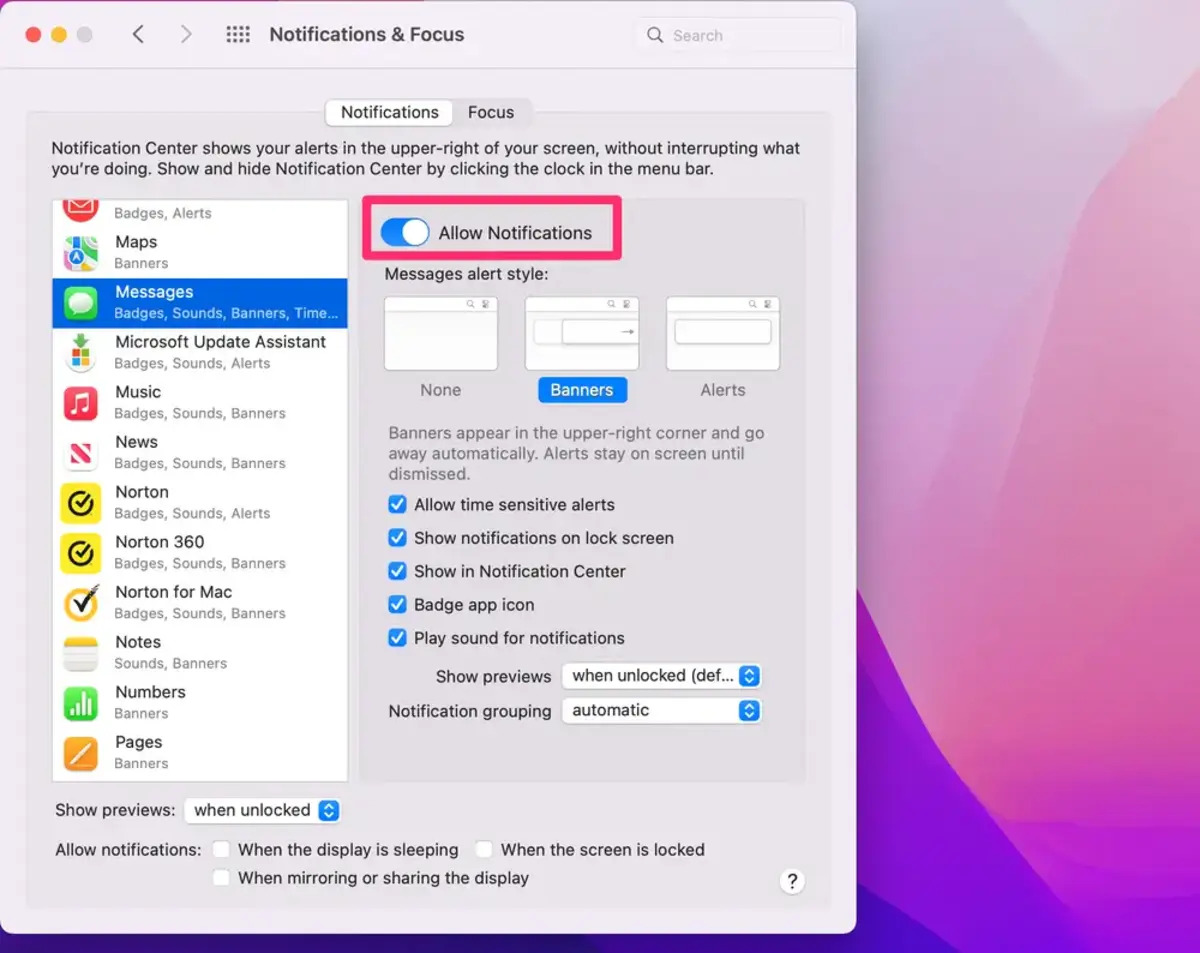
- In the Settings menu, scroll down and tap on “Do Not Disturb”.
- On the Do Not Disturb screen, you will see the option to toggle the feature on or off. If the toggle is green, it means that silenced notifications are currently enabled.
- To turn off silenced notifications, simply tap on the toggle switch to disable the feature. The toggle switch will turn gray, indicating that silenced notifications are now turned off.
- Once you have disabled silenced notifications, you will begin receiving audible notifications, vibrations, and banner alerts for incoming iMessage messages and notifications.
Congratulations! You have successfully turned off silenced notifications on iMessage. You can now receive all incoming messages and notifications without any interruptions or silencing.
Please note that if you have scheduled your Do Not Disturb settings for specific hours, disabling the feature will override those settings, and you will receive notifications even during the scheduled “Do Not Disturb” times. If you want to reinstate the silenced notifications feature or customize the settings further, you can easily do so by following the same steps and toggling the feature on.
Remember, the process described above may vary slightly depending on the version of iOS you are using. However, the overall steps and options will be similar, and you should be able to disable silenced notifications by following these guidelines.
Now that you know how to turn off silenced notifications on iMessage, you can customize your notification settings to best suit your needs and preferences.
Conclusion
In conclusion, silenced notifications on iMessage, also known as “Do Not Disturb”, can be a convenient feature to temporarily mute incoming text messages and notifications on your iPhone. However, there are instances where you may want to turn off silenced notifications to ensure you don’t miss important messages or alerts.
We discussed how to disable silenced notifications on iMessage in a simple step-by-step guide. By following these instructions, you can easily turn off silenced notifications and regain control over your message alerts. Remember, the process may vary slightly depending on the version of iOS you are using, but the general steps remain the same.
It’s important to consider your specific needs and preferences when deciding whether to keep silenced notifications enabled or disabled. If you rely on timely communication, collaboration with others, or if you simply prefer to have more control over your notifications, turning off silenced notifications can be beneficial.
By customizing your notification settings, you can ensure that you receive all incoming text messages and notifications promptly and without interruptions. Whether it’s for urgent alerts, personal preferences, or seamless communication, taking control of your notifications can greatly enhance your iPhone experience.
Feel free to explore other features and settings on your iPhone to further customize your device to suit your needs. Remember that technology should enhance and simplify your life, so don’t hesitate to make adjustments to ensure that your device works best for you.
We hope that this guide has provided you with the necessary information to turn off silenced notifications on iMessage. Stay connected and receive notifications on your own terms, ensuring that you never miss important messages or alerts.
Thank you for choosing our guide, and we hope you find it helpful. If you have any further questions or need additional assistance, don’t hesitate to reach out. Happy messaging!