Introduction
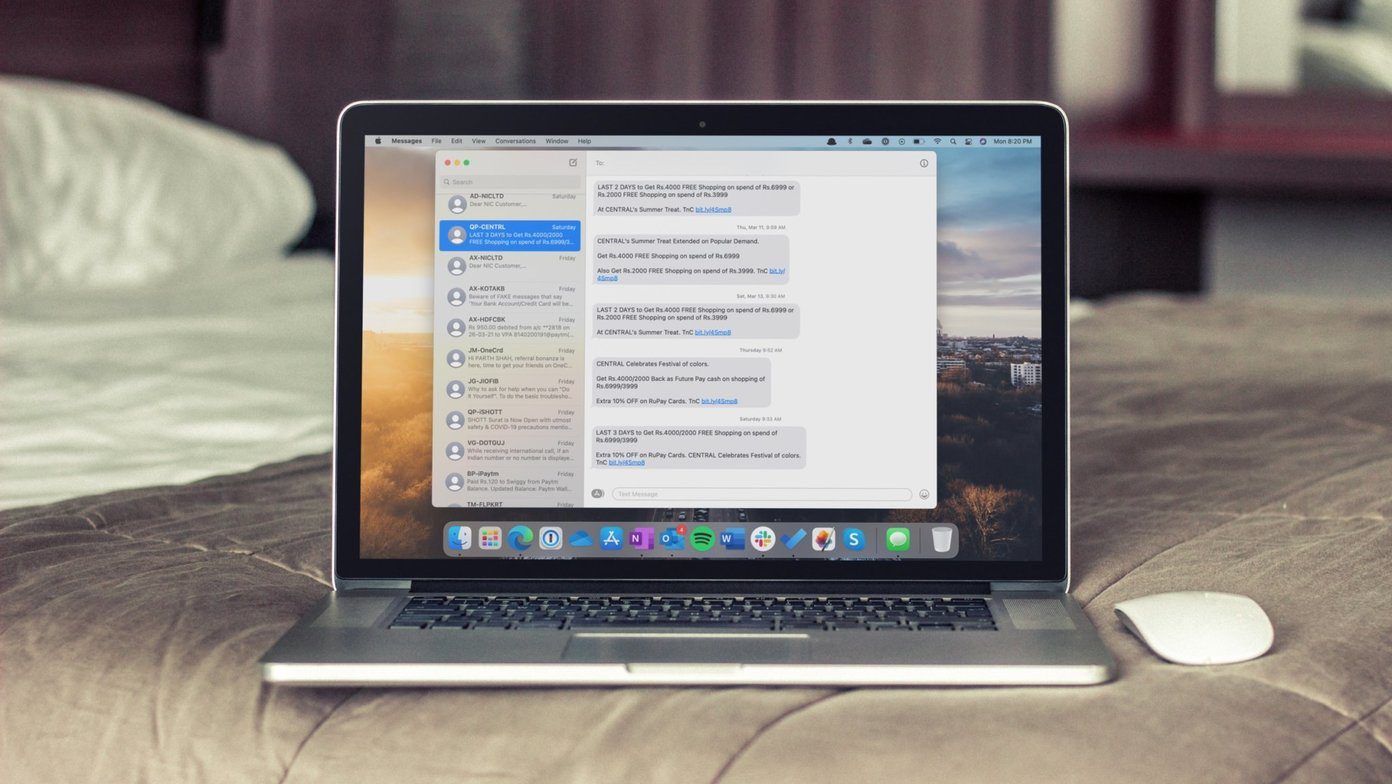
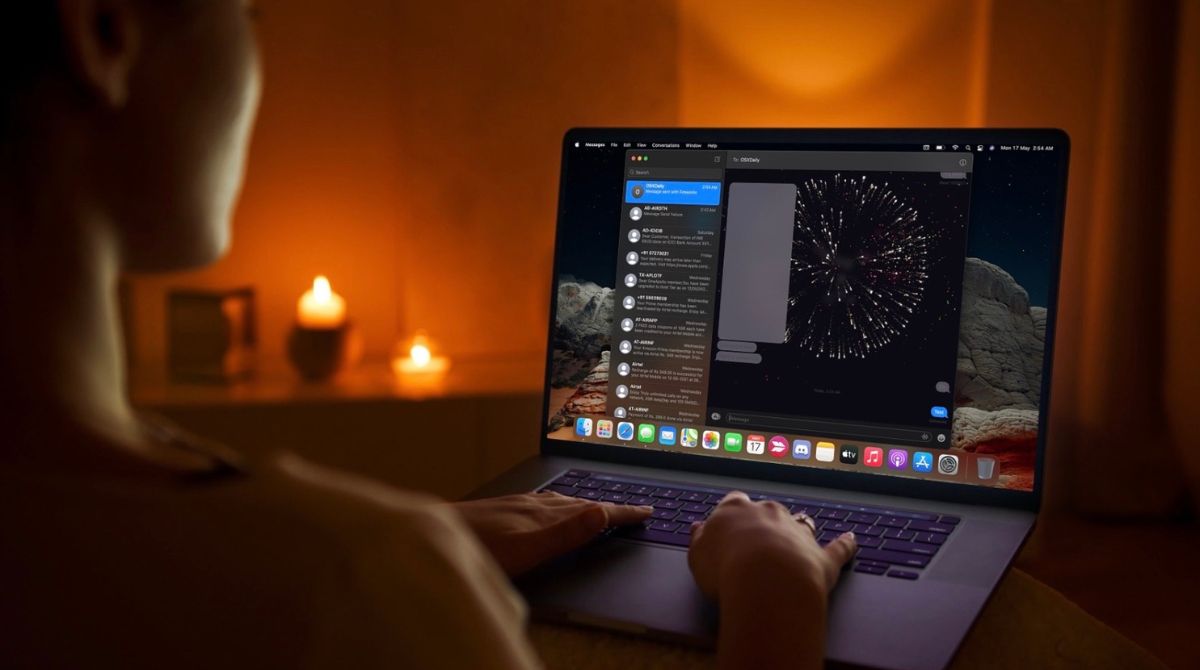
Are you tired of the default white background on iMessage for Mac? Do you wish to customize the appearance of your iMessage app with a sleek and modern black theme? Well, you’re in luck! In this article, we will guide you through the step-by-step process of making iMessage black on your Mac.
The default appearance of iMessage on Mac is clean and functional, but it may not suit everyone’s personal style and preferences. Fortunately, with a few simple tweaks in the Terminal settings, you can transform the look of iMessage to a stylish black theme that will enhance your messaging experience.
Why choose a black theme for iMessage? The black theme offers several benefits. First and foremost, it provides a visually appealing and elegant background, which is easy on the eyes and reduces eye strain, especially in low-light environments. Additionally, the black theme offers a sense of privacy and exclusivity, making your messages feel more secure and personal.
Now, let’s get started with the step-by-step process of making iMessage black on your Mac. Don’t worry if you’re not familiar with Terminal; we will guide you through the entire process to ensure a smooth and hassle-free customization.
Step 1: Accessing the Terminal
The first step to making iMessage black on your Mac is to access the Terminal, which is a command-line interface that allows you to interact with your computer on a deeper level. The Terminal is pre-installed on your Mac, and you can find it in the Utilities folder within the Applications folder. Follow the instructions below to access the Terminal:
- Click on the Finder icon on your Mac’s dock to open a new Finder window.
- In the menu bar at the top of the screen, click on the “Go” option.
- From the dropdown menu, select “Utilities.”
- Locate the Terminal application and click on it to open.
Once you’ve successfully opened the Terminal, you’ll see a blank screen with a command prompt ready for your input. The Terminal is a powerful tool that allows you to execute commands to customize various aspects of your Mac. In the next step, we will guide you through accessing the Terminal preferences to customize the appearance of the Terminal, including iMessage.
Step 2: Opening the Terminal Preferences
Now that you have accessed the Terminal on your Mac, it’s time to open the Terminal preferences to modify its appearance. Customizing the Terminal preferences will allow us to change the colors of the text and background, which will ultimately affect the appearance of iMessage as well.
To open the Terminal preferences, follow the steps below:
- With the Terminal application open, click on the “Terminal” option located on the menu bar at the top of the screen.
- In the dropdown menu, select “Preferences.” This will open the Preferences window.
Alternatively, you can use a shortcut to access the Terminal preferences. By holding down the Command and comma (,) keys simultaneously, you can quickly open the Preferences window. This shortcut can save you time and effort.
Once the Preferences window is open, you will see various tabs, such as “General,” “Profiles,” “Window,” and more. These tabs allow you to customize different aspects of the Terminal. For now, we will focus on the “Profiles” tab, as it contains the settings we need to modify to make iMessage black on your Mac.
In the next step, we will guide you through the process of customizing the appearance of the Terminal, specifically the text color.
Step 3: Customizing the Terminal Appearance
Now that you’ve opened the Terminal preferences, it’s time to customize the appearance of the Terminal to achieve the desired black theme for iMessage. In this step, we will guide you through the process of customizing the text color, which will affect the appearance of iMessage as well.
Follow the steps below to customize the Terminal appearance:
- In the Preferences window, click on the “Profiles” tab. This tab contains settings related to the appearance of the Terminal.
- On the left side of the window, you will see a list of profiles. By default, there is a profile named “Basic.”
- Select the “Basic” profile or any other profile you prefer to customize. This will allow you to make changes specific to that profile.
- Click on the “Text” tab to access the text color settings. Here, you can choose the color for the text displayed in the Terminal, including iMessage.
- By default, the text color is set to black. However, to achieve a true black theme for iMessage, we recommend selecting a “dark gray” or “medium gray” color instead. This will create a visually appealing contrast between the text and the black background.
- Once you’ve selected the desired text color, close the Preferences window by clicking the red “X” button.
Now that you’ve customized the text color in the Terminal preferences, the changes will take effect immediately. The next step is to change the default background color to complete the black theme for iMessage. Don’t worry; we will guide you through this process in the next step.
Step 4: Changing the Default Text Color
Now that we have customized the text color in the Terminal preferences, it’s time to change the default text color to achieve the black theme for iMessage. By modifying the default text color, all new Terminal windows, including iMessage, will inherit this change.
To change the default text color, follow these steps:
- Open a new Terminal window by selecting “New Window” from the “File” menu or using the shortcut Command + N.
- In the new Terminal window, click on the “Terminal” option in the menu bar.
- From the dropdown menu, select “Preferences” to open the Preferences window.
- In the Preferences window, select the “Profiles” tab.
- Select the profile you previously customized or choose the “Basic” profile to modify the default settings.
- In the “Text” tab, select the desired text color. In this case, choose black to match the black theme.
- Click the red “X” button to close the Preferences window and apply the changes.
-
You will notice that the default text color in the Terminal window, including iMessage, has now changed to black. This modification gives a sleek and modern appearance to your messaging experience.
With the default text color changed, we are one step closer to achieving the black theme for iMessage. Let’s continue to the next step to change the default background color and complete the customization process.
Step 5: Changing the Default Background Color
Now that we have changed the default text color to black, the next step is to change the default background color in order to complete the black theme for iMessage on your Mac. By customizing the default background color, you will achieve a consistent and visually appealing look across all Terminal windows, including iMessage.
To change the default background color, follow these steps:
- Open a new Terminal window by selecting “New Window” from the “File” menu or using the shortcut Command + N.
- In the new Terminal window, click on the “Terminal” option in the menu bar.
- From the dropdown menu, select “Preferences” to open the Preferences window.
- In the Preferences window, select the “Profiles” tab.
- Select the profile you previously customized or choose the “Basic” profile to modify the default settings.
- In the “Window” tab, you will find the option to change the background color.
- Choose a dark or black color to match the black theme, such as “#000000” or any other dark shade of your preference.
- Click the red “X” button to close the Preferences window and apply the changes.
After changing the default background color, all new Terminal windows, including iMessage, will now feature a sleek black background. This modification creates a visually pleasing and cohesive black theme for your messaging experience.
Congratulations! You have successfully changed the default background color of the Terminal, and as a result, iMessage is now visually transformed with a striking black theme. Let’s move on to the final step to apply the new colors to iMessage and finalize the customization process.
Step 6: Applying the New Colors to iMessage
Now that we have customized the text and background colors in the Terminal preferences, it’s time to apply these new colors to iMessage and experience the sleek black theme. By doing this, every time you open iMessage, it will reflect the customized colors you have chosen in the Terminal.
To apply the new colors to iMessage, follow these steps:
- Close any existing iMessage windows if you have them open.
- Open a new Terminal window by selecting “New Window” from the “File” menu or using the shortcut Command + N.
- In the Terminal window, type in the command
killall iMessageand press Enter. This command will close and restart iMessage, applying the new colors. - In a few moments, iMessage will open with the new text and background colors, matching the black theme you have customized in the Terminal.
Congratulations! You have successfully applied the new colors to iMessage. From now on, whenever you open iMessage on your Mac, it will display the sleek black theme that enhances your messaging experience.
Feel free to explore and enjoy the new look of iMessage in its black-themed glory. With the white background replaced by a visually appealing black background and the text color perfectly contrasting, you can now enjoy your conversations with a touch of elegance and style.
Well done on successfully customizing iMessage to your liking. We hope this guide has been helpful in achieving the black theme you desired. Enjoy your personalized messaging experience on your Mac!