Introduction
With the advancement in technology, messaging has become more than just a means of communication. It has evolved to incorporate fun and interactive features that enhance our messaging experience. One such feature is Invisible Ink iMessage, which allows users to send hidden messages that can only be revealed by the recipient. This unique feature adds an element of surprise and intrigue to your conversations.
Invisible Ink iMessage lets you send a message that appears as a blurred or faded image, making it unreadable until the recipient performs a specific action to reveal the hidden content. Whether you want to add an element of mystery to your messages or surprise your friends with hidden jokes or secrets, Invisible Ink iMessage is the perfect tool to do so.
In this article, we will guide you through the process of enabling Invisible Ink on your device and explain step-by-step how to send and view Invisible Ink messages. We will also provide you with some handy tips and troubleshooting techniques to ensure a smooth experience with this exciting feature.
So, get ready to impress your friends and spice up your conversations as we dive into the world of Invisible Ink iMessage.
What is Invisible Ink iMessage?
Invisible Ink iMessage is a feature introduced by Apple that allows you to send hidden messages within iMessages. It adds a layer of secrecy and excitement to your conversations by obscuring the content of your message until the recipient interacts with it.
When you send an Invisible Ink message, it appears as a blurry image or a series of dots on the recipient’s device. The recipient then has to swipe or click on the message to unveil the hidden content within. This hidden content can be text, photos, videos, or even animated effects, adding an element of surprise and fun to your conversations.
One of the advantages of using Invisible Ink iMessage is that it adds an extra layer of privacy. Since the content is hidden until the recipient chooses to reveal it, this feature ensures that only the intended recipient can view the message. This can be particularly useful when sending sensitive or confidential information, as it reduces the chances of someone unauthorized accessing the message.
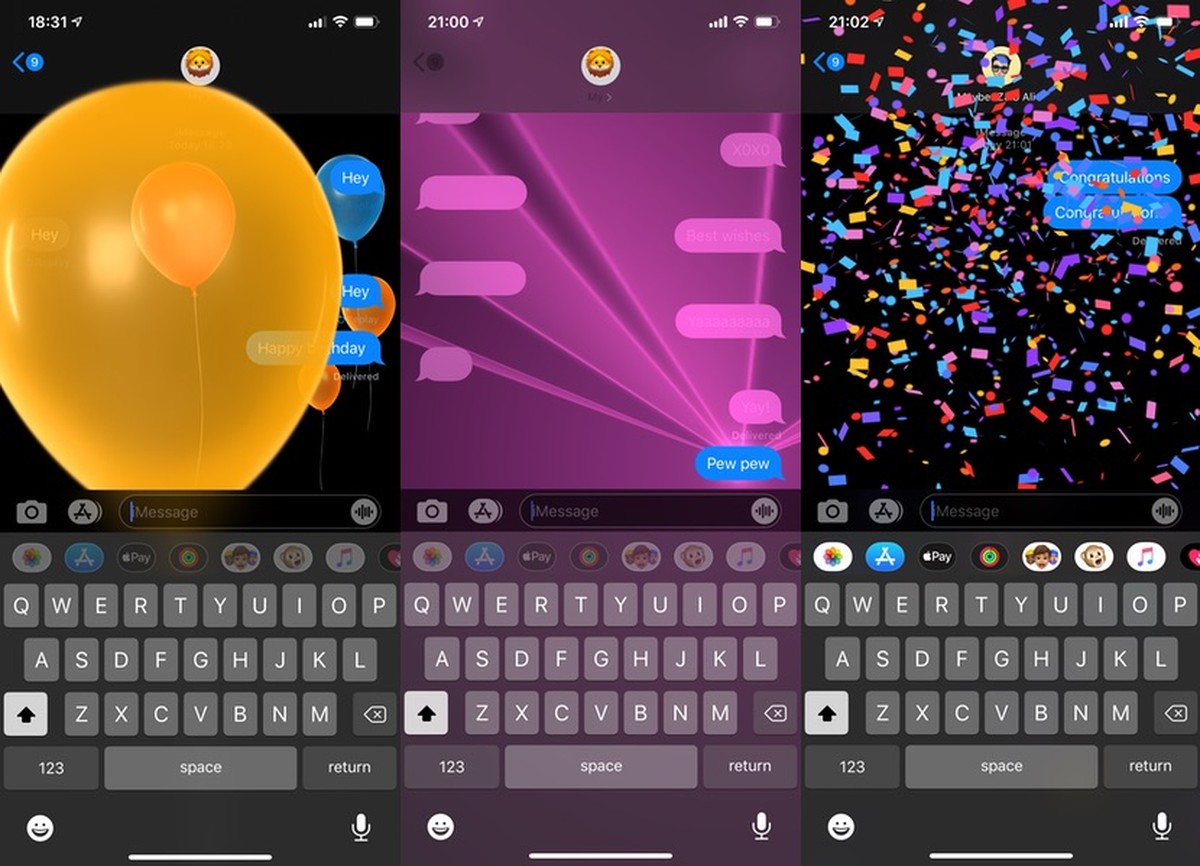
Invisible Ink iMessage is not only limited to one-on-one conversations; it can also be used in group chats, allowing you to share hidden content with multiple recipients simultaneously. This feature enables you to create a sense of anticipation and surprise among all participants, making your group conversations more engaging and entertaining.
Now that you understand what Invisible Ink iMessage is and the potential it holds, let’s move on to the next section, where we will explain how to enable this feature on your device.
How to Enable Invisible Ink
Enabling Invisible Ink iMessage on your device is a quick and straightforward process. Follow the steps outlined below to activate this exciting feature:
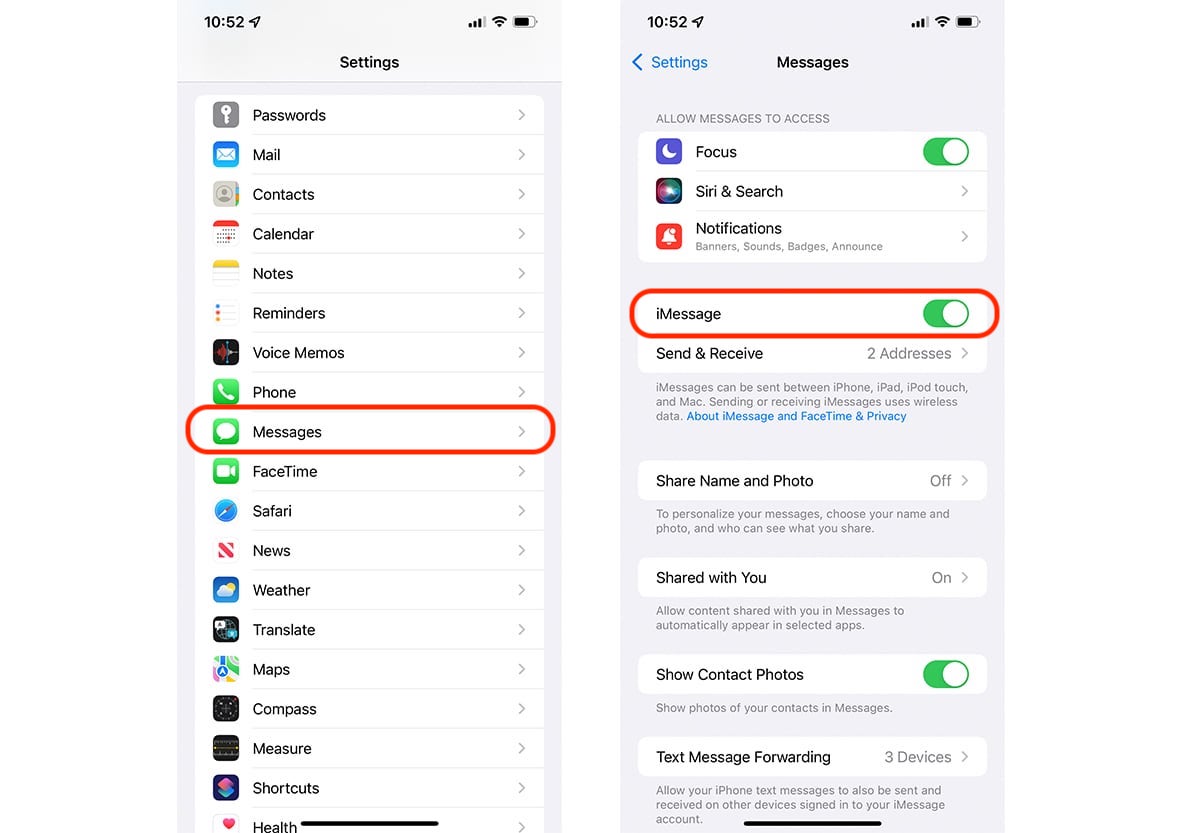
- Open the “Settings” app on your Apple device.
- Scroll down and tap on “Messages.”
- Under the “Message Options” section, you will find “Invisible Ink.” Tap on it.
- Toggle the switch next to “Invisible Ink” to enable the feature.
- Exit the “Settings” app and open the Messages app to start using Invisible Ink.
Once you have successfully enabled Invisible Ink iMessage, you will notice an additional option within the message composition area. This option allows you to convert your regular messages into hidden content using the Invisible Ink feature.
It’s important to note that both the sender and recipient must have an Apple device running on iOS 10 or later to use and view Invisible Ink messages. If either party is using an older version of iOS or a non-Apple device, they will not be able to fully experience or view the hidden content.
Now that you have enabled Invisible Ink iMessage on your device, let’s move on to the next section, where we will explain step-by-step how to send an Invisible Ink message.
Sending an Invisible Ink Message Step-by-Step
Now that you have enabled Invisible Ink iMessage on your device, let’s walk through the process of sending an Invisible Ink message. Follow the steps below:
- Open the Messages app on your Apple device.
- Select the conversation or recipient you want to send the Invisible Ink message to.
- Type your desired message in the text field, or attach the media (such as a photo or video) you want to send.
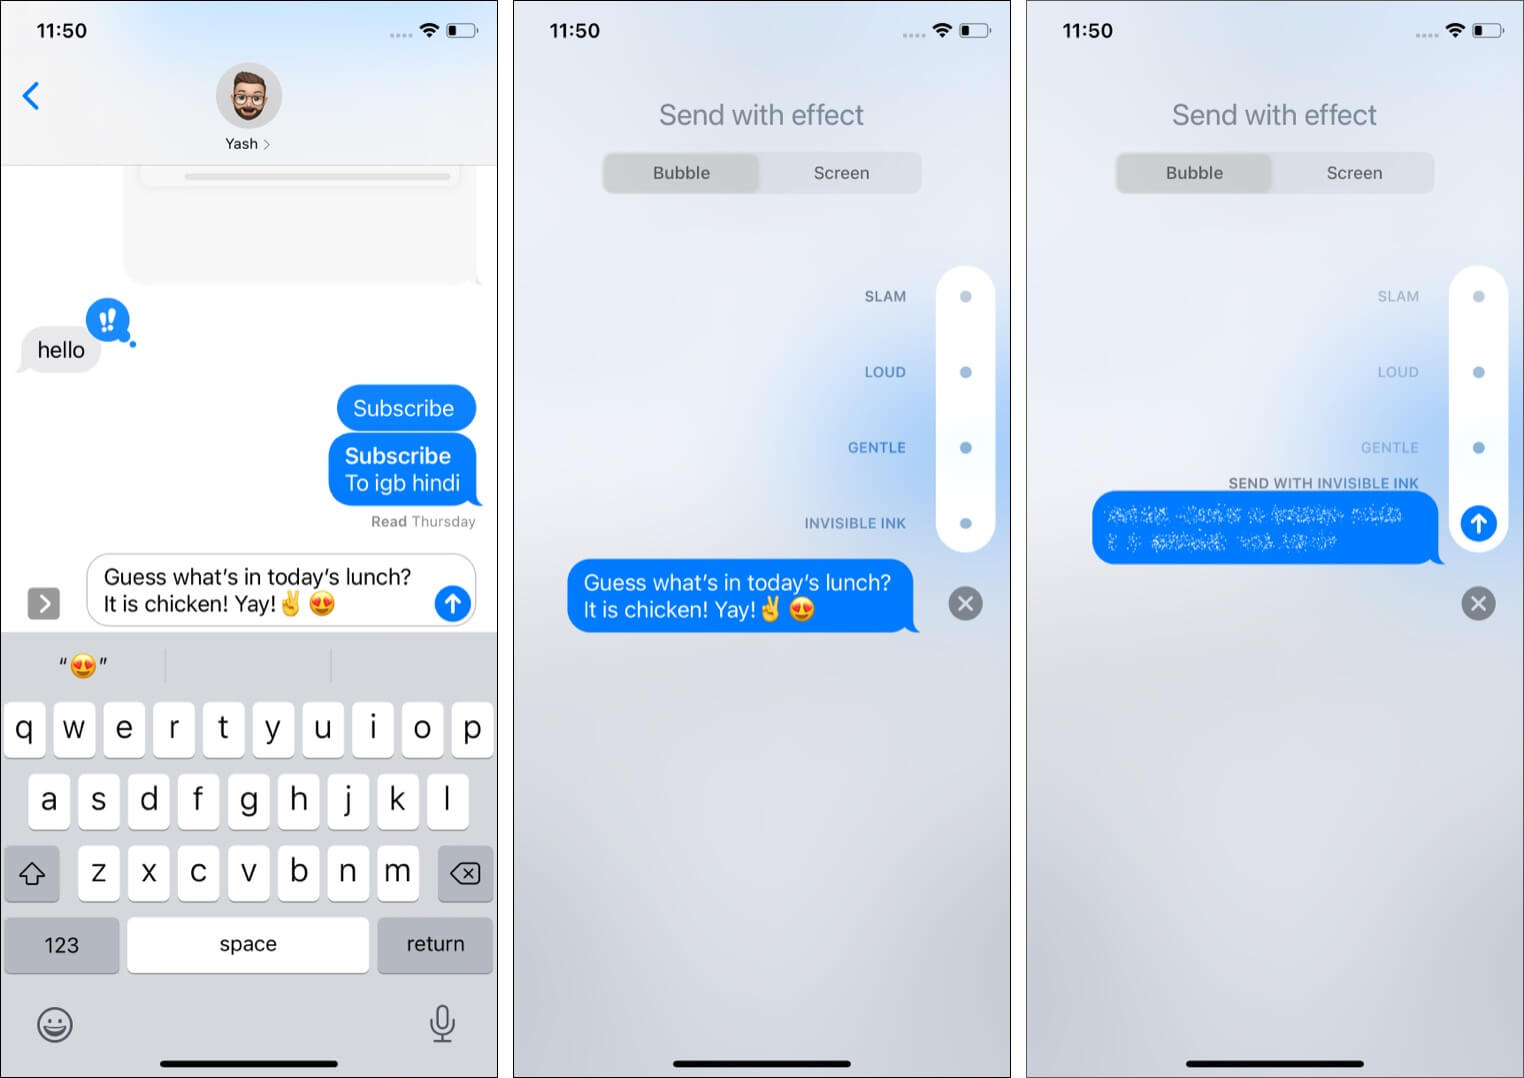
- Long-press the blue arrow button located to the right of the text field. This will open up the effects menu.
- Swipe to the right on the effects menu until you find “Invisible Ink” and tap on it.
- Review the message or media you are about to send. It will appear blurred or with faded dots, indicating the hidden content.
- Tap the blue arrow “Send” button to send the Invisible Ink message.
After sending the message, the recipient will receive a notification indicating that they have received an Invisible Ink message. They need to tap or swipe on the message to reveal the hidden content within.
It’s important to note that while the recipient can view the content of the Invisible Ink message, it will only be visible temporarily. After a few seconds, the hidden content will disappear again, adding an extra layer of privacy to the conversation.
Now that you know how to send an Invisible Ink message, let’s move on to the next section, where we will share some valuable tips for using Invisible Ink effectively.
Tips for Using Invisible Ink
Invisible Ink iMessage is a fantastic feature that can add excitement and surprise to your conversations. To make the most out of this feature, consider the following tips:
- Use Invisible Ink sparingly: While Invisible Ink can be fun, it’s best to use it selectively to maintain its impact. Using it too frequently may diminish the surprise factor.
- Experiment with different media types: Don’t limit yourself to just text. Try sending photos, videos, or even animated effects using Invisible Ink to make your messages more engaging.
- Add context: Consider adding a brief text outside of the Invisible Ink message hinting at the nature or topic of the hidden content. This can generate curiosity and make your message more intriguing.
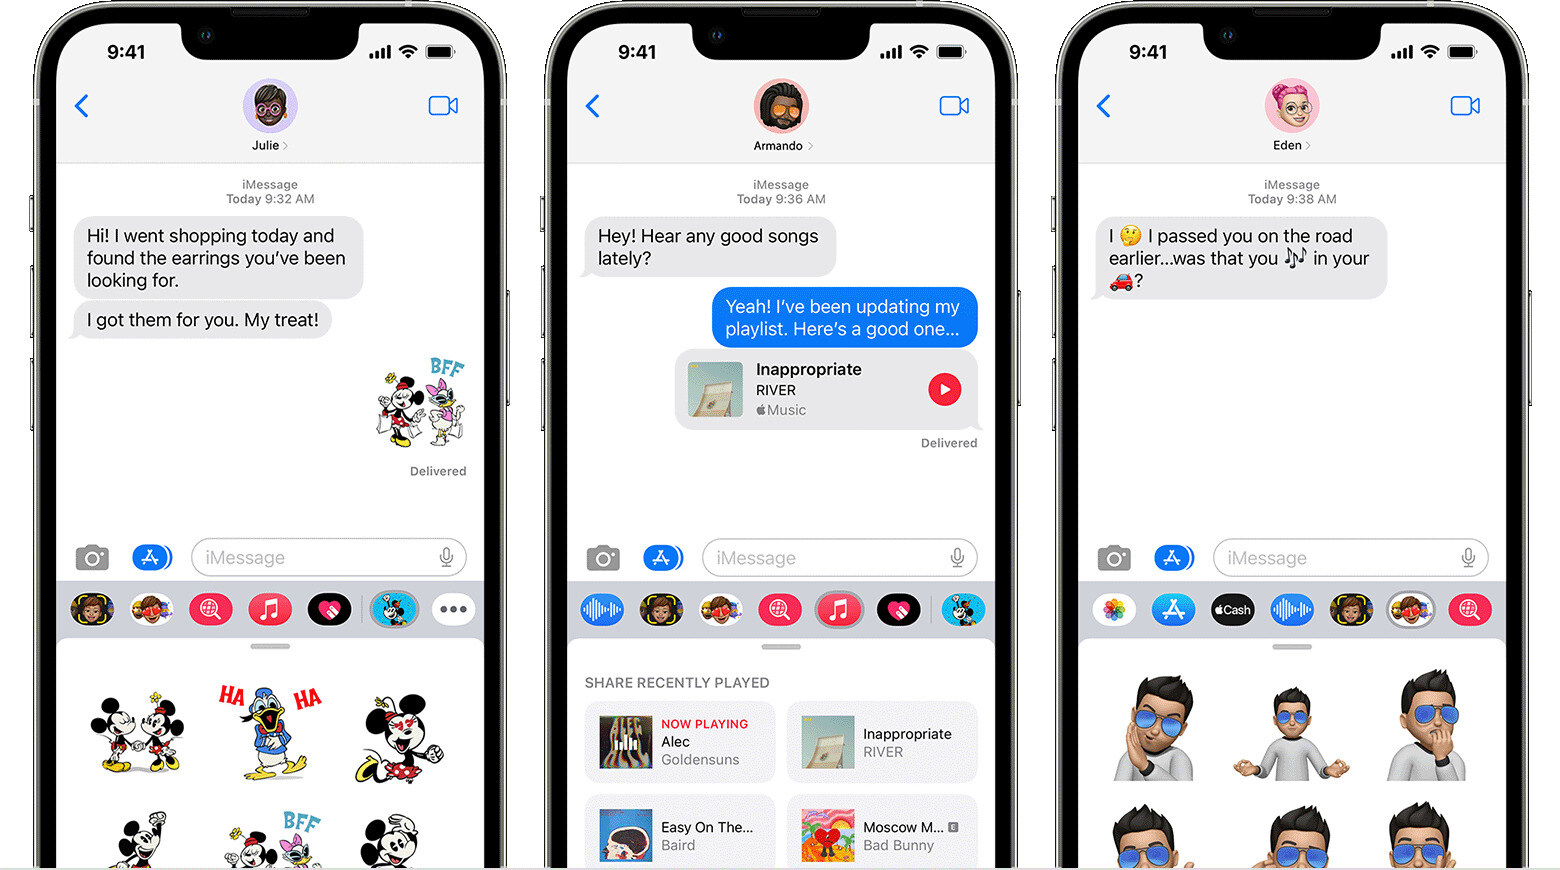
- Combine with other iMessage features: Invisible Ink works well when combined with other iMessage features like stickers, emoji, and handwriting. Experiment with different combinations to create unique and memorable messages.
- Communicate the reveal: To ensure the recipient knows how to view the hidden content, it’s helpful to mention or explain in a separate message that they need to tap or swipe on the Invisible Ink message.
- Consider the recipient: Keep the recipient’s preferences in mind. If you know they enjoy surprises or playful messages, Invisible Ink can enhance their experience. However, if they prefer straightforward communication, you may want to use this feature sparingly.
- Use it for sensitive information: Invisible Ink is particularly useful for sending sensitive information, such as passwords or private details. By making the content temporarily visible, you reduce the risk of someone else accessing the message.
By following these tips, you can make your Invisible Ink messages more engaging and enjoyable for both yourself and the recipient. Now that you have an understanding of how to effectively utilize Invisible Ink, let’s move on to the next section, where we will explain how to view an Invisible Ink message.
How to View an Invisible Ink Message
Receiving an Invisible Ink message can pique your curiosity and anticipation. To unveil the hidden content, follow the simple steps below:
- Open the Messages app on your Apple device.
- Navigate to the conversation that contains the Invisible Ink message.
- Find the Invisible Ink message within the conversation thread. It will appear as a blurred image or a series of faded dots.
- Tap or swipe on the Invisible Ink message to reveal the hidden content. You can simply touch the message and swipe your finger across the screen, or tap on the message and wait for it to animate and reveal the content.
- Once you have viewed the content, it will disappear again after a few seconds to maintain the privacy of the conversation.
By interacting with the Invisible Ink message, you’ll be able to see the hidden text, photos, videos, or effects that the sender intended to share with you. The temporary nature of the content ensures that it remains confidential and adds an element of surprise to your conversations.
If you ever encounter any difficulties in viewing an Invisible Ink message, make sure that both you and the sender are using iOS 10 or later versions. Additionally, ensure that Invisible Ink is enabled in your device’s settings, as explained in the earlier sections of this article.
Now that you know how to view an Invisible Ink message, let’s move on to the final section, where we will address some common troubleshooting issues and provide solutions.
Troubleshooting Common Issues
While using Invisible Ink iMessage is generally a smooth and enjoyable experience, you may encounter some common issues along the way. Here are a few troubleshooting tips to help you overcome them:
- Invisible Ink not working: If you’re having trouble using Invisible Ink, make sure that it is enabled in your device’s settings. You can find the instructions for enabling Invisible Ink in the earlier sections of this article.
- Recipient unable to view Invisible Ink: If the recipient is unable to view the Invisible Ink message, ensure that they are using an Apple device with iOS 10 or later. Additionally, ask them to check if Invisible Ink is enabled on their device.
- Invisible Ink appearing as regular text: If the Invisible Ink message appears as normal text without any blurring or fading, try restarting the Messages app or rebooting your device. This can help resolve any temporary software glitches.
- Invisible Ink not animating: Occasionally, the Invisible Ink message may not animate to reveal the hidden content. In such cases, ensure that you are using the latest version of iOS and also ask the sender to check their settings and resend the message if needed.
- Compatibility issues: Remember that Invisible Ink works only between Apple devices with iOS 10 or later versions. If you are sending messages to someone using an older iOS version or a non-Apple device, they may not be able to view the Invisible Ink content.
- Temporary content disappearance: After viewing the Invisible Ink message, the content will disappear again for privacy reasons. If you need to reference the content later, make sure to save it by taking a screenshot or copying the text before it disappears.
If you have exhausted these troubleshooting steps and are still experiencing issues with Invisible Ink iMessage, you may consider contacting Apple Support for further assistance.
Now that you are armed with troubleshooting techniques, you can enjoy a hassle-free experience with Invisible Ink iMessage. Let’s conclude this article with a recap of what we have covered so far.
Conclusion
Invisible Ink iMessage is a fascinating feature that adds an element of surprise and excitement to your conversations. By enabling this feature on your Apple device, you can send hidden messages that can only be revealed by the recipient.
In this article, we discussed what Invisible Ink iMessage is and how to enable it on your device. We also provided a step-by-step guide on sending and viewing Invisible Ink messages. Additionally, we shared valuable tips for using Invisible Ink effectively and troubleshooting common issues that may arise.
By incorporating Invisible Ink into your messages, you can make your conversations more engaging, fun, and confidential. Whether you want to share secret jokes, surprise your friends, or protect sensitive information, Invisible Ink iMessage is a powerful tool to have at your fingertips.
So, go ahead and unleash your creativity by exploring the world of Invisible Ink iMessage. Surprise your loved ones, spice up your group conversations, and make your messages more memorable. The possibilities are endless!
We hope this guide has been informative and helpful in understanding and utilizing the Invisible Ink iMessage feature. Have fun exploring and making your conversations more exciting with Invisible Ink!