Introduction
Welcome to the exciting world of Minecraft! As a passionate player, you know that Minecraft is constantly being updated with new features, bug fixes, and improvements. These updates not only enhance the gameplay experience but also ensure the game runs smoothly on your Windows device. So, if you want to stay up-to-date and enjoy the latest Minecraft adventures, it’s important to learn how to update Minecraft for Windows.
Updating Minecraft is a relatively simple process that involves checking for updates, downloading the latest version, and installing it on your computer. Whether you’re a seasoned Minecraft player or a beginner, this guide will walk you through the steps to ensure you’re always playing the most current version of the game.
In this article, we will provide a step-by-step guide on how to update Minecraft for Windows, ensuring that you don’t miss out on any new features, bug fixes, or performance enhancements. So, let’s dive in and learn how to keep your Minecraft game up to date!
Note: Before proceeding with the update process, make sure you have a stable internet connection and enough disk space on your Windows device to accommodate the download and installation of the latest Minecraft version.
Step 1: Check for Updates
The first step in updating Minecraft on your Windows device is to check if there are any new updates available. Mojang, the creators of Minecraft, regularly release updates that include new content, bug fixes, and performance enhancements.
To check for updates, follow these simple steps:
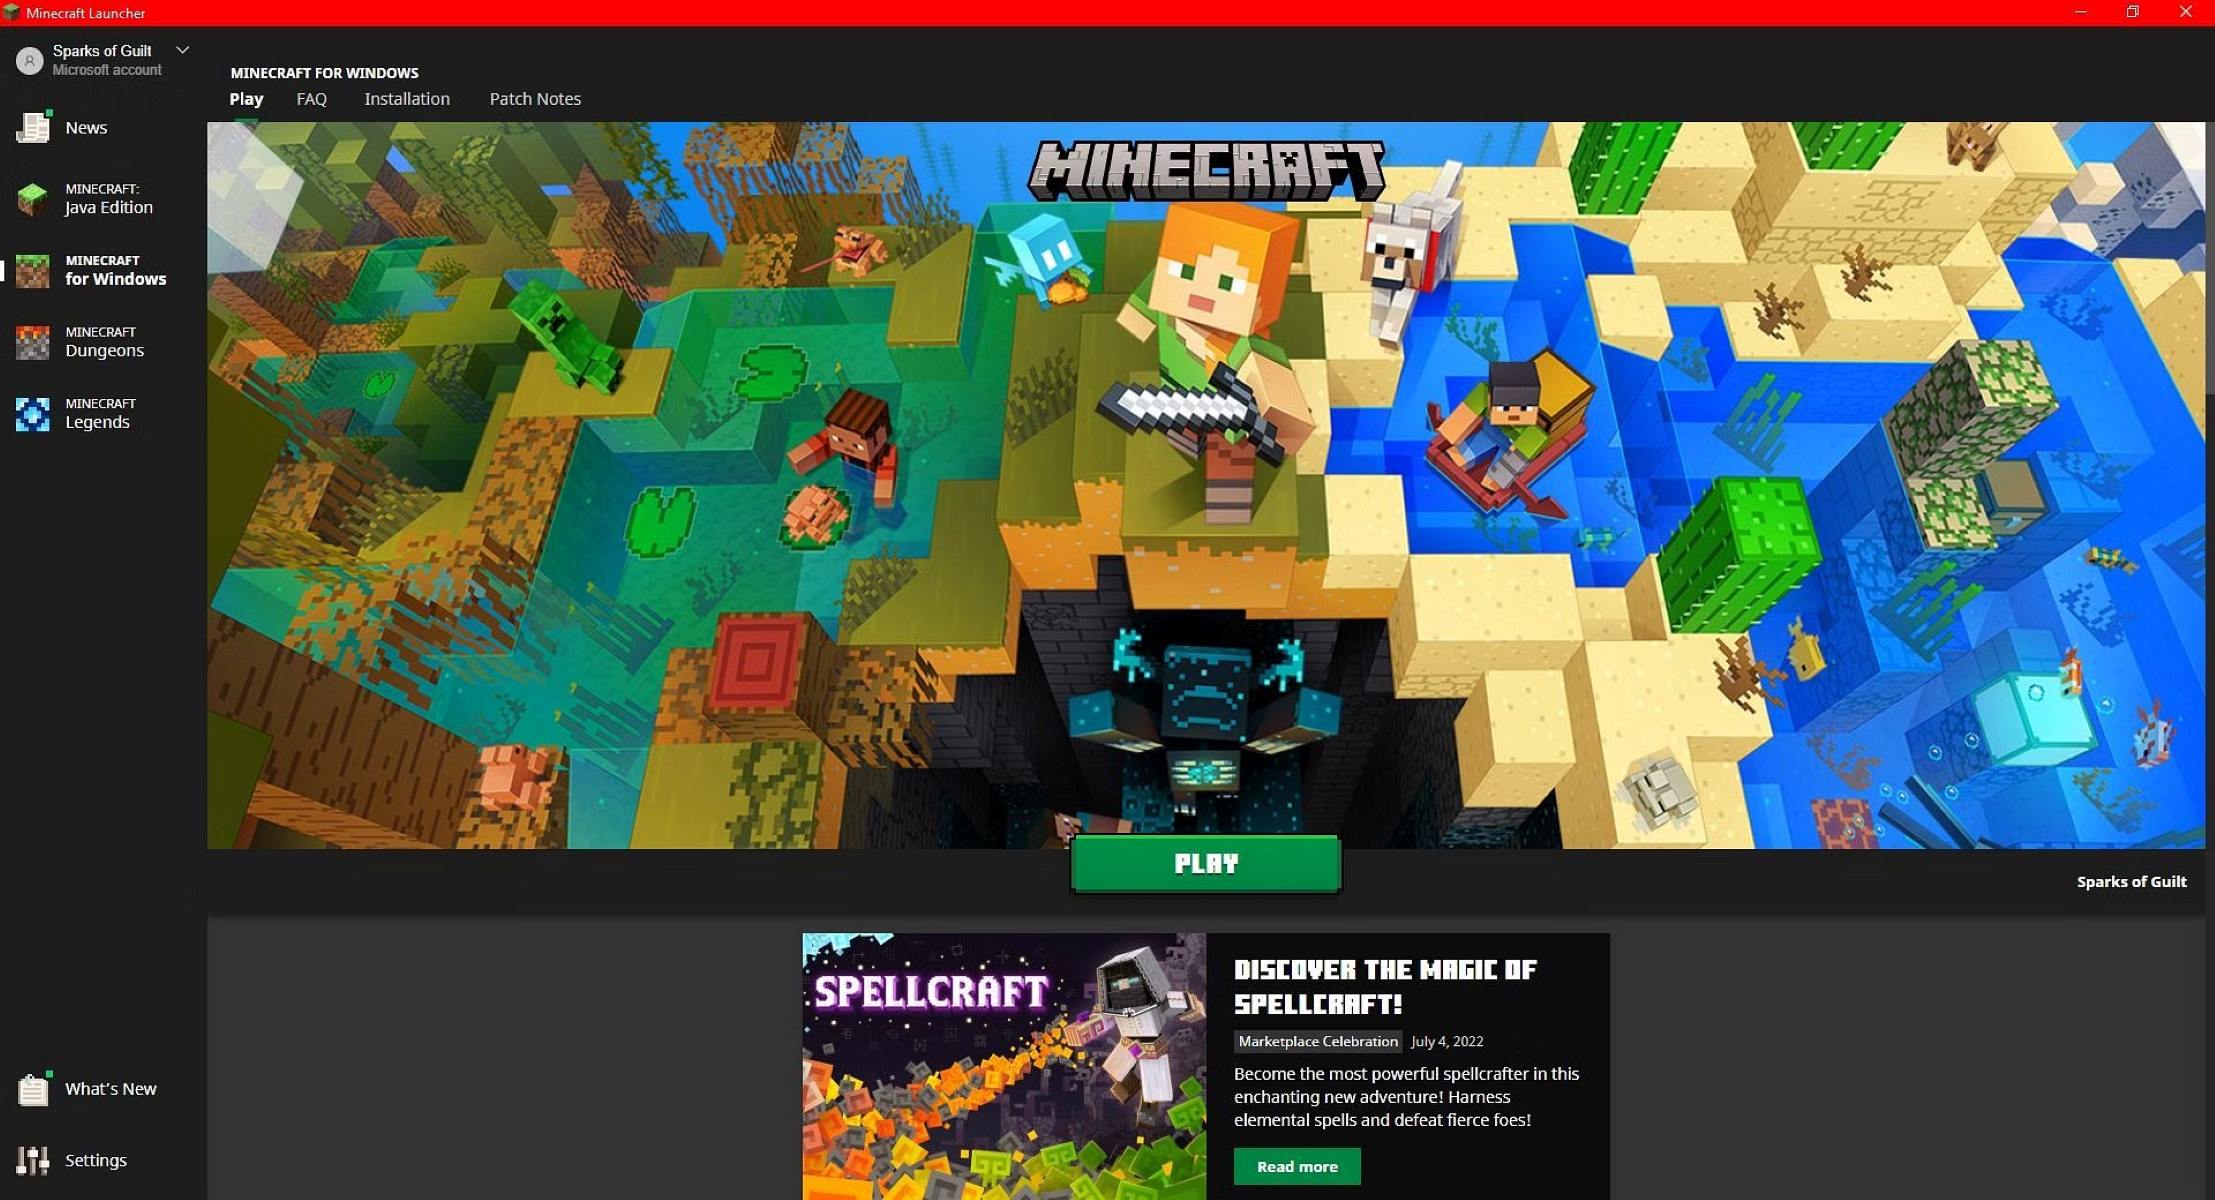
- Launch the Minecraft Launcher on your Windows device.
- On the home screen of the launcher, you will see the “Play” button. Right next to it, there is a drop-down menu with the name of the installed Minecraft version.
- Click on the drop-down menu, and you will see a list of available Minecraft versions, including the latest one. If there are no other options, it means you already have the latest version installed.
- Select the latest version from the list by clicking on it. The launcher will automatically start downloading the necessary files for the update.
- Wait for the download to complete. The time it takes will depend on the size of the update and the speed of your internet connection.
Once the download is finished, you have successfully completed the first step in updating Minecraft. If the launcher does not show any available updates, it means you are already playing the latest version of the game. In that case, you can proceed to enjoy Minecraft with the current version, or check back at a later time to see if any updates become available.
Now that you have checked for updates, let’s move on to the next step and learn how to download the latest version of Minecraft for your Windows device.
Step 2: Download the Latest Version
After checking for updates and determining that there is a newer version of Minecraft available, it’s time to download it to your Windows device. The download process is straightforward and can be completed by following these steps:
- Once the Minecraft Launcher finishes checking for updates, it will prompt you to confirm the download of the latest version. Click on the “Download” or “Update” button to proceed.
- The launcher will start downloading the necessary files for the latest version of Minecraft. You will be able to see the progress of the download on the launcher screen. Make sure you have a stable internet connection to ensure a smooth and uninterrupted download process.
- Depending on the size of the update and your internet speed, the download process may take a few minutes. It’s essential to be patient and let the launcher complete the download without interruption.
- Once the download is finished, the launcher will automatically install the latest version of Minecraft on your Windows device. You don’t need to worry about manually running the installer; the launcher takes care of it for you.
Once the installation is complete, you now have the latest version of Minecraft downloaded and ready to be played. The game will be updated with all the new features, bug fixes, and improvements that were included in the update.
Now that you have successfully downloaded the latest version of Minecraft, let’s move on to the next step and learn how to install the update on your Windows device.
Step 3: Install the Update
Now that you have downloaded the latest version of Minecraft, it’s time to install the update on your Windows device. The installation process is straightforward and can be completed by following these steps:
- Once the download is complete, the Minecraft Launcher will automatically begin the installation process. You will see a progress bar indicating the installation status.
- During the installation, the launcher will extract and install all the necessary files to update your Minecraft game. Make sure not to interrupt the installation process to ensure a successful update.
- After the installation is complete, the launcher will display a notification confirming that the update has been installed successfully. You can now close the launcher and proceed to the next step.
It’s important to note that during the installation process, your existing Minecraft game files will be backed up to ensure that you can revert to the previous version if needed. This backup ensures that your progress and creations in the game are not lost during the update.
Now that you have successfully installed the update, your Minecraft game is up to date with the latest version. In the next step, we will learn how to launch Minecraft and start playing with the new update.
Step 4: Launch Minecraft
With the update installed on your Windows device, it’s time to launch Minecraft and start playing with the latest version. Follow these simple steps to launch the game:
- Open the Minecraft Launcher on your Windows device. You can find the launcher either on your desktop or in the installed programs list.
- Click on the “Play” button on the home screen of the launcher. This will start the game with the updated version you installed.
- Wait for a few moments as Minecraft launches. You will see the familiar Mojang Studios logo followed by the loading screen.
- Once the game has loaded, you will be greeted by the Minecraft main menu. From here, you can navigate through the various game modes, access your worlds, and explore the new features and improvements offered by the latest update.
Now that you have successfully launched Minecraft with the updated version, you can start enjoying all the new content, bug fixes, and performance enhancements that the update brings. Whether you’re exploring new biomes, battling mobs, or crafting your dream creations, the updated Minecraft experience will surely delight you.
Before diving into the game, it’s a good idea to verify that the update has been applied correctly. In the next step, we will learn how to check the version number to confirm that you are indeed playing the latest version of Minecraft.
Step 5: Verify the Update
After launching Minecraft with the updated version, it’s essential to verify that the update has been applied correctly. Verifying the update ensures that you are indeed playing the latest version of Minecraft on your Windows device. To verify the update, follow these steps:
- Once you are in the Minecraft main menu, look for the “Options” button. It is usually represented by a wooden button icon.
- Click on the “Options” button to open the settings menu.
- In the settings menu, navigate to the “Video Settings” tab. Here, you can adjust various graphical options for the game.
- Scroll down, and you will find a section titled “Version.” The number displayed here indicates the current version of Minecraft you are playing.
- Compare the version number displayed with the latest version number available. You can find the latest version number on the Minecraft official website or through other reliable sources.
If the version number displayed in the settings menu matches the latest version number, it means that the update has been applied correctly, and you are playing the most up-to-date version of Minecraft. Congratulations! You can now fully enjoy all the new features and improvements of the latest update.
In case the version number does not match the latest version, ensure that you have followed the previous steps correctly. Double-check your internet connection, ensure that you have enough disk space, and verify that the Minecraft Launcher has successfully downloaded and installed the update on your Windows device. If you are still having issues, you may need to repeat the update process or reach out to Minecraft support for guidance.
Now that you have verified the update, it’s time to dive into the Minecraft world and explore all the exciting new features and improvements that the latest version has to offer. Enjoy your Minecraft adventure!
Step 6: Enjoy the New Features and Improvements
Now that you have successfully updated and verified your Minecraft installation, it’s time to embark on an exciting journey and experience all the new features and improvements that the latest version has to offer. Here are some of the highlights you can look forward to:
- New Biomes: Discover fresh and breathtaking landscapes, including lush forests, expansive deserts, towering mountains, and mysterious swamps. Each biome offers unique resources, challenges, and opportunities for exploration.
- Updated Mobs: Encounter new creatures in your Minecraft world, from friendly animal companions to formidable enemies. Interact with pandas, turtles, foxes, and other intriguing mobs, each with their own behaviors and characteristics.
- Gameplay Enhancements: Enjoy an improved gameplay experience with optimized performance, smoother animations, and reduced lag. The latest update aims to make your Minecraft adventures more immersive and enjoyable than ever before.
- New Items and Blocks: Expand your creative potential with a range of new items and blocks. Experiment with different building materials, tools, weapons, and decorative items to personalize your Minecraft creations.
- Improved Redstone Mechanics: For those who love tinkering with contraptions and complex machinery, the latest update brings improvements to the redstone system. Explore updated redstone capabilities and create even more intricate Redstone-powered creations.
These are just a few examples of the exciting new features and improvements you can expect from the latest Minecraft update. The possibilities are endless, and it’s up to you to unleash your creativity and make the most of these enhancements.
Whether you prefer to embark on epic quests, build grand structures, conquer challenging dungeons, or simply enjoy peaceful moments in the Minecraft world, the updated version will enhance your gameplay experience and keep you engaged for hours on end.
So, grab your tools, gather your friends, or embrace the solitude, and dive into the Minecraft universe. Let your imagination run wild and make the most of the new features and improvements that the update has to offer.
Remember to continue checking for future updates, as Minecraft is a dynamic and ever-evolving game. By keeping your Minecraft installation up to date, you ensure that you don’t miss out on exciting new content and improvements in the future.
Now, go forth and enjoy your Minecraft adventure with the latest version!
Conclusion
Congratulations! You have successfully learned how to update Minecraft for Windows and ensure that you are always playing the latest version of the game. By following the simple steps outlined in this guide, you can stay up-to-date with new features, bug fixes, and performance improvements.
Remember, regularly updating Minecraft not only provides you with exciting new content but also ensures that your gameplay experience is smooth and optimized. Updates often introduce new biomes, mobs, items, and gameplay enhancements that enhance your creativity and enjoyment of the game.
Keep in mind that updating Minecraft is a straightforward process. By checking for updates, downloading the latest version, installing it, and verifying the update, you can ensure that your Minecraft game is always up to date.
Now that you have updated your Minecraft installation, it’s time to dive into the vast and immersive world of Minecraft and explore all the new features and improvements available to you. Create stunning structures, embark on epic adventures, or simply roam the serene landscapes. The possibilities are endless!
Continue to check for future updates, as Minecraft is a living game that evolves over time. By staying updated, you can continue to enjoy the latest additions and enhancements that Mojang Studios brings to the Minecraft community.
Now, gather your friends, unleash your creativity, and enjoy countless hours of fun and excitement in the ever-evolving universe of Minecraft!