Introduction
Welcome to this guide on how to download Optifine for Windows 11. If you’re an avid gamer who loves playing Minecraft, you’re probably familiar with Optifine and the performance improvements it can bring to the game. Optifine is a popular mod that enhances the visuals and optimizes the performance of Minecraft, allowing you to enjoy a smoother and more immersive gaming experience.
With the recent release of Windows 11, you may be wondering how to download and install Optifine on this new operating system. In this article, we will walk you through the steps to download Optifine for Windows 11, so you can take advantage of its features and improve your Minecraft gameplay on the latest version of Windows.
Whether you’re a seasoned Minecraft player or new to the game, Optifine is a valuable addition to your gaming experience. It provides various features such as advanced graphical settings, increased frame rates, and the ability to use shaders for stunning visual effects. By optimizing the game’s performance, Optifine allows you to run Minecraft more smoothly, even on lower-end hardware.
Before we delve into the steps to download Optifine for Windows 11, it’s important to note that Optifine is a third-party mod and not officially supported by Mojang, the creators of Minecraft. Therefore, it’s crucial to download Optifine from the official website to ensure you’re getting a safe and authentic version of the mod.
In the following sections, we will guide you through the process of downloading and installing Optifine on your Windows 11 computer. So, let’s get started and unlock the full potential of Minecraft with Optifine!
Step 1: Visit the Optifine website
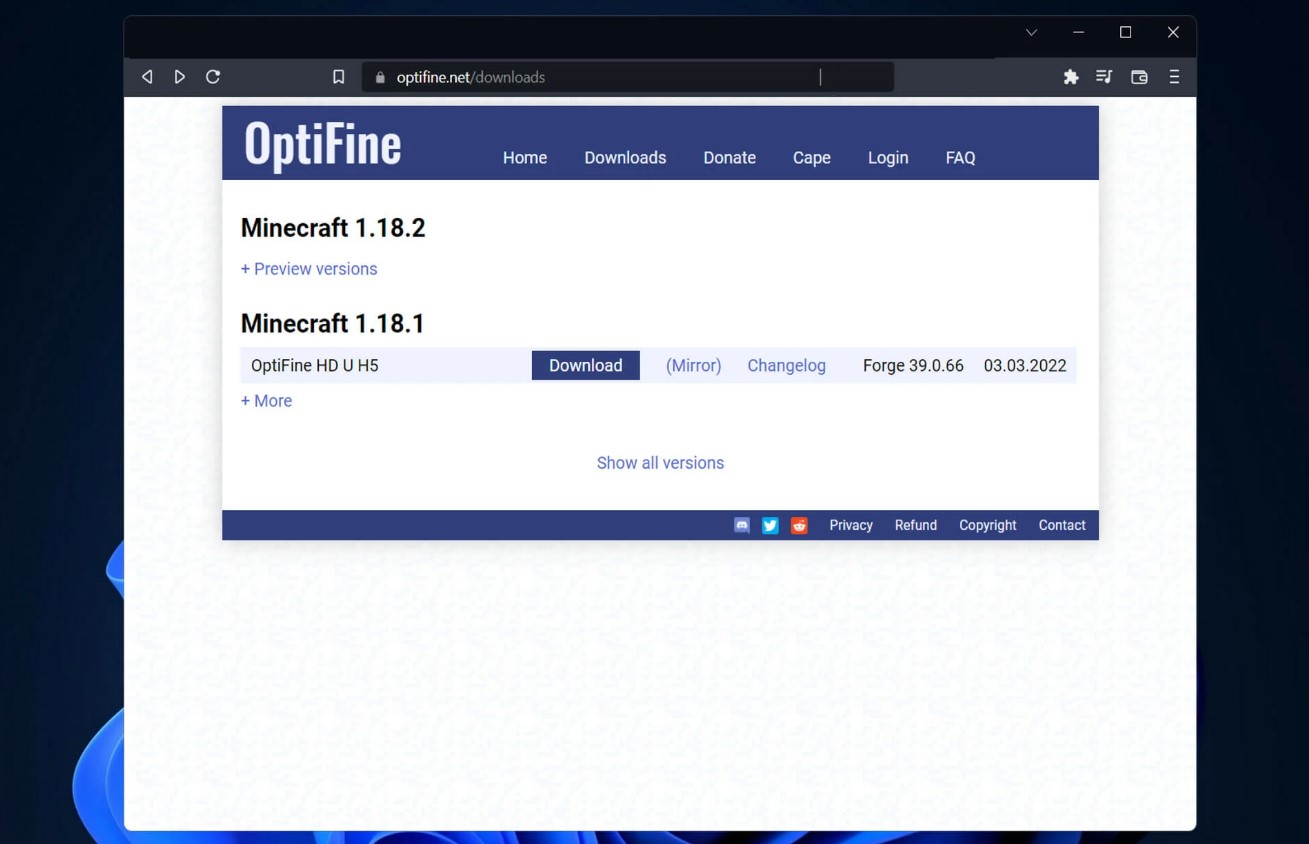
The first step in downloading Optifine for Windows 11 is to visit the official Optifine website. Open your preferred web browser and enter “optifine.net” in the address bar. Once you’ve loaded the website, you’ll be greeted with the Optifine homepage, where you can find all the information and downloads related to the mod.
Take a moment to familiarize yourself with the website layout. On the homepage, you will find various sections such as Downloads, Features, and Support. These sections contain valuable information about Optifine, including the latest features and updates.
It’s important to ensure that you’re on the official Optifine website, as there may be other sites that claim to offer Optifine downloads but could potentially provide unsafe or outdated versions of the mod. To verify that you’re on the correct website, check the URL in the address bar, which should be “www.optifine.net”.
Once you’ve confirmed that you’re on the official Optifine website, it’s time to proceed to the next step and select the appropriate Optifine version for your Windows 11 operating system.
Remember to exercise caution when browsing the internet and downloading files. Always use trusted sources and be wary of any suspicious websites or links.
Step 2: Select the latest Optifine version for Windows 11
After visiting the official Optifine website, it’s time to select the latest Optifine version that is compatible with Windows 11. Look for the “Downloads” section on the website, usually located in the main navigation menu or prominently displayed on the homepage.
Once you’ve accessed the Downloads section, you will see a list of available Optifine versions. It’s important to choose the correct version to ensure compatibility with Windows 11. Optifine releases updates periodically, so be sure to select the latest version for the best performance and features.
Browse through the list of Optifine versions and look for the one specifically labeled “Optifine for Windows 11”. This version is optimized to work seamlessly with the new operating system. Click on the download link provided next to the Windows 11 version to proceed to the next step.
It’s worth mentioning that Optifine versions are usually categorized as “Standard” and “Ultra”. The Standard version offers essential optimizations and features, while the Ultra version provides additional advanced settings and shaders for enhanced visuals. Choose the version that best suits your preferences and system capabilities.
Take a moment to read any additional information or release notes provided for the selected version. This will give you a better understanding of the improvements and features included in the release.
Once you’ve made your selection, proceed to the next step to initiate the download of Optifine for Windows 11.
Step 3: Download Optifine
With the correct Optifine version for Windows 11 selected, it’s time to download the mod to your computer. On the Optifine website, click on the download link for the chosen version to initiate the download process.
Depending on your browser settings, you may be prompted to choose a location to save the downloaded file. Select a familiar and easily accessible location on your computer, such as the desktop or a designated downloads folder.
The download process may take a few moments, depending on your internet speed. You will see a progress bar indicating the download status. Once the download is complete, you will have the Optifine installation file saved on your computer.
It’s important to note that Optifine is provided as a .jar file, which stands for Java Archive. This is the format used for distributing Java applications and mods. To proceed with the installation, you will need to have Java installed on your computer. If Java is not already installed, you can download and install it from the official Java website before proceeding to the next step.
It’s recommended to verify the integrity of the downloaded file to ensure it hasn’t been corrupted during the download process. You can do this by checking the file’s MD5 or SHA-256 hash value, which can be found on the Optifine website. There are various tools available online that can help you calculate the hash value of a file and compare it to the provided value to ensure they match.
Once you’ve downloaded and verified the Optifine installation file, you’re ready to move on to the next step and install Optifine on your Windows 11 computer.
Step 4: Install Optifine
Now that you have downloaded the Optifine installation file, it’s time to install the mod on your Windows 11 computer. Follow the steps below to complete the installation process:
- Locate the downloaded Optifine .jar file on your computer. Right-click on the file and select “Open with” from the context menu. Choose Java as the program to open the file.
- Alternatively, you can double-click on the .jar file, and if Java is installed on your computer, it will automatically open the file.
- The Optifine installer window will appear. Click on the “Install” button to begin the installation process.
- The installer will guide you through the installation steps. Make sure to read and accept the terms and conditions if prompted.
- Once the installation is complete, you will see a message indicating the successful installation of Optifine.
- At this point, Optifine is installed on your Windows 11 computer. You can close the installer window.
- If you have Minecraft running, you will need to restart the game to load Optifine. Close Minecraft and reopen it to apply the changes.
Following these steps will ensure a proper and successful installation of Optifine on your Windows 11 computer. With Optifine installed, you can now take advantage of the improved graphics and performance enhancements while playing Minecraft.
It’s important to note that Optifine is a mod and may not be compatible with certain other mods or modpacks. If you experience any issues or conflicts, it may be necessary to troubleshoot or seek support from the Optifine community or the mod creators.
Now that you have Optifine installed, you’re ready to launch Minecraft with Optifine and enjoy a more optimized and visually stunning gaming experience.
Step 5: Launch Minecraft with Optifine
With Optifine successfully installed on your Windows 11 computer, it’s time to launch Minecraft with Optifine and start enjoying the enhanced performance and visuals. Follow the steps below to launch Minecraft with Optifine:
- Open the Minecraft launcher on your computer. If you don’t have the Minecraft launcher installed, you can download it from the official Minecraft website.
- On the Minecraft launcher, you will see a list of installed versions of the game. Click on the drop-down menu labeled “Launch options” and select “Add new”.
- In the “Name” field, enter a unique name for the Optifine installation to distinguish it from other Minecraft versions. For example, you can use “Optifine” or “Optifine for Windows 11”.
- In the “Version” dropdown menu, select the Optifine version that you installed in the previous step. It should appear in the list of available versions.
- Ensure that the “Optifine” checkbox is selected under the “Modded” section.
- Click on the “Create” button to create a new profile with Optifine.
- Once the profile is created, select it from the list of available profiles in the Minecraft launcher.
- Click on the “Play” button to launch Minecraft with Optifine.
Minecraft will now launch with the Optifine version you installed, and you will notice the enhanced graphics and optimized performance provided by Optifine. You can explore the advanced graphical settings and customize them according to your preferences to further improve your gaming experience.
It’s worth mentioning that Optifine supports various graphical enhancements, such as shaders, which can be enabled through the Optifine settings. Shaders add realistic lighting and visual effects to Minecraft, making it even more immersive and visually appealing. You can experiment with different shader packs and settings to find the one that suits your preferences.
Now that you have successfully launched Minecraft with Optifine, you’re ready to embark on your Minecraft adventures and experience the game like never before. Enjoy the improved performance, stunning visuals, and overall enhanced gameplay!
Conclusion
Congratulations! You have successfully learned how to download Optifine for Windows 11 and install it on your computer. Optifine is an excellent mod that enhances the graphics and optimizes the performance of Minecraft, allowing you to enjoy a smoother and more immersive gaming experience.
In this guide, we walked you through the steps to download Optifine from the official website, select the appropriate version for Windows 11, and install it on your computer. We also covered how to launch Minecraft with Optifine to take advantage of the improved graphics and performance enhancements.
Optifine provides a range of features, including advanced graphical settings, increased frame rates, and the ability to use shaders for stunning visual effects. By optimizing the game’s performance, Optifine allows you to run Minecraft more smoothly, even on lower-end hardware.
Remember to always download Optifine from the official website to ensure you’re getting a safe and authentic version of the mod. It’s also essential to exercise caution when browsing the internet and downloading files, using trusted sources and being wary of any suspicious websites or links.
Now that you have Optifine installed, you can dive into the world of Minecraft and enjoy a more optimized and visually stunning gaming experience. Whether you’re building, exploring, or battling mobs, Optifine will enhance your gameplay and make your adventures in Minecraft even more enjoyable.
Keep in mind that Optifine is a third-party mod and may not be compatible with certain other mods or modpacks. If you encounter any issues or conflicts, it may be necessary to troubleshoot or seek support from the Optifine community or the mod creators.
Thank you for following this guide. We hope it has been helpful in assisting you in downloading and installing Optifine for Windows 11. Have fun exploring the endless possibilities of Minecraft with Optifine!