Introduction
Welcome to this guide on how to turn the volume up on a projector. Projectors have become a popular choice for presentations, movie nights, and gaming experiences. While projectors offer impressive visuals, it’s equally important to ensure that the audio quality matches up. Often, the default volume settings on projectors may not be sufficient for optimal sound quality, making it necessary to adjust the volume accordingly.
In this article, we will explore various methods to turn up the volume on a projector and enhance your audio experience. Whether you are using a projector for business presentations or enjoying a movie night at home, these steps will help you achieve the desired sound levels.
Before we dive into the specific methods, it’s essential to understand how projector volume controls work. Most projectors feature built-in speakers that allow you to adjust the volume. However, these built-in speakers may not deliver the highest quality audio. Therefore, we will also cover how to connect external speakers to ensure a superior audio experience.
If you have been struggling to hear the sound clearly from your projector or if you need to raise the volume to accommodate a larger audience, read on to discover the various options at your disposal.
Understanding Projector Volume Controls
Before we delve into the different methods of turning up the volume on a projector, it’s important to understand the different types of volume controls you may encounter.
1. On-Screen Controls: Some projectors offer on-screen controls that allow you to adjust the volume directly from the projector menu. These controls typically include options to increase or decrease the volume levels and may also provide a visual display of the current volume level.
2. Physical Controls: Many projectors come equipped with physical buttons or knobs on the device itself for adjusting the volume. These controls are typically located on the top, sides, or front panel of the projector. They may include buttons for volume up, volume down, or a dial-like knob that you can turn to increase or decrease the volume.
3. Remote Control: Most projectors come with a remote control that includes buttons specifically for adjusting the volume. These buttons may be labeled as “volume up,” “volume down,” or represented by icons such as speaker symbols. The remote control allows for convenient volume control from a distance, making it ideal for situations where the projector is mounted on the ceiling or placed at a distance.
It’s worth noting that not all projectors have robust volume controls. Some models may have limited control options or may rely solely on external audio sources for volume adjustments. In such cases, understanding how to connect external speakers will be essential for achieving the desired sound levels.
Now that you have a better understanding of the different types of volume controls you may encounter, let’s move on to the next section to explore the steps for checking the audio settings on your projector.
Checking the Projector Audio Settings
Before adjusting the volume on your projector, it’s crucial to ensure that the audio settings are properly configured. Follow these steps to check the projector audio settings:
1. Access the Menu: Turn on your projector and navigate to the menu settings. The menu button is typically labeled on the projector or remote control as “Menu” or represented by an icon that resembles a set of gears or options.
2. Navigate to Audio Settings: Within the menu, locate the audio settings. The specific location may vary depending on the projector model, but it is commonly found under a tab labeled “Audio,” “Sound,” or “Volume.”
3. Check the Volume Level: Ensure that the volume level is not set at the minimum or muted. Adjust the volume level to a desired point by using the navigation buttons or the volume controls available on the projector screen or remote control.
4. Enable External Audio: If you plan to connect external speakers to your projector, make sure the projector’s audio output setting is set to the appropriate option. This option may be listed as “external speaker” or “audio output” in the audio settings menu.
5. Test the Audio: Once you have made the necessary adjustments, play audio from your desired source, such as a video or a music file, to ensure that the audio is functioning correctly and at an adequate volume level.
If you find that the volume is still not satisfactory after checking and adjusting the projector’s audio settings, you may need to consider connecting external speakers to your projector. The next section will guide you through the process of connecting external speakers for improved audio quality.
Connecting External Speakers
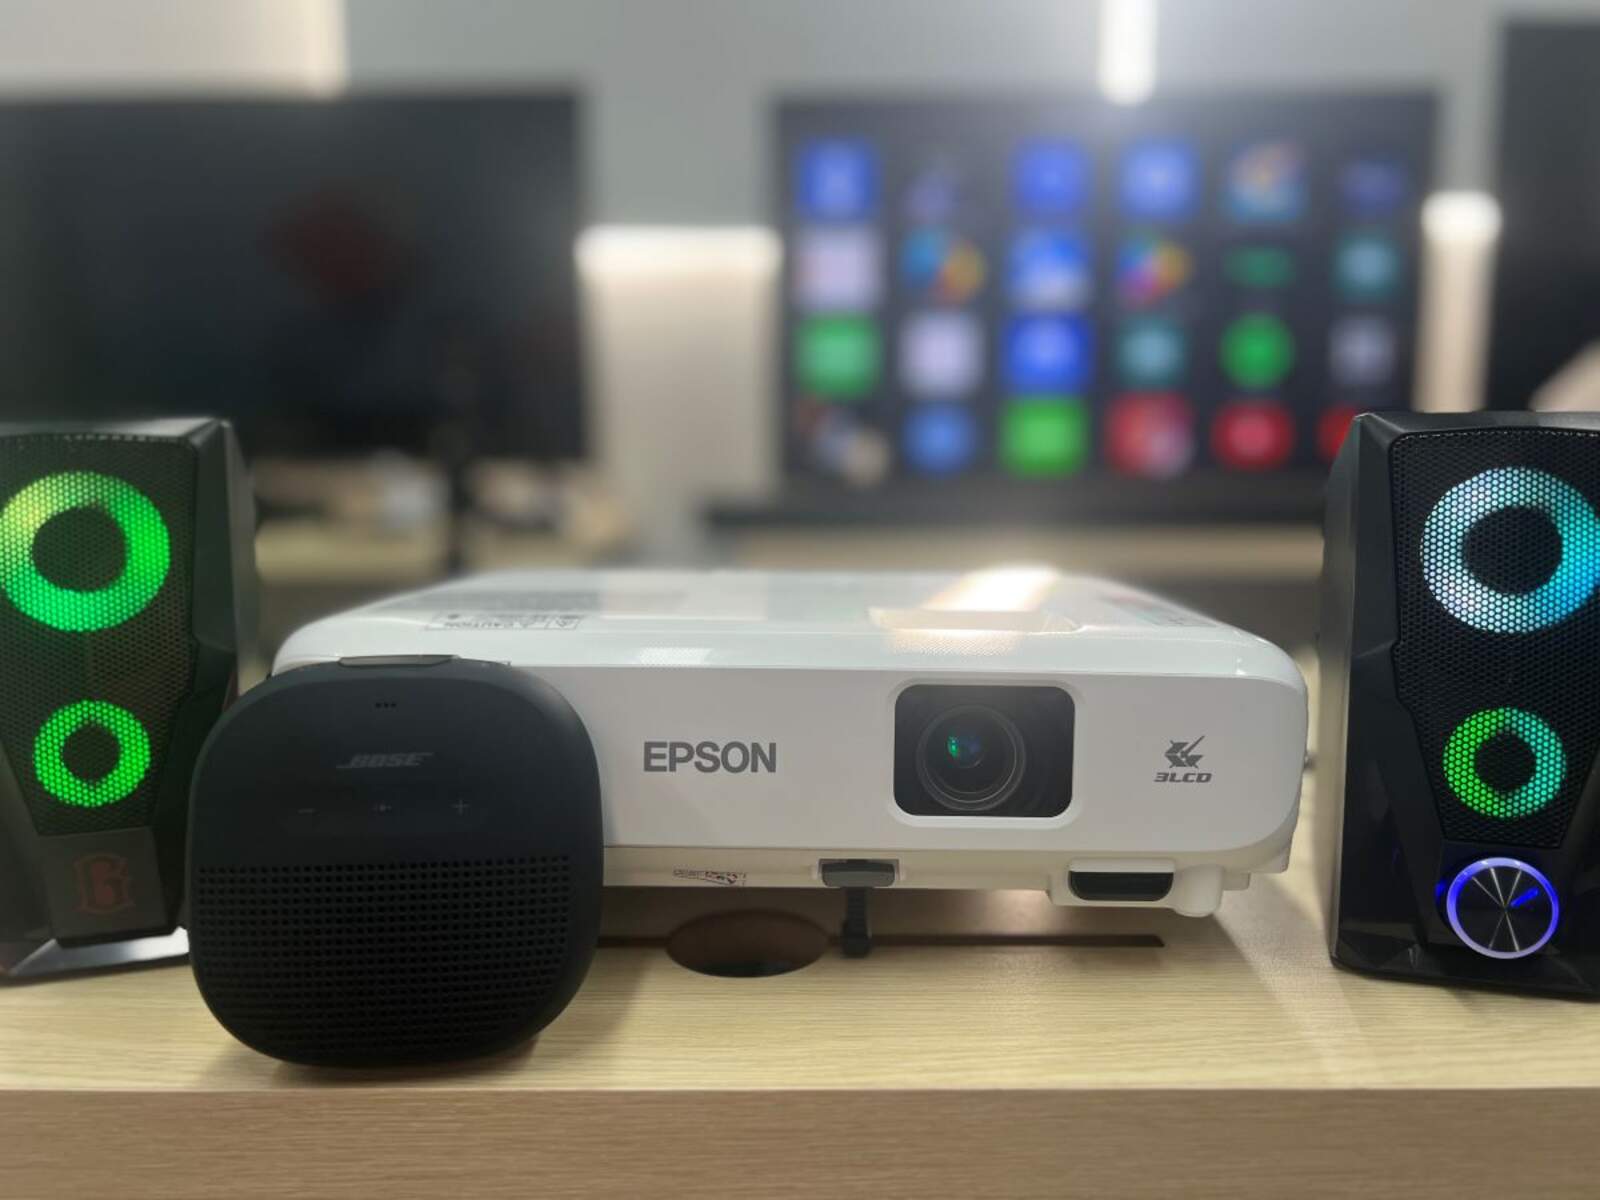
If the built-in speakers of your projector do not provide the desired audio quality or volume level, connecting external speakers can greatly enhance your sound experience. Follow these steps to connect external speakers to your projector:
1. Determine the Audio Output Option: Check your projector for available audio output options. Common options include a 3.5mm audio jack, RCA audio output, or HDMI ARC (Audio Return Channel) port. Refer to your projector’s manual or specifications to identify the appropriate audio output option.
2. Choose the Right Cable: Depending on the audio output option, you may need a specific cable to connect your external speakers. For a 3.5mm audio jack, you can use a 3.5mm to RCA cable or a 3.5mm auxiliary cable. If your projector has an HDMI ARC port, you can use an HDMI cable. Ensure the cable chosen matches the audio output option of your projector.
3. Connect the Cable: Once you have the appropriate cable, connect one end to the audio output port on your projector and the other end to the input port on your external speakers. Ensure that the connections are secure and tight to avoid any audio interference.
4. Power on and Test: Power on your projector and external speakers. Set the projector’s audio output to the connected external speakers. Play some audio content to test the sound quality and adjust the volume accordingly using the volume controls on the external speakers.
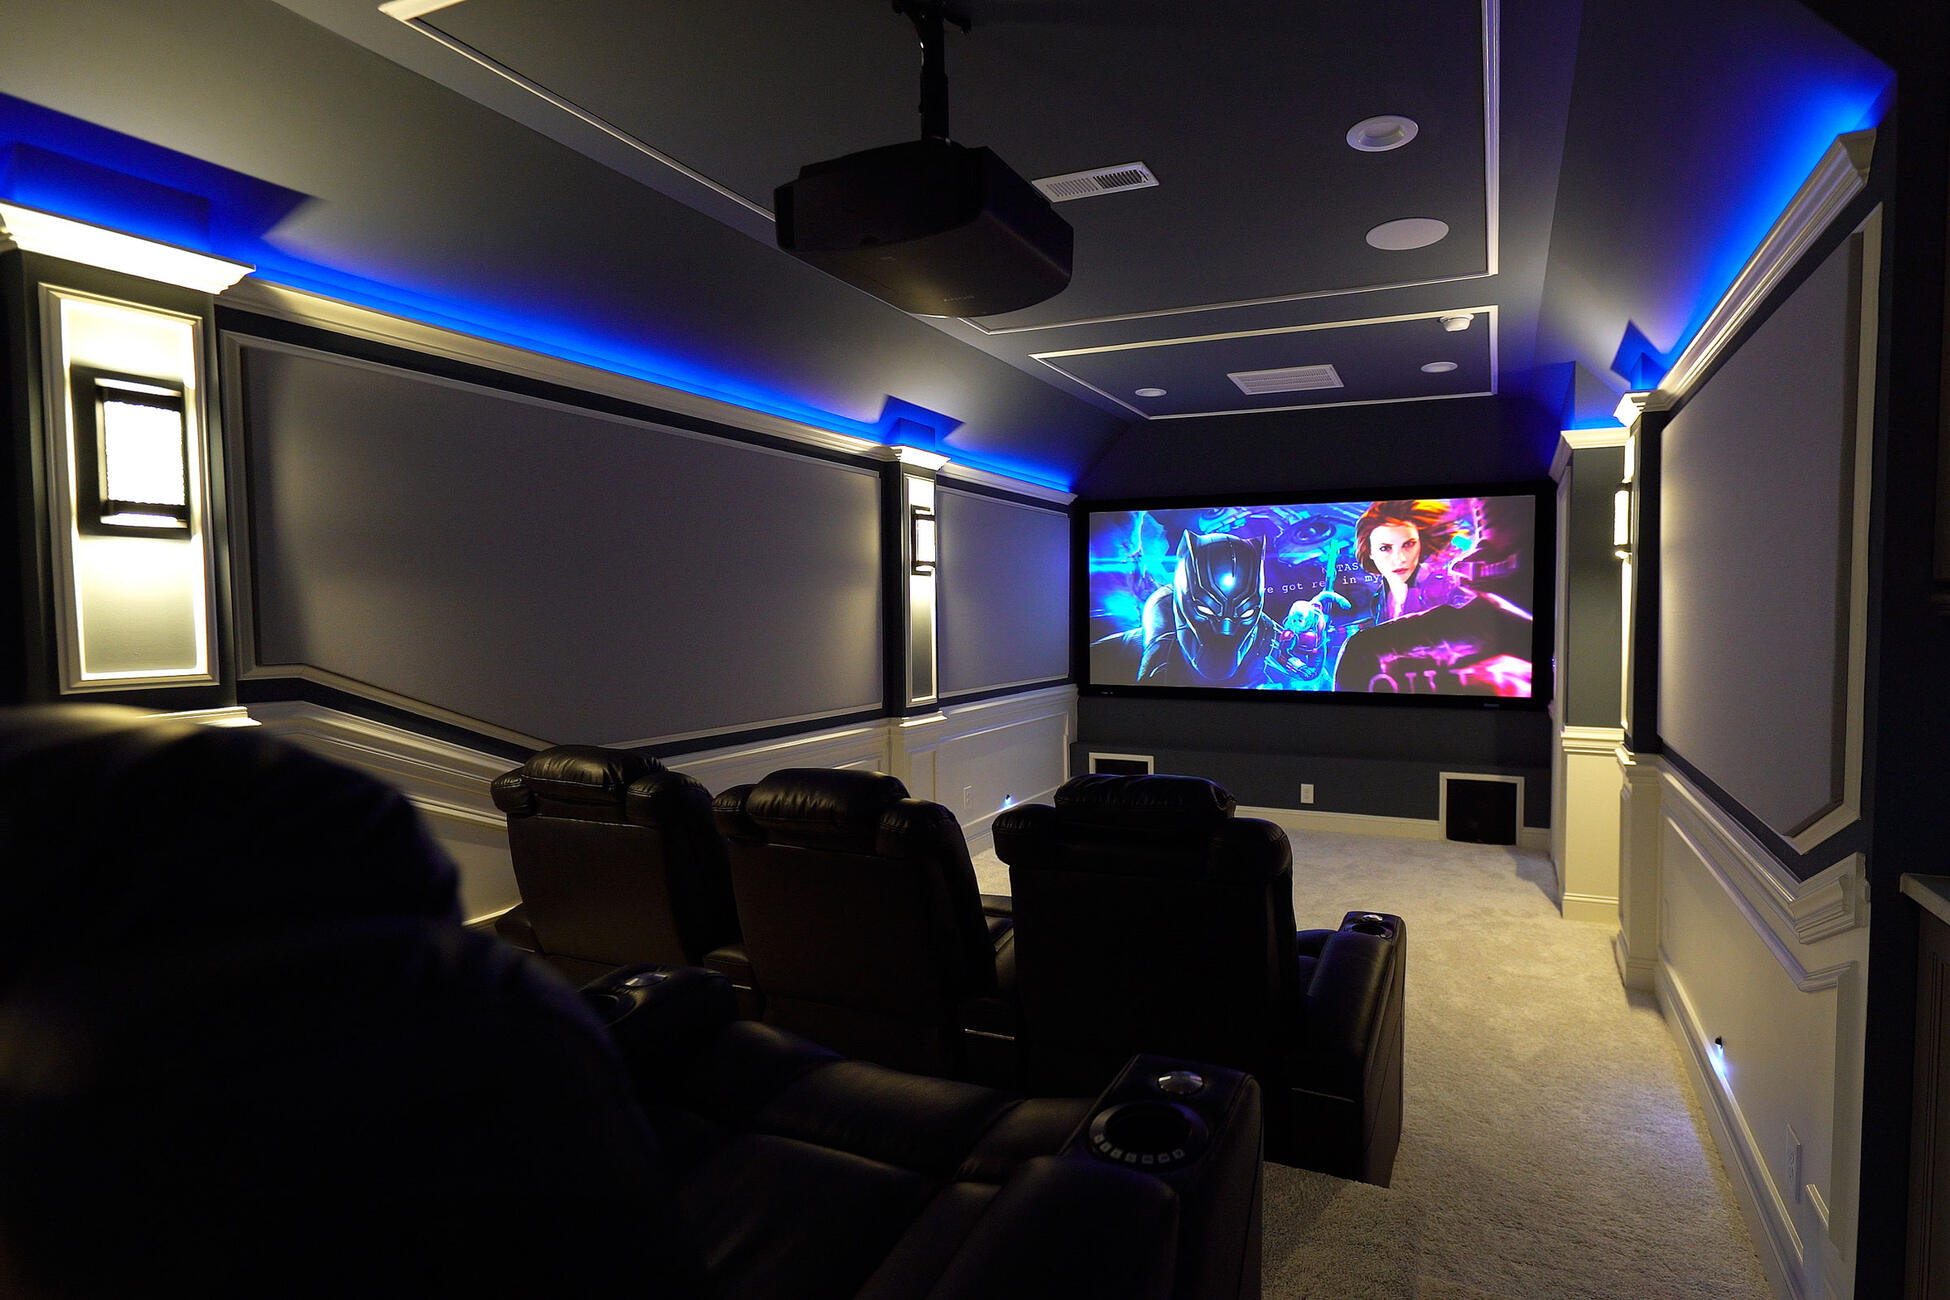
If you still find the audio quality insufficient, you may consider investing in higher-quality external speakers. Additionally, you can explore connecting a soundbar or a home theater system to your projector for an immersive audio experience.
Remember to adjust the volume on both the projector and the external speakers to find the optimal balance and desired sound level. Experiment with different audio settings and speaker placements to achieve the best audio performance.
Now that you know how to connect external speakers to your projector, let’s move on to the next section, where we’ll explore how to adjust the volume using the projector’s remote control.
Adjusting the Volume on the Projector Remote Control
One of the most convenient ways to adjust the volume on a projector is by using the projector’s remote control. Here’s how you can do it:
1. Locate the Volume Controls: Look for the volume control buttons on the remote control. These buttons are typically labeled as “volume up” and “volume down.” They may also have icons of speaker symbols or directional buttons that control the volume.
2. Set the Remote to Projector Mode: Ensure that the remote control is set to control the projector and not any other device. If you have a universal remote, make sure it is programmed for your specific projector model.
3. Increase or Decrease the Volume: Point the remote control towards the projector or its infrared sensor. Press the “volume up” button to increase the volume and the “volume down” button to decrease it. Some remote controls may have dedicated buttons for quick access to volume adjustments.
4. Fine-tune the Volume: If you want more precise volume control, check if your projector’s remote control has buttons or a dial for fine-tuning the volume. This option allows you to make smaller adjustments to the volume level.
Alternatively, you can also use the volume controls on the projector itself if they are easily accessible, especially if you are using the projector at close range. However, using the remote control offers greater convenience, especially if the projector is mounted on the ceiling or positioned at a distance.
Remember to gradually increase the volume to avoid sudden loud sounds and adjust it to a comfortable level for your intended audience or personal preference.
If you experience any difficulties adjusting the volume using the remote control, refer to your projector’s manual or visit the manufacturer’s website for specific instructions related to your projector model and remote control.
Now that you know how to adjust the volume on a projector using the remote control, let’s move on to the next section to troubleshoot common issues related to projector volume.
Troubleshooting Common Issues with Projector Volume
While adjusting the volume on a projector is usually a straightforward process, you may occasionally encounter issues that affect the sound quality or volume levels. Here are some common problems and their potential solutions:
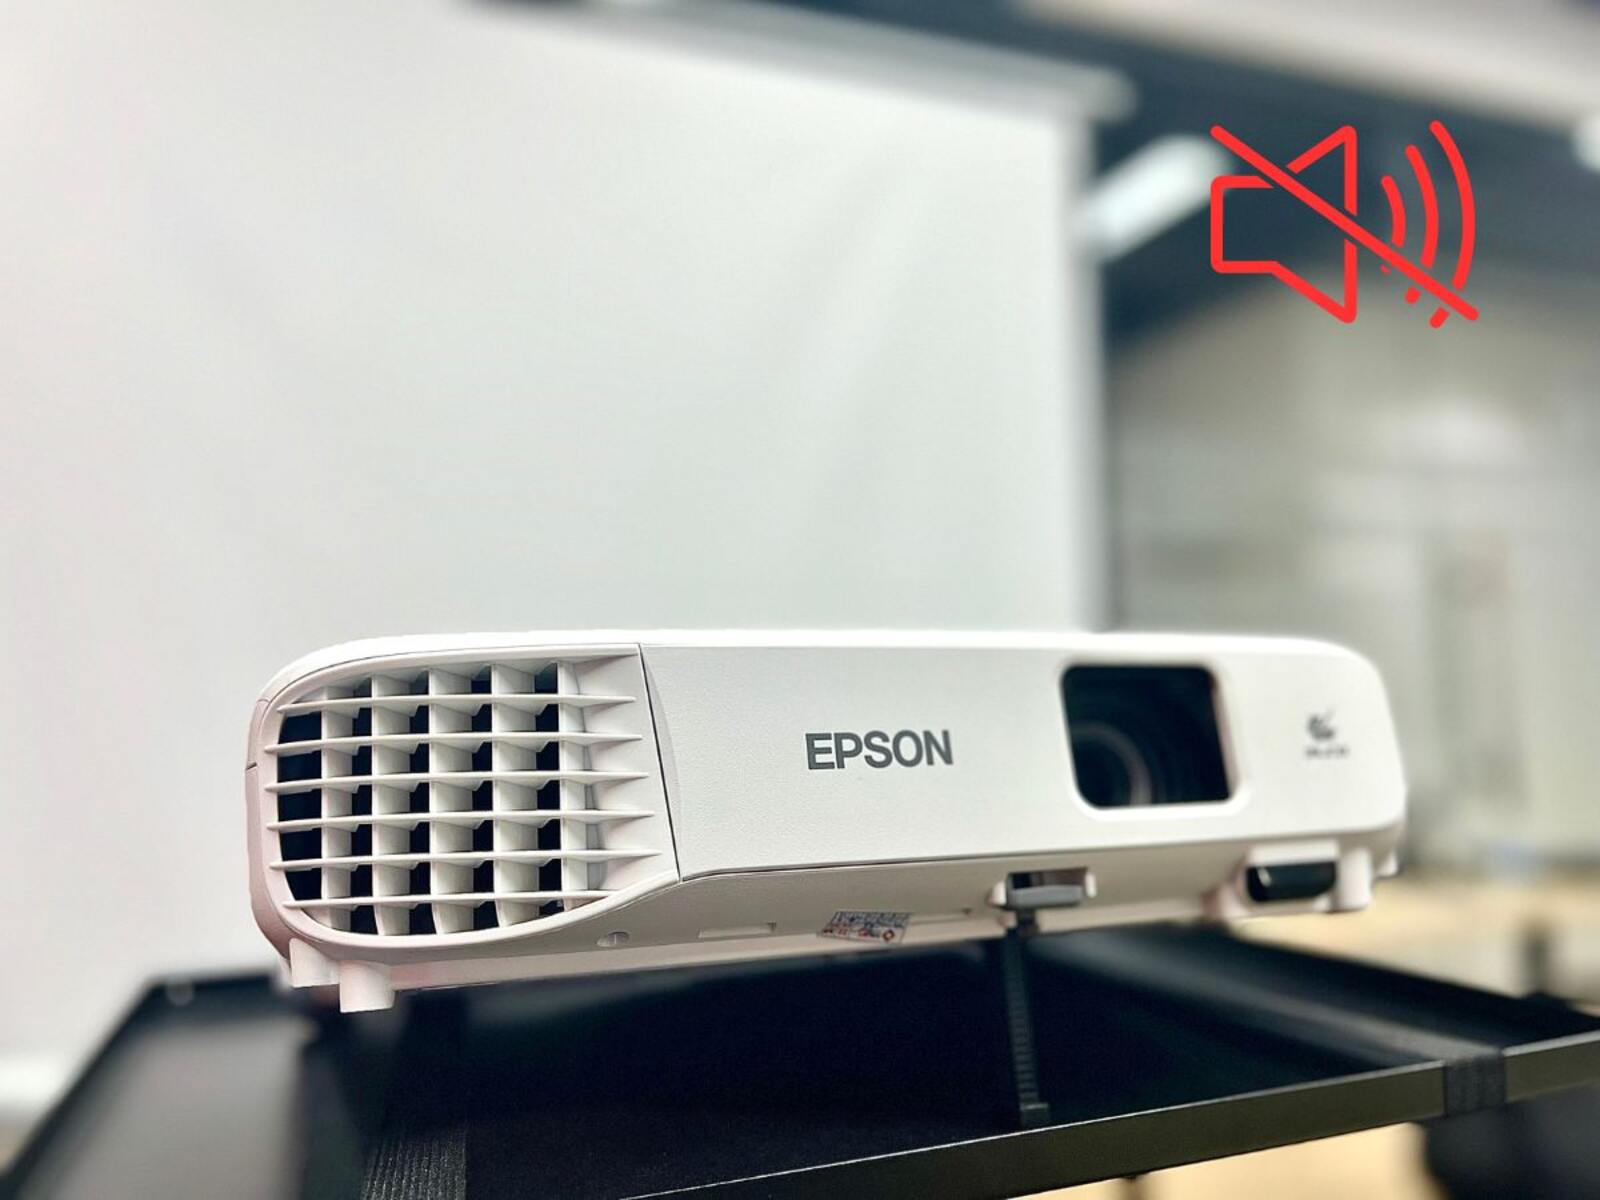
1. No Sound or Muted Volume: If you are not getting any sound from your projector, ensure that the volume is not muted on both the projector and any external speakers. Check the audio settings on your projector and adjust the volume accordingly. Additionally, ensure that the audio cables are securely connected to the projector and external speakers.
2. Low Volume Levels: If the volume on your projector is too low even after adjusting it to the maximum level, check if the audio output setting is correctly configured, especially if you have connected external speakers. Make sure the volume is also turned up on the external speakers. If the issue persists, consider connecting more powerful external speakers or using a sound amplifier.
3. Audio Lag or Delay: If you experience a delay between the video and audio when using external speakers, this may be due to latency issues. Check if your projector or speakers have an audio delay adjustment option. Adjusting this setting can help synchronize the audio with the video playback for a seamless experience.
4. Audio Quality Issues: If you notice distortion, crackling, or poor audio quality, check the audio cables for any damage or loose connections. Replace any faulty cables or try using different cables to see if that resolves the issue. Consider upgrading to higher-quality audio cables or speakers to improve the overall audio experience.
5. Interference or External Noise: External sources such as nearby electronic devices, fluorescent lights, or Wi-Fi routers can cause interference and affect the sound quality. Try moving these sources away from the projector and speakers to minimize interference. Additionally, ensure that the projector is placed in an area with minimal background noise for clearer audio.
If you have tried troubleshooting these common issues and are still experiencing problems with the volume on your projector, consult the manufacturer’s support documentation or reach out to their customer support for further assistance. They may be able to provide specific troubleshooting steps or recommend professional assistance.
Now that we have covered the troubleshooting aspect, let’s conclude this article with some final thoughts.
Conclusion
In this guide, we have explored various methods to turn up the volume on a projector and enhance your audio experience. We started by understanding the different types of projector volume controls, including on-screen controls, physical controls on the device, and remote controls. We then discussed the importance of checking the projector’s audio settings and ensuring the volume is not set to the minimum or muted. If the built-in speakers aren’t sufficient, we learned how to connect external speakers to the projector for improved sound quality.
We also covered the convenient option of adjusting the volume using the projector’s remote control, allowing for easy operation from a distance. Lastly, we addressed common issues users may encounter with projector volume and provided troubleshooting tips to resolve them.
Remember, achieving the desired sound level on your projector involves a combination of adjusting the projector’s settings, connecting external speakers, and fine-tuning the volume controls. Experiment with different options to find the optimal audio experience that suits your needs and preferences.
If you still encounter difficulties or have specific questions related to your projector model, always refer to the manufacturer’s documentation or contact their customer support for further assistance.
We hope this guide has been helpful in guiding you through the process of turning up the volume on your projector and improving your audio experience. Whether you are using a projector for presentations, movie nights, or gaming sessions, a well-adjusted and properly amplified sound can significantly enhance the overall viewing experience.
Now, grab your popcorn, sit back, and enjoy your favorite content with crisp and clear audio on your projector!