Introduction
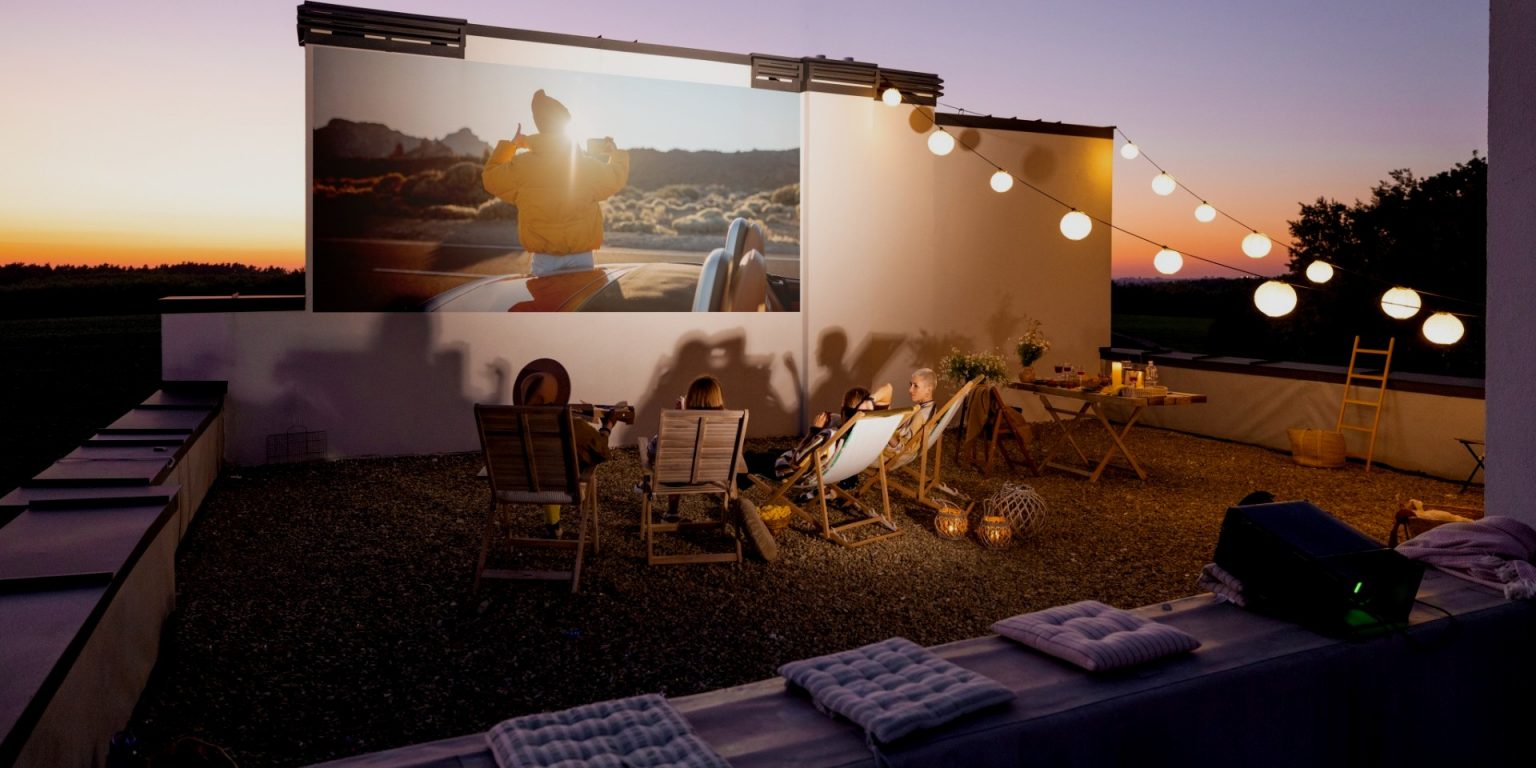
Welcome to our guide on how to connect a speaker to a projector. Whether you’re setting up a home theater system or delivering a presentation, having clear and amplified audio can greatly enhance your overall experience. By connecting a speaker to your projector, you can enjoy immersive sound quality that complements the visuals on the screen.
While projectors are primarily designed to display images and videos, most of them also come with audio capabilities. However, the built-in speakers on projectors are often not sufficient for larger rooms or immersive audio experiences. Connecting an external speaker allows you to amplify the sound and improve the overall audio performance.
In this guide, we will walk you through the step-by-step process of connecting a speaker to your projector. We will cover everything from gathering the necessary equipment to adjusting the audio settings. Whether you’re a beginner or a seasoned enthusiast, you’ll find our instructions easy to follow, and you’ll be up and running in no time.
Before we dive into the details, it’s important to note that the process may vary slightly depending on the model and brand of your projector. Therefore, it’s always a good idea to refer to your projector’s user manual for specific instructions. However, our guide will provide you with general guidelines that apply to most projectors and speakers on the market.
So, if you’re ready to enhance your audio experience and take your projector setup to the next level, let’s get started with step one: gathering the necessary equipment.
Step 1: Gather the necessary equipment
Before you begin connecting your speaker to the projector, it’s essential to gather all the required equipment. Here’s what you’ll need:
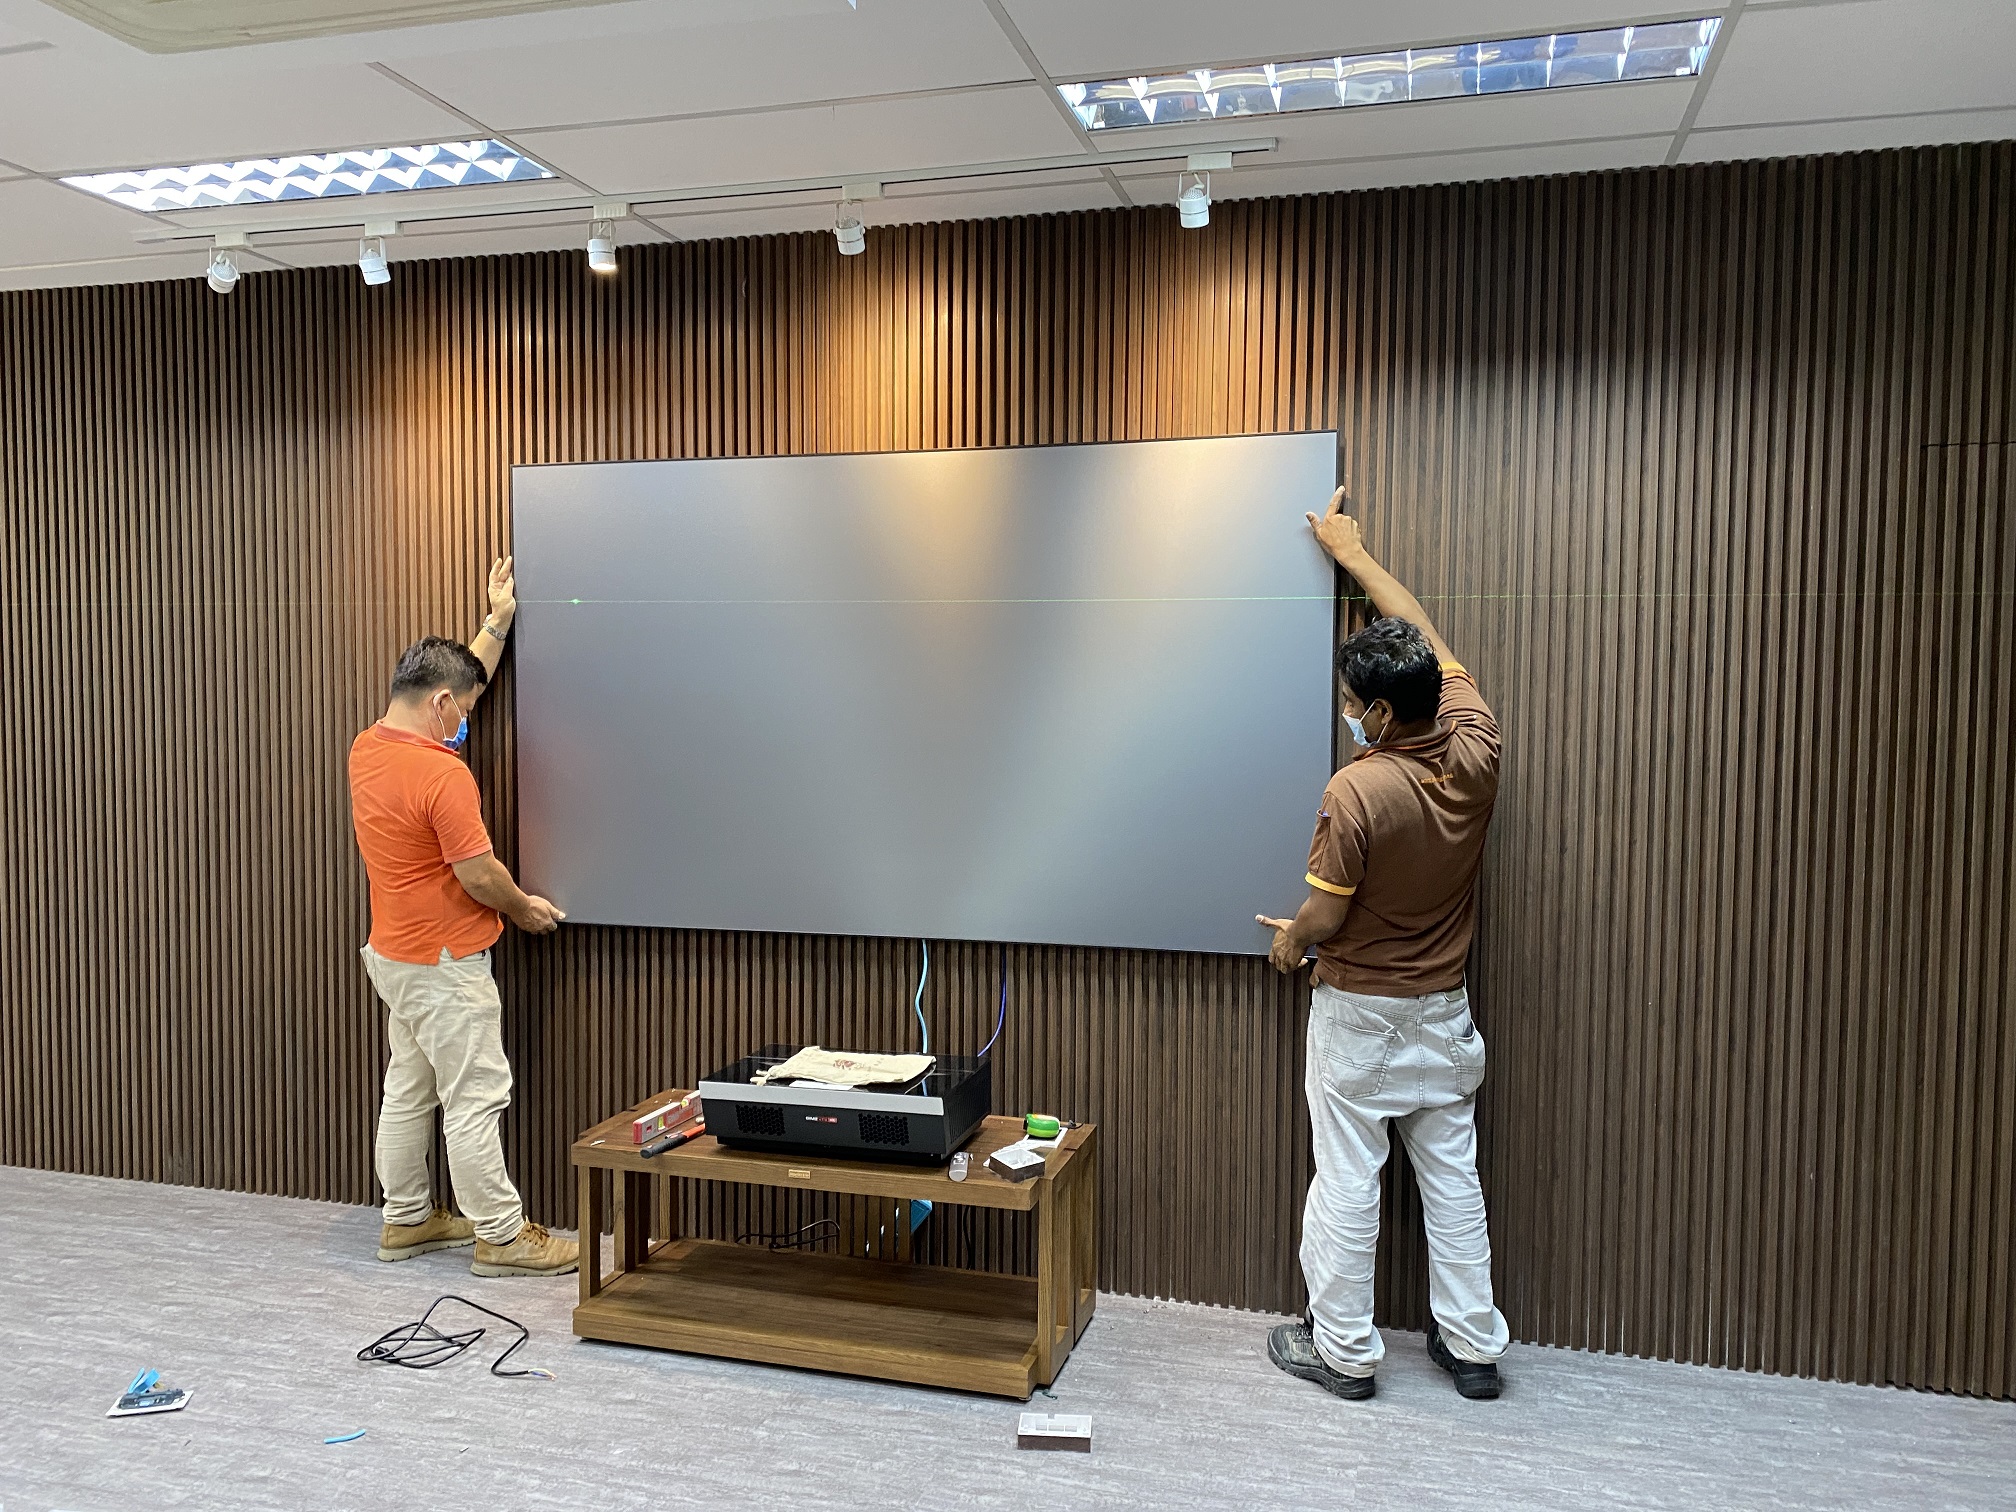
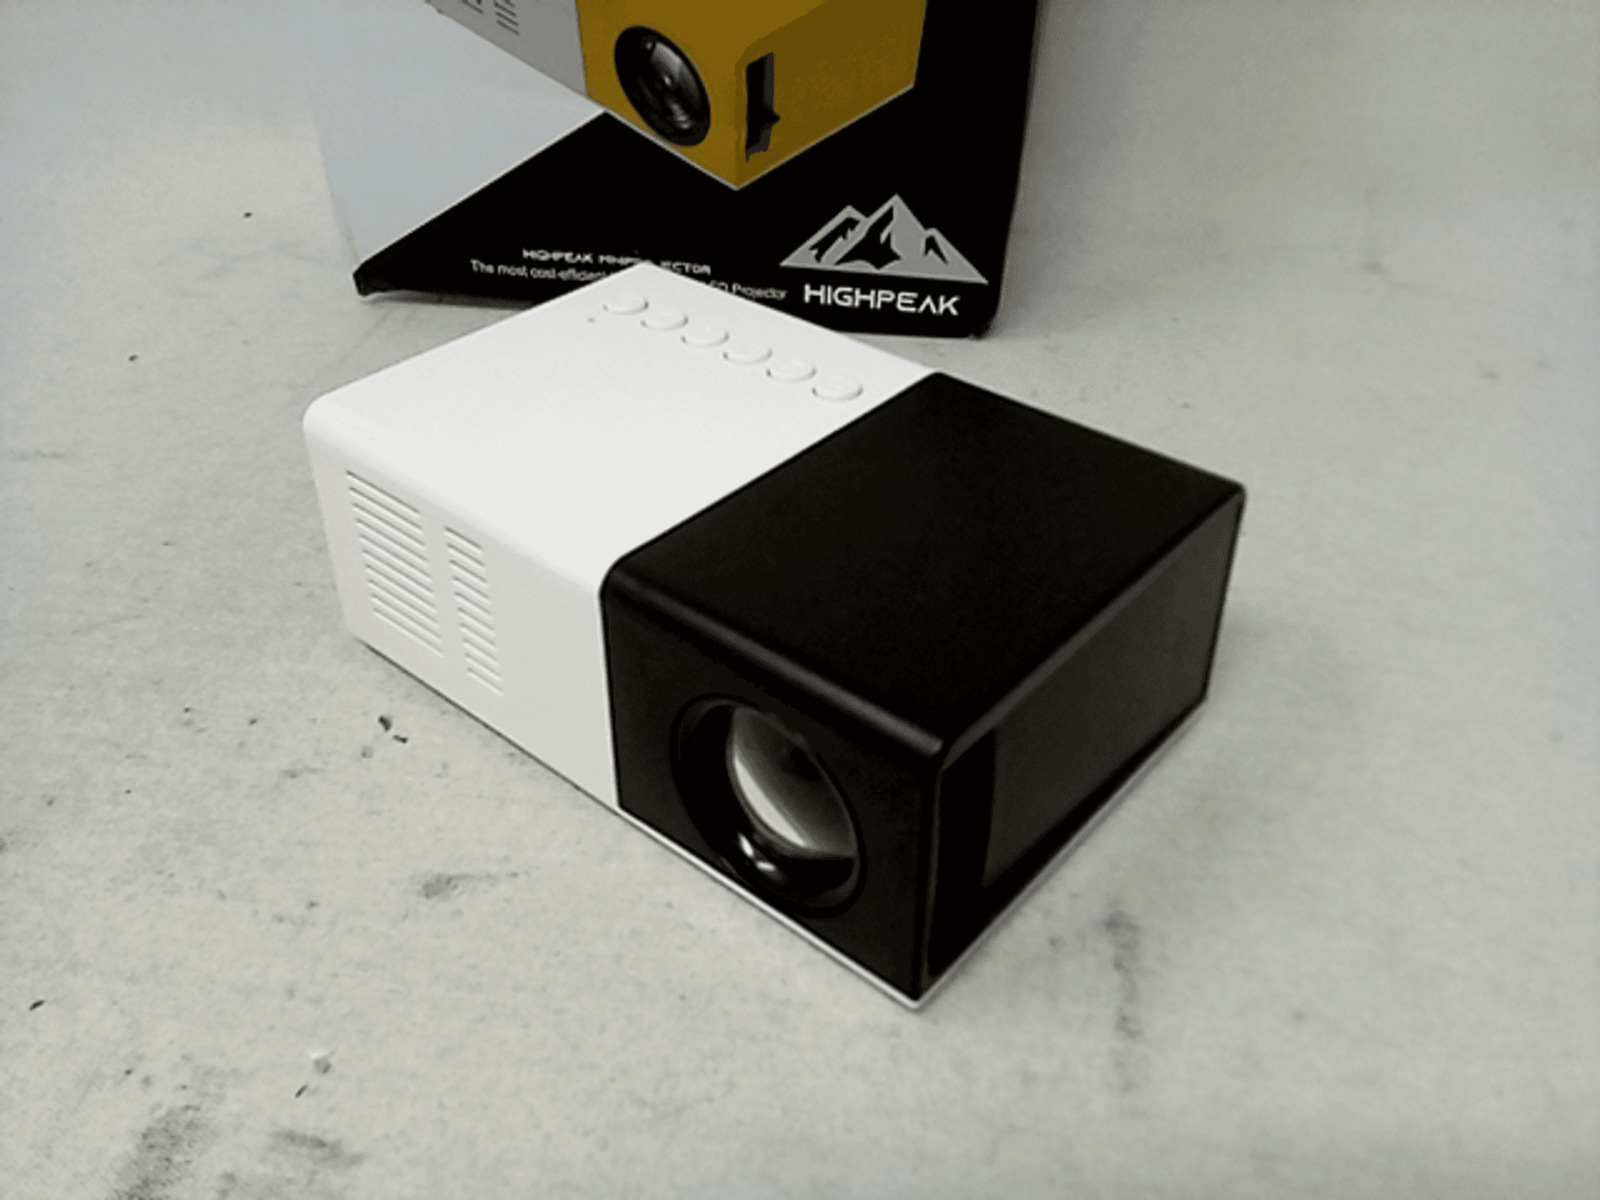
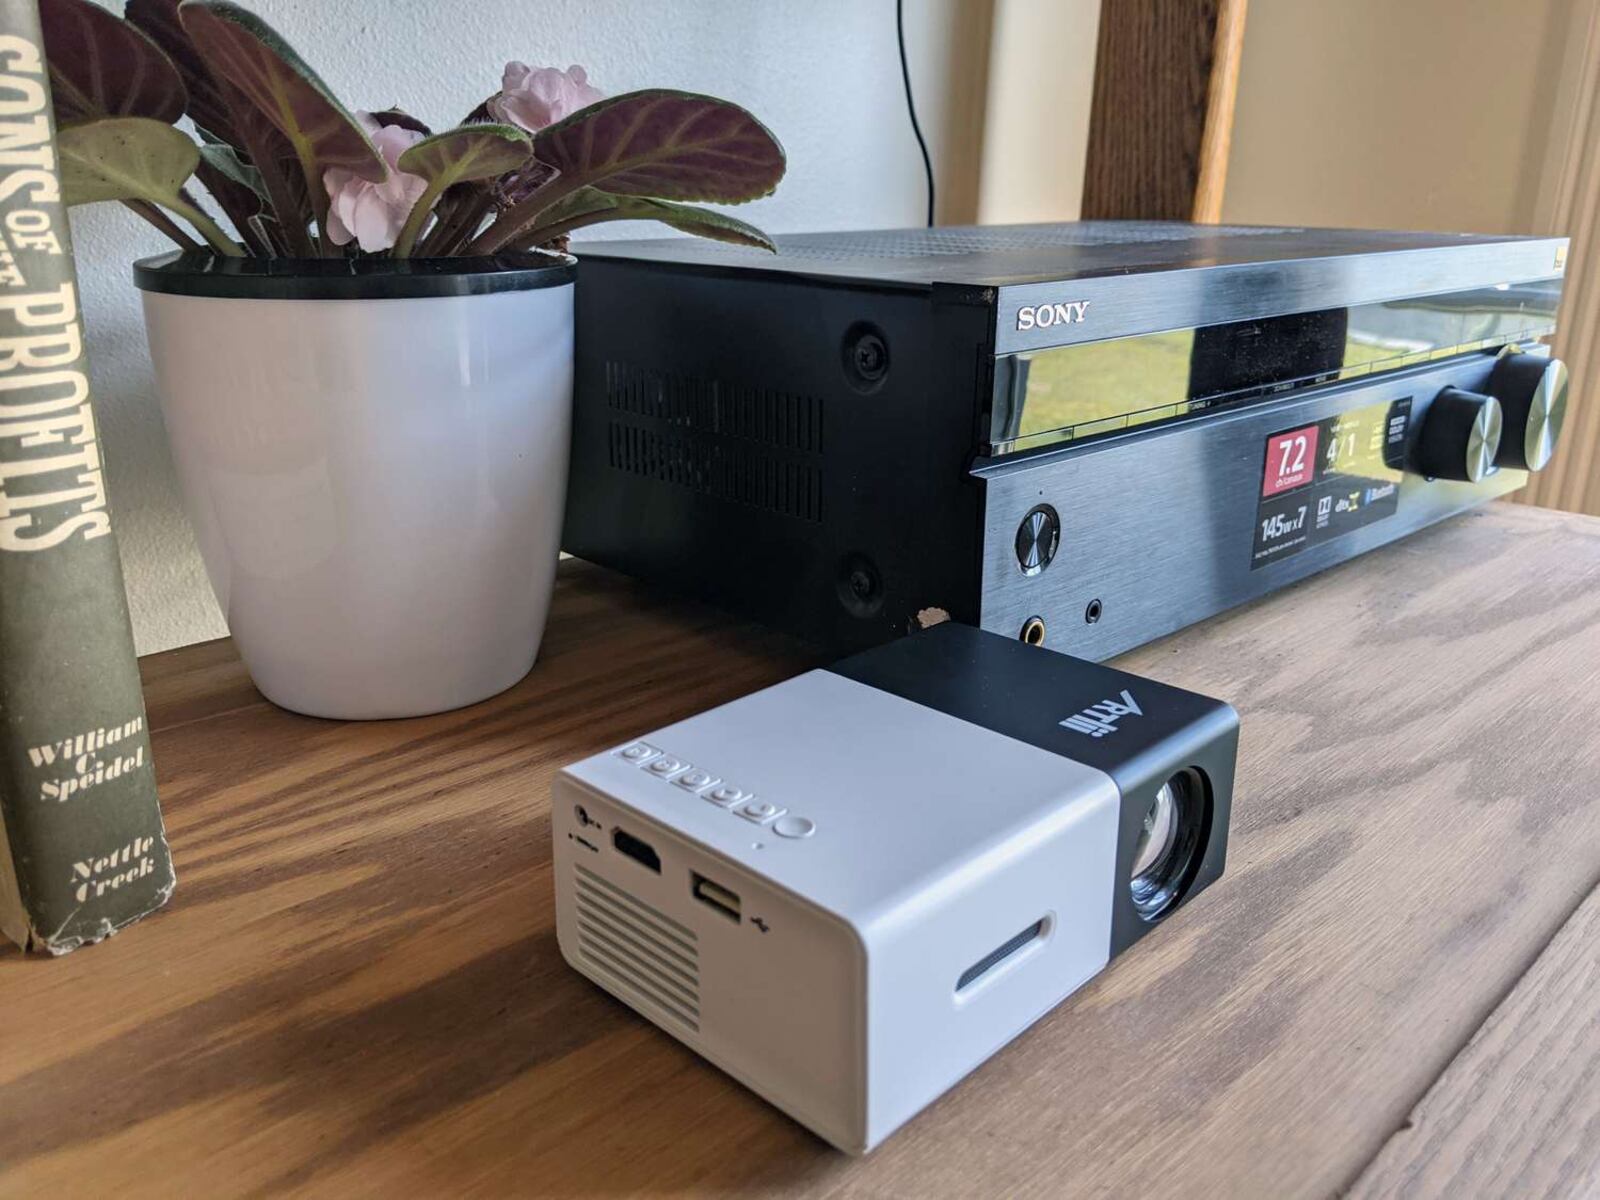
- A projector: Ensure you have your projector ready and properly set up. Make sure it’s connected to a power source and displaying the desired content.
- A speaker: Choose a speaker that suits your needs and preferences. You can opt for a compact portable speaker or a larger, more powerful one for a home theater setup. Make sure the speaker has the necessary audio inputs.
- An audio cable: You’ll need an audio cable to connect the projector to the speaker. The type of cable you need will depend on the audio output options available on your projector.
Once you have gathered all the required equipment, you can proceed to the next step.
If your projector has multiple audio output options, such as a 3.5mm headphone jack, HDMI, or RCA outputs, you may need to refer to your projector’s manual to determine which audio output is best suited for your setup. Additionally, check the available audio inputs on your speaker to ensure compatibility.
It’s worth noting that some projectors and speakers may require additional adapters or converters to establish a proper connection. Make sure to have these accessories on hand if needed.
In the next step, we’ll help you locate the audio output on your projector, so stay tuned.
Step 2: Find the audio output on the projector
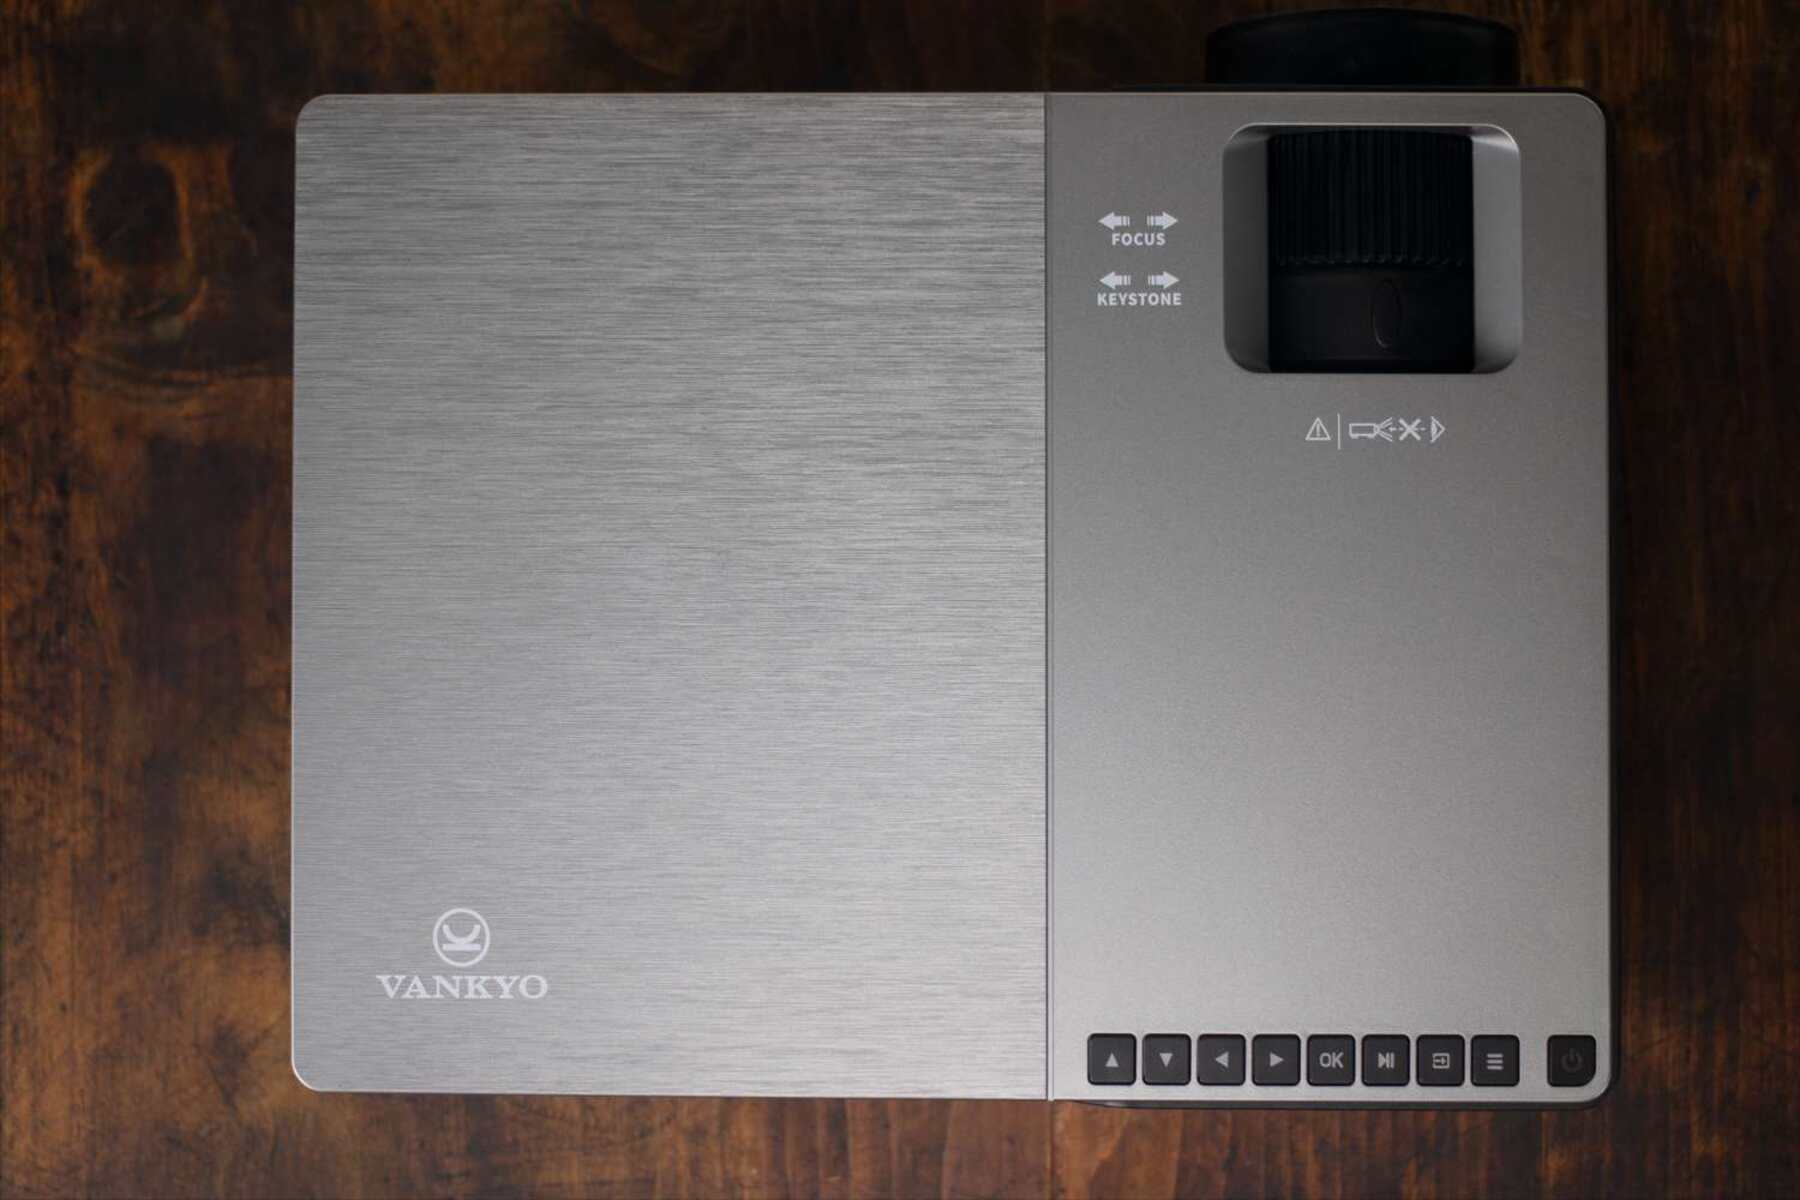
Now that you have gathered all the necessary equipment, it’s time to locate the audio output on your projector. The audio output is where you will connect the audio cable that will transmit the sound to your speaker.
The location of the audio output may vary depending on the make and model of your projector. Here are some common places to find the audio output:
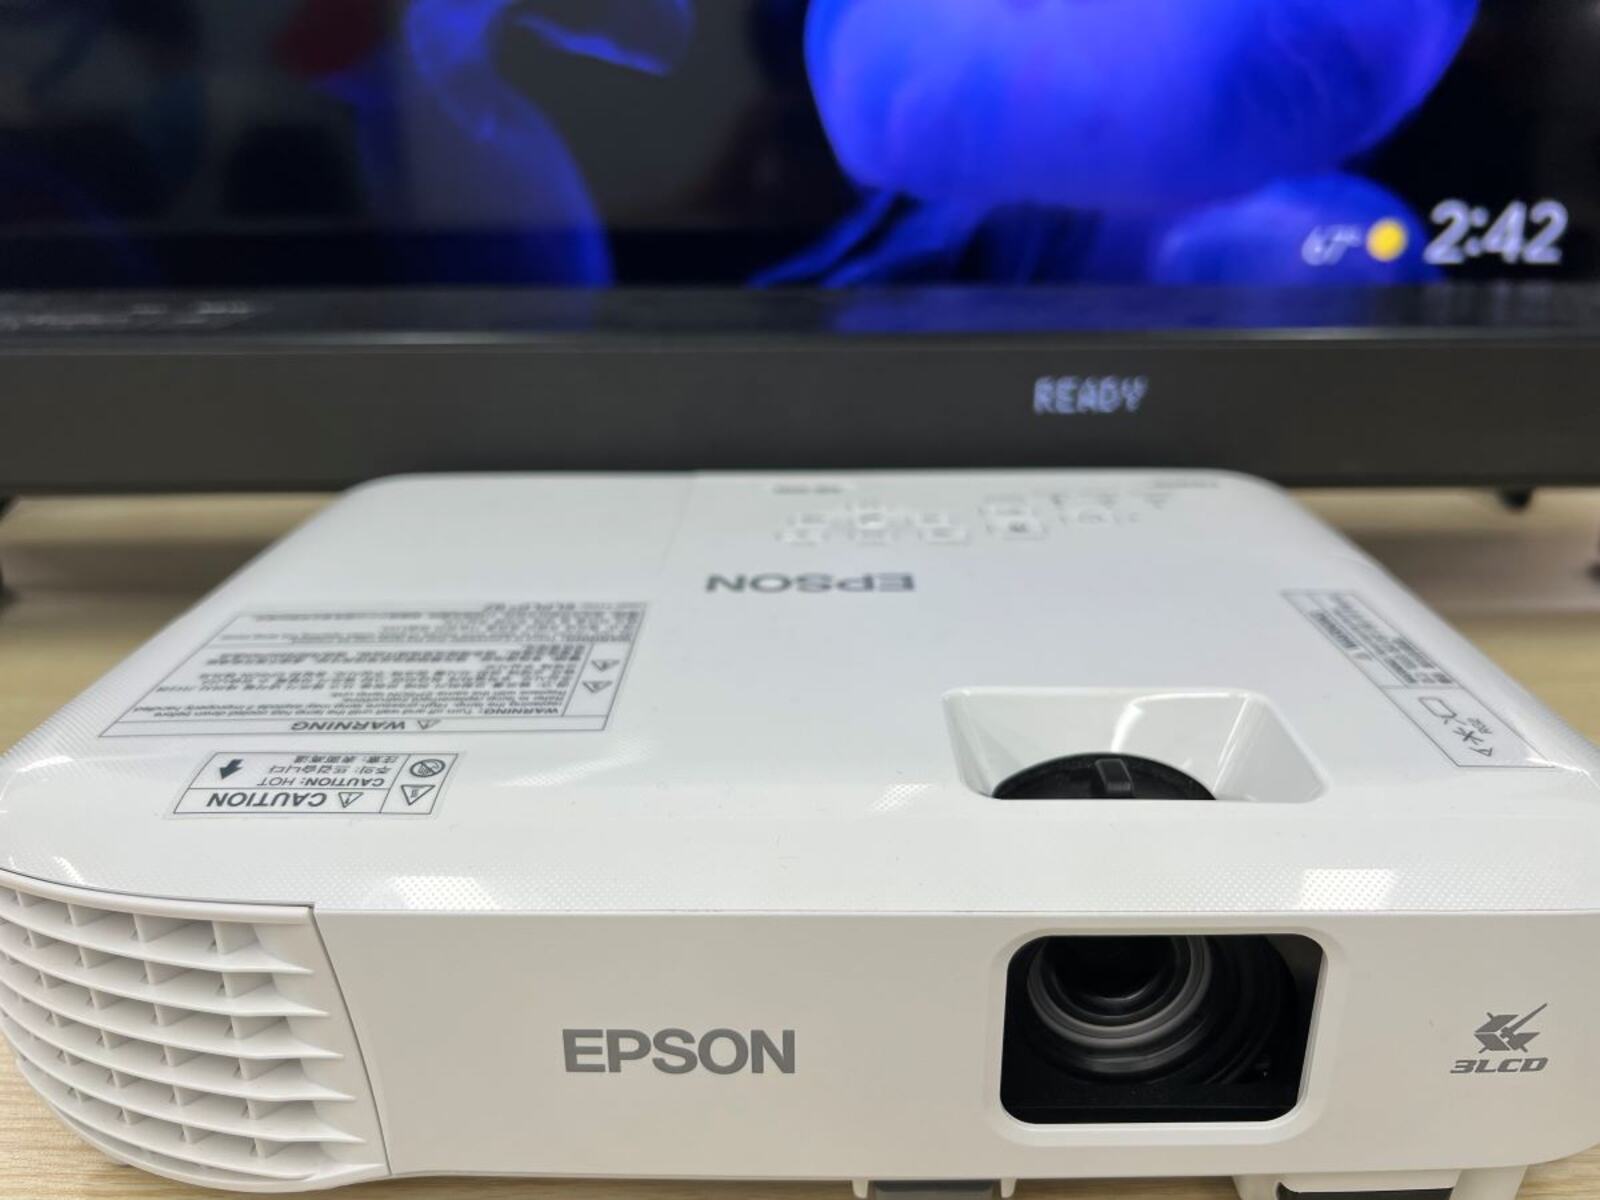
- 3.5mm headphone jack: Many projectors feature a 3.5mm audio output jack, similar to the one you find on most smartphones and laptops.
- HDMI: Some projectors have an HDMI output that also carries the audio signal. In this case, you can connect your speaker directly to the HDMI output using an HDMI cable.
- RCA outputs: Certain projectors may have RCA outputs, which are typically color-coded as red and white. These outputs are commonly used for audio connections.
Refer to your projector’s user manual or the manufacturer’s website to locate the specific audio output on your device. The manual will provide detailed information and illustrations to help you identify the correct port.
If you are unable to find the audio output or need assistance, feel free to reach out to customer support for your projector brand. They can guide you through the process and provide any additional help or troubleshooting if necessary.
Once you have located the audio output on your projector, you can move on to the next step of determining the type of audio connection you need. Keep reading to find out more.
Step 3: Determine the type of audio connection
After locating the audio output on your projector, the next step is to determine the type of audio connection you need. This will largely depend on the audio output options available on your projector and the audio inputs on your speaker.
Here are some common audio connections you may come across:
- 3.5mm to 3.5mm cable: If your projector has a 3.5mm headphone jack output, and your speaker also has a 3.5mm audio input, you can use a 3.5mm to 3.5mm cable. This type of cable has a 3.5mm connector on both ends.
- HDMI cable: If your projector offers audio output through the HDMI port, and your speaker has an HDMI input, you can connect the two devices using an HDMI cable. This cable will carry both audio and video signals.
- RCA cable: For projectors with RCA audio outputs and speakers with RCA audio inputs, you can use an RCA cable. This cable typically has red and white connectors on both ends, corresponding to the right and left audio channels.
- Optical/SPDIF cable: Some projectors and speakers support optical audio connections. In this case, you can use an optical or SPDIF cable to establish the connection. These cables transmit audio signals using light.
Refer to the user manual of your projector and speaker to determine the compatible audio connections. If you’re unsure about the type of audio connection you need or require additional assistance, don’t hesitate to reach out to the manufacturer’s support team.
Once you have identified the appropriate audio connection, you’re ready to proceed to the next step: choosing the right audio cable. Keep reading for more information.
Step 4: Choose the appropriate audio cable
With the type of audio connection determined, it’s time to select the appropriate audio cable that will facilitate the connection between your projector and speaker. The right audio cable will depend on the audio output options available on your projector and the audio inputs on your speaker.
Here are some common types of audio cables that you can consider:
- 3.5mm audio cable: If your projector and speaker both have 3.5mm audio jacks, you will need a 3.5mm audio cable. This cable has a 3.5mm connector on both ends and is commonly used for devices like smartphones, laptops, and tablets.
- HDMI cable: If your projector supports audio output through the HDMI port, and your speaker has an HDMI input, you can use an HDMI cable. HDMI cables carry both audio and video signals, providing a high-quality connection.
- RCA cable: For projectors with RCA audio outputs and speakers with RCA audio inputs, an RCA cable is suitable. This cable features color-coded connectors (red and white) that correspond to the right and left audio channels.
- Optical/SPDIF cable: If your projector and speaker support optical audio connections, you will need an optical or SPDIF cable. These cables transmit audio signals using light and offer high-fidelity sound.
Consider the length of the cable you need, keeping in mind the distance between your projector and speaker. It’s also good practice to choose a cable of good quality to ensure optimal audio transmission.
If you’re unsure about which cable to choose or have any doubts, refer to the user manuals of your projector and speaker, or consult with the manufacturer’s customer support for specific recommendations.
Once you have obtained the appropriate audio cable, you’re ready to move on to the next step: connecting the audio cable to the projector. Read on for detailed instructions.
Step 5: Connect the audio cable to the projector
Now that you have chosen the appropriate audio cable, it’s time to connect it to the audio output on your projector. Follow these steps:
- Locate the audio output on your projector. It could be a 3.5mm headphone jack, an HDMI port, or RCA outputs.
- Ensure that your projector is turned off or in standby mode before making any connections.
- If you’re using a 3.5mm audio cable, insert one end of the cable into the audio output on the projector. If you’re using an HDMI or RCA cable, skip to step 6.
- If using an HDMI cable, connect one end of the cable to the HDMI audio output on the projector.
- If using an RCA cable, locate the corresponding color-coded audio outputs (red and white) on the projector. Connect the red RCA connector to the right audio output and the white RCA connector to the left audio output.
- Make sure the connections are secure and snug. Ensure that the cable is properly inserted into the audio output, without forcing it.
Once you have connected the audio cable to the projector, you’re ready to move on to the next step: connecting the other end of the audio cable to the speaker. Read on to learn how.
Step 6: Connect the other end of the audio cable to the speaker
With the audio cable successfully connected to the projector, it’s time to connect the other end of the cable to your speaker. Follow these steps:
- Locate the audio input on your speaker. It could be a 3.5mm audio jack, an HDMI input, RCA inputs, or optical input.
- Ensure that your speaker is turned off or in standby mode before making any connections.
- If you’re using a 3.5mm audio cable, insert the other end of the cable into the audio input on the speaker. If you’re using an HDMI or RCA cable, skip to step 6.
- If using an HDMI cable, connect the other end of the cable to the HDMI input on the speaker.
- If using an RCA cable, locate the corresponding color-coded audio inputs (red and white) on the speaker. Connect the red RCA connector to the right audio input and the white RCA connector to the left audio input.
- For optical audio connections, insert one end of the optical cable into the optical input on the speaker.
- Ensure that all connections are secure and snug, making sure the cable is properly inserted without exerting excessive force.
Once you have connected the other end of the audio cable to the speaker, you’re ready for the next step: adjusting the audio settings. Continue reading to find out more.
Step 7: Adjust the audio settings
Now that the audio cable is securely connected between the projector and the speaker, it’s time to adjust the audio settings to ensure optimal sound quality. Follow these steps:
- Turn on both the projector and the speaker.
- Access the audio settings on the projector. This can typically be done through the projector’s menu or settings options.
- Select the audio output option that corresponds to the connection you made. For example, if you connected the audio cable to the 3.5mm headphone jack on both the projector and the speaker, choose the audio output option that mentions the headphone jack.
- Adjust the volume settings on the projector to an appropriate level. This will depend on the size of the room and the desired audio experience.
- Switch the input source on your speaker to the audio input that you connected the cable to.
- Ensure that the speaker’s volume is set to an appropriate level as well. You may need to adjust both the projector and the speaker volumes to achieve the desired balance.
- Once you have made the necessary adjustments, test the audio by playing a video or audio file on the projector. Listen for clear and balanced sound through the connected speaker.
If you encounter any issues with the audio settings or are unable to hear sound through the speaker, double-check all connections and repeat the steps from the previous stages. Additionally, consult the projector and speaker user manuals for troubleshooting tips specific to your devices.
With the audio settings adjusted, you’re ready to move on to the next step: testing the speaker connection. Keep reading to learn more.
Step 8: Test the speaker connection
Now that you have connected the speaker to your projector and adjusted the audio settings, it’s time to test the speaker connection to ensure that everything is working properly. Follow these steps:
- Play a video or audio file on the projector that includes sound.
- Listen for the audio coming from the connected speaker. Is it clear and balanced?
- If you’re experiencing issues with the sound, check the connections between the projector and speaker. Ensure that the audio cable is securely plugged into both devices.
- Ensure that the volume levels on both the projector and the speaker are appropriately adjusted.
- If you’re using a remote control for the speaker, make sure it’s functioning correctly and the volume controls are responsive.
- If necessary, consult the user manuals for both the projector and the speaker for troubleshooting tips. They may provide insight into specific issues that may arise.
If you’re still facing difficulties with the speaker connection, it’s recommended to seek assistance from the manufacturer’s customer support or consult with a professional technician. They can provide further guidance and troubleshooting steps tailored to your specific setup.
Once you have confirmed that the speaker connection is working, sit back, relax, and enjoy the enhanced audio experience that complements your visual content.
Now that you have successfully tested the speaker connection, you’re ready to move on to the next section for some troubleshooting tips. Continue reading to learn more.
Step 9: Troubleshooting tips
While connecting a speaker to a projector is a relatively straightforward process, you may encounter some issues along the way. Here are a few troubleshooting tips to help you resolve common problems:
- Check all the cable connections: Ensure that the audio cable is securely plugged into both the projector and the speaker. Loose connections can result in no sound or poor audio quality.
- Verify the audio output settings: Double-check the audio output settings on the projector. Make sure that the correct output option is selected for the type of audio connection you made.
- Inspect the audio cable: Examine the audio cable for any signs of damage or wear. A faulty cable can disrupt the audio signal. Consider trying a different cable to see if the issue persists.
- Restart the devices: Sometimes, a simple restart can resolve connectivity issues. Turn off both the projector and the speaker, wait a few seconds, and then power them back on.
- Update firmware and drivers: If your projector or speaker has firmware or driver updates available, install them. Updated software can address known issues and improve performance.
- Check volume levels: Ensure that both the projector and the speaker volumes are not muted or set too low. Adjust the volume levels accordingly to achieve the desired audio levels.
- Try a different audio output: If your projector has multiple audio output options, such as HDMI, 3.5mm, or RCA, try connecting and testing each one to see if any of them resolve the issue.
- Consult the user manuals: Refer to the user manuals for both your projector and speaker for specific troubleshooting tips and solutions. They may provide guidance tailored to your specific setup.
- Seek professional assistance: If you have tried all the troubleshooting steps and are still experiencing issues, it may be time to consult with a professional technician or reach out to the manufacturer’s customer support for further assistance.
Remember to remain patient and methodical when troubleshooting. Sometimes, it may take a few attempts or adjustments to resolve the issue.
By following these troubleshooting tips, you can overcome common problems and ensure that your speaker is properly connected to your projector, providing you with an immersive audio experience.
Conclusion
Connecting a speaker to a projector can significantly enhance your audiovisual experience, whether you’re watching movies, giving presentations, or enjoying multimedia content. By following the step-by-step guide we have provided, you can successfully connect your speaker to your projector and enjoy immersive sound quality.
We began by gathering the necessary equipment, including a projector, speaker, and appropriate audio cable. Then, we located the audio output on the projector and determined the type of audio connection required. Choosing the correct audio cable was crucial to establish a proper connection.
Next, we connected the audio cable to the projector and then to the speaker. This involved identifying the audio input on the speaker and ensuring secure connections. We then adjusted the audio settings on both the projector and speaker to optimize the sound quality.
Testing the speaker connection allowed us to confirm whether the setup was successful. If you encountered any issues along the way, our troubleshooting tips provided guidance on resolving common problems.
Remember, while the specific steps may vary depending on your projector and speaker models, the fundamental principles remain the same. Always consult the user manuals for detailed instructions specific to your devices.
With your speaker successfully connected to your projector, you can now enjoy immersive audio that enhances your visual content. Whether you’re watching movies with friends, delivering presentations with impactful sound, or immersing yourself in your favorite games, the added audio dimension will take your experience to new heights.
Thank you for following our guide, and we hope it has been helpful in connecting your speaker to your projector. Enjoy your enhanced audiovisual experience!