Introduction
With the rising popularity of wireless earbuds, Apple has introduced its own line of wireless headphones known as AirPods. These sleek and stylish earbuds not only offer exceptional sound quality and convenience, but they also come equipped with noise cancellation technology. Noise cancellation is a powerful feature that isolates and eliminates ambient sounds, immersing you in your own audio experience.
Whether you’re looking to get lost in your favorite music, focus on an important phone call, or simply enjoy some peace and quiet, knowing how to turn on the noise cancelling feature on your AirPods can make all the difference. In this article, we will guide you through the simple steps to enable noise cancelling on your AirPods.
Before diving into the details, it’s essential to ensure that your AirPods are connected to your device. The noise cancelling feature can only be accessed when your AirPods are paired and connected.
Now, let’s explore the step-by-step process of turning on the noise cancelling feature on your AirPods.
Understanding Noise Cancelling
Noise cancelling technology is designed to reduce or eliminate unwanted external sounds, allowing you to immerse yourself in whatever audio you’re listening to. It works by using built-in microphones to detect ambient noises and then generating sound waves that are precisely out of phase with the detected noises. These out-of-phase waves effectively cancel out the unwanted sounds, resulting in a quieter and more focused listening experience.
The noise cancelling feature in AirPods is particularly useful in environments with background noise, such as busy city streets, crowded offices, or noisy public transportation. By activating noise cancellation, you can tune out distractions and enjoy your audio with enhanced clarity and immersion.
It’s important to note that noise cancellation isn’t perfect and might not eliminate all sounds. It works best in reducing steady, low-frequency noises like the hum of an air conditioner or the rumble of an engine. Sudden or high-pitched noises may still be audible to some extent. However, the technology continues to improve, and newer models of AirPods offer more advanced noise cancellation capabilities.
Now that you have a basic understanding of how noise cancelling works, let’s proceed to the steps to turn on this feature on your AirPods.
Step 1: Ensuring AirPods are Connected
Before you can turn on the noise cancelling feature on your AirPods, it’s important to ensure that they are properly connected to your device. Follow these simple steps to check the connection:
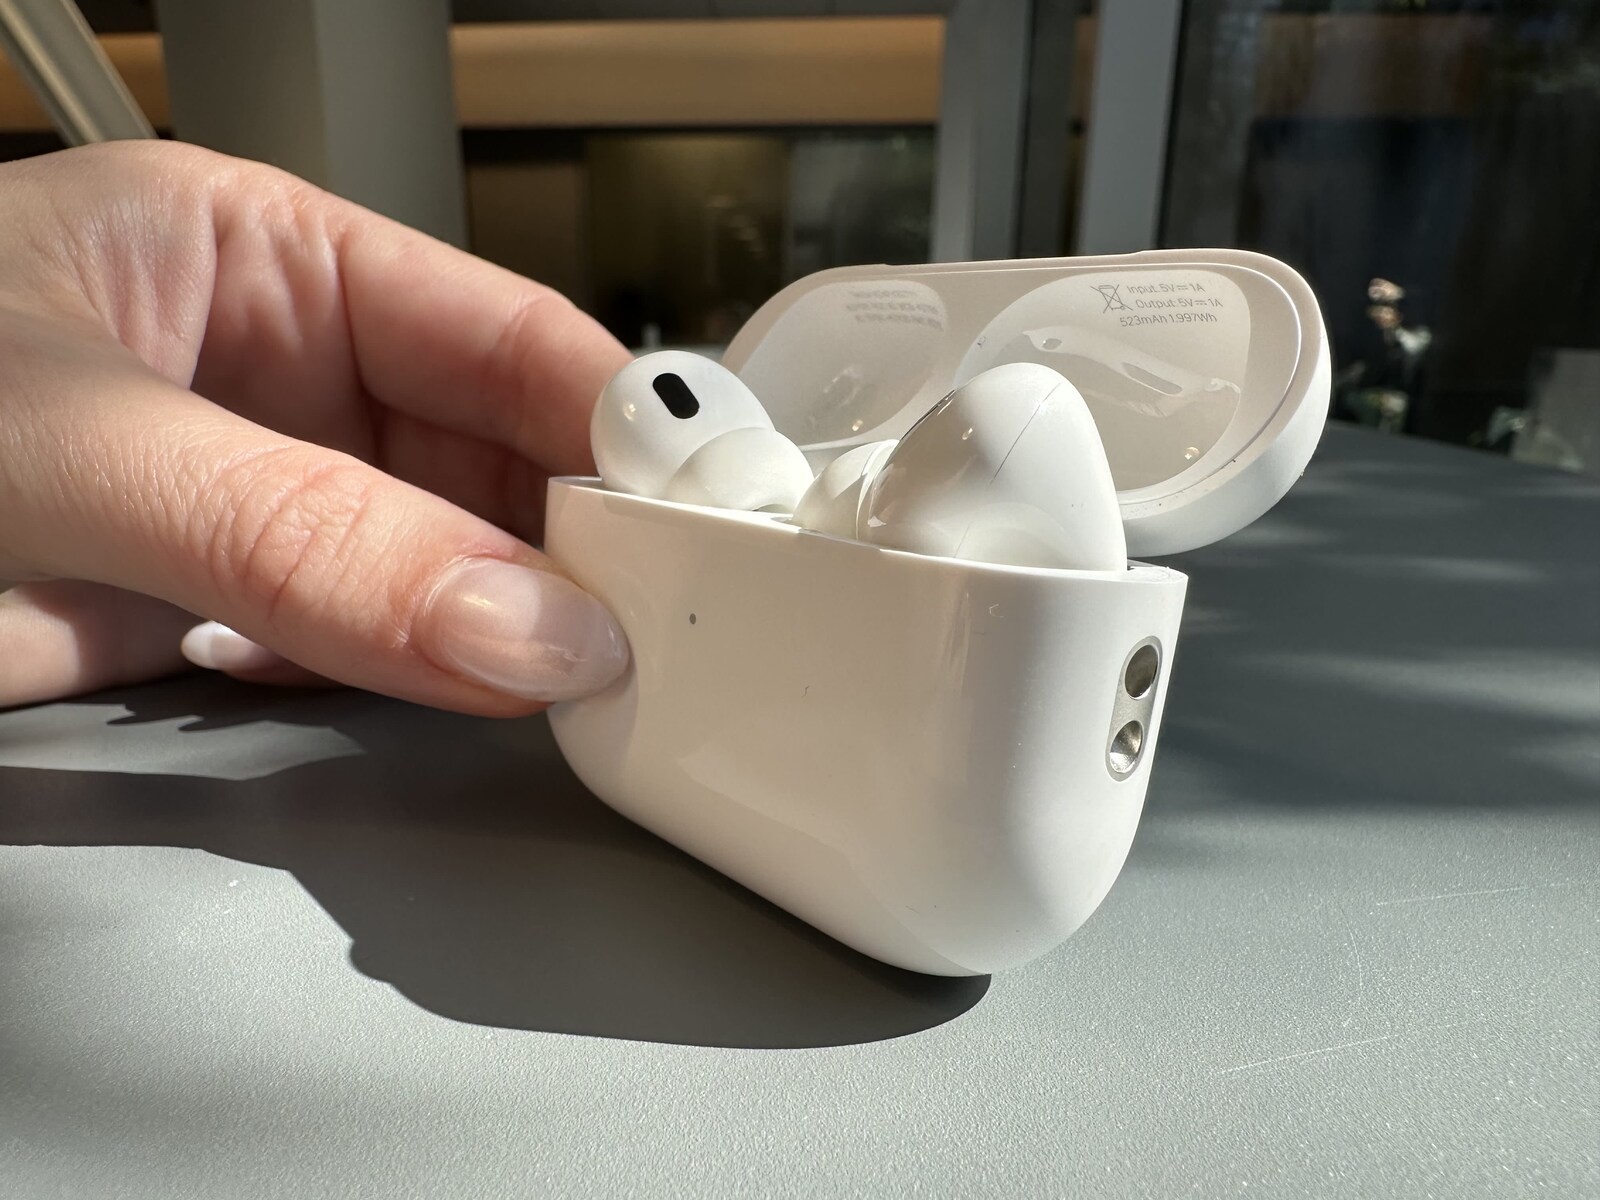
- Open the lid of your AirPods case.
- Make sure that your AirPods are inside the case.
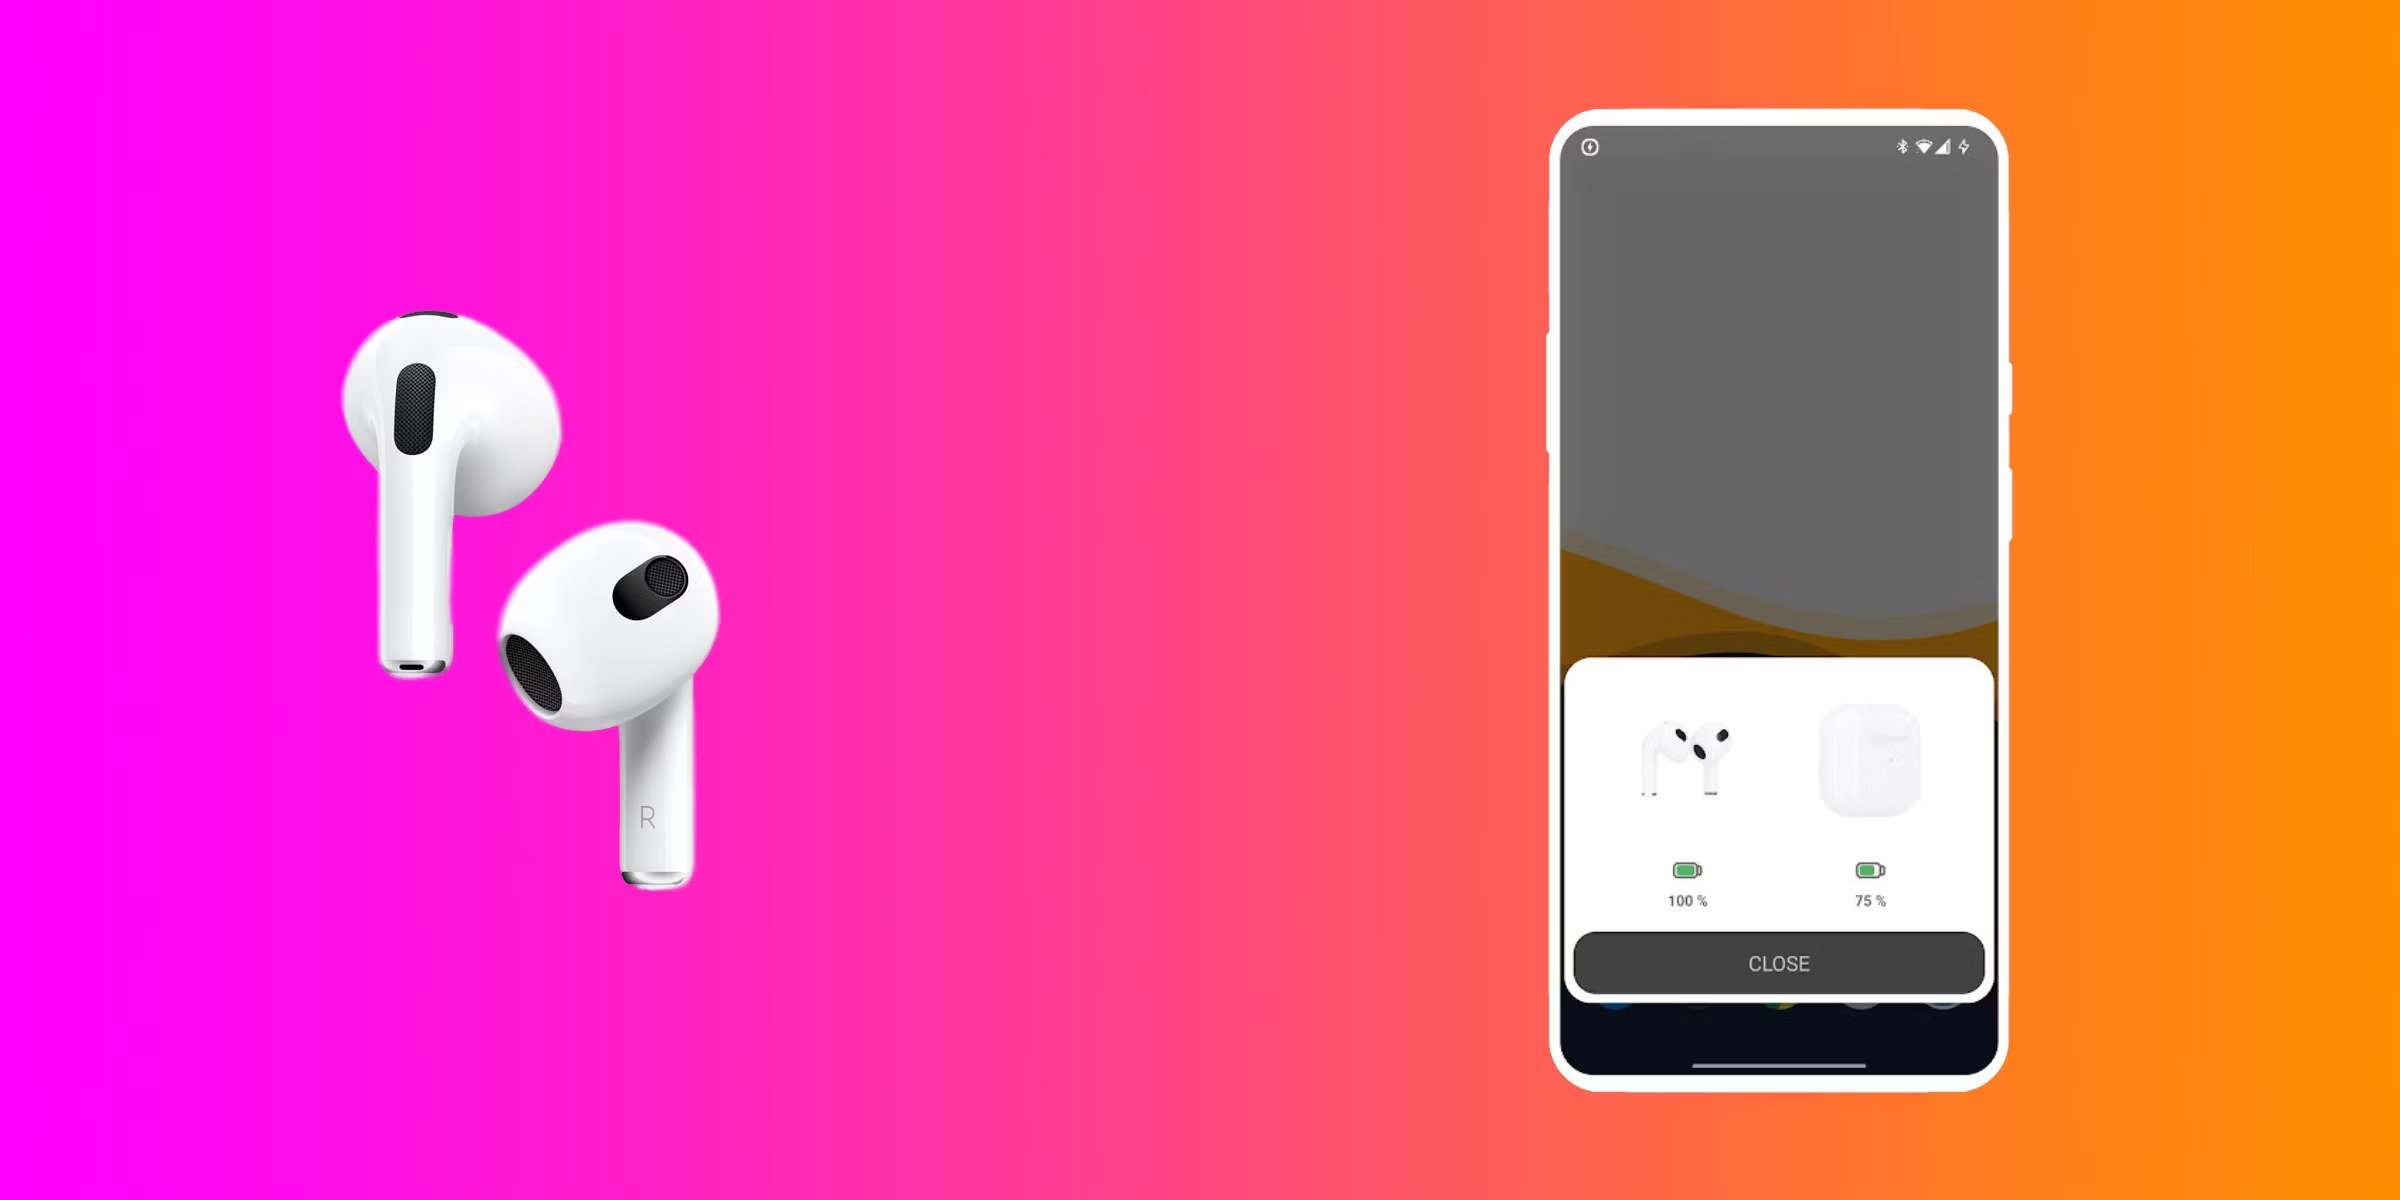
- Bring your device near the open case.
- A pop-up window should appear on your device’s screen, indicating the connection status of your AirPods.
- If the pop-up window doesn’t appear, you may need to manually connect your AirPods. Open the Bluetooth settings on your device, locate your AirPods, and select them to establish the connection.
Once you have confirmed that your AirPods are successfully connected to your device, you’re ready to proceed to the next step.
Step 2: Opening Control Center
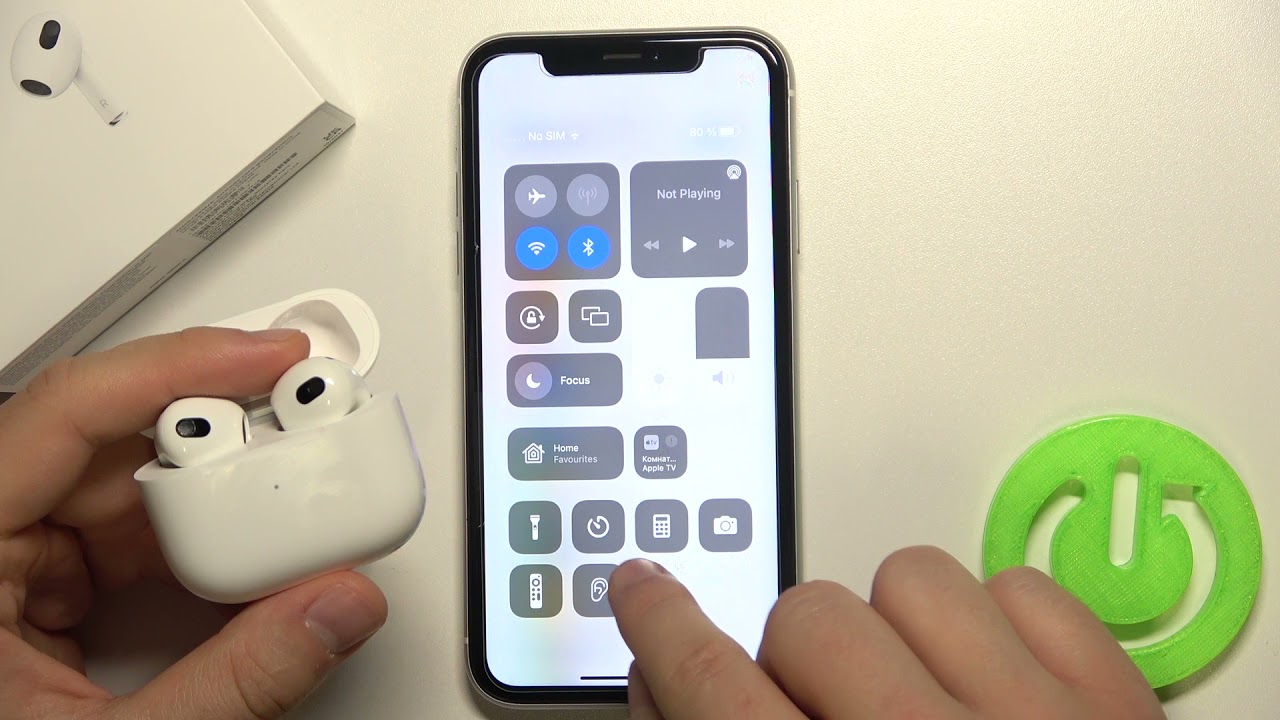
To access the noise cancelling option for your AirPods, you’ll need to open the Control Center on your device. The Control Center is a convenient menu that provides quick access to various settings and features.
The method of opening the Control Center may vary depending on the device you’re using. Here are the steps to open the Control Center on different devices:
- iPhone X and later: Swipe down from the top-right corner of the screen to open the Control Center.
- iPhone 8 and earlier: Swipe up from the bottom of the screen to reveal the Control Center.
- iPad with iOS 12 or later: Swipe down from the top-right corner of the screen to access the Control Center.
- iPad with iOS 11 or earlier: Swipe up from the bottom of the screen to bring up the Control Center.
Once you have successfully opened the Control Center, you’re ready to move on to the next step.
Step 3: Locating the Noise Cancelling Option
Now that you have accessed the Control Center on your device, it’s time to locate the noise cancelling option for your AirPods. Follow these steps to find the noise cancelling setting:
- Scan through the various icons and options in the Control Center.
- Look for the sound or music-related icon. It may resemble a musical note or headphones.
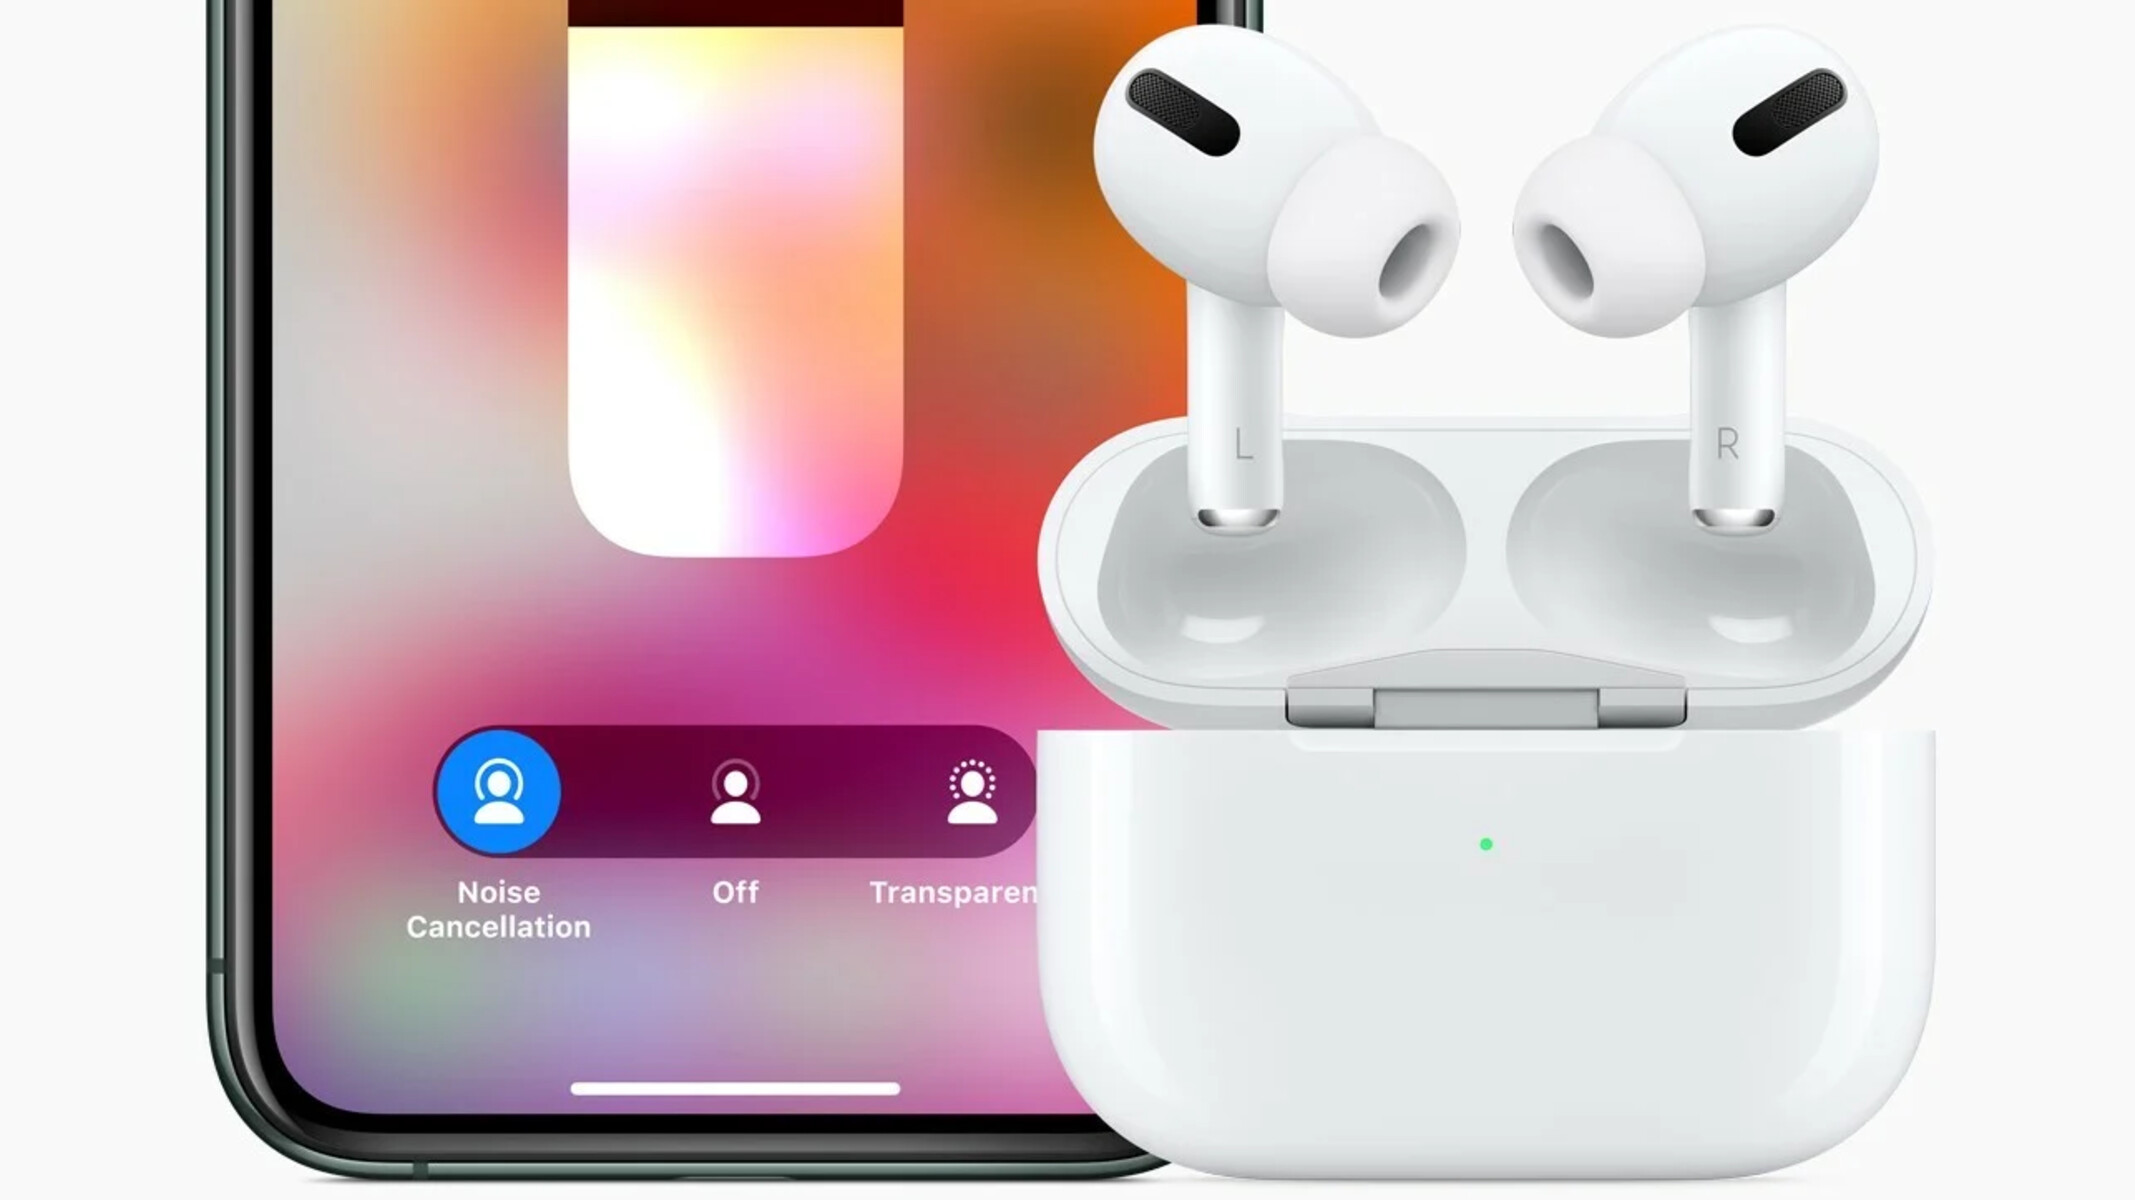
- Tap or long-press the sound icon to reveal the expanded audio settings.
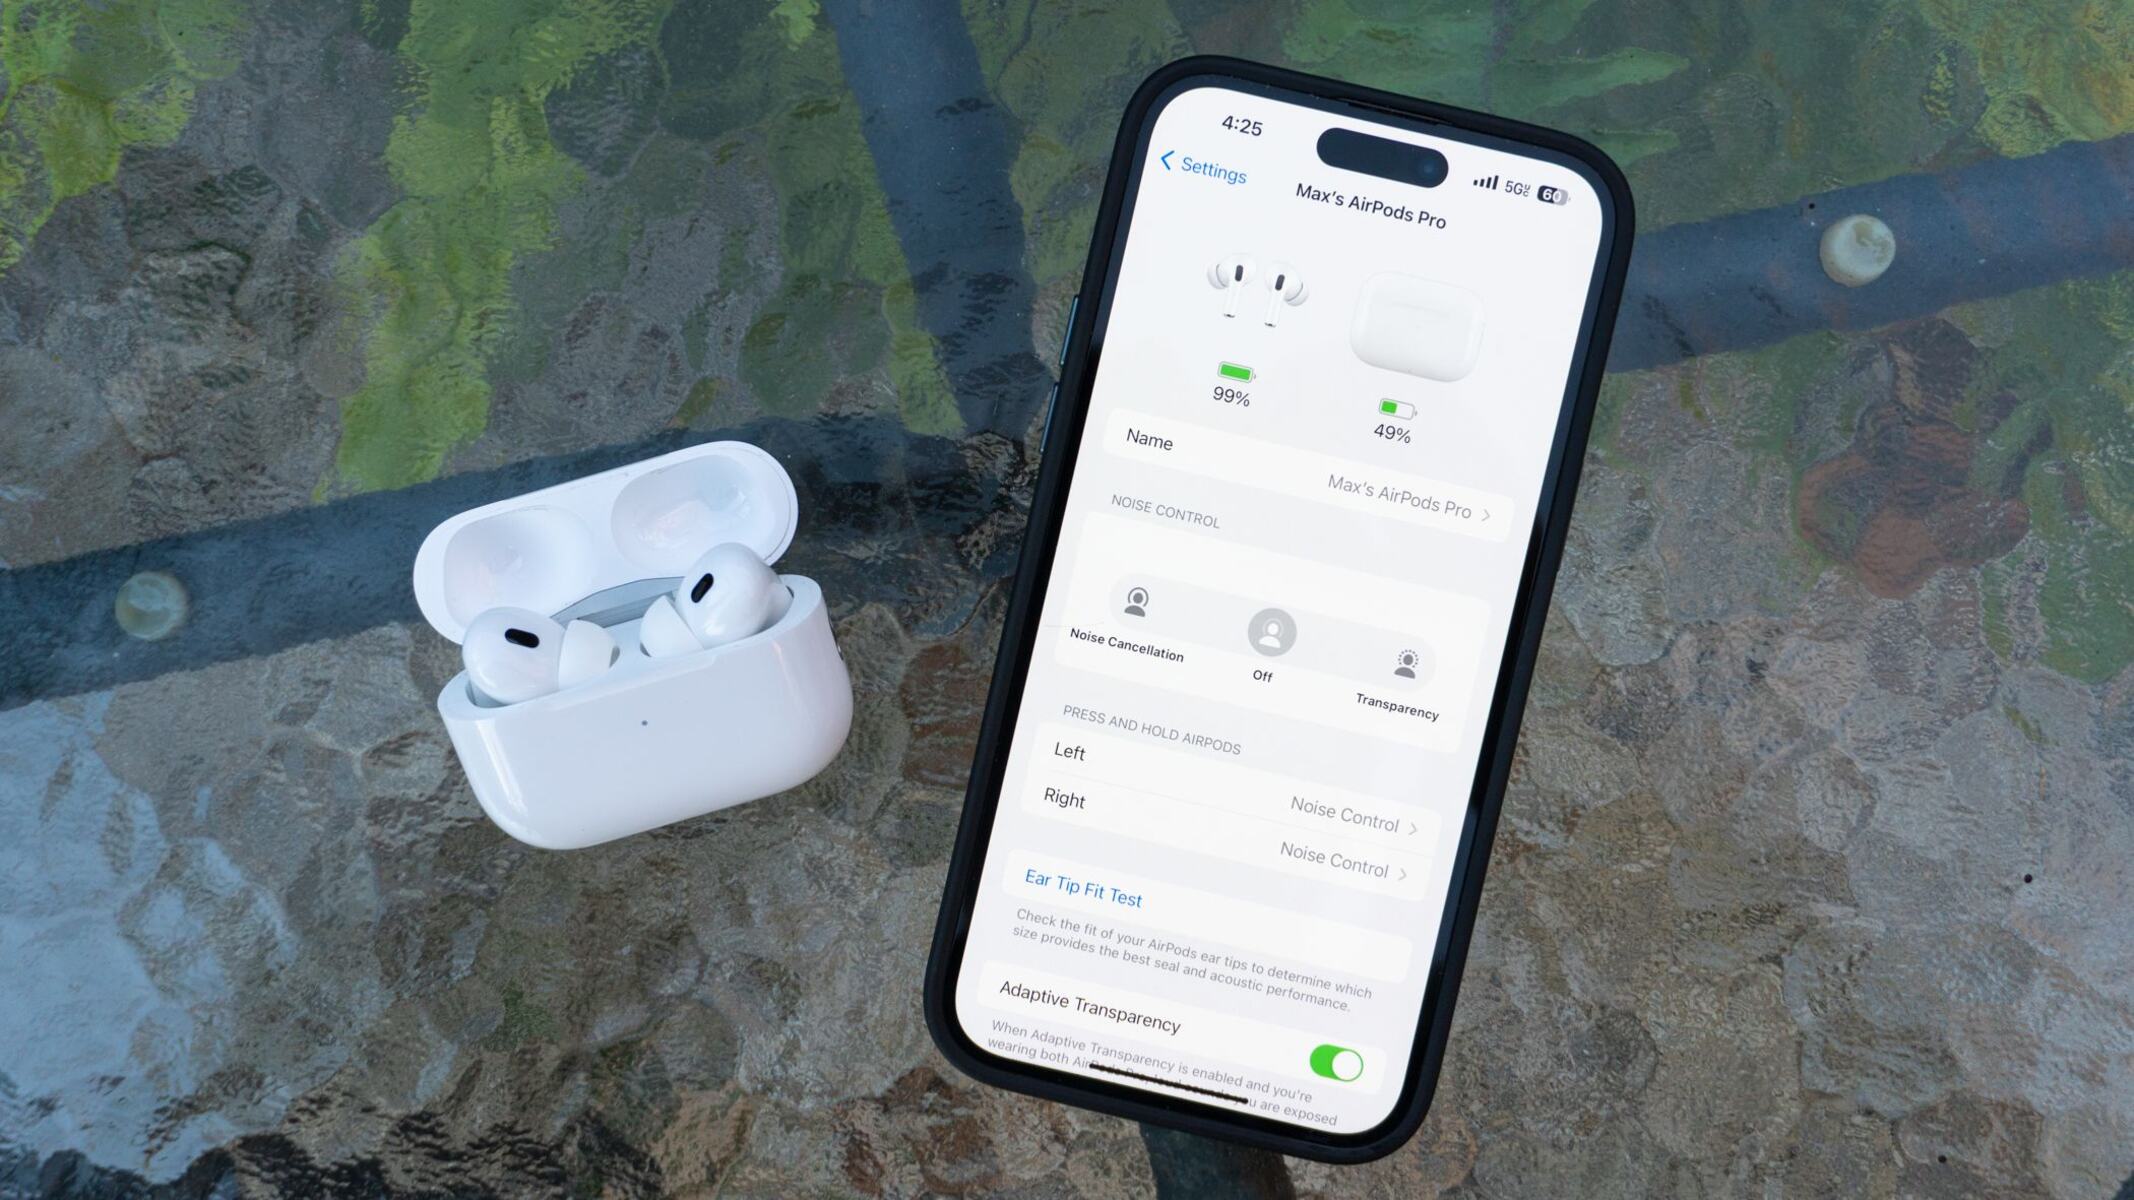
- In the expanded audio settings, look for the noise cancelling option. It might be labeled as “Noise Cancellation,” “Transparency,” or a similar term.
- If you’re having trouble finding the noise cancelling option, try swiping left or right within the audio settings to explore additional options.
Once you have located the noise cancelling option, you’re ready to move on to the next step and enable noise cancelling on your AirPods.
Step 4: Enabling Noise Cancelling Mode
Now that you’ve found the noise cancelling option in the Control Center, it’s time to enable the noise cancelling mode on your AirPods. Follow these steps to activate the noise cancelling feature:
- Tap on the noise cancelling option within the expanded audio settings in the Control Center.
- You may see different levels or modes of noise cancelling, depending on the model of your AirPods. Choose the desired noise cancelling strength or mode that suits your preferences.
- Once you’ve made your selection, you should hear a confirmation sound or see a visual indicator on your device, indicating that noise cancelling has been enabled.
With noise cancelling mode turned on, your AirPods will now actively reduce or eliminate surrounding sounds, allowing you to enjoy your audio content without any distractions.
Keep in mind that enabling noise cancelling mode may slightly reduce the battery life of your AirPods. If you are concerned about battery usage, you can adjust the noise cancelling strength or consider using the transparency mode, which allows you to hear both your audio and ambient sounds simultaneously.
Now that you’ve successfully enabled noise cancelling mode, let’s move on to the next step to explore how you can adjust the noise cancellation strength.
Step 5: Adjusting Noise Cancellation Strength
Once you have enabled the noise cancelling mode on your AirPods, you may want to adjust the noise cancellation strength to suit your preferences or the surrounding environment. Apple offers different levels or modes of noise cancellation, allowing you to customize your listening experience.
Follow these steps to adjust the noise cancellation strength on your AirPods:
- Access the Control Center on your device by following the steps mentioned earlier.
- Locate the noise cancelling option within the expanded audio settings in the Control Center.
- Tap on the noise cancelling option and you should see the available noise cancellation levels or modes.
- Select the desired noise cancellation strength or mode that aligns with your preferences.
By adjusting the noise cancellation strength, you can optimize your AirPods to effectively reduce background noise while maintaining the audio quality that suits your needs.
Experiment with different levels or modes of noise cancellation to find the setting that provides the ideal balance between reducing external noise and preserving the desired audio experience.
Now that you’ve adjusted the noise cancellation strength, let’s move on to the final step of disabling the noise cancelling mode.
Step 6: Disabling Noise Cancelling Mode
If you prefer to switch off the noise cancelling mode on your AirPods, follow these simple steps:
- Access the Control Center on your device as mentioned earlier.
- Locate the noise cancelling option within the expanded audio settings.
- Tap on the noise cancelling option to disable it.
Once you’ve disabled noise cancelling mode, your AirPods will allow more ambient sound to come through, providing a natural audio experience and allowing you to stay aware of your surroundings.
Disabling noise cancelling mode can be useful in certain situations where you need to be more alert, such as when walking on busy streets or during conversations with others.
Remember, you can always re-enable noise cancelling mode in the future when you want to immerse yourself in your audio content again.
Congratulations! You have now learned how to enable, adjust, and disable the noise cancelling feature on your AirPods. Enjoy your enhanced listening experience and make the most out of this convenient feature.
Conclusion
Noise cancelling has become an essential feature for anyone seeking a more immersive and focused audio experience. With the AirPods, you have the added advantage of accessing this technology wirelessly and conveniently.
In this article, we have walked you through the step-by-step process of enabling noise cancelling on your AirPods. We started by ensuring that your AirPods are properly connected to your device. Then, we guided you through opening the Control Center to locate the noise cancelling option. Next, we explained how to enable noise cancelling mode and adjust the noise cancellation strength to suit your preferences. Lastly, we showed you how to disable noise cancelling mode when needed.
Remember, noise cancelling works best for steady, low-frequency sounds, such as the hum of an airplane engine or the background noise in a bustling office. While it may not eliminate all sounds, it significantly reduces distractions and allows you to enjoy your audio content with greater clarity.
Whether you’re a music lover, podcast enthusiast, or frequently engage in phone calls on the go, knowing how to utilize the noise cancelling feature on your AirPods can greatly enhance your audio experience. So, put on your AirPods, activate noise cancelling, and immerse yourself in the world of sound.
Enjoy the peace and focus that noise cancelling provides, and make the most of your AirPods’ capabilities. Happy listening!