Introduction
When using an HDMI connection to connect your laptop to an external display, you may find it beneficial to turn off your laptop’s monitor. This can help conserve battery life, prevent distractions, and focus solely on the larger external display. Additionally, turning off the laptop monitor can also help extend the lifespan of the display panel.
There are several methods you can use to turn off the laptop monitor when using HDMI. In this article, we will discuss these methods and provide step-by-step instructions on how to implement them. Whether you are working on a presentation, gaming, or simply need a larger screen for multitasking, knowing how to disable the laptop monitor can come in handy.
By turning off the laptop monitor, you eradicate the need for unnecessary screen real estate and create a seamless workflow. Furthermore, this can help reduce eye strain by providing a larger, higher-resolution display for enhanced viewing. So, if you’re ready to learn how to turn off your laptop monitor when using HDMI, let’s dive into the different methods you can employ.
Why Turn off Laptop Monitor When Using HDMI?
There are several reasons why you might want to turn off your laptop monitor when using HDMI to connect to an external display:
- Conserving Battery Life: Laptops are built for portability, and one of the major concerns when using them on the go is preserving battery life. By disabling the laptop monitor, you can save power and extend the battery’s runtime, allowing you to work or enjoy multimedia content for longer periods.
- Minimizing Distractions: When working on a single, large external display, turning off the laptop monitor can help minimize distractions. By eliminating the extra screen, you can focus your attention solely on the tasks at hand, boosting productivity and concentration.
- Enhancing Workflow: Using an external display can significantly enhance your workflow, providing a larger canvas for multitasking and improving overall efficiency. By turning off the laptop monitor, you can eliminate unnecessary screen clutter and create a seamless workspace.
- Improving Graphics Performance: Graphics-intensive applications, such as video editing or gaming, can benefit from utilizing an external display. By turning off the laptop monitor, you can allocate more system resources to the external display, allowing for smoother and more responsive graphics performance.
- Extending Display Lifespan: The display panel is a crucial component of your laptop, and prolonged use can lead to wear and tear. By using an external display and disabling the laptop monitor, you can reduce the hours of usage on the internal display, potentially extending its lifespan.
Overall, turning off your laptop monitor when using HDMI offers numerous benefits, including increased battery life, reduced distractions, improved workflow, enhanced graphics performance, and potential display longevity. Now, let’s explore the various methods you can employ to achieve this.
Method 1: Using Keyboard Shortcuts
One of the easiest and quickest ways to turn off the laptop monitor when using HDMI is by utilizing keyboard shortcuts. Many laptops have dedicated function keys or a combination of keys that allow you to control display settings. Here’s how you can do it:
- Step 1: Identify the function key that controls your laptop display. It is typically labeled with an icon representing a monitor or display.
- Step 2: Press and hold the “Fn” (Function) key located on your laptop’s keyboard. While holding the “Fn” key, simultaneously press the function key that corresponds to display control. For example, on some laptops, it may be “Fn + F4” or “Fn + F5”. The exact key combination may vary depending on your laptop model.
- Step 3: Keep pressing the function key combination until your laptop display turns off. The external display connected via HDMI should remain active.
- Step 4: To turn the laptop monitor back on, simply repeat the same keyboard shortcut. Hold the “Fn” key and press the function key combination again.
By using keyboard shortcuts, you can quickly toggle the laptop display on or off without going through any complicated settings menus. This method is particularly useful when you need to temporarily turn off the monitor or switch between multiple displays effortlessly.
It’s important to note that the specific key combinations may differ across laptop brands and models. If the above steps don’t work for your laptop, refer to the user manual or visit the manufacturer’s support website for more information on the keyboard shortcuts for display control.
Method 2: Changing Display Settings
If your laptop doesn’t have dedicated function keys or if the keyboard shortcuts don’t work, you can turn off the laptop monitor when using HDMI by adjusting the display settings. Here’s how:
- Step 1: Right-click on an empty space on your desktop and select “Display settings” from the context menu. Alternatively, you can go to the Control Panel and navigate to “Appearance and Personalization” > “Display” > “Screen Resolution”.
- Step 2: In the display settings window, you will see a diagram representing your laptop monitor (usually labeled “1”) and the external display connected via HDMI (usually labeled “2”).
- Step 3: To turn off the laptop monitor, click on the drop-down menu under “Multiple Displays” and select “Show only on 2” or “Second screen only”. This option will disable the laptop display and make the external display the primary screen.
- Step 4: Click on the “Apply” button to save the changes. Your laptop monitor will turn off, and the external display connected via HDMI will become the sole active display.
- Step 5: To revert the changes and turn on the laptop monitor again, repeat the above steps and select “Extend these displays” or “Duplicate these displays” from the “Multiple Displays” drop-down menu. This will enable both the laptop monitor and the external display.
Changing the display settings allows you to control which displays are active and how they are configured. This method offers more flexibility in customizing your display setup according to your preferences or multitasking needs.
Note that the specific options and layout of the display settings window may vary depending on your operating system version. If you encounter any difficulties, refer to the operating system’s documentation or support resources for more detailed instructions.
Method 3: Using Third-Party Software
If the built-in options on your laptop or operating system are limited, or if you’re looking for more advanced features, you can turn off the laptop monitor when using HDMI by using third-party software. There are several applications available that can help you manage and control your display settings more effectively. Here’s how to do it:
- Step 1: Research and find a reliable third-party software that specializes in display management. Popular options include DisplayFusion, MultiMonitorTool, and Dual Monitor Tools.
- Step 2: Download and install the selected software on your laptop.
- Step 3: Launch the software and explore its features and options. Look for settings related to turning off or disabling specific monitors.
- Step 4: Configure the software to turn off the laptop monitor when using HDMI. This may involve selecting the appropriate display profiles or creating custom configurations.
- Step 5: Apply the changes and test the setup by connecting your laptop to an external display via HDMI. The software should automatically disable the laptop monitor, leaving only the external display active.
- Step 6: To revert the changes and turn on the laptop monitor again, refer to the software’s instructions for undoing the configuration or switching back to the default settings.
Using third-party software gives you more control and flexibility in managing your display setup. These applications often provide additional features like multi-monitor customization, hotkey support, and automation options. However, keep in mind that downloading and installing software from third-party sources carries some risks, so be sure to choose reputable software and verify the authenticity and safety of the application.
Before using third-party software, check if your laptop’s manufacturer provides any proprietary display management tools. Some laptop brands offer their own software that enables advanced display control and configuration options.
Method 4: Disabling Adapter in Device Manager
If you’re unable to turn off the laptop monitor using the previous methods, you can try disabling the display adapter in the Device Manager. This method essentially shuts down the graphics driver responsible for the laptop monitor, effectively turning it off. Here’s how to do it:
- Step 1: Press the Windows key + X on your keyboard to open the Power User menu. From the menu, select “Device Manager”.
- Step 2: In the Device Manager window, expand the “Display adapters” category to reveal the installed display adapters.
- Step 3: Right-click on the display adapter that corresponds to your laptop monitor and select “Disable device” from the context menu.
- Step 4: A confirmation dialog will appear, informing you about the potential consequences of disabling the device. Click “Yes” to proceed.
Once the display adapter is disabled, the laptop monitor will immediately turn off. The external display connected via HDMI will become the primary active display.
To re-enable the laptop monitor, simply repeat the above steps and choose “Enable device” instead of “Disable device” in the Device Manager. This will restore the functionality of the laptop monitor.
Disabling the display adapter in the Device Manager is a more technical method and should be used with caution. It may have implications for other aspects of your laptop’s functionality since the display adapter also handles graphics processing. Additionally, disabling the wrong device in the Device Manager can cause system instability. Therefore, use this method only if you are comfortable with advanced system settings and understand the potential risks involved.
If you’re unsure about which display adapter corresponds to your laptop monitor, consult the laptop’s documentation or the manufacturer’s support resources for guidance.
Troubleshooting Tips
While turning off the laptop monitor when using HDMI is generally a straightforward process, you may encounter some issues or unexpected behavior. Here are some troubleshooting tips to help you resolve common problems and ensure a smooth experience:
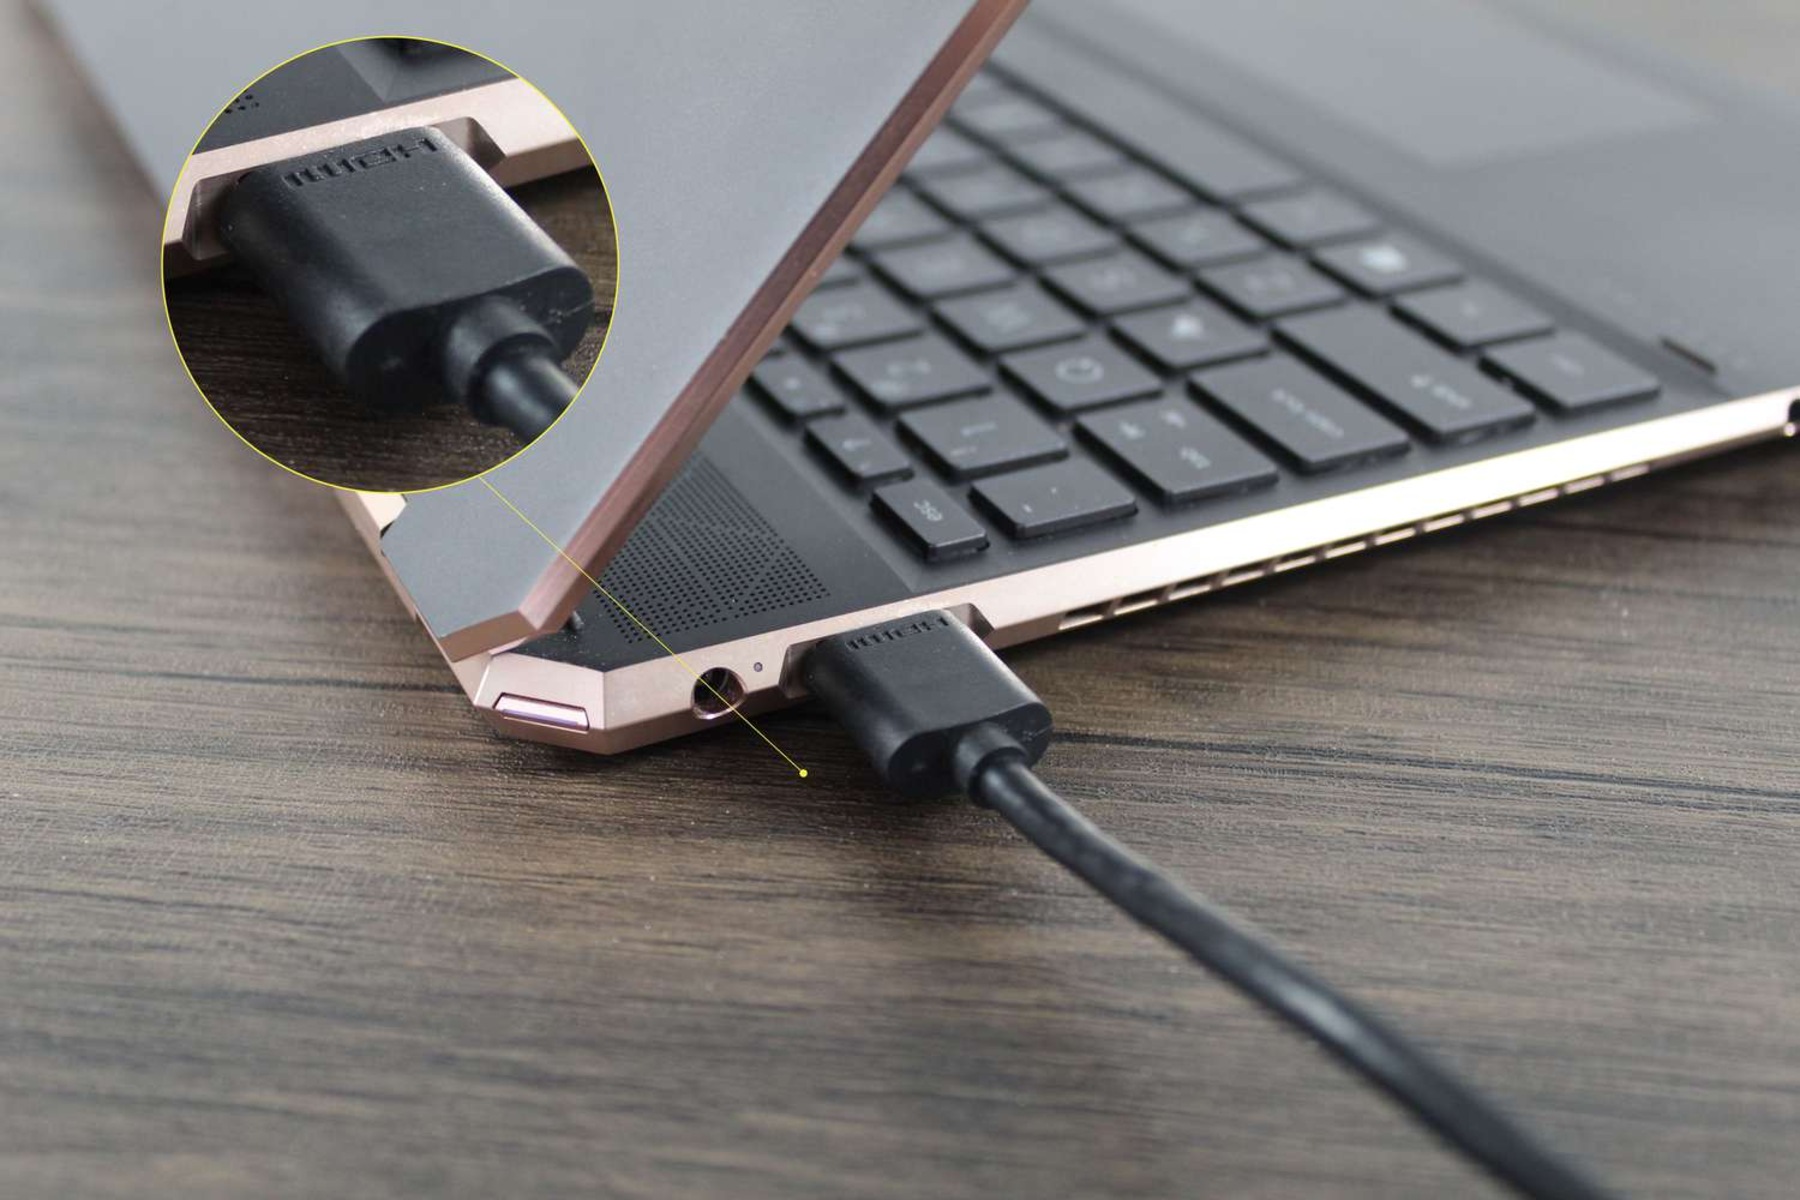
- Confirm HDMI Connection: Ensure that the HDMI cable is securely connected to both your laptop and the external display. A loose or disconnected cable may result in a lack of signal or display issues.
- Update Graphics Drivers: Outdated or incompatible graphics drivers can cause display problems. Visit your laptop manufacturer’s website or the graphics card manufacturer’s website to download and install the latest drivers for your system.
- Restart Your Laptop: Sometimes, a simple restart can resolve minor software or hardware conflicts. Turn off your laptop, disconnect the HDMI cable, wait for a few moments, then reconnect the cable and turn on your laptop.
- Try Different HDMI Port or Cable: If you’re experiencing issues with the HDMI connection, try connecting the cable to a different HDMI port on your laptop or use a different HDMI cable to rule out any potential port or cable problems.
- Check Display Settings: Double-check the display settings on your laptop and ensure that the external display is recognized and properly configured. Use the appropriate method mentioned earlier to set the external display as the primary or sole active display.
- Check Compatibility: Verify that your laptop and the external display support the desired screen resolutions and refresh rates. Some displays may not properly work with certain resolutions or refresh rates, leading to display issues.
- Restart External Display: If the issue persists, try turning off the external display, disconnecting the power supply, and then reconnecting and restarting the display.
- Consult Manufacturer Support: If none of the above troubleshooting steps resolve your issue, consult the support resources provided by your laptop or display manufacturer. They can provide specific guidance and assistance to troubleshoot and resolve any hardware or software-related problems.
By following these troubleshooting tips, you can address common issues and optimize your experience when turning off the laptop monitor when using HDMI. Remember to approach each step with caution and refer to the manufacturer’s instructions or support resources when needed.
Conclusion
Turning off the laptop monitor when using HDMI can bring several benefits, including conserving battery life, minimizing distractions, enhancing workflow, improving graphics performance, and potentially extending the lifespan of the display panel. In this article, we explored four different methods to achieve this.
We started with using keyboard shortcuts, which offer a quick and convenient way to toggle the laptop monitor on or off. Then, we discussed changing display settings, allowing you to customize your display setup according to your preferences. We also explored the option of using third-party software, which provides advanced features and customization options. Lastly, we looked at disabling the display adapter in the Device Manager, a more technical method that should be used with caution.
Throughout the troubleshooting tips section, we provided some guidance to resolve common issues that may arise when turning off the laptop monitor. These tips can help ensure a smooth experience and address any unexpected behavior or display problems you may encounter.
Remember to choose the method that works best for your laptop and personal preferences. Experiment with different techniques to find the one that suits your needs. Also, be mindful of the specific instructions and options provided by your laptop manufacturer and operating system.
Now that you have a variety of methods at your disposal, you can confidently turn off the laptop monitor when using HDMI and enjoy the benefits of a larger external display. Whether you’re working on a project, gaming, or simply need a bigger screen for multitasking, these methods will help you optimize your display setup and create a more productive and enjoyable computing experience.


