Introduction
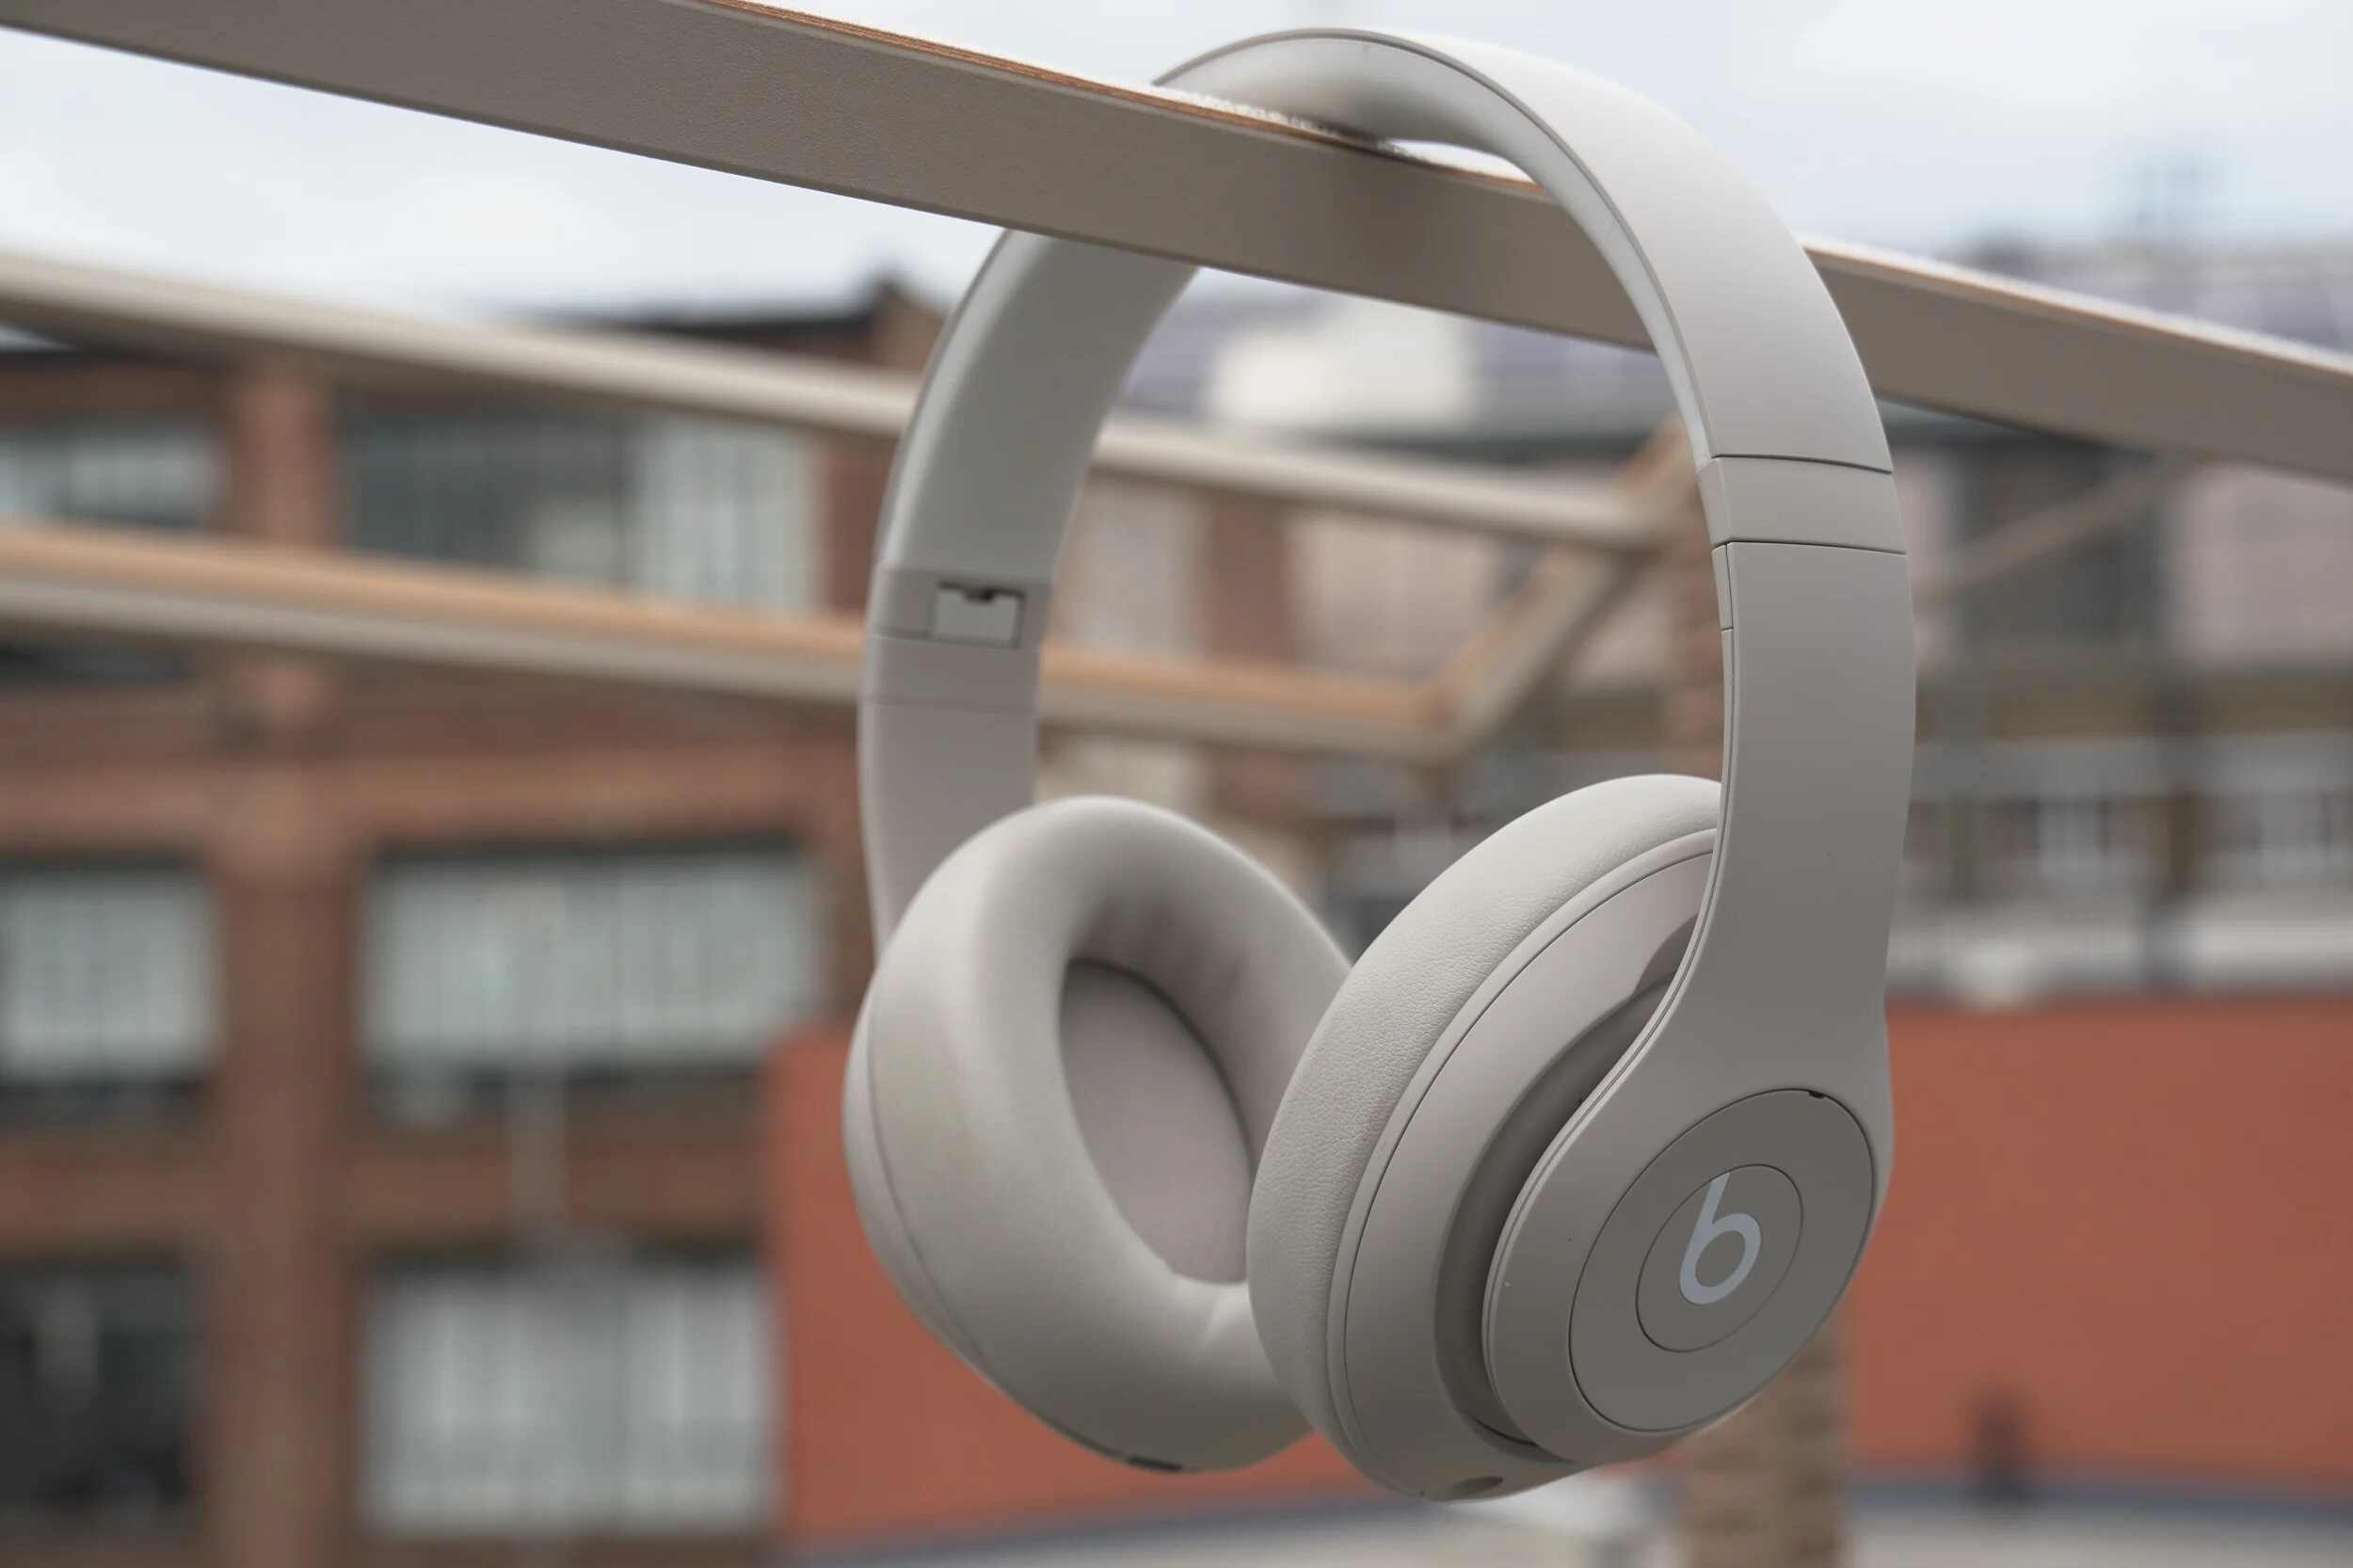
Welcome to this guide on how to turn on the noise cancelling feature on your Beats headphones. Noise cancelling technology is a remarkable invention that allows you to enjoy your music or podcasts without being interrupted by external sounds. Whether you’re on a busy train, at the office, or trying to concentrate in a noisy environment, enabling noise cancelling can greatly enhance your listening experience.
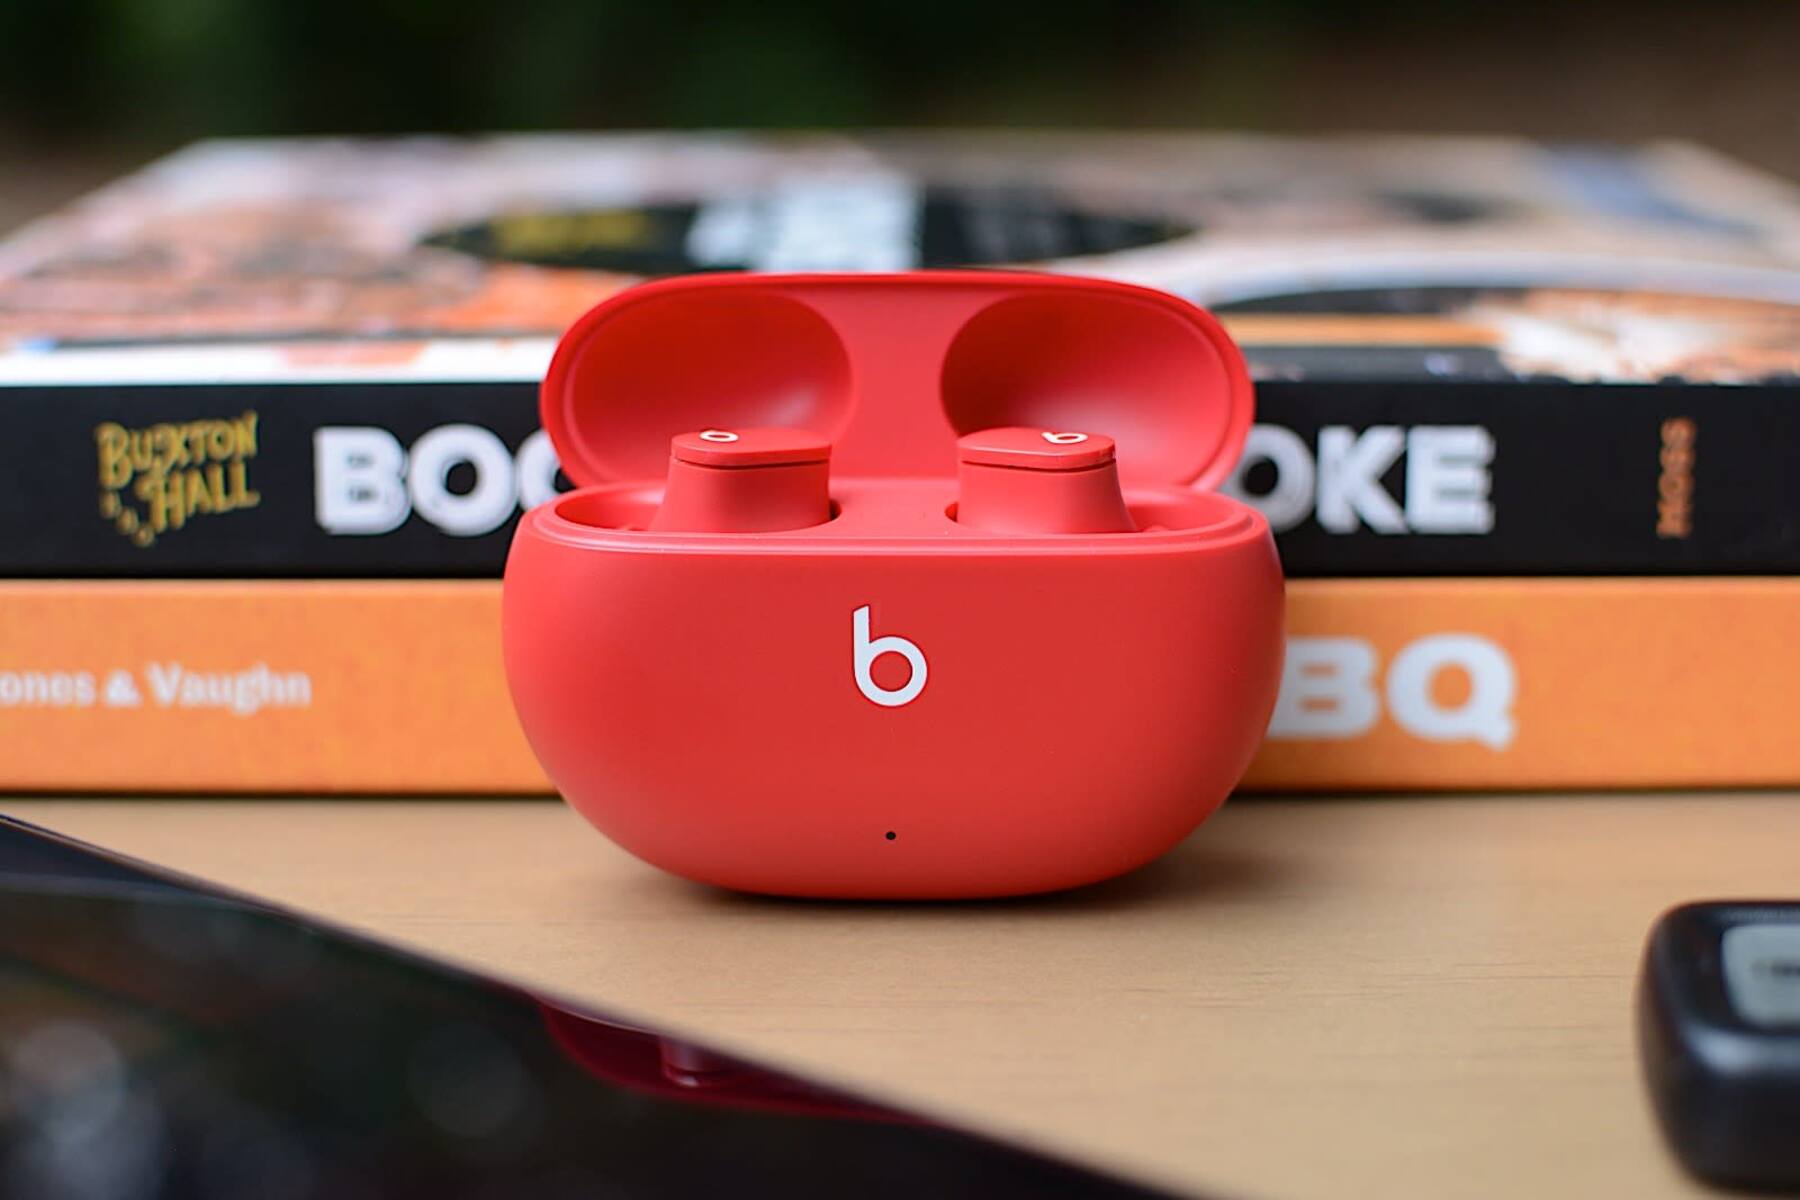
Beats is a popular brand known for its high-quality audio products, and many of their headphones include noise cancelling capabilities. In this article, we will walk you through the process of turning on the noise cancelling feature on your Beats headphones, so you can enjoy your favorite tunes in peace.
Before we dive into the steps, it’s important to note that the process may vary slightly depending on the model of your Beats headphones. However, the general process remains consistent across most models. So, let’s get started and discover how you can activate the noise cancelling feature on your Beats!
Step 1: Check Your Beats Model
Before proceeding with the steps to turn on noise cancelling, it’s essential to identify the specific model of your Beats headphones. Different models may have slightly different controls or features, so knowing your model will help ensure you follow the correct instructions.
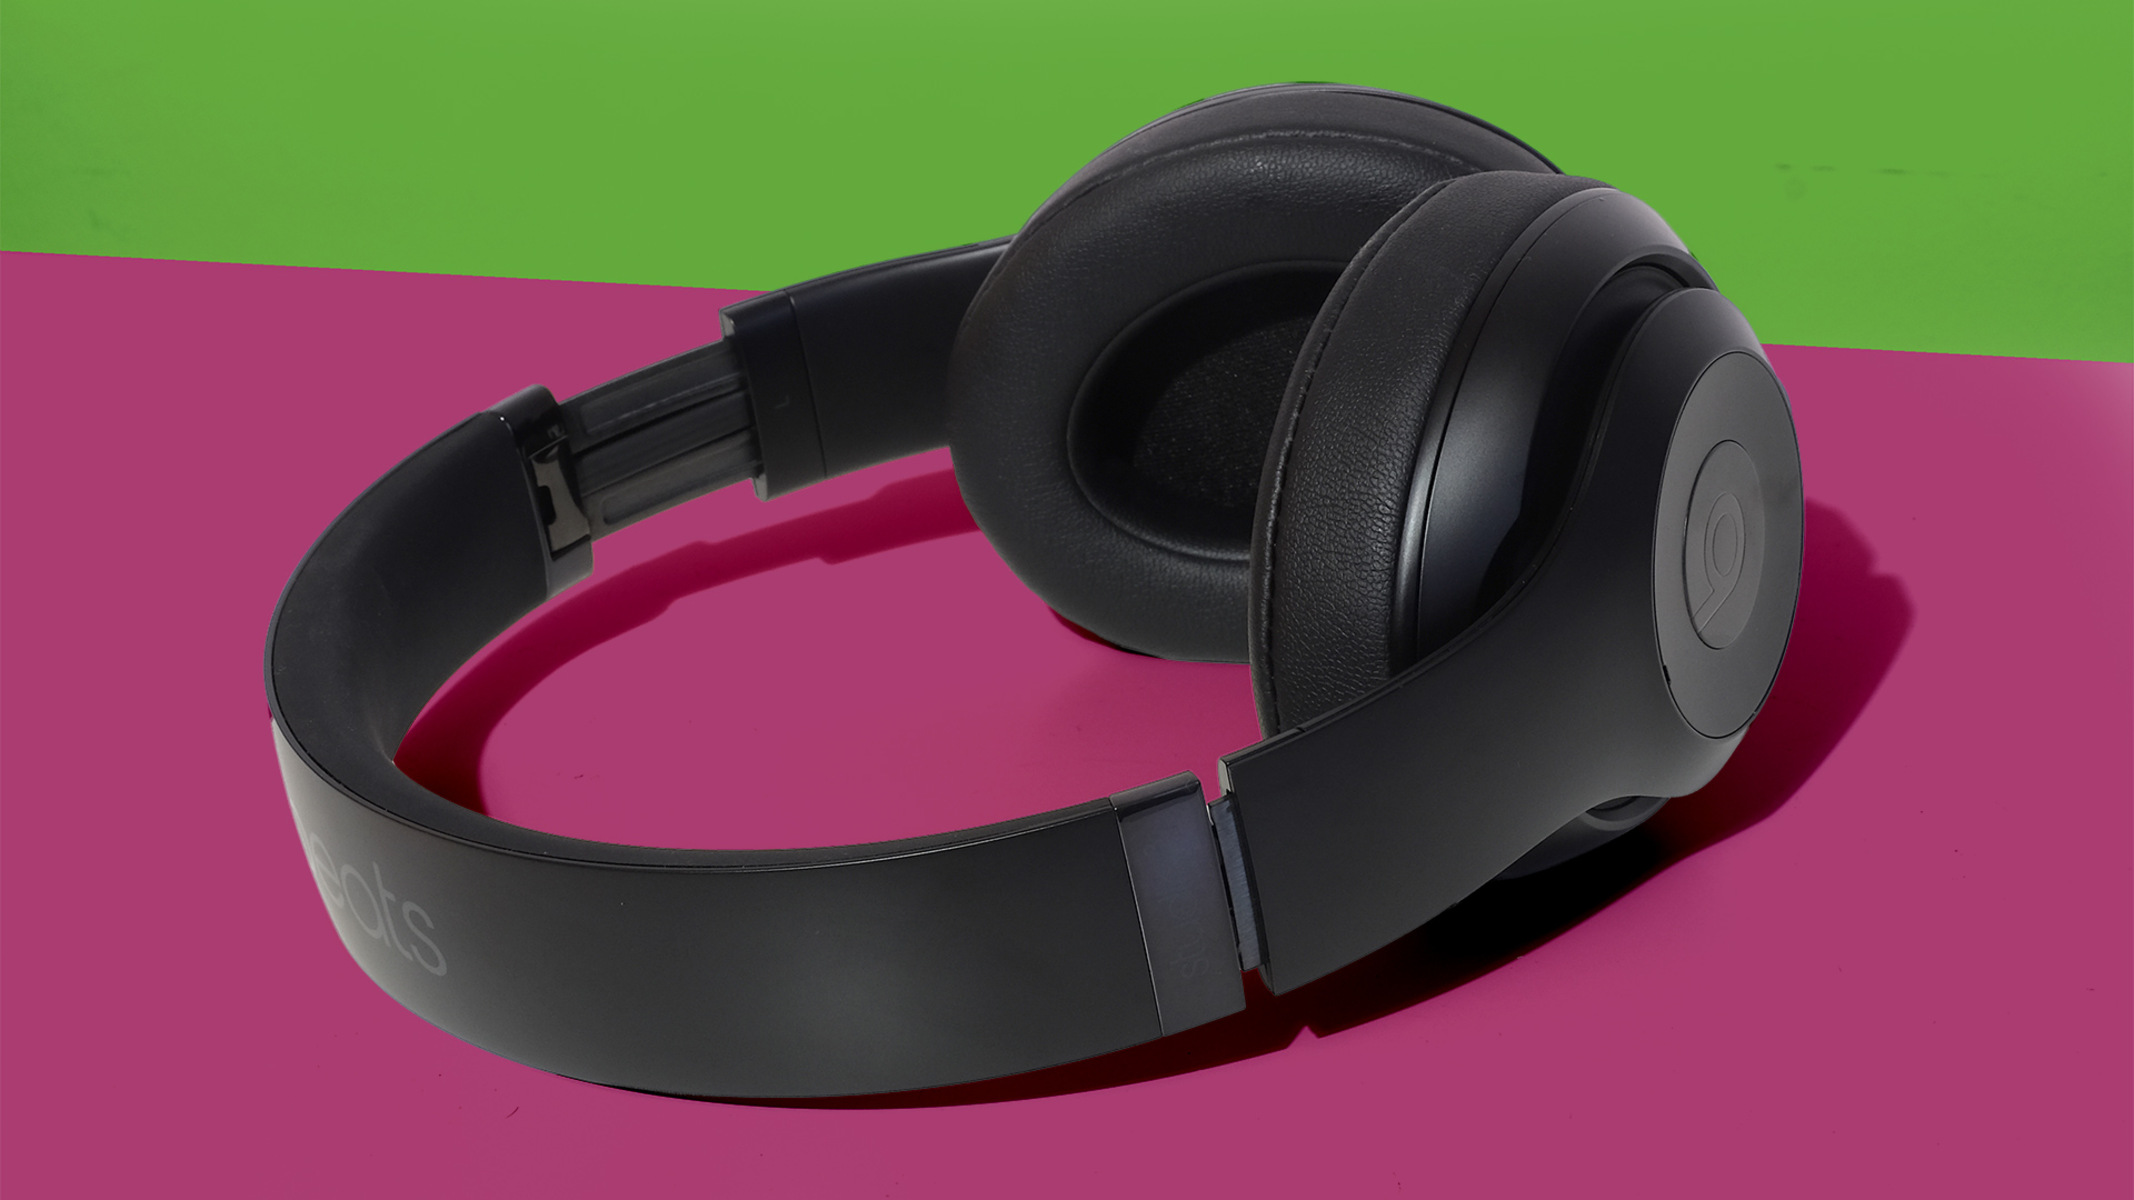
Firstly, look for any markings or labels on your headphones that indicate the model name. This can usually be found on the headband or ear cups. If you can’t find any visible markings, you can also check the original packaging or any accompanying documentation that came with your Beats headphones. The model name should be clearly mentioned.
If you still can’t determine the model, you can visit the Beats website or consult the user manual for your headphones. The website provides detailed information on different models, or you can look for your specific model in the user manual’s table of contents or index.
Once you have identified your Beats model, you are ready to proceed to the next step. Remember, understanding the specific model is crucial to ensure you follow the right instructions and access the correct controls for enabling noise cancelling on your Beats headphones.
Step 2: Find the Power Button
Now that you have identified your Beats model, the next step is to locate the power button on your headphones. The power button is essential for turning on your Beats and accessing the noise cancelling feature.
The position of the power button may vary depending on the model of your Beats headphones. It is commonly located on one of the ear cups or along the edge of the headphones. Take a moment to closely inspect your headphones and look for a button with a recognizable power symbol, such as a circle with a line in the middle.
If you’re having trouble finding the power button visually, you can refer to the user manual or the Beats website for a more detailed diagram or description. Some models may have additional buttons or switches nearby that control the power and noise cancelling functions. Familiarize yourself with the specific buttons and their functions to ensure smooth navigation.
Once you have located the power button, you are ready to move on to the next step and power on your Beats headphones.
Step 3: Turn On Your Beats
Now that you have found the power button, it’s time to turn on your Beats headphones. By turning them on, you will activate the essential functions, including the noise cancelling feature.
Press and hold down the power button for a few seconds until you see or hear an indicator that the headphones have turned on. The indicator can vary depending on the model of your Beats headphones. It may be a flashing LED light, an audible sound, or a combination of both.
Once the headphones are turned on, you will usually hear a short sound or chime, indicating that they are ready to use. At this point, the noise cancelling feature may still be disabled, but don’t worry—we will enable it in the next step.
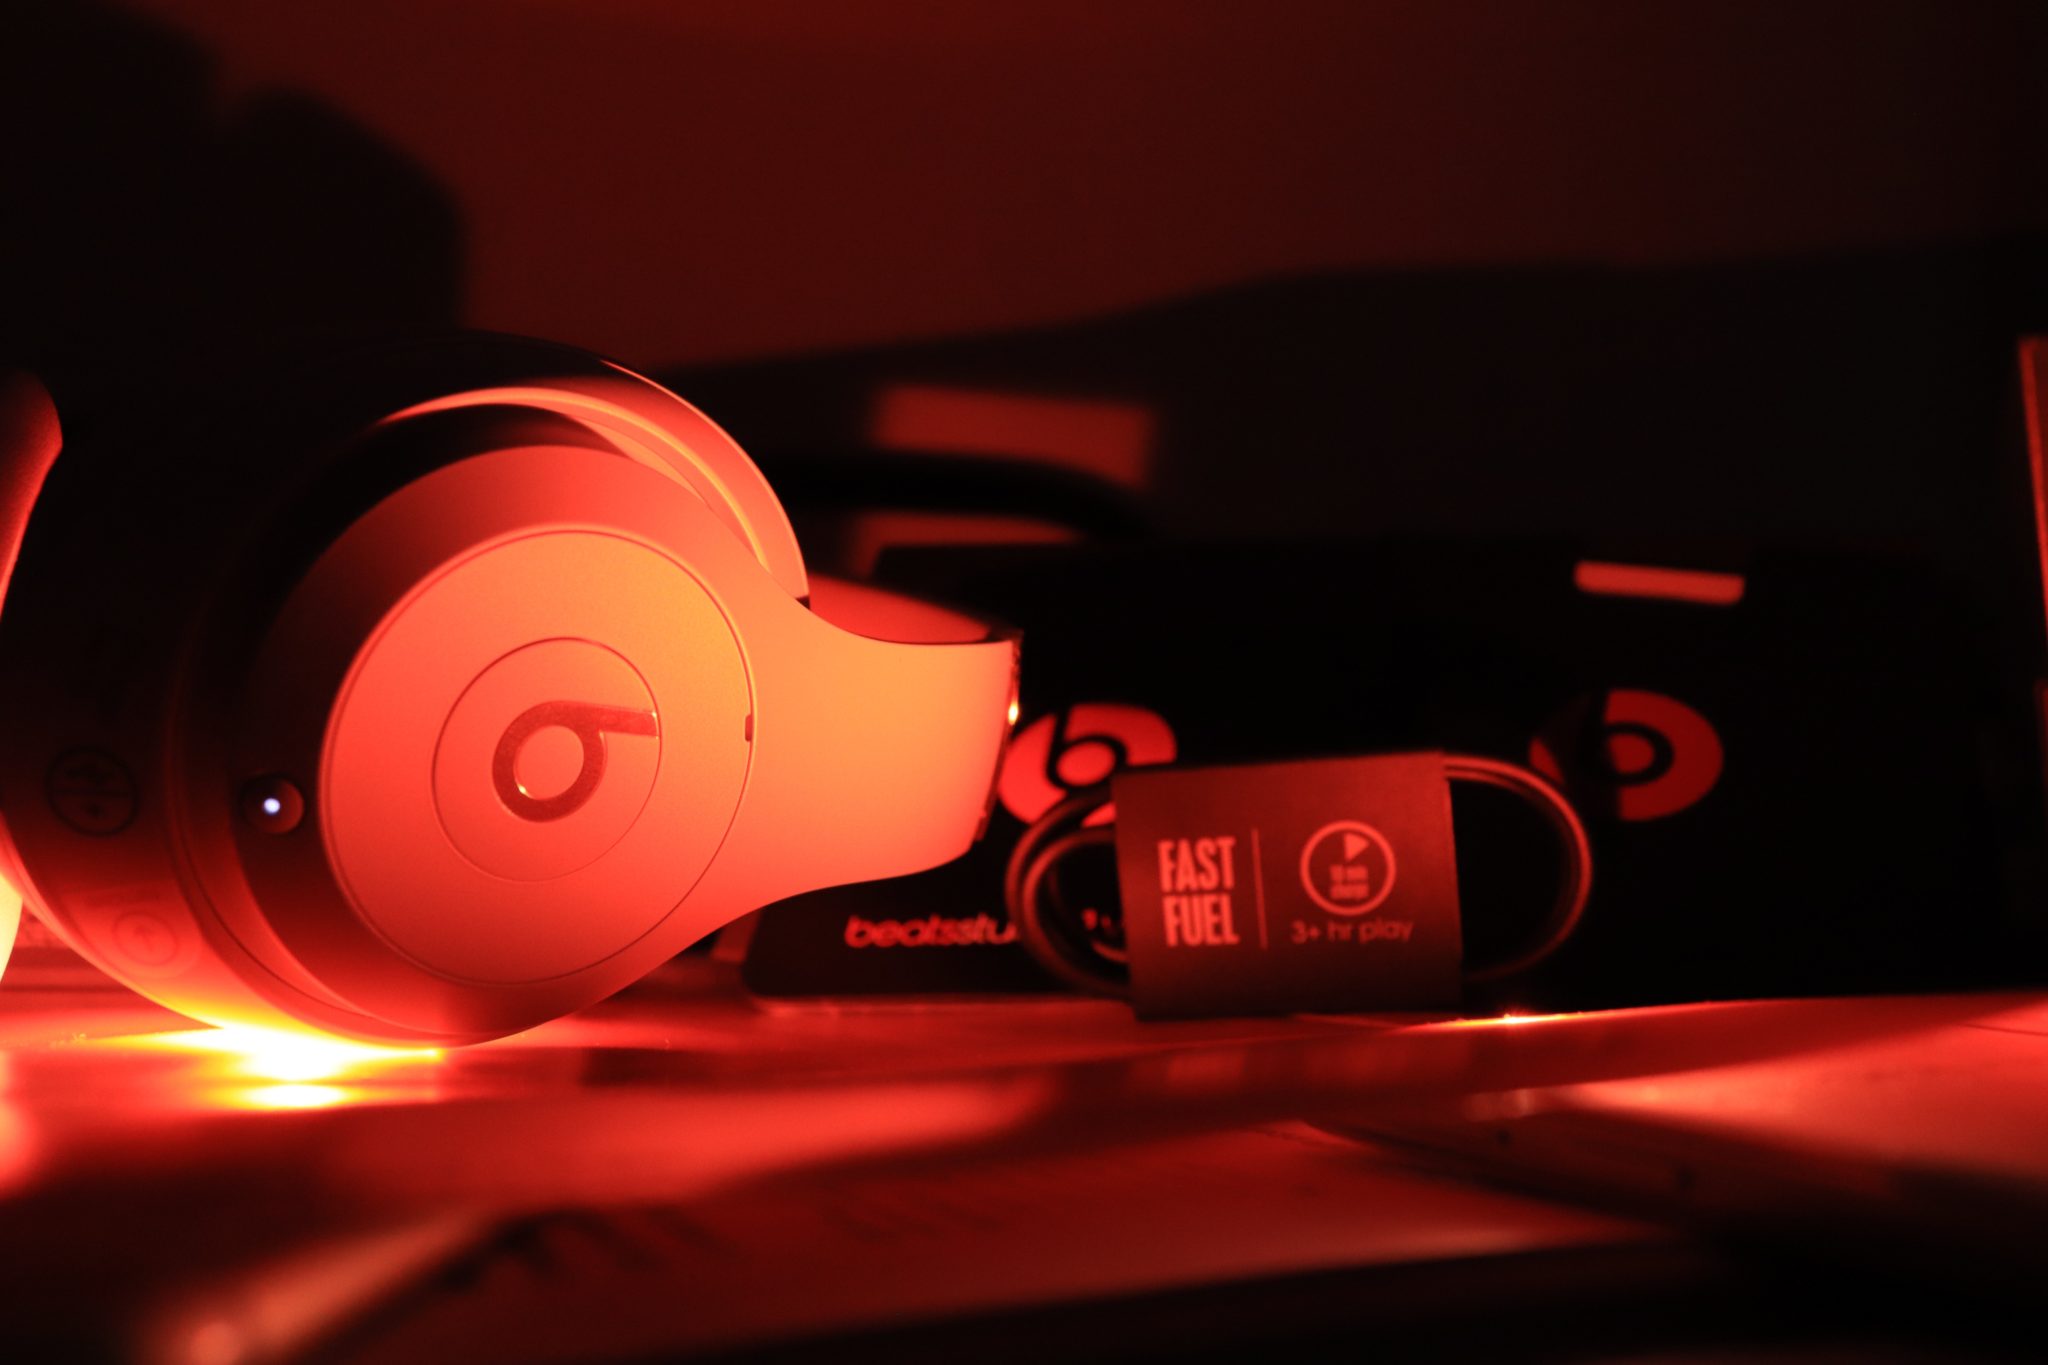
If you are having trouble turning on your Beats headphones, ensure that they are charged. Some models require a certain level of charge to power on and operate properly. Connect your headphones to a power source using the provided charging cable and give them some time to charge. Then, try turning them on again.
With your Beats headphones powered on, you are now prepared to unlock the noise cancelling capabilities in the upcoming step.
Step 4: Enable Noise Cancelling
With your Beats headphones turned on, it’s time to activate the noise cancelling feature and enjoy an immersive audio experience. Please note that the specific method to enable noise cancelling may vary depending on the model of your Beats headphones.
One common method to enable noise cancelling is by pressing a dedicated button or switch on your headphones. Look for a button or switch that is specifically designated for noise cancelling. It may be labeled with an icon representing noise cancelling or have the word “NC” or “Noise Cancelling” written next to it.
Once you have located the noise cancelling button or switch, simply press or toggle it to enable the feature. You may hear a confirmation sound or notice an indicator light that signifies noise cancelling is now active.
If you are unable to find a dedicated noise cancelling button, don’t worry. Some Beats headphones automatically enable noise cancelling once they are turned on. In this case, you do not need to perform any additional steps to activate the feature.
It’s important to remember that noise cancelling works by actively eliminating external sounds, allowing you to focus on your audio. Therefore, try to be in a quiet environment or play audio at a comfortable volume while using this feature for the best experience.
Congratulations! You have successfully enabled the noise cancelling feature on your Beats headphones. Now, let’s explore how you can adjust the noise cancelling level in the next step, which is optional but can enhance your listening experience even further.
Step 5: Adjust the Noise Cancelling Level (Optional)
After enabling noise cancelling on your Beats headphones, you may have the option to adjust the level of noise cancellation to suit your preferences. Not all models have this feature, so if your headphones don’t offer it, you can skip this step.
To adjust the noise cancelling level, look for buttons or controls on your headphones that are specifically dedicated to adjusting the level. These buttons may be labeled with icons representing different levels of noise cancellation or have words like “Low,” “Medium,” and “High.”
Press the respective button or toggle the control to select your desired level of noise cancellation. Some headphones may offer a continuous adjustment, allowing you to fine-tune the level to your liking. You may notice that with higher levels of noise cancellation, external sounds are reduced even further, providing a more immersive listening experience.
Experiment with different settings and find the level of noise cancellation that suits your needs and preferences. Keep in mind that higher levels of noise cancellation may consume more battery power, so consider the trade-off between battery life and the desired noise cancelling experience.
If your Beats headphones do not have specific controls for adjusting the noise cancelling level, it is likely that the headphones have a default and fixed level of noise cancellation. In this case, you will not be able to make any adjustments, but you can still enjoy the benefits of noise cancellation at the provided level.
Now that you have successfully enabled and optionally adjusted the noise cancelling level on your Beats headphones, you can fully immerse yourself in your favorite music or audio content while enjoying a minimized background noise presence.
Conclusion
Congratulations! You have successfully learned how to turn on the noise cancelling feature on your Beats headphones. By following the steps outlined in this guide, you can now enjoy a more immersive and uninterrupted listening experience in various noisy environments.
Remember, the specific process may vary slightly depending on the model of your Beats headphones, so always refer to the user manual or the Beats website for model-specific instructions.
In this article, we covered the essential steps, starting with identifying your Beats model. By locating the power button and turning on your headphones, you gained access to the noise cancelling feature. Then, we discussed how to enable noise cancelling, either through a dedicated button or a default setting.
If your headphones provide the option, we also explained how you can adjust the noise cancelling level to customize your listening experience. Higher levels of noise cancellation can provide even greater isolation from external sounds, but be aware that it may impact battery life.
Now, put on your Beats headphones, activate the noise cancelling feature, and enjoy your favorite music, podcasts, or audio content without any distractions. Experience the full potential of your headphones as you immerse yourself in the richness of the audio.
We hope this guide has been helpful in enhancing your understanding of how to activate the noise cancelling feature on your Beats headphones. Embrace the power of noise cancellation and elevate your audio experience to new levels of enjoyment!


