Introduction
Knowing what version of Windows you have installed on your computer is essential for various reasons, such as troubleshooting, compatibility with software, and getting support. Whether you are a tech-savvy individual or a casual user, it’s crucial to have this information at your fingertips.
Fortunately, Windows provides several methods to help you determine the version you are running. In this article, we will explore different ways to identify the version of Windows installed on your computer, ranging from using built-in tools like the System Information panel, Settings app, and Command Prompt, to third-party applications and utilities.
Understanding your Windows version is not only helpful for technical purposes but also allows you to stay informed about updates and features that are specific to your operating system. It will enable you to take full advantage of the functionalities that your version has to offer.
Whether you have Windows 10, Windows 8.1, Windows 7, or any other version of Windows, this guide will walk you through step-by-step instructions to find out exactly which version you own. So, let’s dive in and discover the various methods you can use to determine your Windows version!
Checking the Version through the “System Information” Panel
One of the easiest ways to find out what version of Windows you have is by using the “System Information” panel. This built-in tool provides detailed information about your computer’s hardware, software, and operating system.
To access the “System Information” panel, follow these steps:
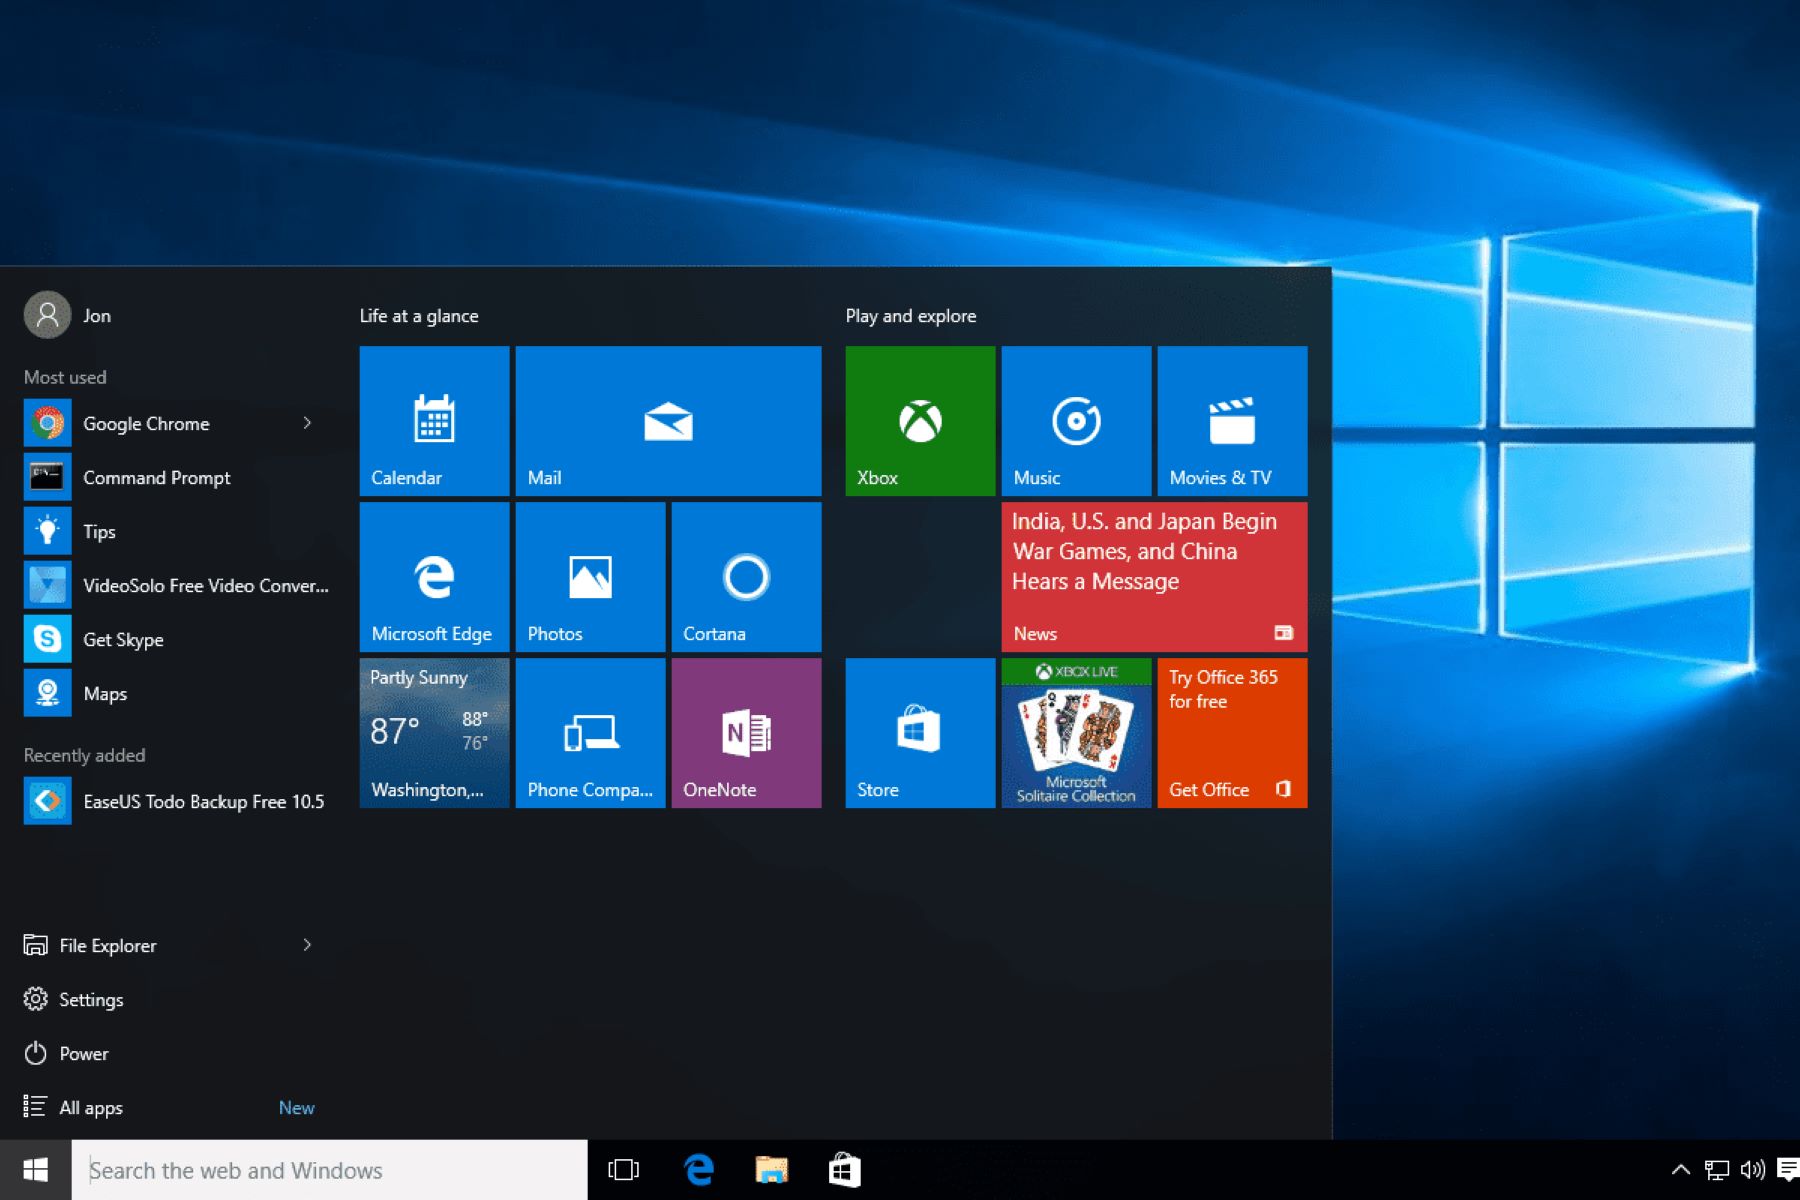
- Press the Windows key on your keyboard or click on the Start button.
- Type “System Information” in the search box and click on the corresponding result.
- Once the “System Information” window opens, you will see a wealth of information about your system. Look for the “OS Name” and “Version” fields to identify your Windows version.
The “OS Name” field will specify the edition of Windows you have installed, such as Windows 10 or Windows 8.1. The “Version” field will provide additional details about the specific version number, including any updates or service packs.
This method is simple and reliable, making it a go-to option for quickly identifying your Windows version. However, keep in mind that the “System Information” panel can also provide more in-depth information about your computer, such as system model, processor details, and installed RAM. It can be a handy tool if you need to troubleshoot or gather system specifications.
Now that you know how to check your Windows version using the “System Information” panel, you can easily determine what version of Windows you have without relying on any external tools or utilities.
Identifying the Version from the “Settings” App
Another straightforward method to find out which version of Windows you have is by using the “Settings” app. This approach is particularly useful for Windows 10 users, as the Settings app provides easy access to various system information.
To identify your Windows version through the “Settings” app, follow these steps:
- Press the Windows key on your keyboard or click on the Start button, and then click on the Settings icon (it looks like a gear).
- In the Settings app, click on the “System” category.
- In the left sidebar, click on the “About” option.
- In the right pane, you will find the Windows specifications, including the edition and version number. The edition will specify the specific version of Windows you have installed, such as Windows 10 Home or Windows 10 Pro. The version number will indicate the specific version and any updates or patches installed.
Using the Settings app to identify your Windows version is user-friendly and doesn’t require any technical expertise. It provides a concise summary of your system information, including the version of Windows you are using.
Note that the steps outlined here apply to Windows 10, but older versions of Windows, such as Windows 8.1 and Windows 7, may have slightly different steps to access the system information through the Settings app.
Now that you know how to use the “Settings” app to identify your Windows version, you can quickly find the information you need without resorting to complex procedures.
Verifying the Version through the “Run” Command
The “Run” command is a powerful tool in Windows that allows you to execute various commands and open applications quickly. You can also use this command to verify your Windows version without navigating through multiple menus.
To verify your Windows version through the “Run” command, follow these steps:
- Press the Windows key + R on your keyboard to open the “Run” dialog box.
- Type “winver” (without the quotation marks) into the text field, and then click on the “OK” button or press Enter.
- A new window will appear, displaying the “About Windows” information. Here, you will see the specific version and build number of your Windows installation.
The information displayed will include the edition and version number of your Windows installation. This method is especially useful if you need a quick way to verify your Windows version and don’t want to navigate through multiple menus or open external tools.
Keep in mind that this method works for all versions of Windows, including Windows 10, Windows 8.1, Windows 7, and older versions. It is a convenient way to quickly access your Windows version information with just a few keystrokes.
Now that you know how to verify your Windows version through the “Run” command, you have another easy method at your disposal to determine which version of Windows you are running.
Checking the Version via Command Prompt
The Command Prompt is a powerful tool in Windows that allows you to execute various commands and perform advanced system tasks. If you prefer using the command line interface, you can utilize the Command Prompt to check your Windows version.
To check your Windows version via Command Prompt, follow these steps:
- Press the Windows key on your keyboard or click on the Start button.
- Type “cmd” in the search box to open the Command Prompt.
- Once the Command Prompt opens, type “ver” (without the quotation marks) and press Enter.
- The Command Prompt will display the Windows version and build number on the screen.
The displayed information will provide you with the specific version and build number of your Windows installation. This method is particularly useful for those who are comfortable using the command line interface and prefer to avoid graphical user interfaces.
Keep in mind that this method works across various versions of Windows, including Windows 10, Windows 8.1, Windows 7, and older versions. It allows for a quick and straightforward way to check your Windows version without the need to navigate through multiple menus.
Now that you know how to check your Windows version using the Command Prompt, you have a convenient method at your disposal for determining which version of Windows you are running.
Determining the Version through PowerShell
PowerShell is a powerful command-line shell and scripting language that comes built-in with Windows. It provides advanced capabilities for system administration and automation. Using PowerShell, you can quickly and accurately determine your Windows version.
To determine your Windows version through PowerShell, follow these steps:
- Press the Windows key on your keyboard or click on the Start button.
- Type “powershell” in the search box to open the PowerShell application.
- Once the PowerShell window opens, type the following command and press Enter:
$PSVersionTable.PSVersion - PowerShell will display the version information, including the major and minor version numbers, the build number, the revision number, and the name of the version.
The displayed version information will provide you with detailed insights about your Windows installation. This includes the specific version number, build number, and other relevant details.
PowerShell is a powerful tool for system administrators and those who prefer using advanced command-line interfaces. By using PowerShell, you gain access to a wide range of system information and administrative capabilities.
Keep in mind that PowerShell is available on Windows 7, Windows 8.1, and Windows 10. This method provides a reliable and efficient way to determine your Windows version across multiple versions of the operating system.
Now that you know how to determine your Windows version through PowerShell, you have a versatile tool at your disposal for retrieving precise information about your operating system.
Recognizing the Version from the Registry Editor
The Registry Editor is a powerful Windows tool that allows you to view and modify system settings and configurations. If you are comfortable navigating the Windows Registry, you can use it to recognize your Windows version accurately.
To determine your Windows version using the Registry Editor, follow these steps:
- Press the Windows key on your keyboard or click on the Start button.
- Type “regedit” in the search box and press Enter to open the Registry Editor.
- In the Registry Editor, navigate to the following key:
HKEY_LOCAL_MACHINE\SOFTWARE\Microsoft\Windows NT\CurrentVersion - On the right-hand side, you will find several values, including “ProductName” and “ReleaseId”. The “ProductName” value will specify the edition of Windows you have installed, such as Windows 10 or Windows 8.1. The “ReleaseId” value will provide additional details about the specific version number, including any updates or service packs.
By examining the values in the Registry Editor, you can accurately identify your Windows version. However, it’s important to exercise caution when using the Registry Editor, as making incorrect changes can potentially cause system errors or instability.
The Registry Editor method works for various versions of Windows, including Windows 10, Windows 8.1, Windows 7, and older versions. While it may require delving into a more technical aspect of your operating system, it provides an effective way to determine your Windows version.
Now that you know how to recognize your Windows version from the Registry Editor, you have an additional method at your disposal for retrieving this information with a more in-depth approach.
Concluding Remarks
Identifying the version of Windows you have installed on your computer is crucial for troubleshooting, compatibility, and staying informed about updates and features specific to your operating system. In this article, we’ve explored various methods to determine your Windows version, ranging from using built-in tools like the System Information panel, Settings app, and Command Prompt, to utilizing PowerShell and the Registry Editor.
By following the instructions outlined in this guide, you can easily and accurately find out which version of Windows you are running. Whether you prefer a graphical user interface or command-line tools, there is a method that suits your preference and technical comfort level.
Keep in mind that the steps provided in this guide are applicable to different versions of Windows, including Windows 10, Windows 8.1, Windows 7, and older versions. However, some minor differences may exist in accessing certain tools or features across different Windows versions.
Knowing your Windows version allows you to optimize your computer’s performance, ensure software compatibility, and stay up to date with the latest updates and security patches. It also plays a crucial role in receiving accurate technical support and troubleshooting guidance if you encounter any issues with your operating system.
Remember, staying informed about your Windows version is an essential part of maintaining your computer and ensuring a smooth user experience. Take advantage of these methods to easily determine your Windows version and make the most out of your operating system.


